In this guide I’ll disassemble an HP Omen 17-W000, I will remove the bottom cover, memory cover, hard drive, SSD, RAM, wireless card, cooling fan, heat sink, and motherboard.
Looking for more guides from laptopmain.com? Follow us on Facebook for all the latest teardown news.
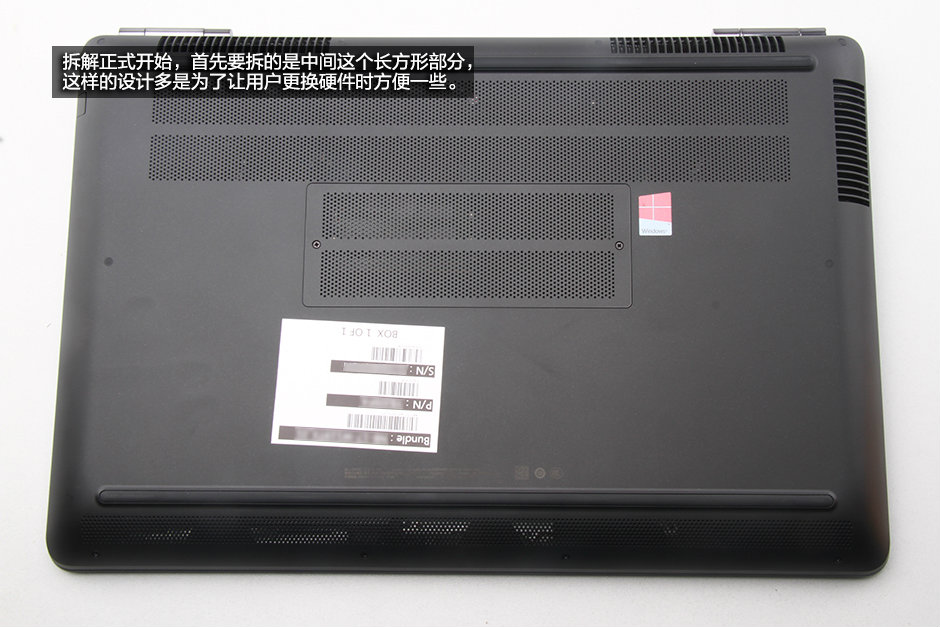
1. Removing the RAM cover
In the bottom of the notebook, there is a removable cover. We will remove the cover to see what is under the cover.
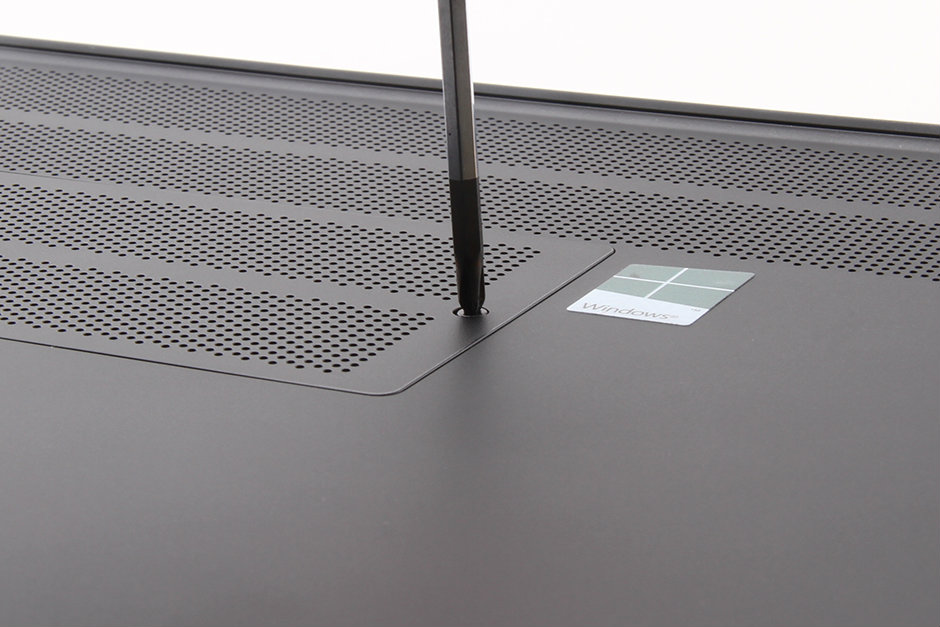
Loosen two screws that securing the memory cover.
Pry up and remove the memory cover.
2. Removing the RAM
Under the cover, we can see two RAM modules.

The HP Omen 17-W000 comes with two SK Hynix 8GB DDR4-2400MHz RAM.
If necessary, you can upgrade to 32GB DDR4-2400MHz RAM (replace the 8GB memory with 16GB memory).

3. Removing the bottom cover
Remove all screws securing the bottom cover.
Take a thin plastic tool or credit card to pry up the bottom cover. Then the cover can be taken off easily.
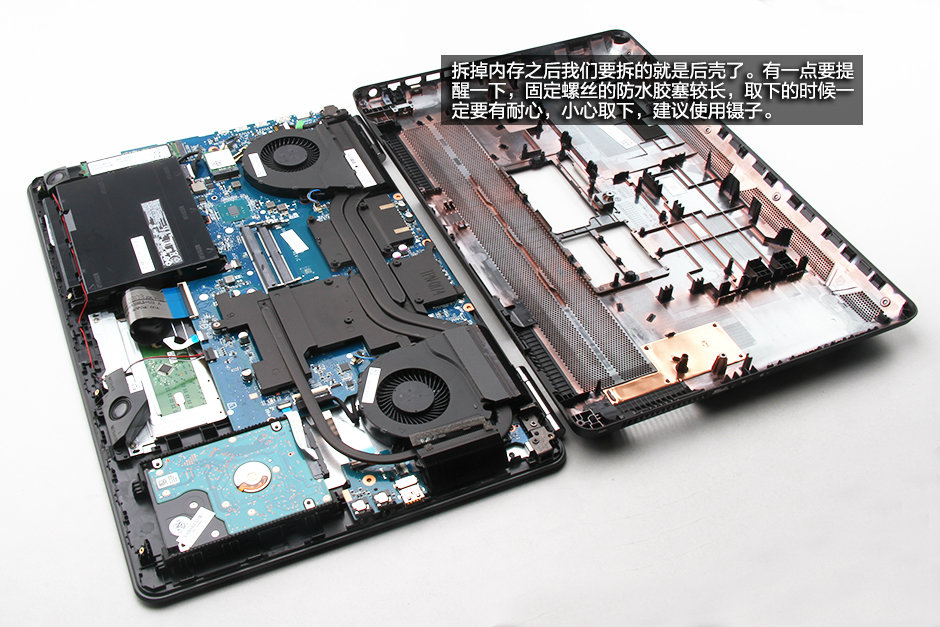
Under the bottom cover you can get access to the following internal components:
– Hard drive
– RAM module
– M.2 SSD
– Battery
– Heat sink and Cooling Fan
– Wireless card
– Speaker

4. Removing the battery
Disconnect the battery connector from the motherboard.
To disconnect the battery connector, just pull the cable by the arrow.
Remove all screws securing the battery to the laptop body.

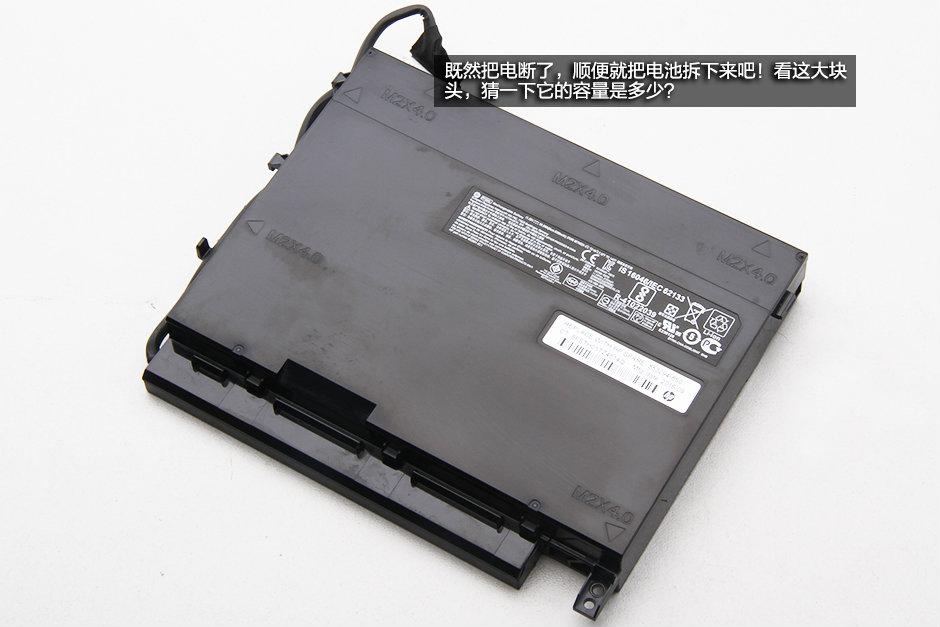
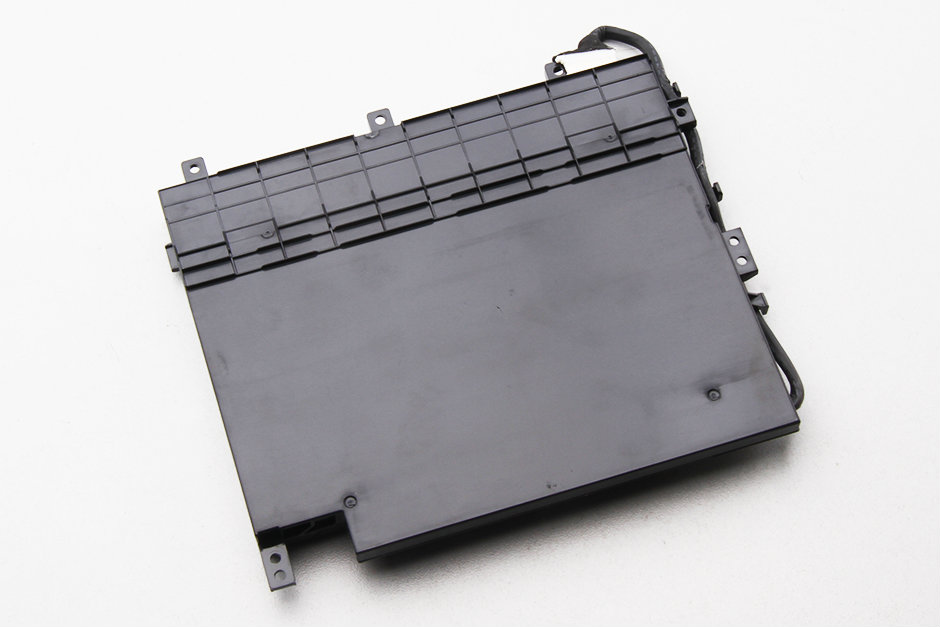
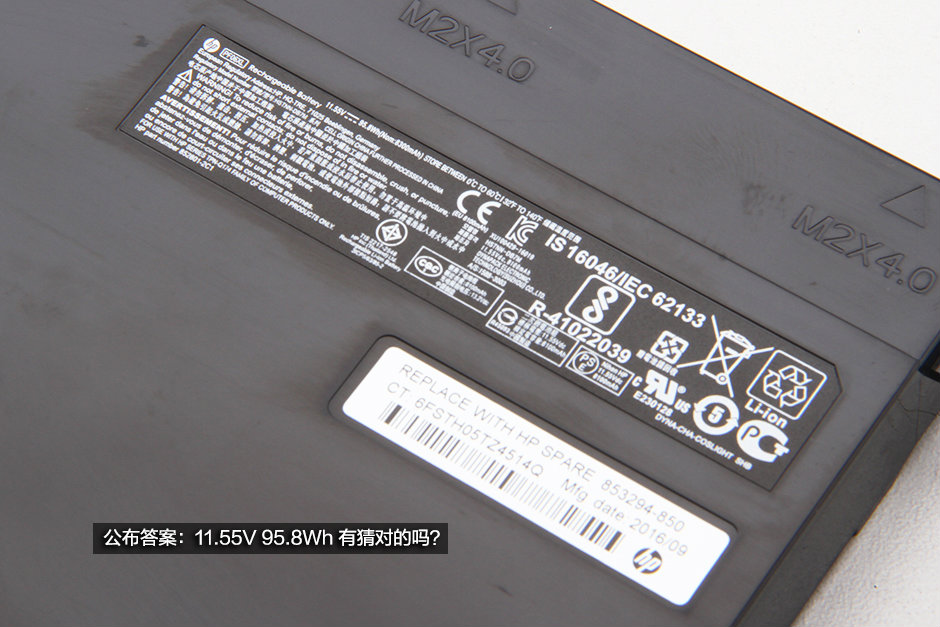
The laptop comes with an 11.55V, 95.8Wh Li-ion battery. According to the HP’s information, the battery life is up to 10 hours.
4. Removing the SSD
Remove one screw and take the SSD out of its slot.
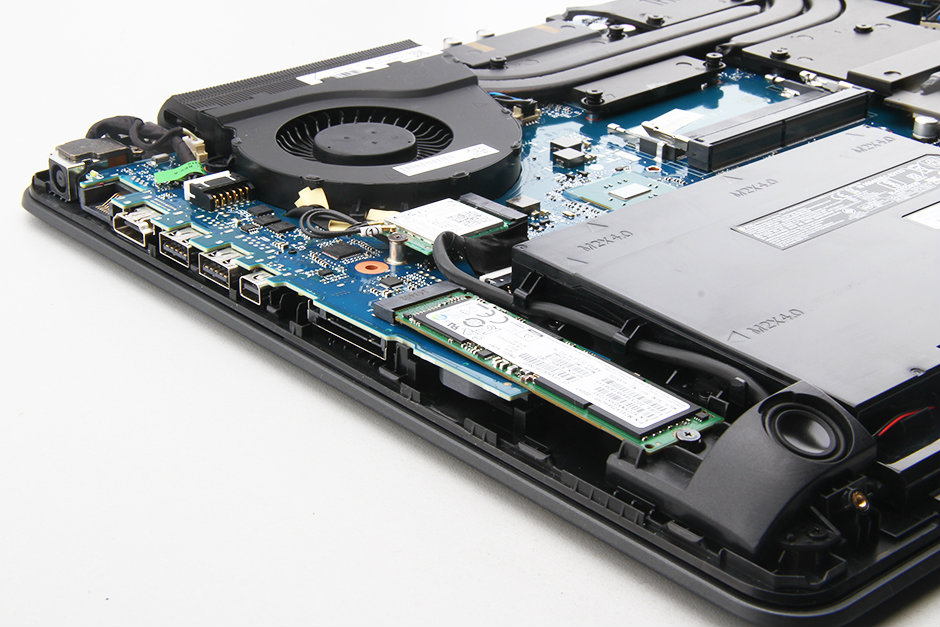
Samsung MZ-VLV2560 256GB PM951 NVMe SSD. HP P/N: 833842-002.
If necessary, you can upgrade to a larger capacity SSD.

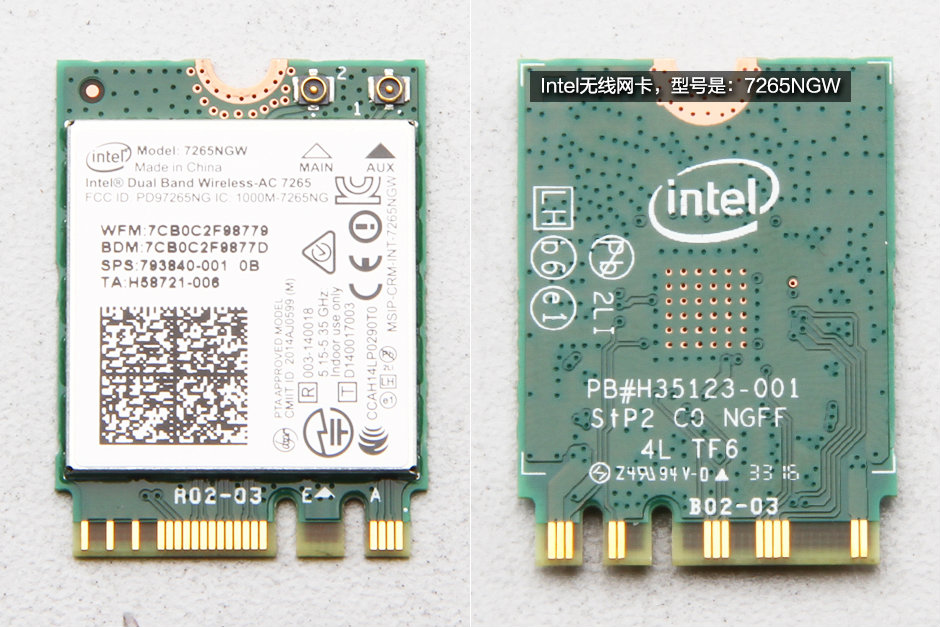
5. Removing the wireless card
Unplug two antenna cables and remove one screw securing the card. You can take out the wireless card.
The laptop features an Intel® Dual Band Wireless-AC 7265NGW card. It supports 802.11ac, 2 x 2 Wi-Fi and Bluetooth 4.o.
6. Removing the hard drive
Disconnect the SATA cable from the motherboard and remove the hard drive.
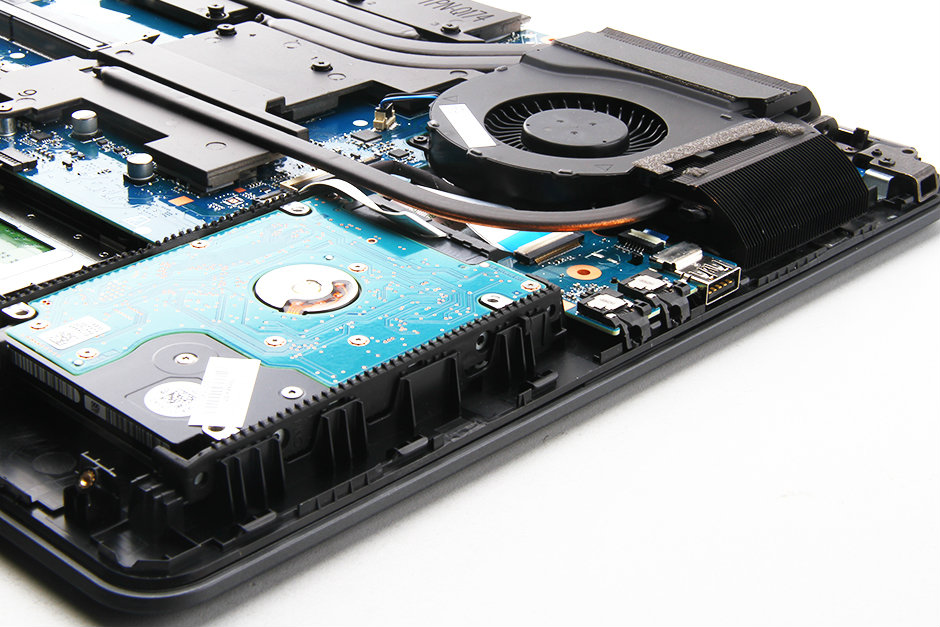
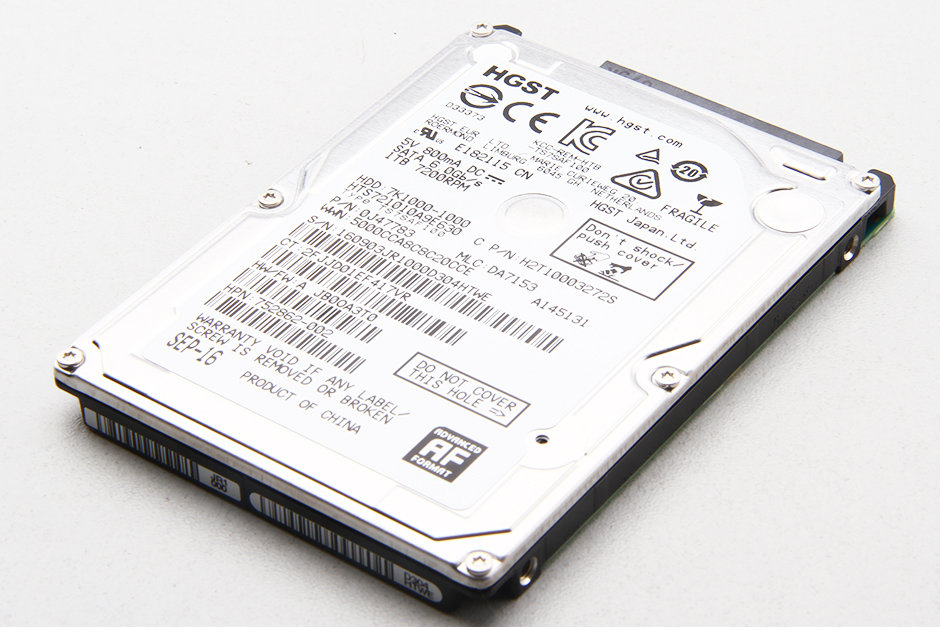
HGST 1TB 72OORPM hard drive, HP P/N: 752862-002.

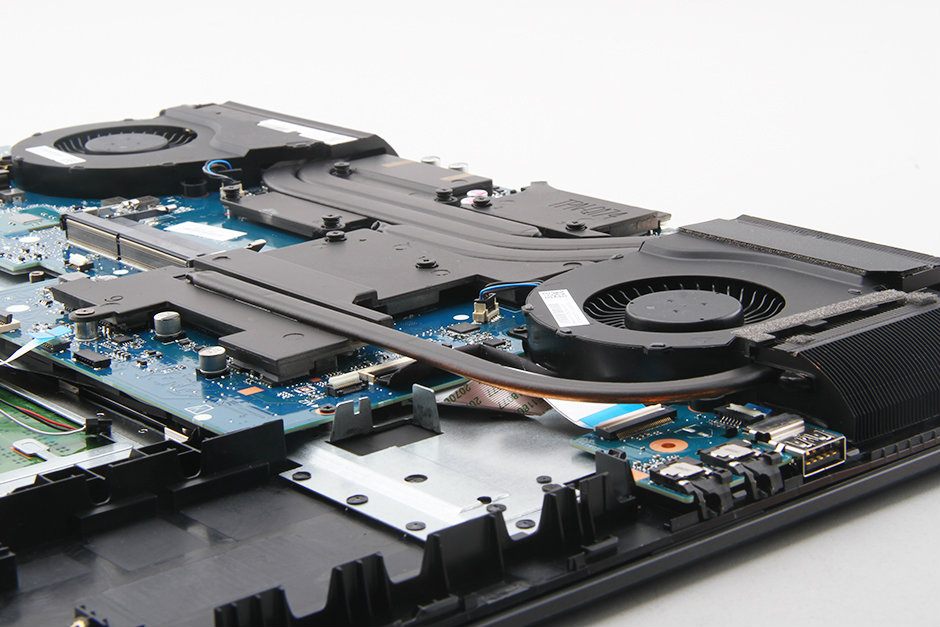
7. Removing the heat sink and cooling fan
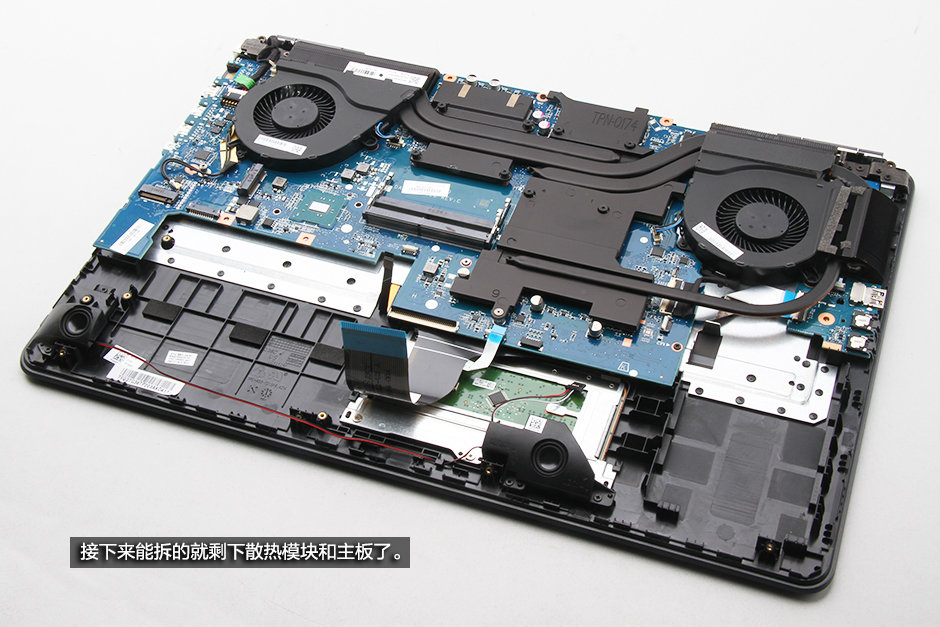
Disconnect the cooling fan cable from the motherboard.
Remove all screws securing the cooling fan to the motherboard.
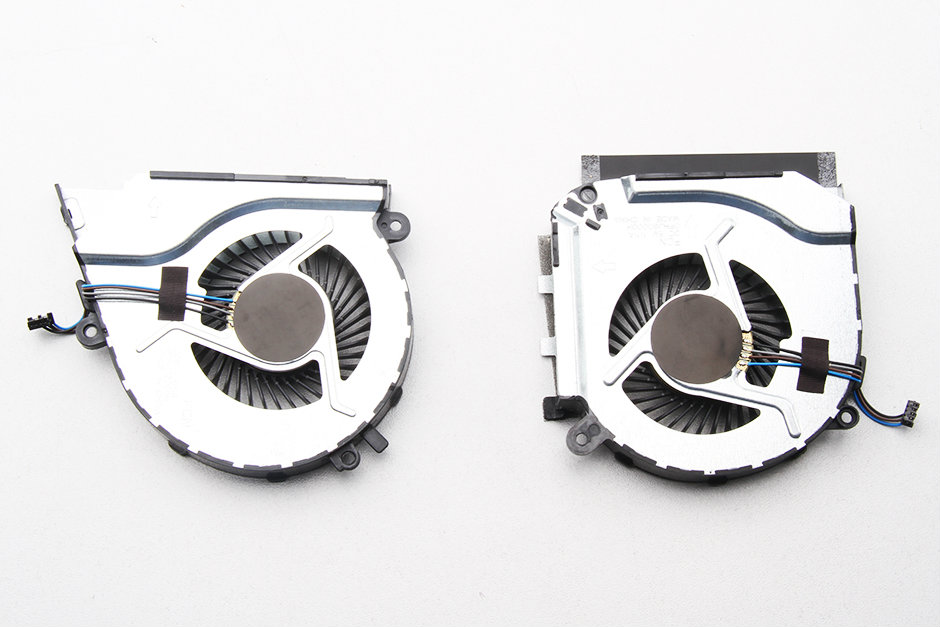
HP Omen 17-W000 GPU fan (left) and CPU fan (right).

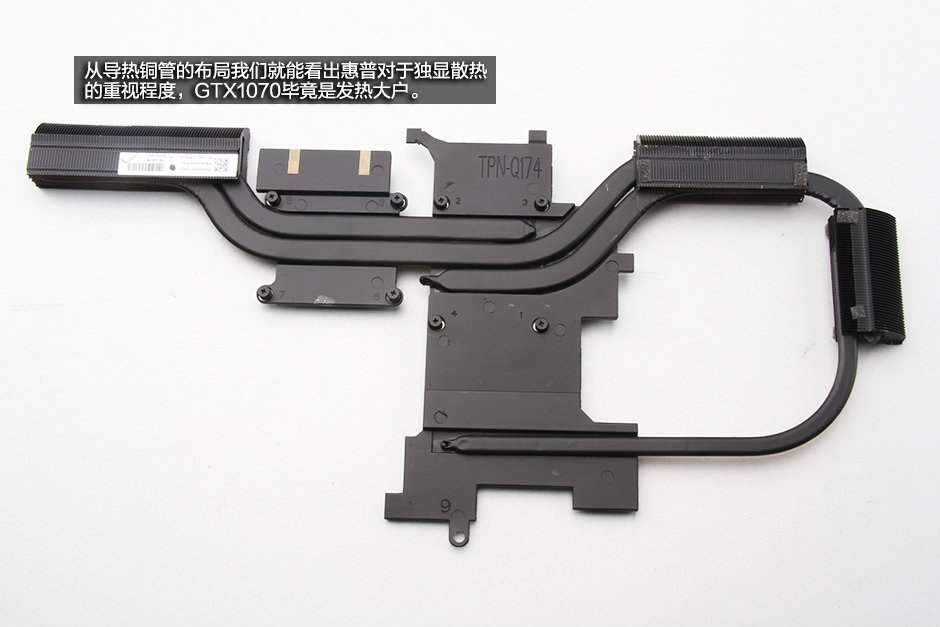
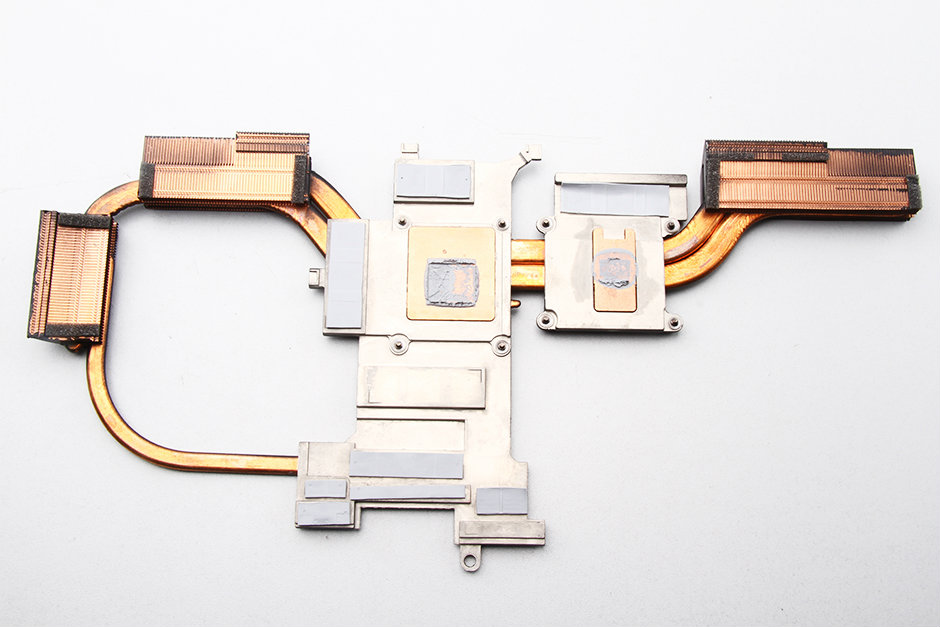
Heatsink
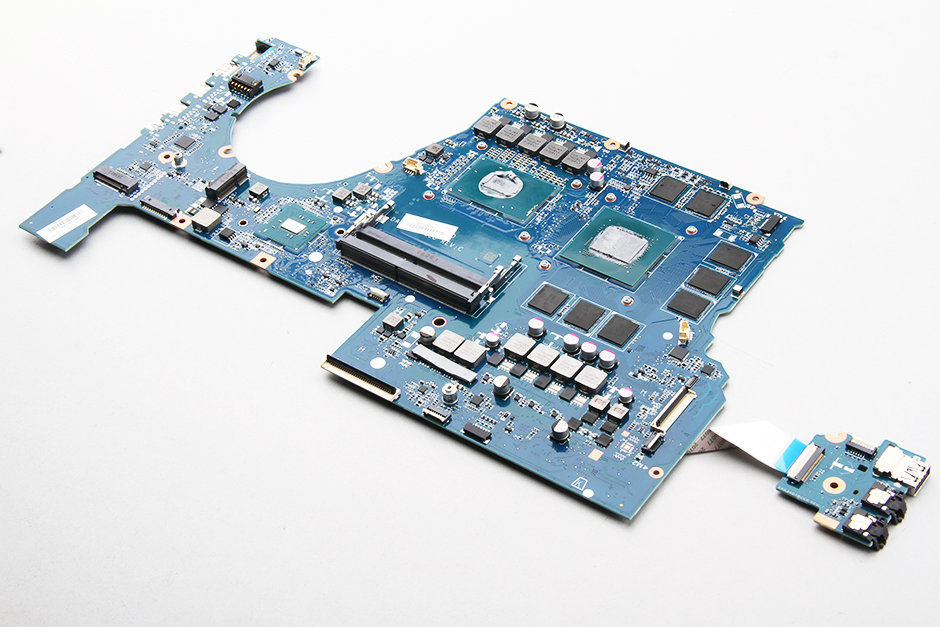
7. Removing the motherboard
Disconnect all cables from the motherboard and remove all screws securing the motherboard. You can take out the motherboard.
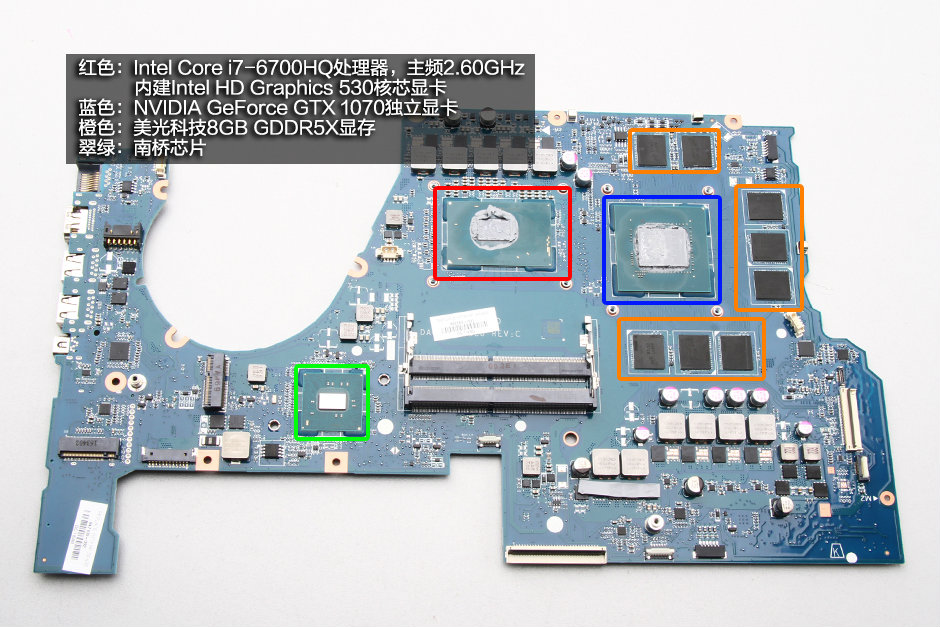
Red: Intel® Core™ i7-6700HQ 2.60 GHz Processor (6M Cache, up to 3.50 GHz), built-in Intel® HD Graphics 530
Blue: NVIDIA GeForce GTX 1070 graphics card
Orange: Micron 8GB GDDR5X video memory
Jade Green: South Bridge
Red: ITE IT8987E embedded controller
Blue: SWAP B1636 Gigabit network transformer
Orange: Realtek sound card

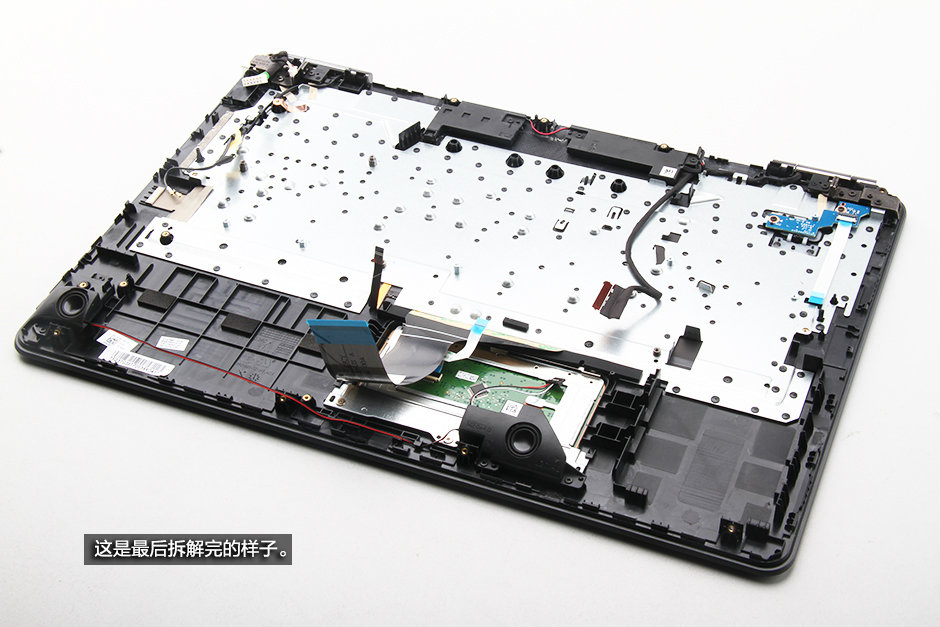
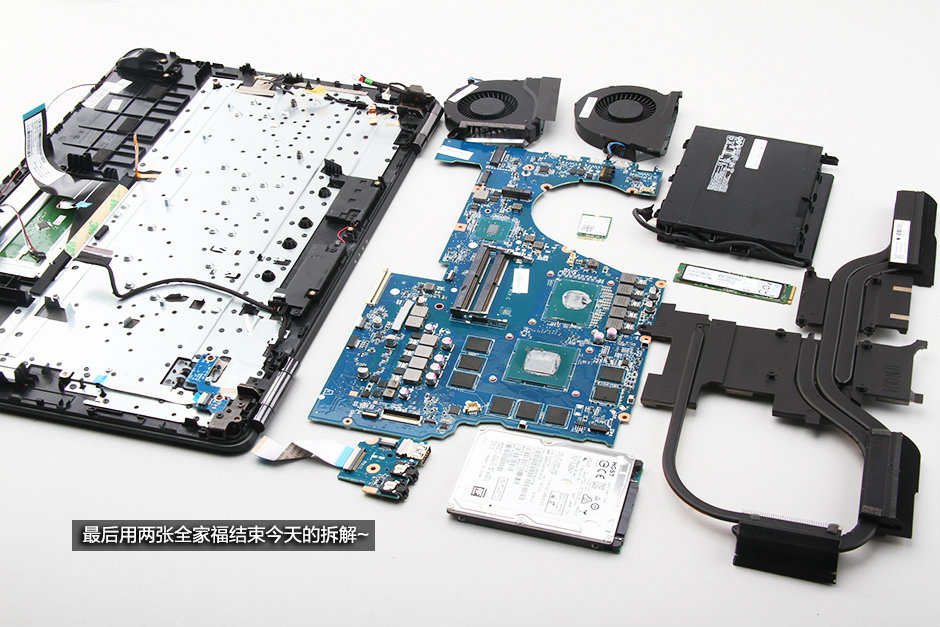
7. Removing the motherboard
With the motherboard removed, you can access the keyboard.
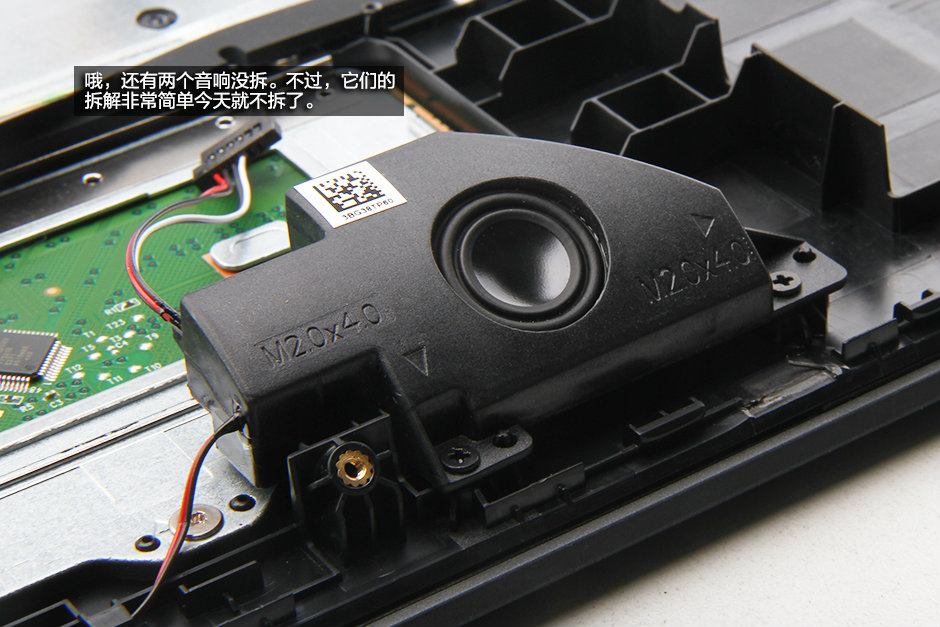
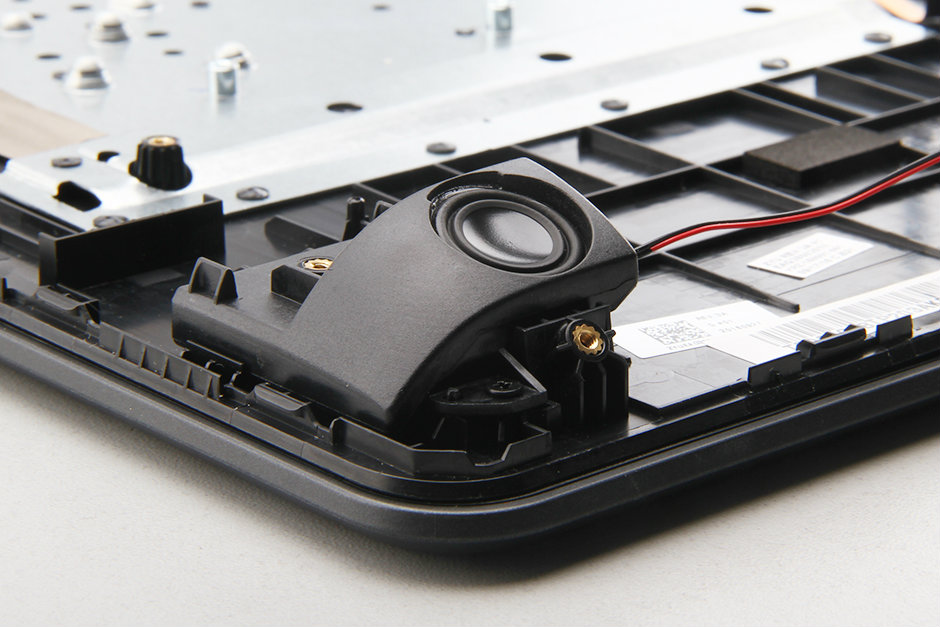
HP Omen 17-W000’s speaker module
Source: pconline

")
")


On the heatsink in your pictures I’m noticing a few marked spaces which have no thermal pad on them, should these also have thermal pads or should these stay empty?
Yes, they are should stay empty, only the heat sink that covers the CPU and GPU has thermal grease.
I was asking about Thermal Pads, thanks for the fast answer though!
Hi! I was planning on reapplying thermal grease but when I disassembled mine, I found it hard trying to separate the heat sink from the motherboard. Unscrewed all the 9 screws and it still won’t budge. Any tips for anything I might have missed?
Or is it possible that the thermal grease has hardened over time and glued the heat sink to the CPU and GPU?
Hi, i was planning on upgrading the cpu, is that possible on this notebook?
How does one remove the keyboard, replace with a new keyboard and then reassemble the entire laptop? Do I need to use thermal grease when putting it back together? Are there any other areas I should clean or use grease on?