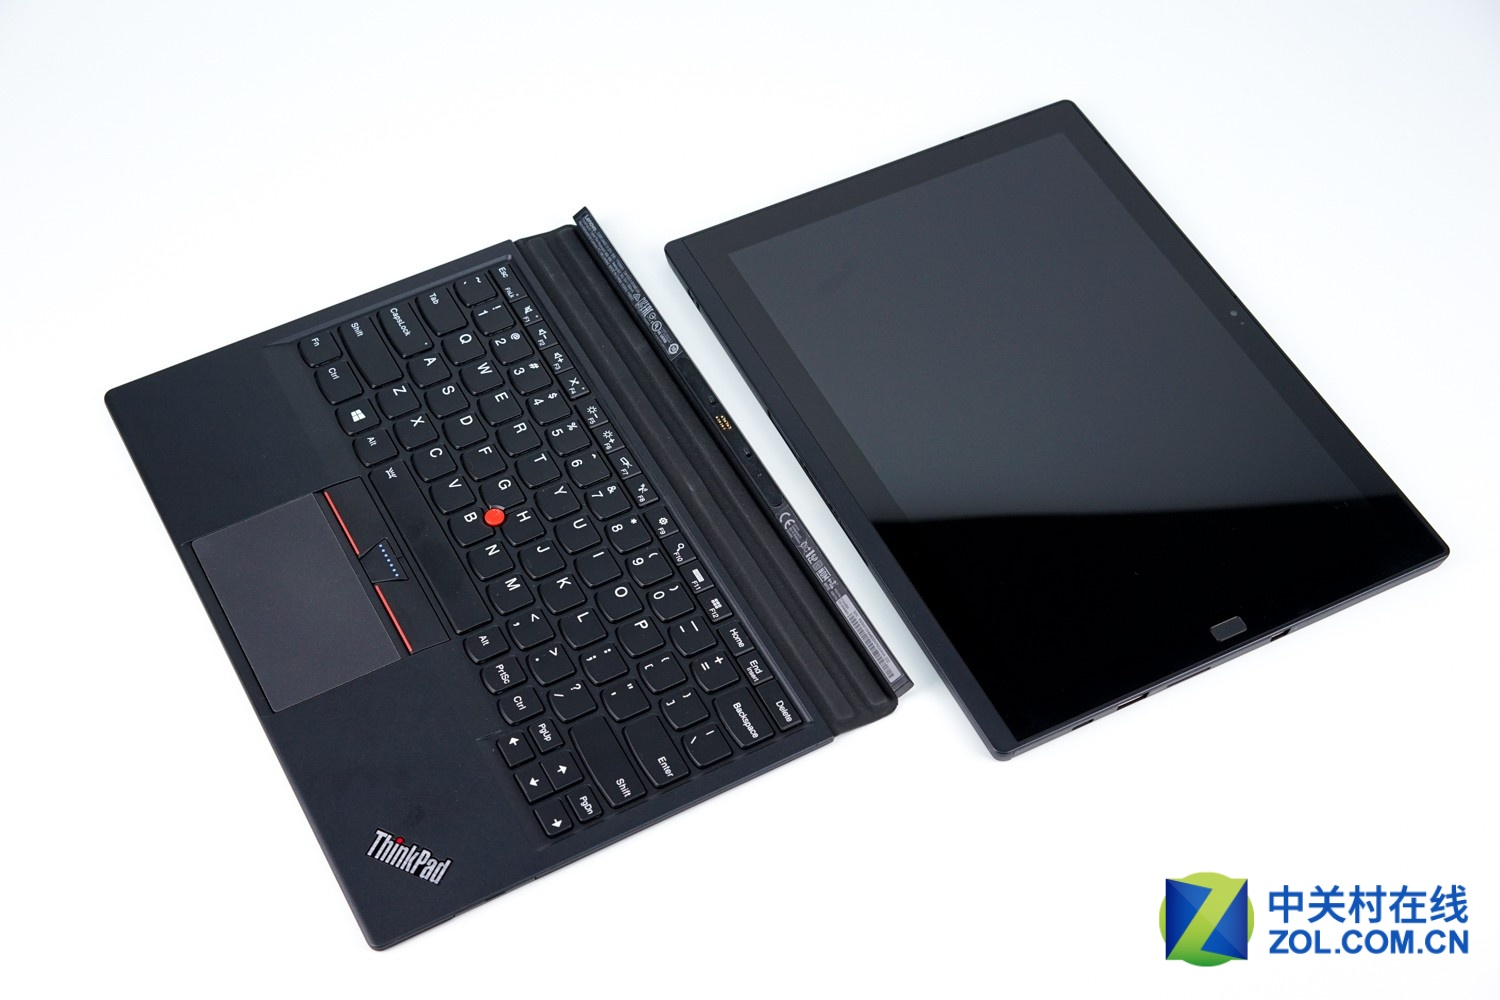
The Lenovo ThinkPad X1 Tablet features a 12 inch, 2160 x 1440 pixel display, an Intel Core M Skylake processor, a USB Type-C port, and support for an optional keyboard dock and optional digital pen.
The tablet weighs less than 1.8 pounds. Add the keyboard, and the combined weight comes to about 2.4 pounds, making the ThinkPad X1 a pretty compact alternative to an ultrabook. The modules will add a little weight.
The ThinkPad X1 Tablet has a 2160 x 1440 pixel display, USB Type-C support, optional 4G LTE-Advanced, up to 16GB of RAM, and up to 1TB of storage. Since the tablet has a low-power Core M processor, it also features a fanless design.

Turn the tablet over and face down.
Open the stand and you can find a screw cover.

Remove the screw cover. And then remove the screw.
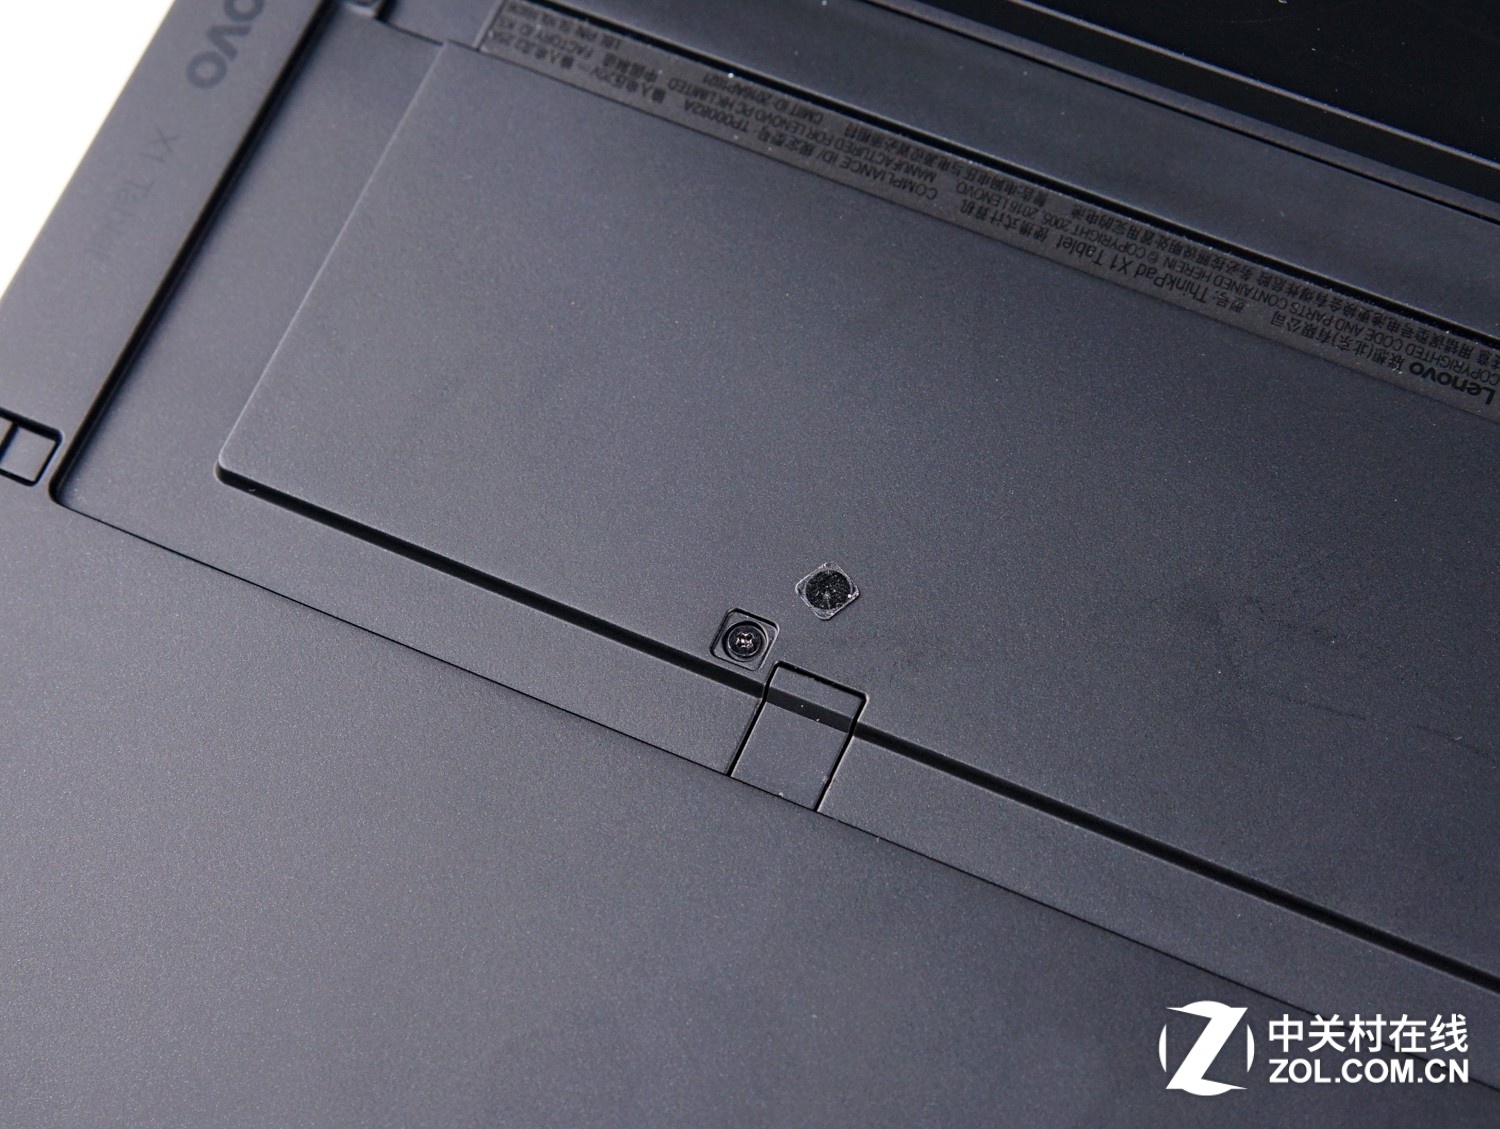
There are two screws securing the bottom cover to the tablet.
Remove these two screws with a small screwdriver.
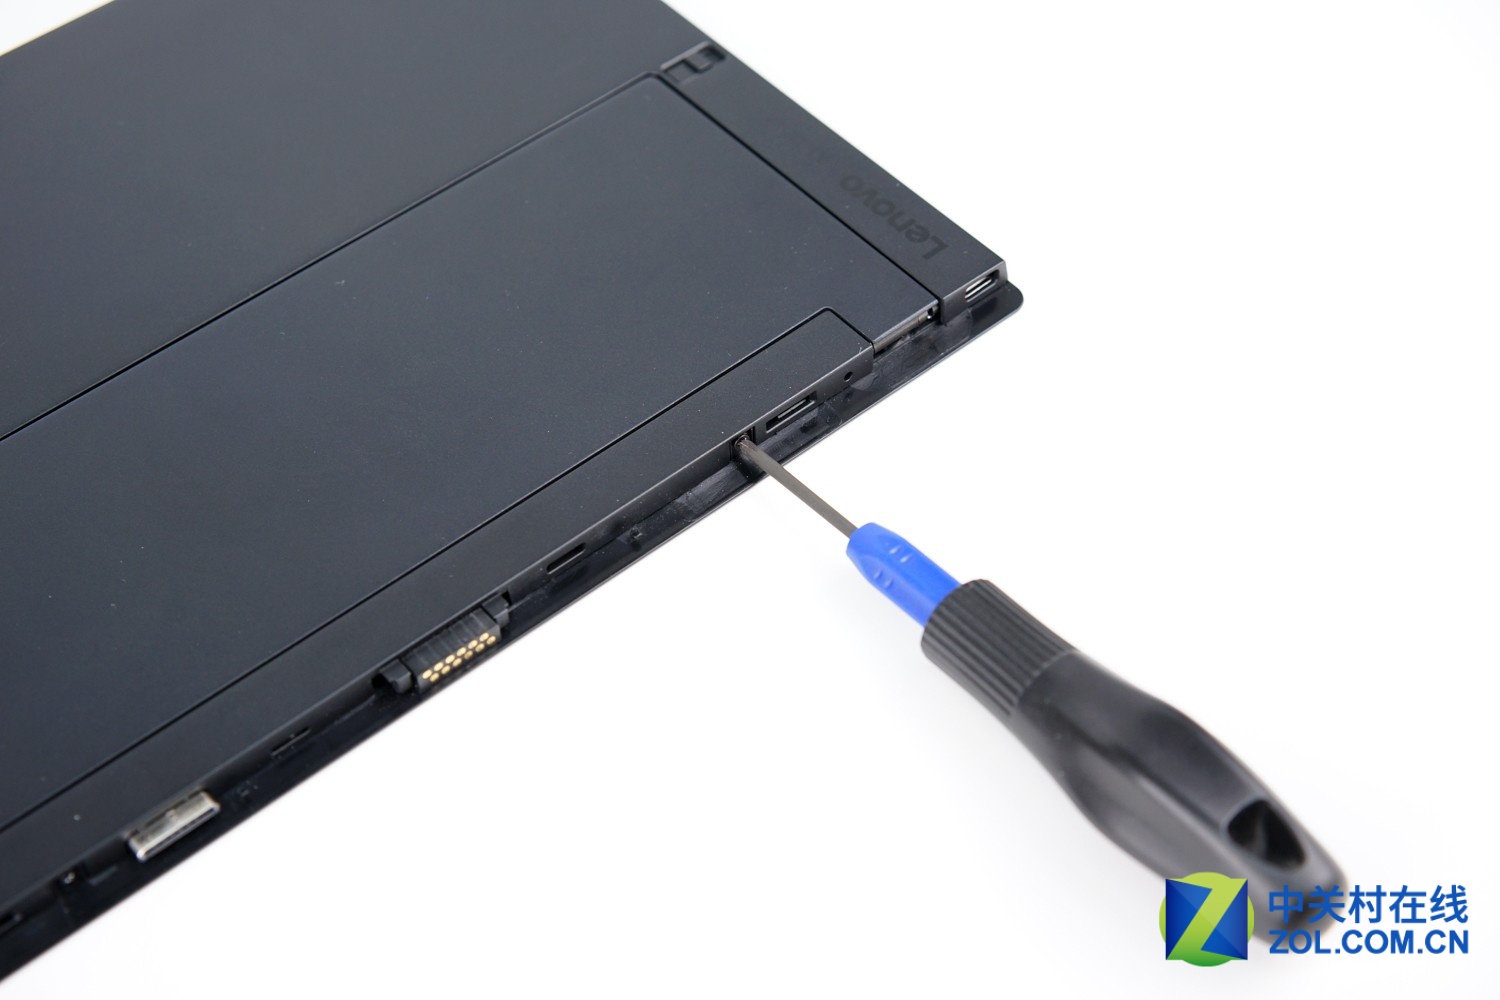
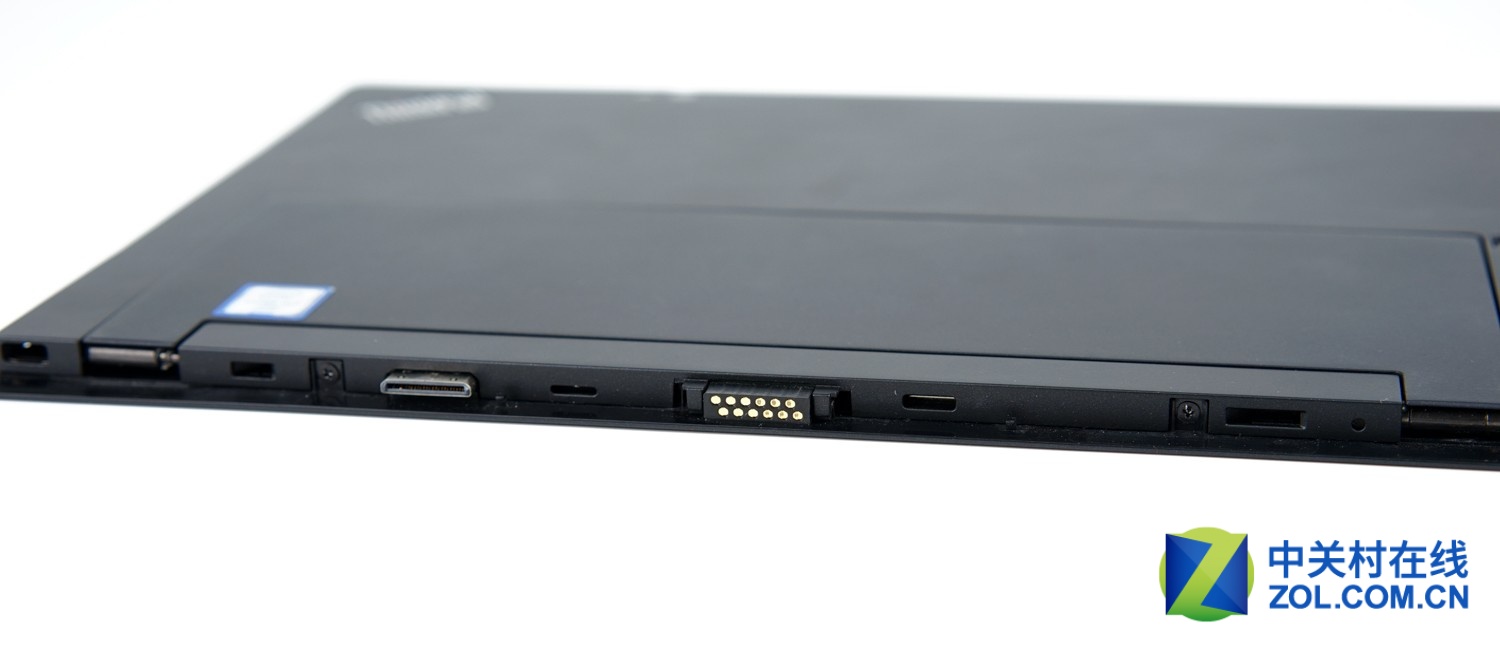
Now you can insert a crowbar between the bottom cover and the tablet body to pry up the bottom cover.

Be careful. Please do not damage the bottom cover.
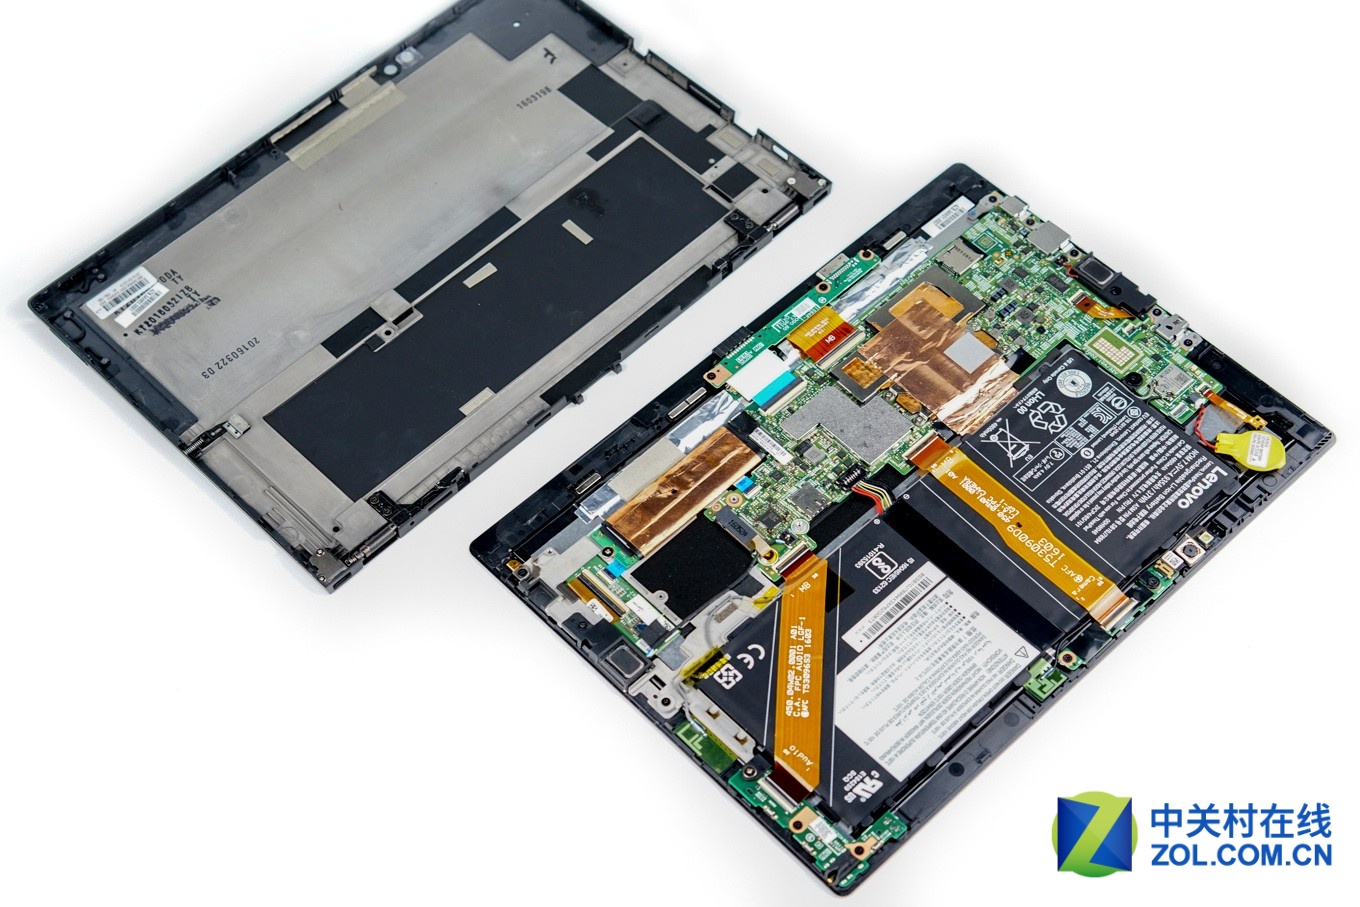
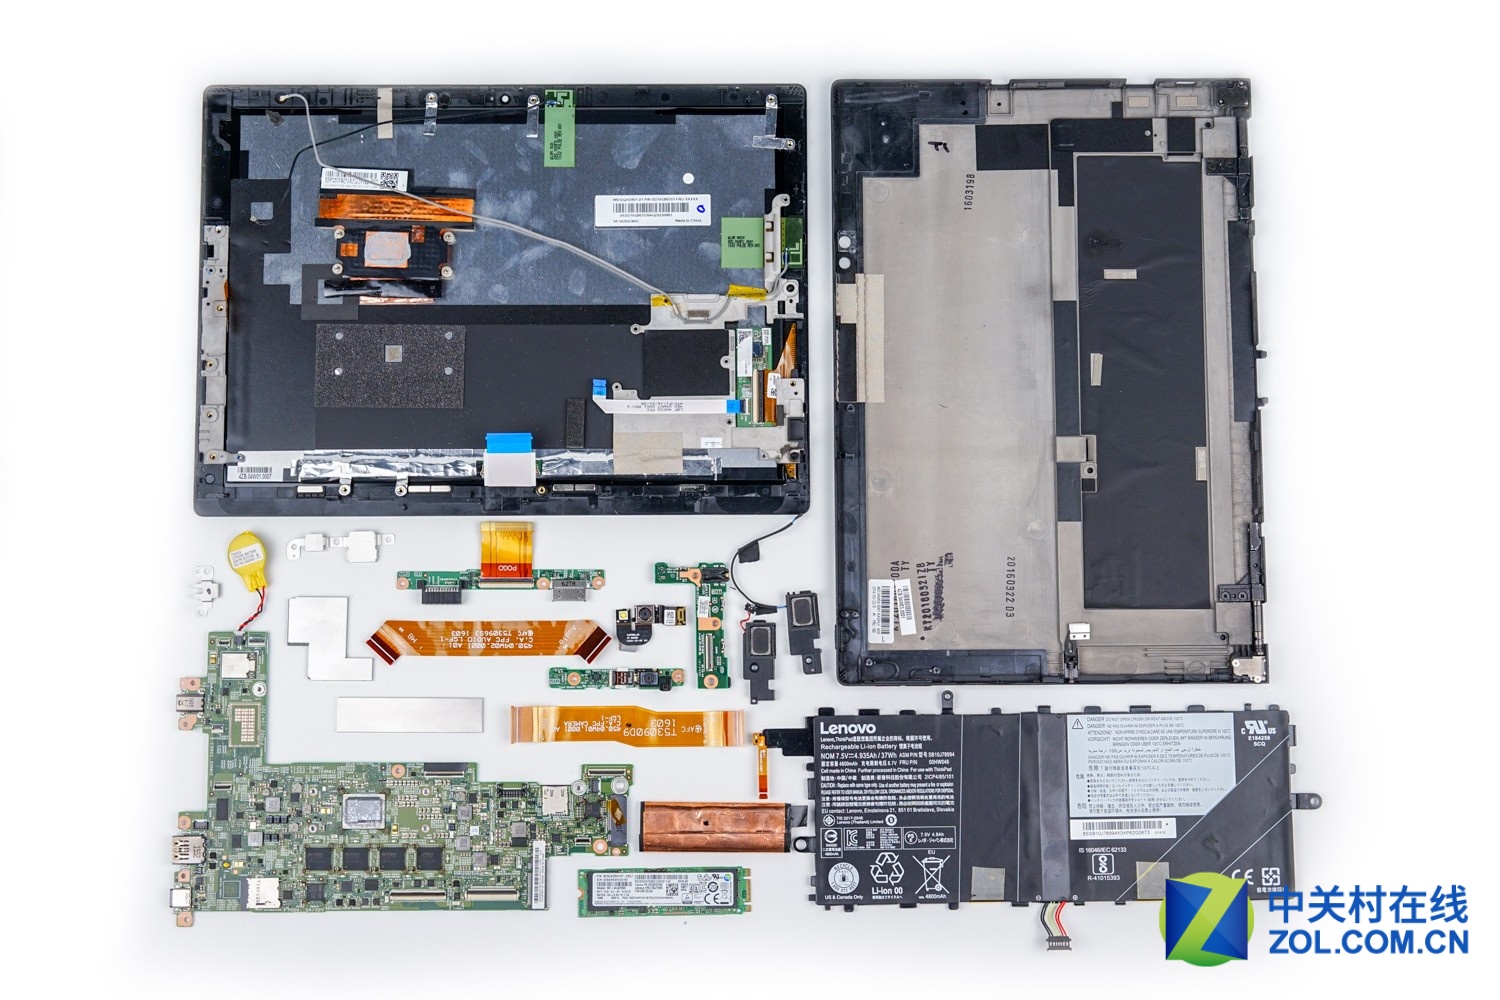
When the bottom cover was removed, you can get access to the battery, SSD, CMOS battery, speaker, wireless card and motherboard.

Before you touch any hardware, it’s a good idea to disconnect the battery first.
Disconnect the battery connector from the motherboard.
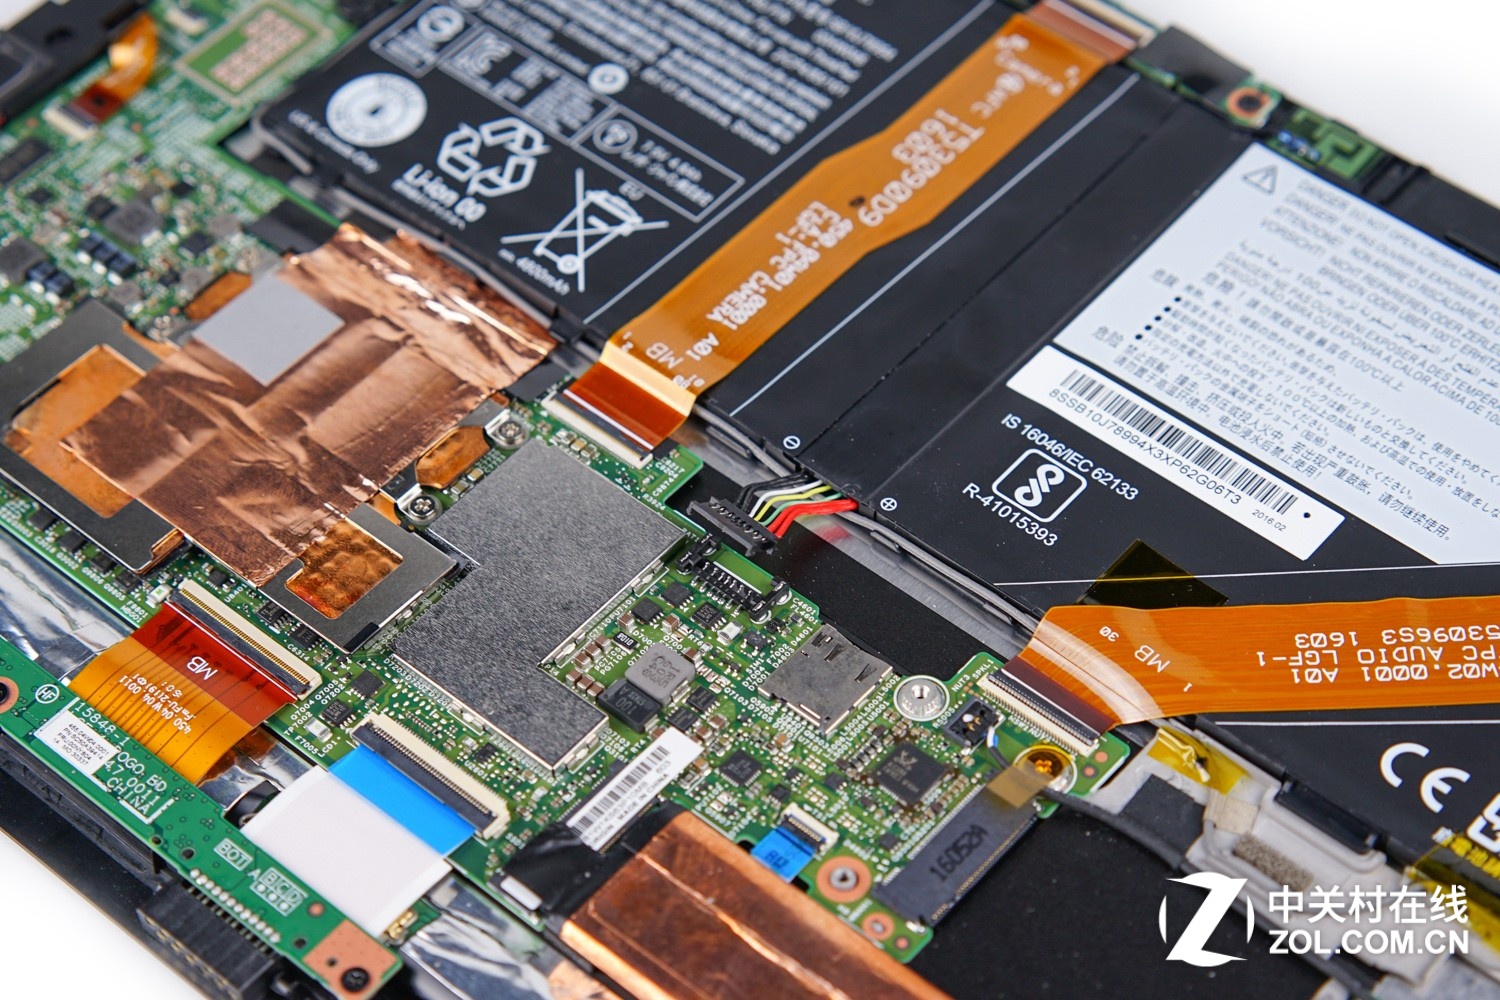
Disconnect two cables that covering the battery. One is connecting to the camera module. Another one is connecting to the I/O board.
Remove all screws that securing the motherboard.
Lift and remove the battery from the tablet.
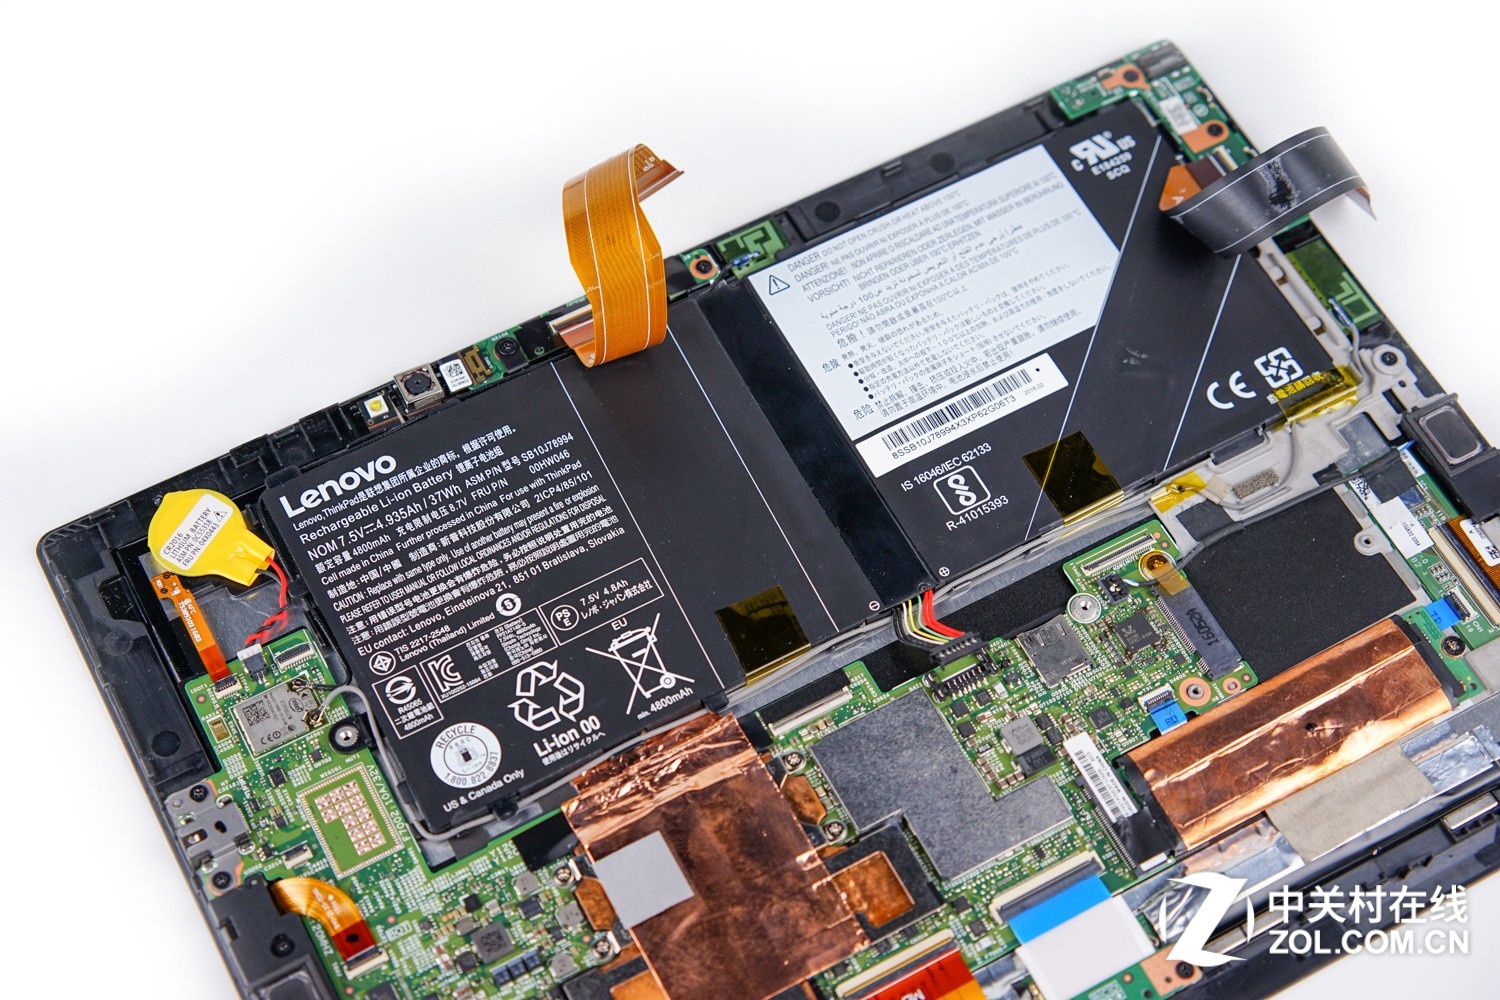
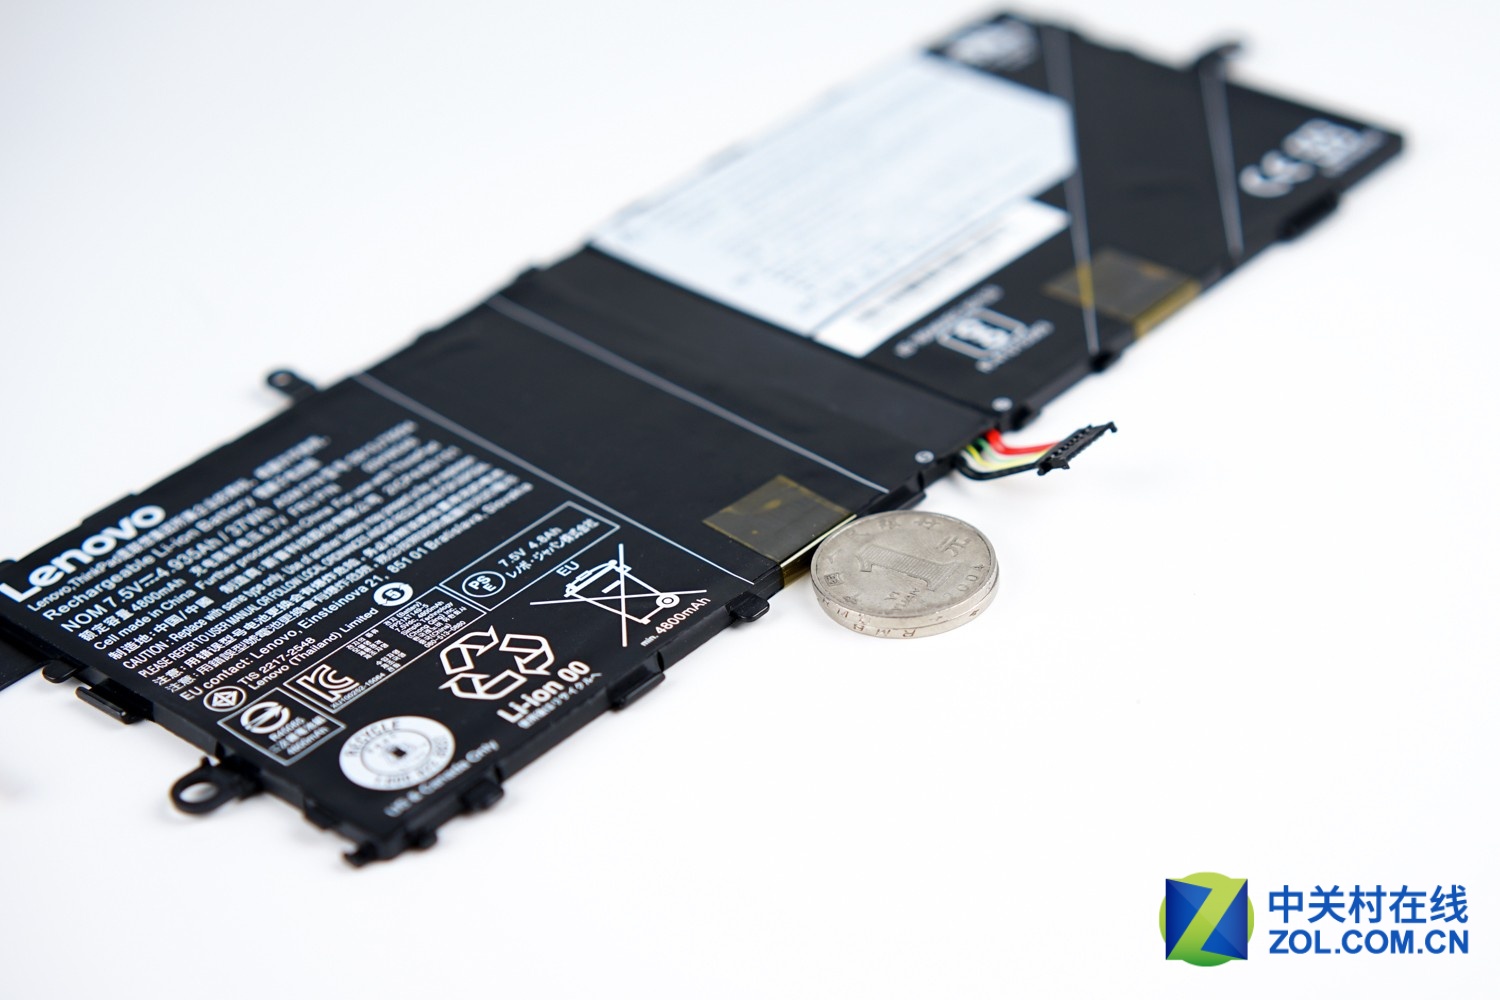
Lenovo ThinkPad X1 Tablet comes with a 7.5V 37Wh, 4800mAh Li-ion battery. Lenovo part number: SB10J78994, 00HW046.

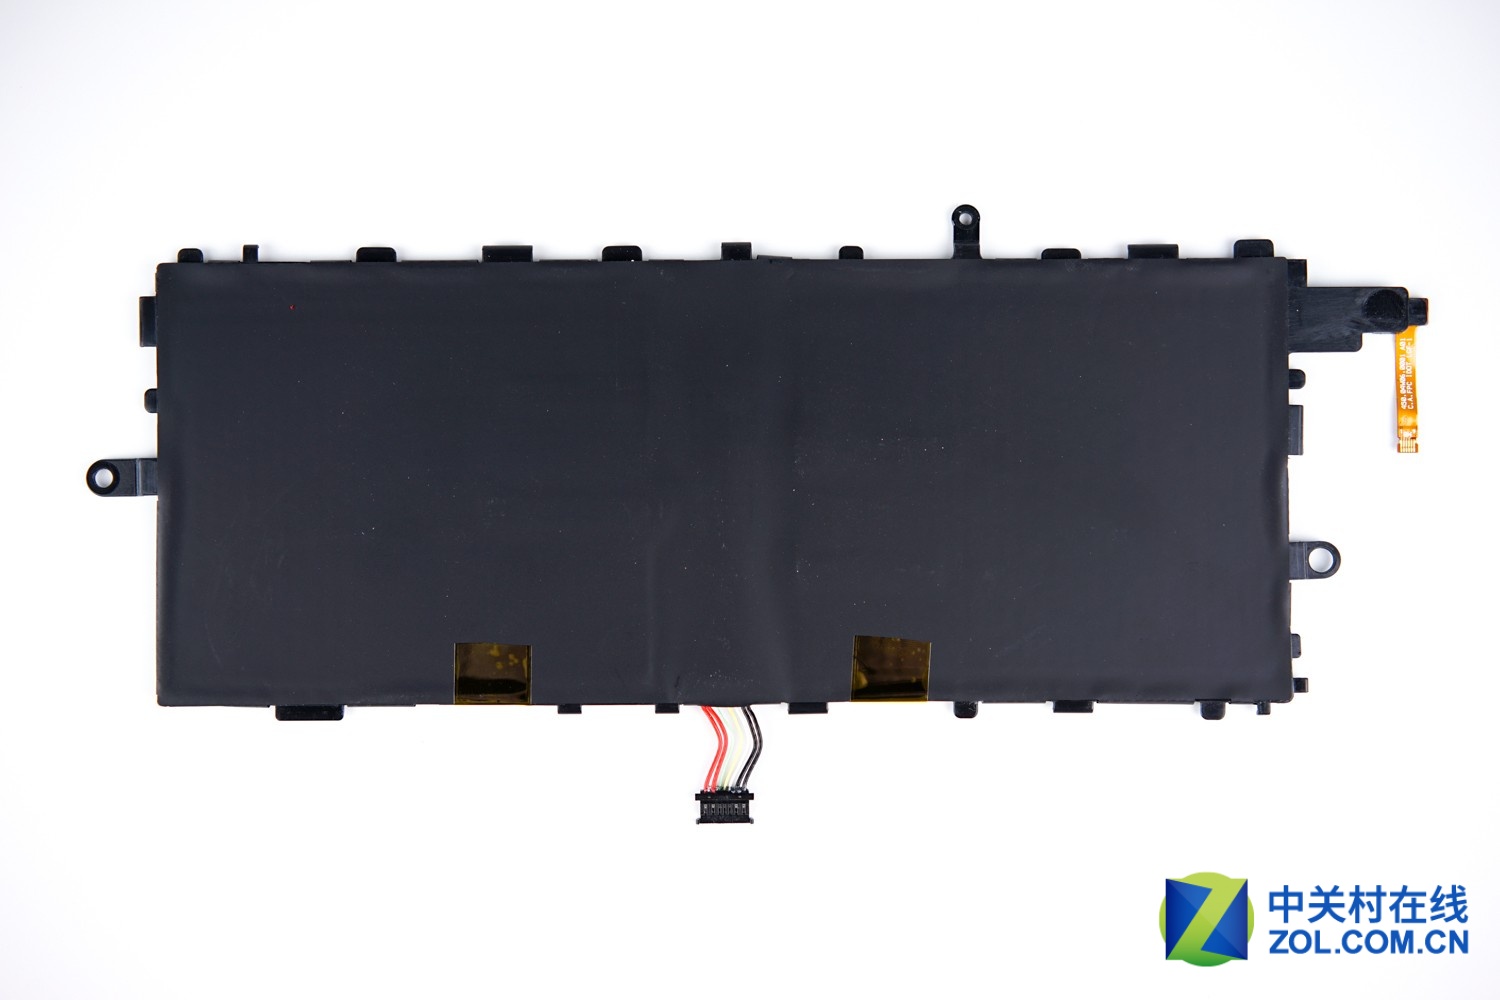
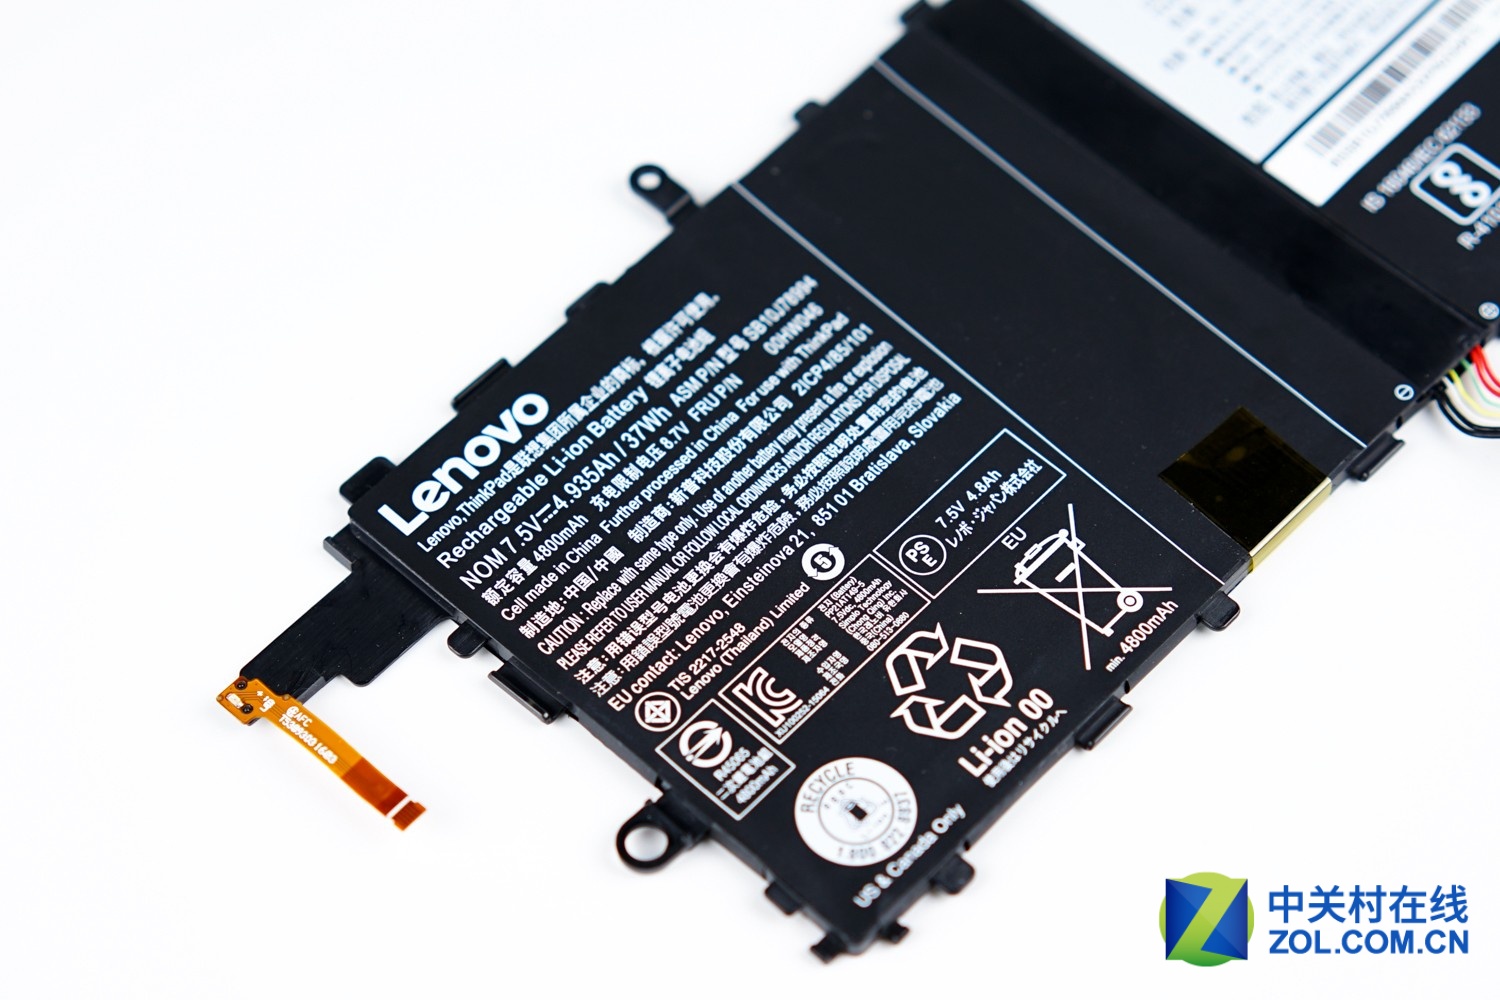
From this picture, you can see. The battery is very thin.
Remove two screws securing the camera module. You can remove it from the tablet.
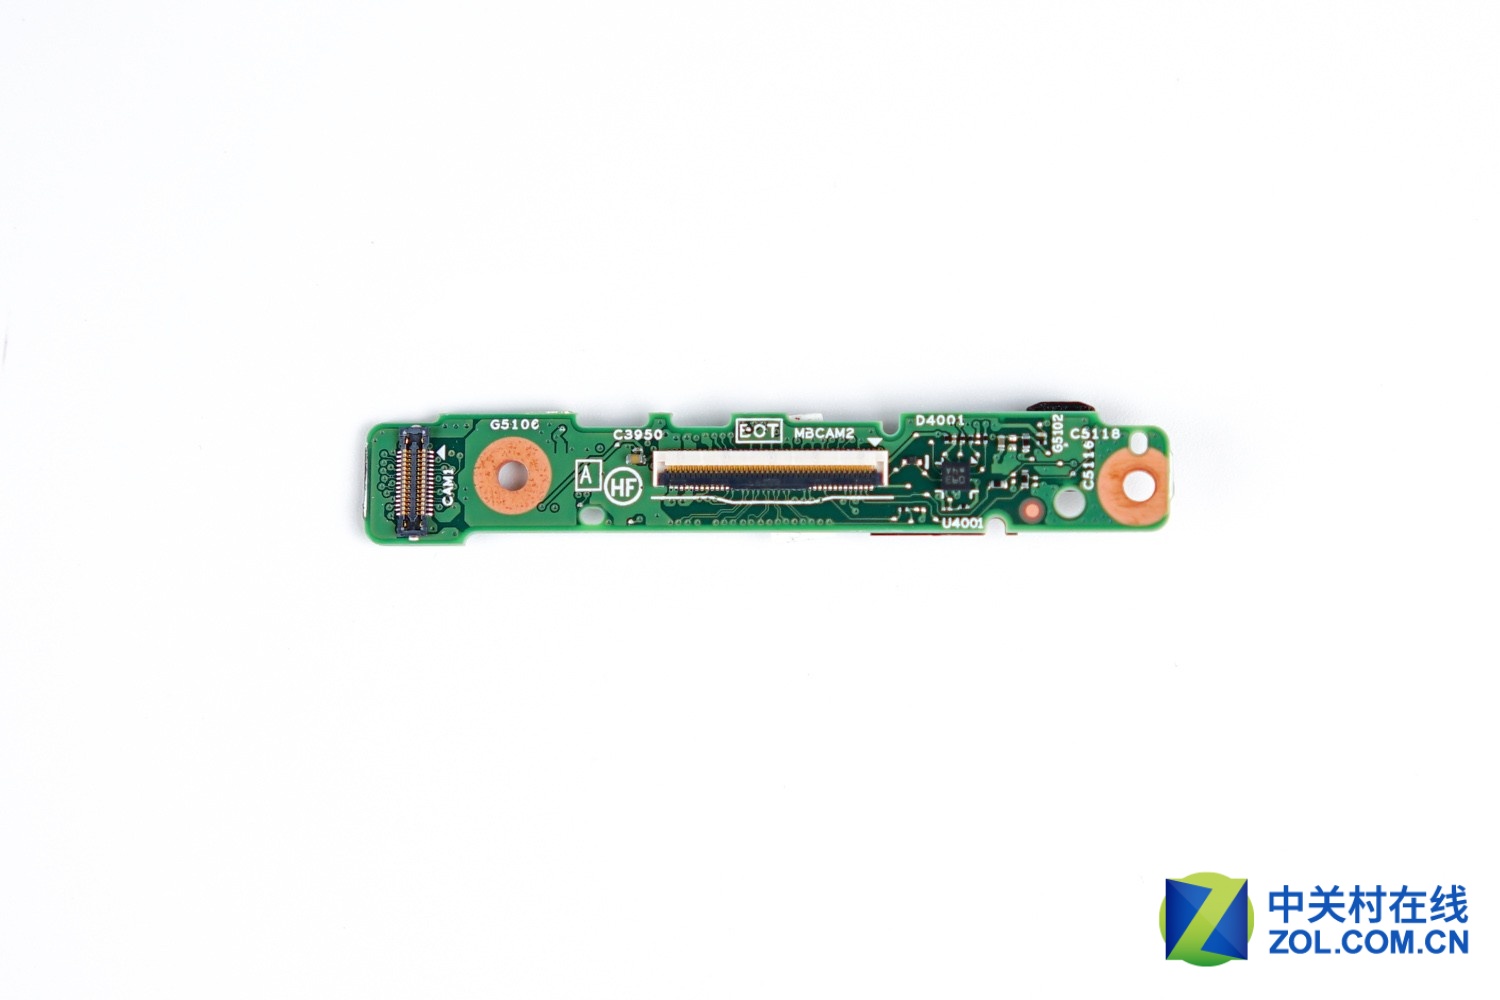

Here’s Lenovo ThinkPad X1 Tablet camera. Lenovo part number: 00HN355.

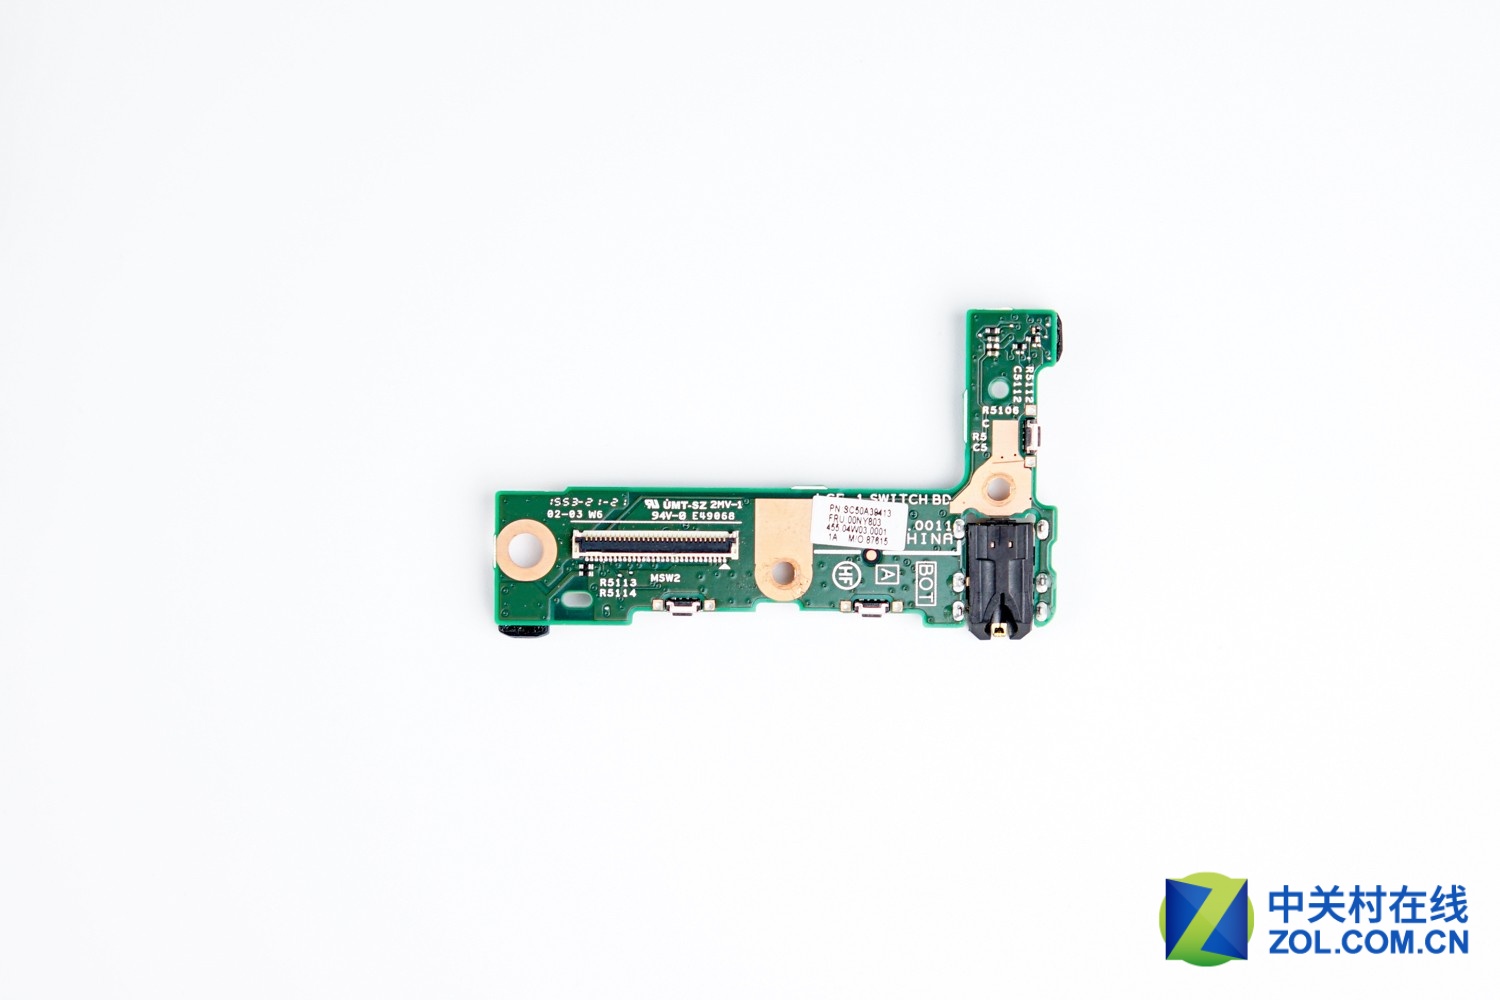
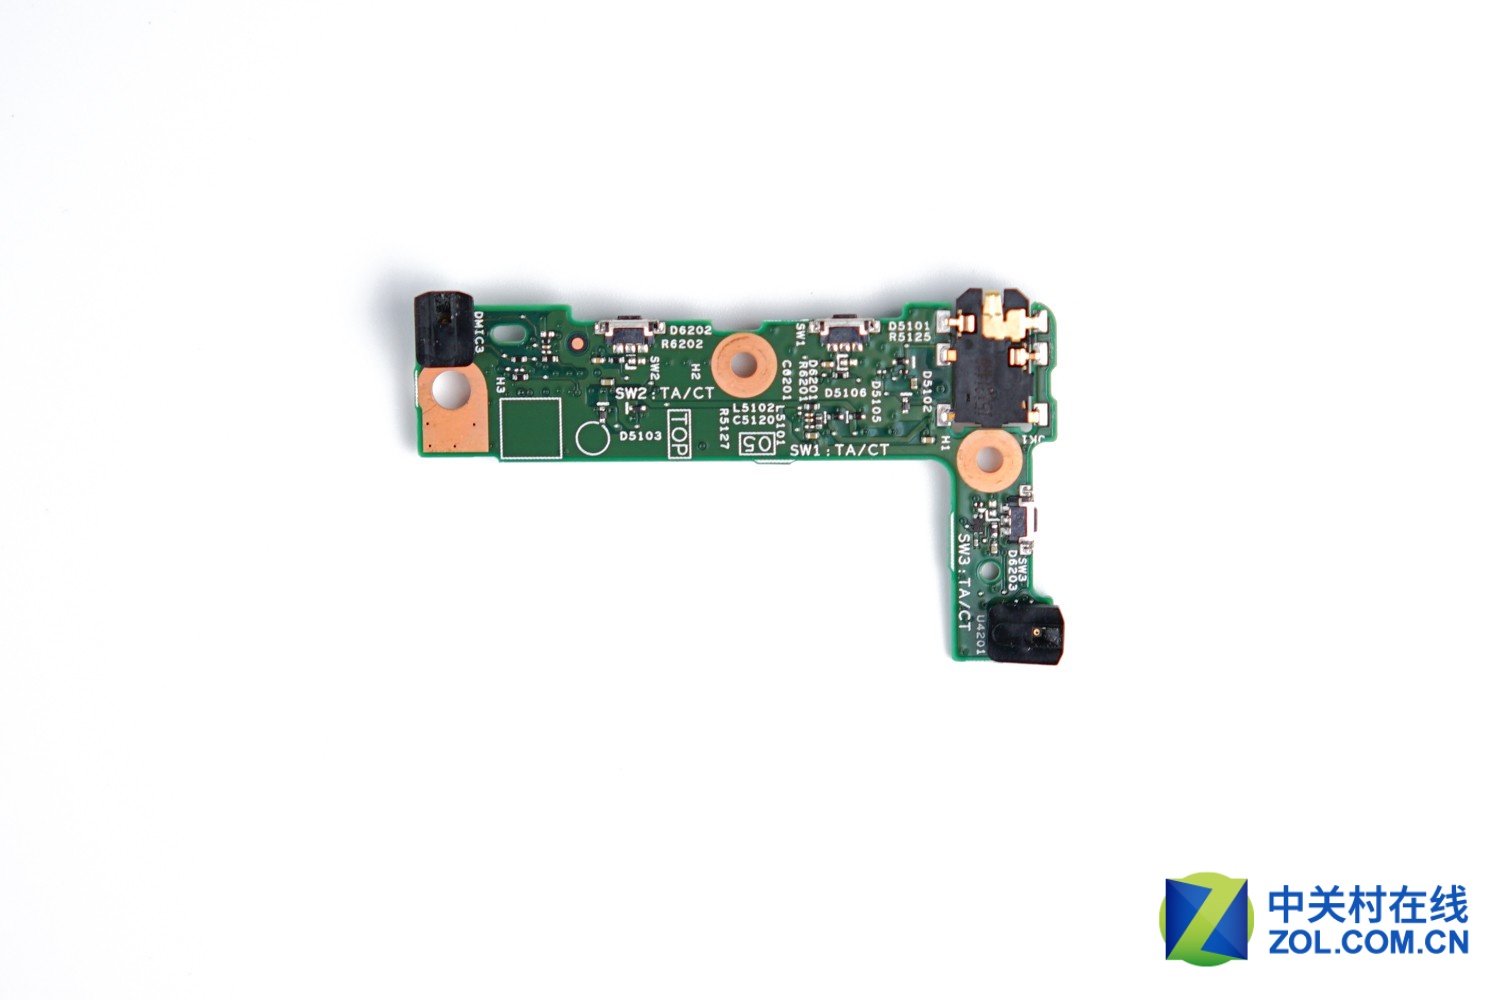
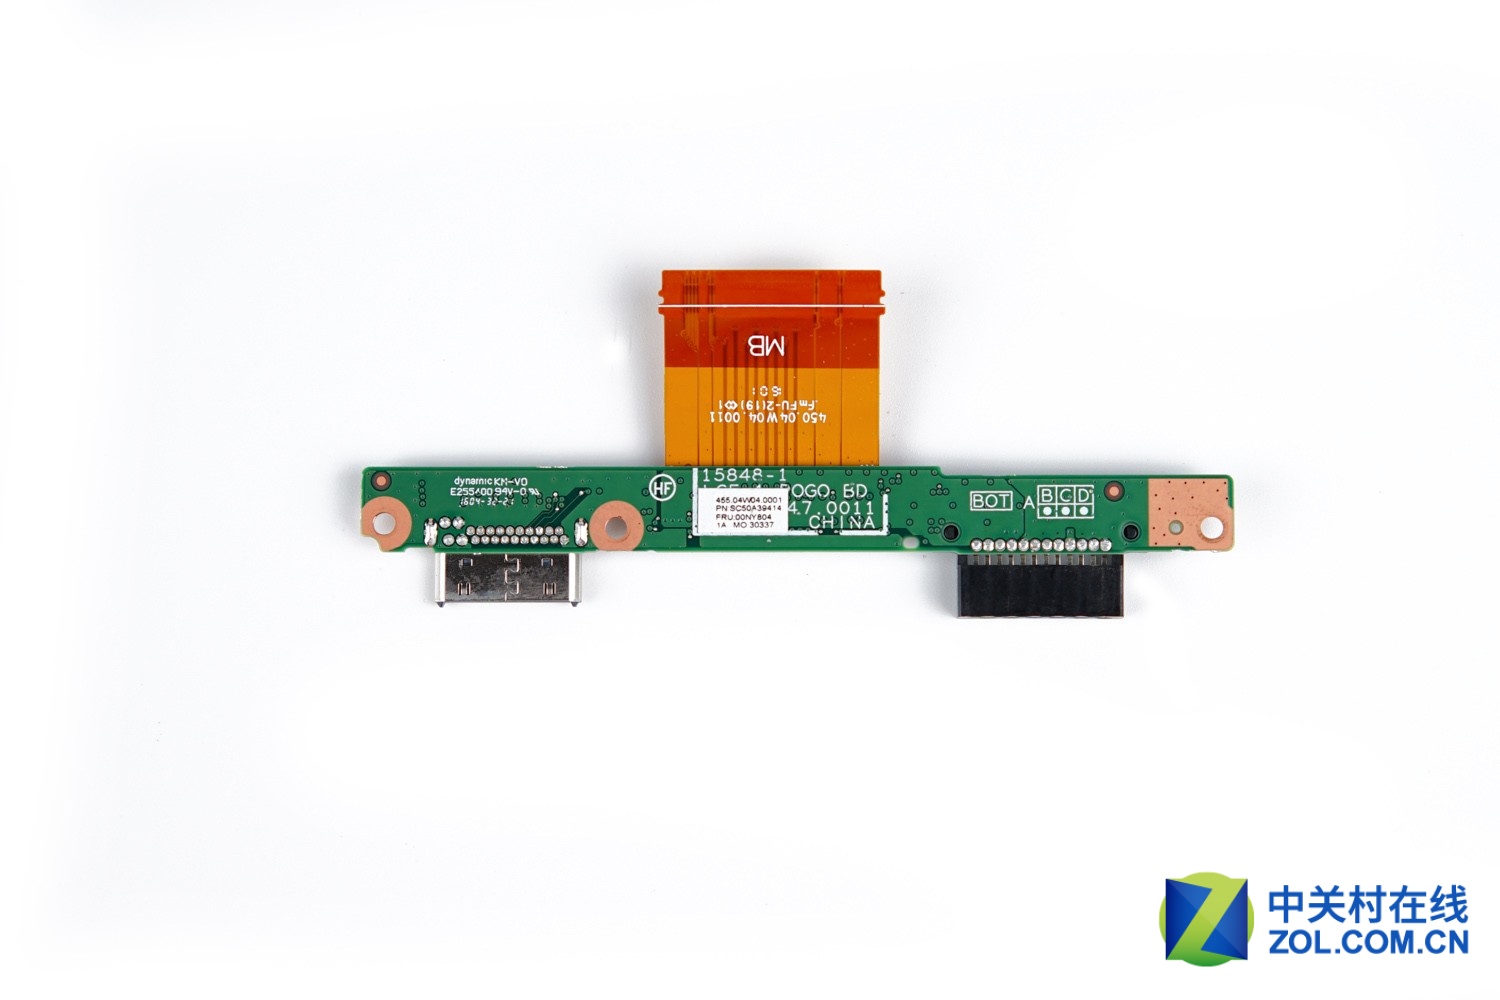
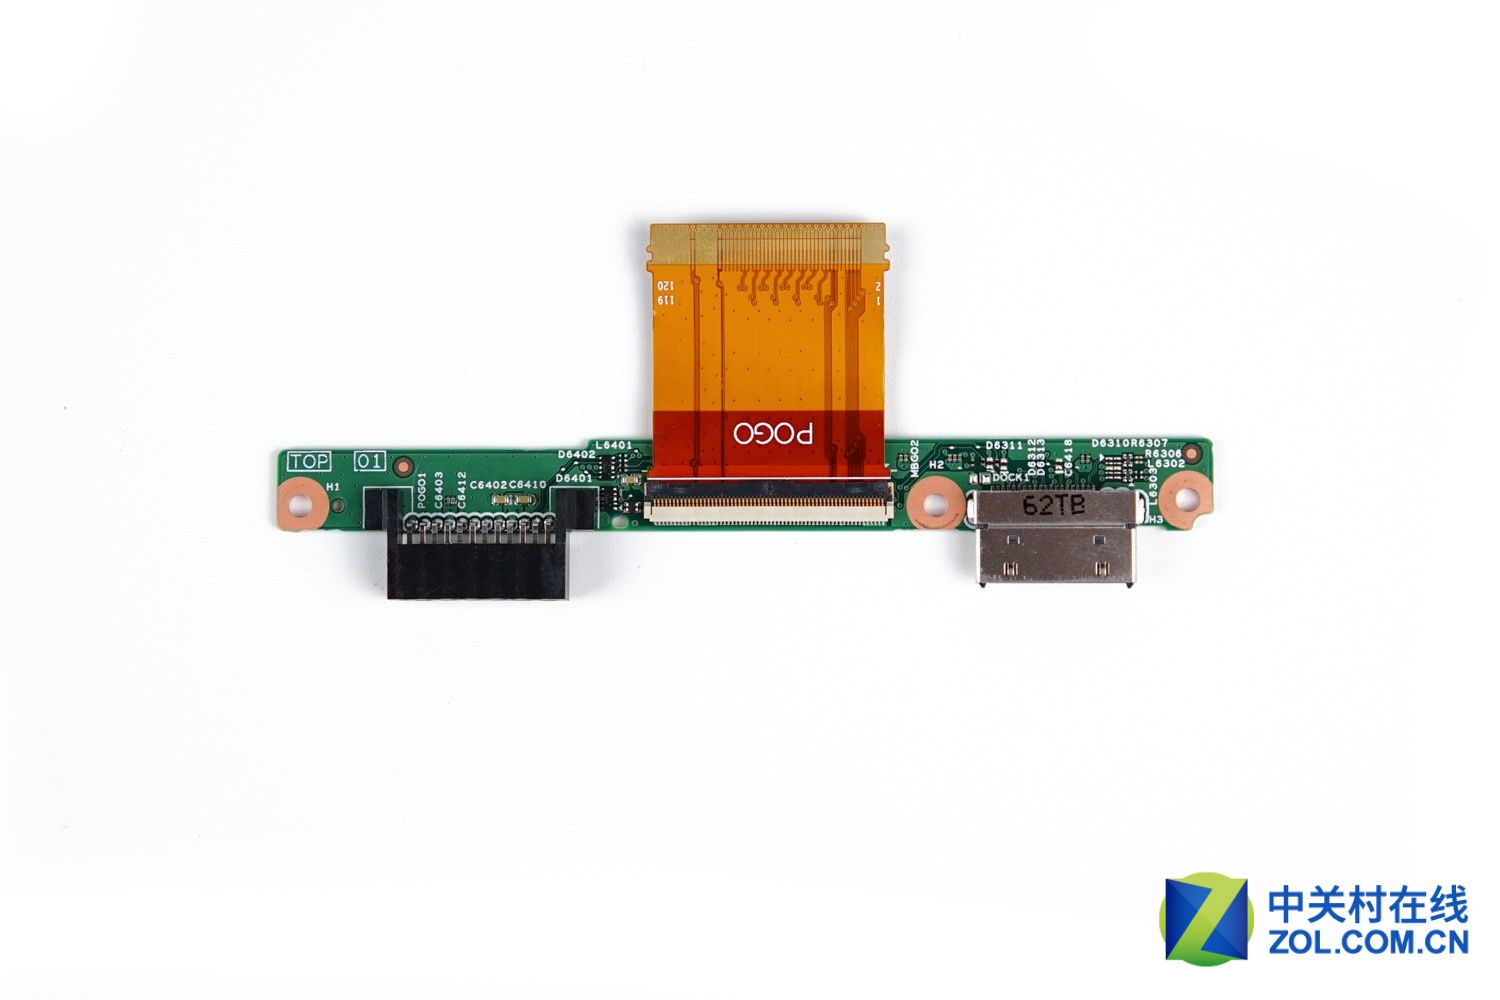
Here’s I/O board.
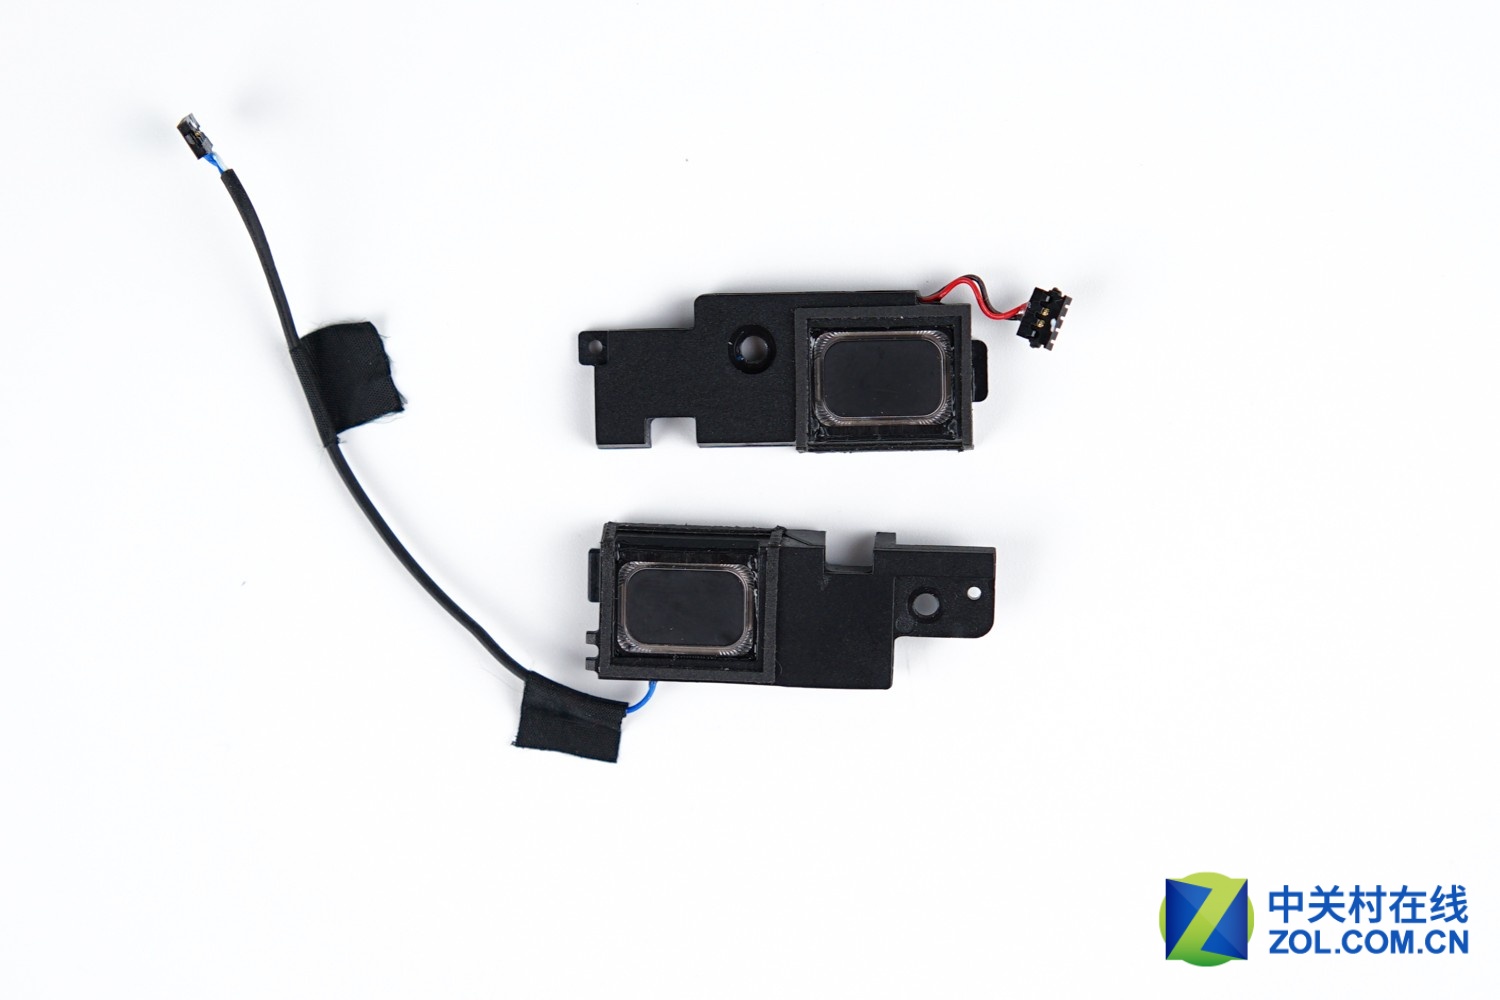
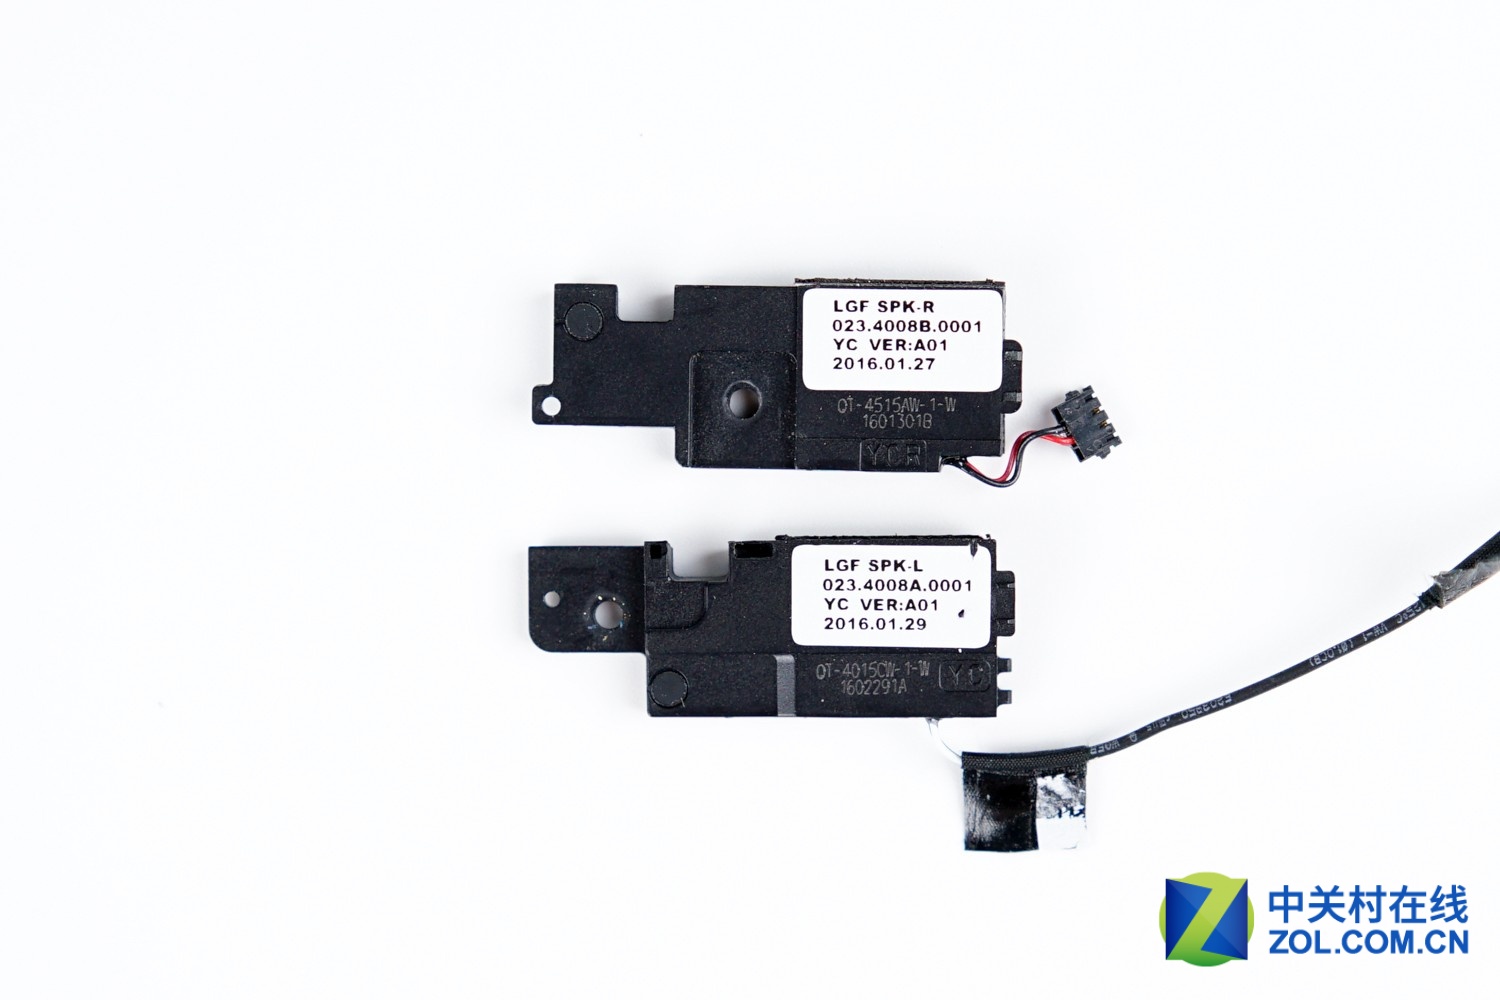
Remove two screws securing the speaker module and disconnect the speaker cables from the motherboard. You can remove the speaker from the tablet.
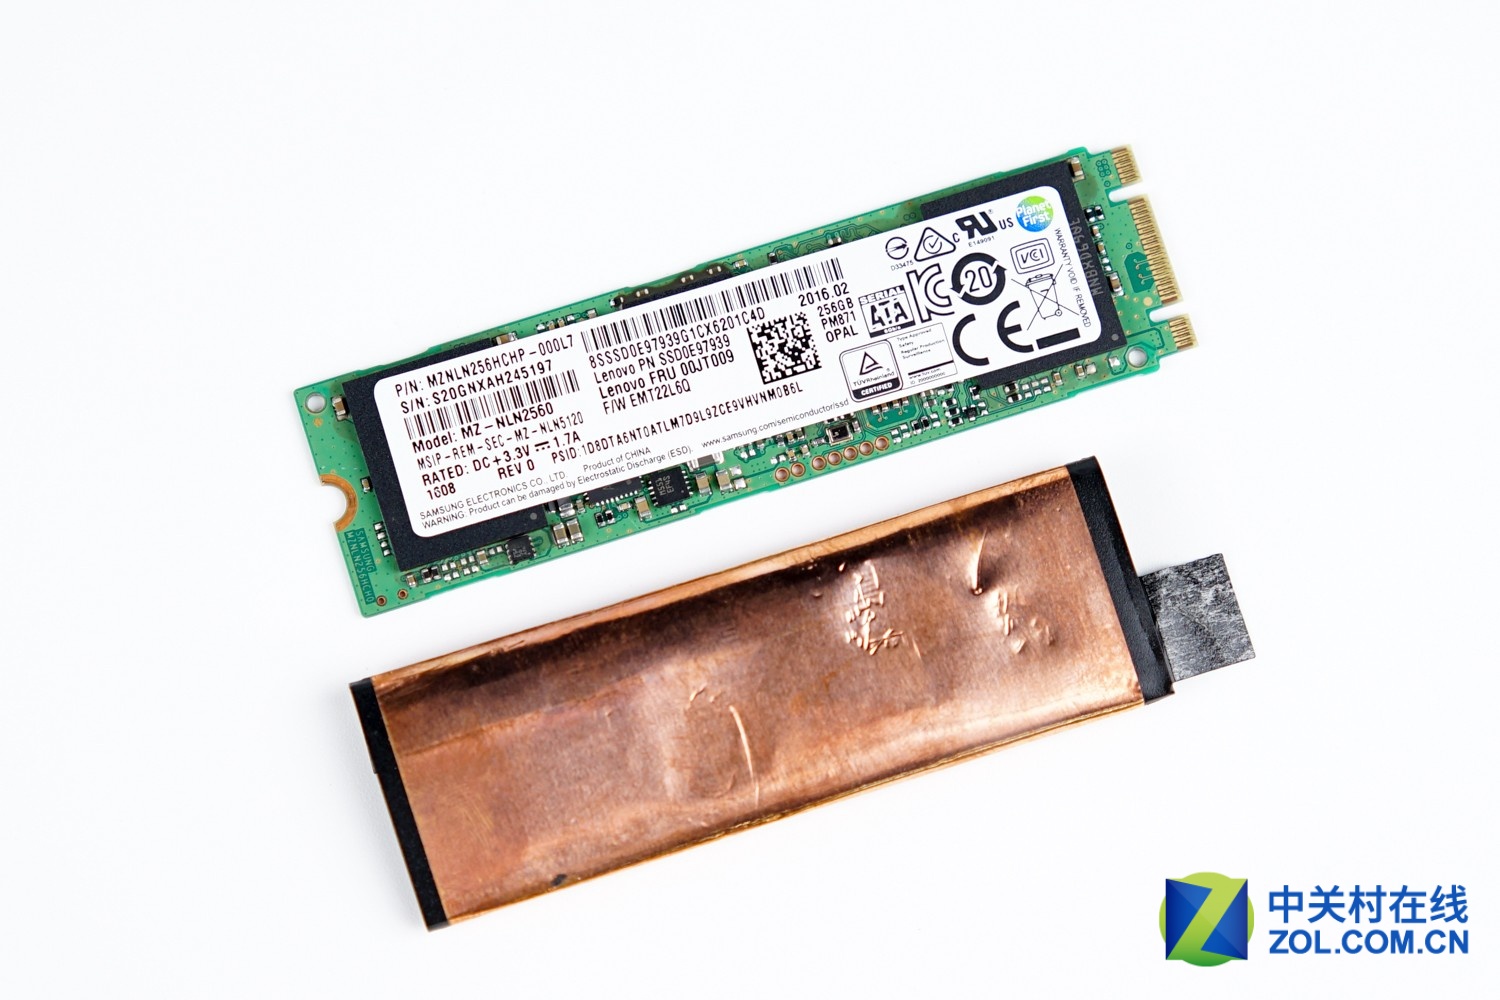
The SSD is covering with a cooling sticker.
Remove one screw and take it out of its slot.

The tablet features a Samsung MZ-NLN2560 256GB M.2 SSD. Lenovo part number: 00JT009.
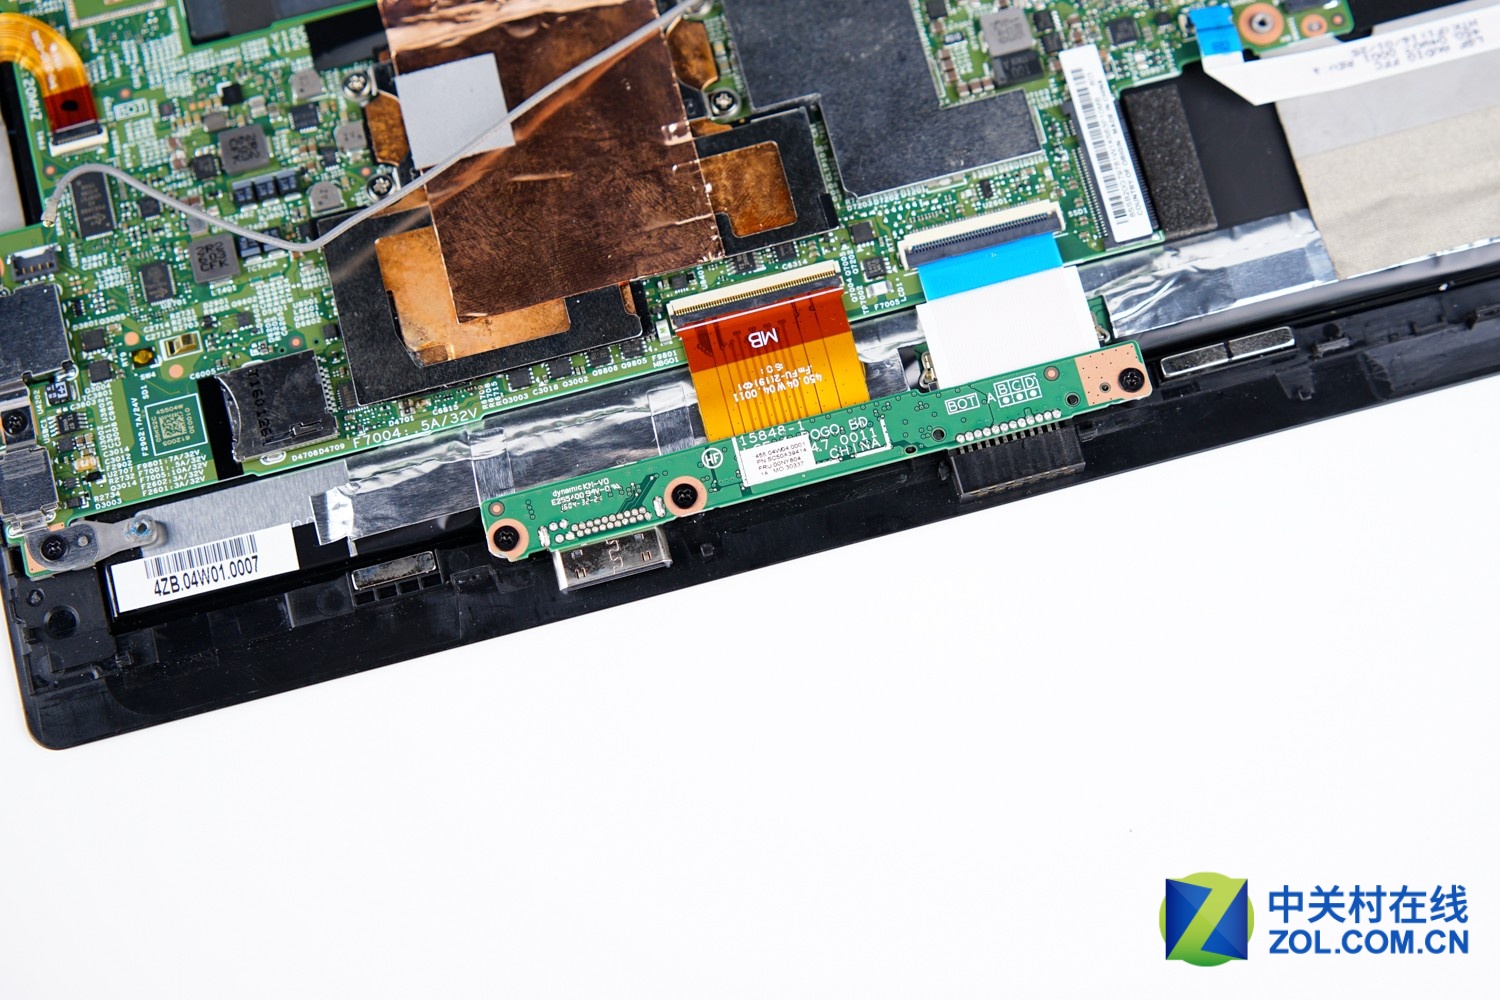
Remove three screws securing the USB board and disconnect the cable from the motherboard. You can remove the USB board.
Loosen four screws securing the heat sink. You can remove the heat sink.
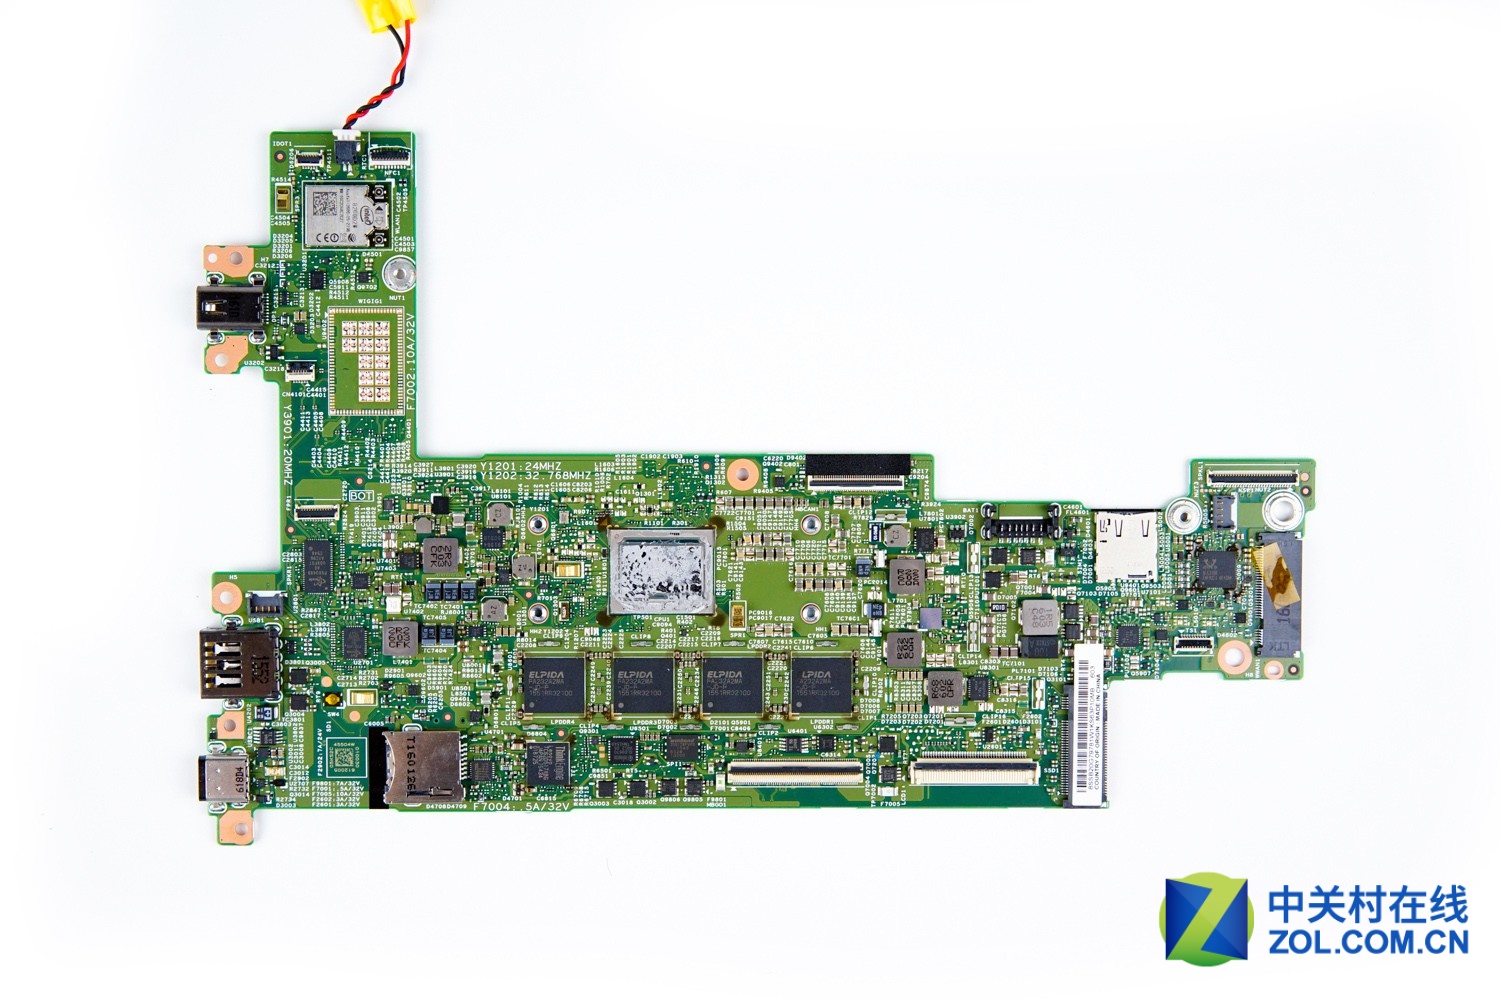
Under the heat sink are CPU and RAM chips.
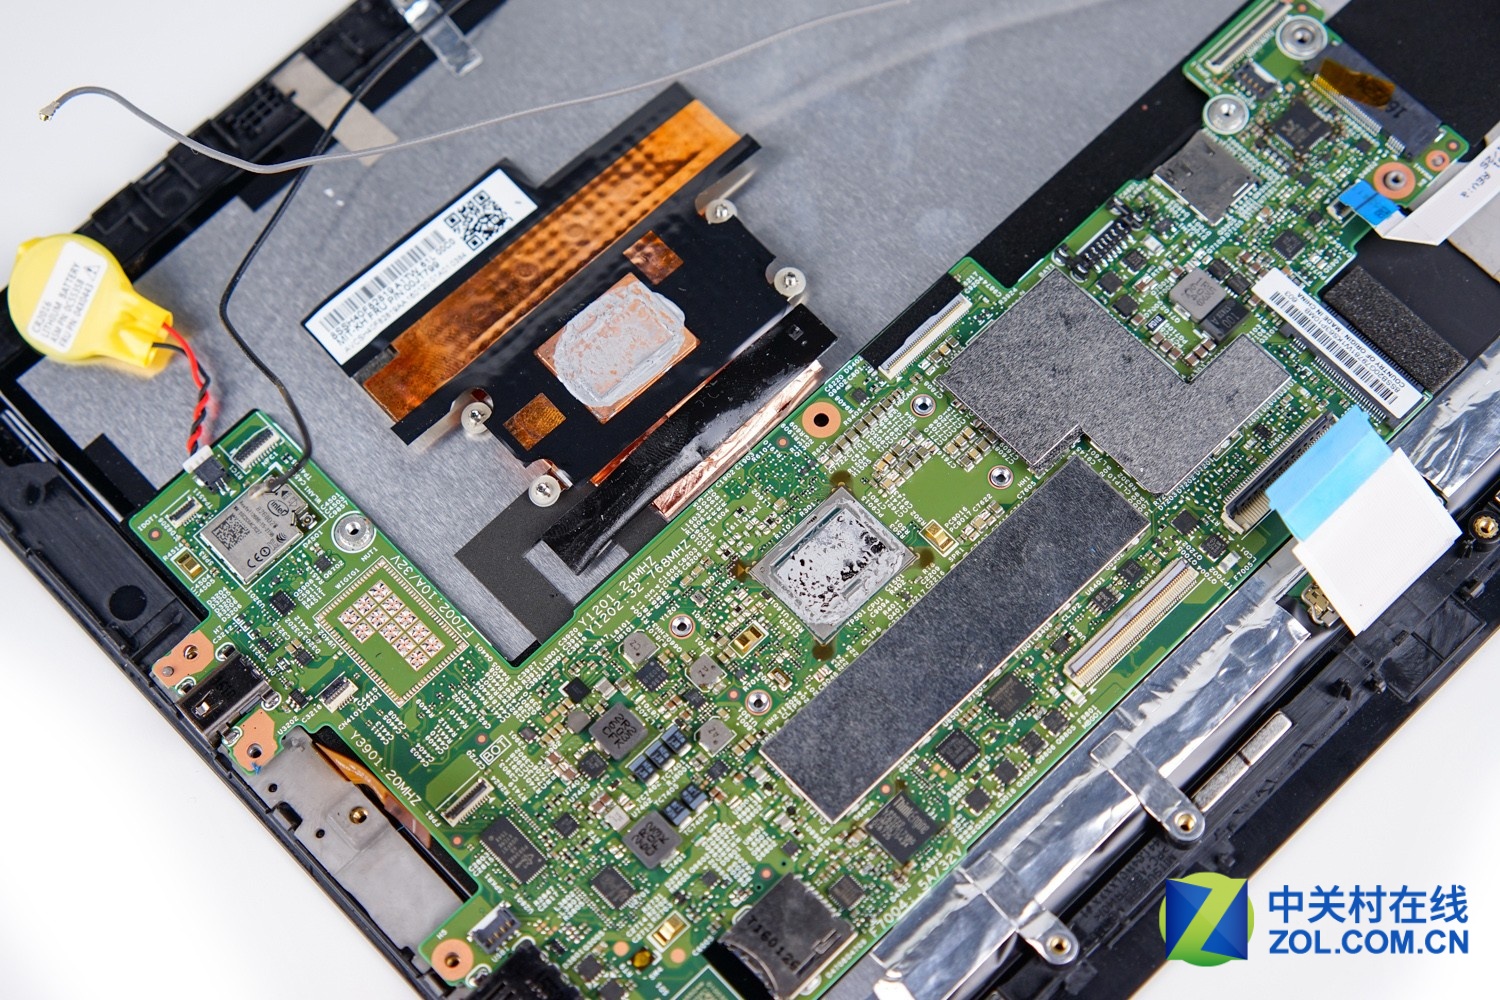
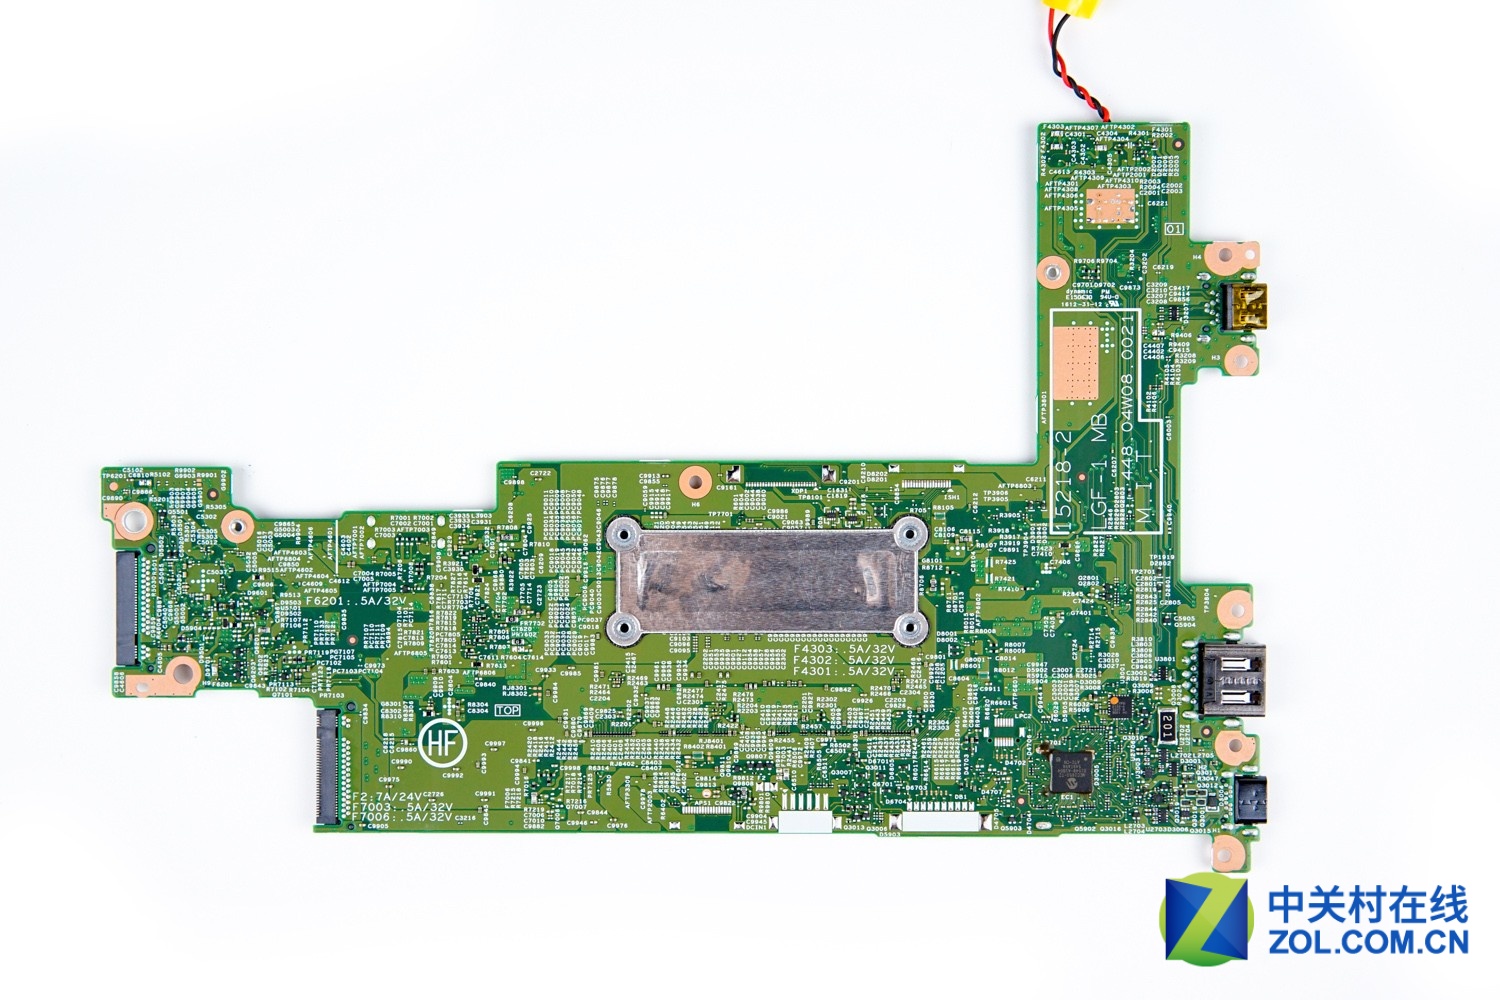
Here’s Lenovo ThinkPad X1 Tablet motherboard.
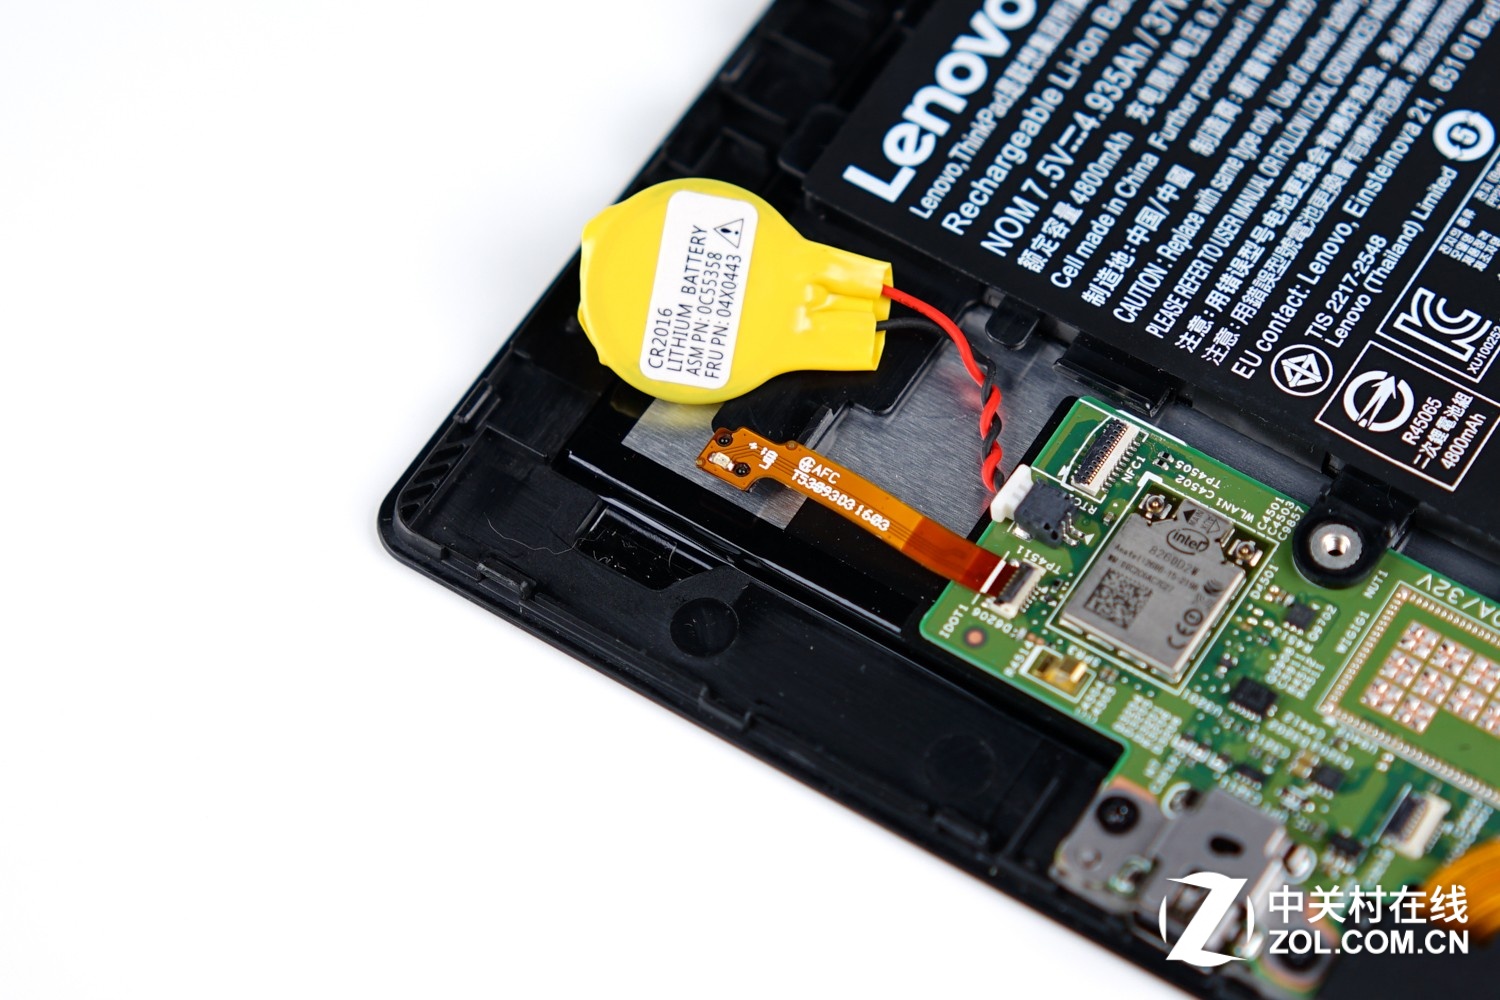
The wireless card is soldering on the motherboard.
Source: zol.com.cn


Is it possible to change the intel wireless-ac 8260, or is it soldered?
Its wireless network card can be removed and you can replace it.
please see this page https://www.laptopmain.com/acer-swift-3-review-disassembly-ssd-hdd-upgrade-options/2/
you missed 2 steps. you forgot to mention we need to remove the other two screws behind that latch, and that we need to pull the lever and slide off the bottom cover to access the two bottom screws.
Best regards. anonymous
I’ve been able to replace my battery thanks to your tutorial.
Thank you very much!
thanks !
Is it possible to upgrade the ram from 4GB to 8 or maybe 16GB? Many thanks!
Hi, the original keyboard of my Lenovo Thinkpad x1 tablet 1. Gen. stopped working all of a sudden. A recovery and a new original Keyboard didn’t solve my problem. Guess, the connector port or something else is defect. Any idea what I can do? One one of the pictures is a little board with the keyboard connector but can’t ready the part number! Could you help with the part number?
Regards, Joerg
Do you need the pogo subboard? https://support.lenovo.com/us/en/solutions/pd104113-system-service-parts-thinkpad-x1-tablet-machine-types-20gg-20gh-20jb-20jc show the board and the cable ribbon (items 30 and 32). There is a common problem that the data lines of the pogo connector make a short circuit (maybe overheat or external impact). I personally have to repair a pogo board with a short cut, if you have a short cut maybe you can repair yourself or take it to a repair shop to correct the soldering points.
Fru 00NY810 N Pogo sub card FPC cable
FRU 00NY804 N Pogo sub card If it works please reply
Well thank you laptopmain for damaging my tablet with your tutorial. Even so I clearly saw the other 2 screws on the backside under the flip mechanism I thought you “experts” know better and only unscrewed that one screw under the cover. when trying to pry open the sides on the lower sides of course they did not separate, pried to much and must have put some stress on the displays back, now I have 2 big white spots on the display on that very spot. Even so someone told you so in the comments back in april 2019 you did not correct it, I dont even wanna know how many people damaged their tablet because of this Guide!!!
I have two units whit the same problem the usb-c conector is broken and i cant supply the power, is another way to suply the power trougt batery conector or trougt the expansion modules port? i want to use as a desktop pc whit external monitor