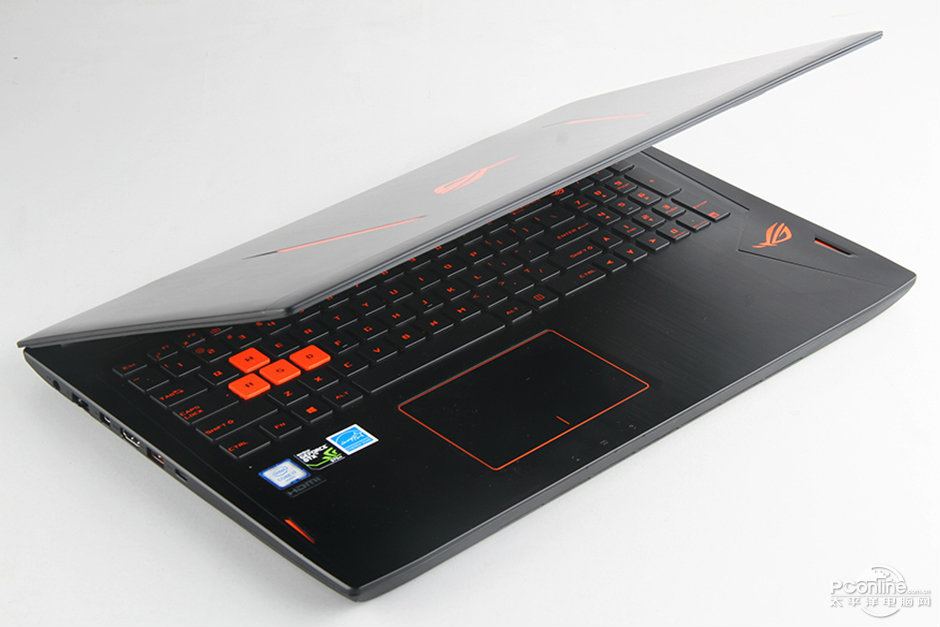
Asus ROG GL502VT body thickness of 23.5mm, weigh of 2.2kg. It’s with a sixth-generation Intel Core i7 processor, and an NVIDIA GeForce GTX970M 6GB graphics card, support DirectX12, with a 15.6 inch Full HD (1920x 1080) IPS screen, and supports the G-SYNC technology. The laptop reserved an NVMe PCIe x4 high-speed SSD slot. Users can upgrade the SSD to enhance the game experience. The laptop features an 802.11ac 2×2 wireless network card, the maximum bandwidth of up to 867Mbps.
On the right side of the laptop, there are a 3.5mm headset ports, two Gen 2 standard USB 3.1 ports and a card reader slot.
On the left side of the laptop, there is a DC power jack, an RJ45 port, a DisplayPort, an HDMI port, a Gen2 USB 3.1 port, and a USB Type-C port.
Looking for more guides from laptopmain.com? Follow us on Facebook for all the latest repair news.
Remove ten screws that securing the bottom cover to the laptop.
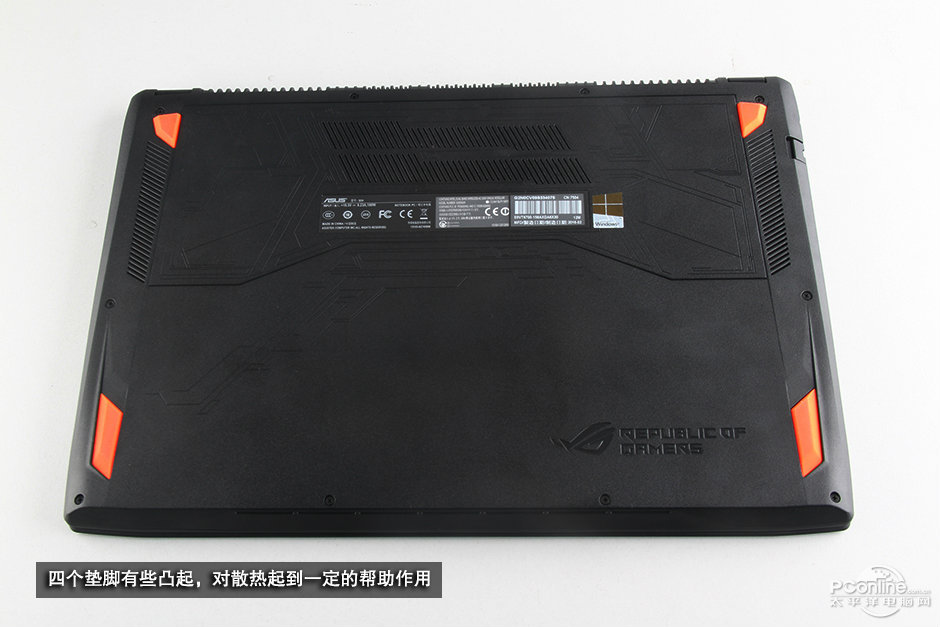
Asus ROG GL502VT using the most common cross-shaped screw.
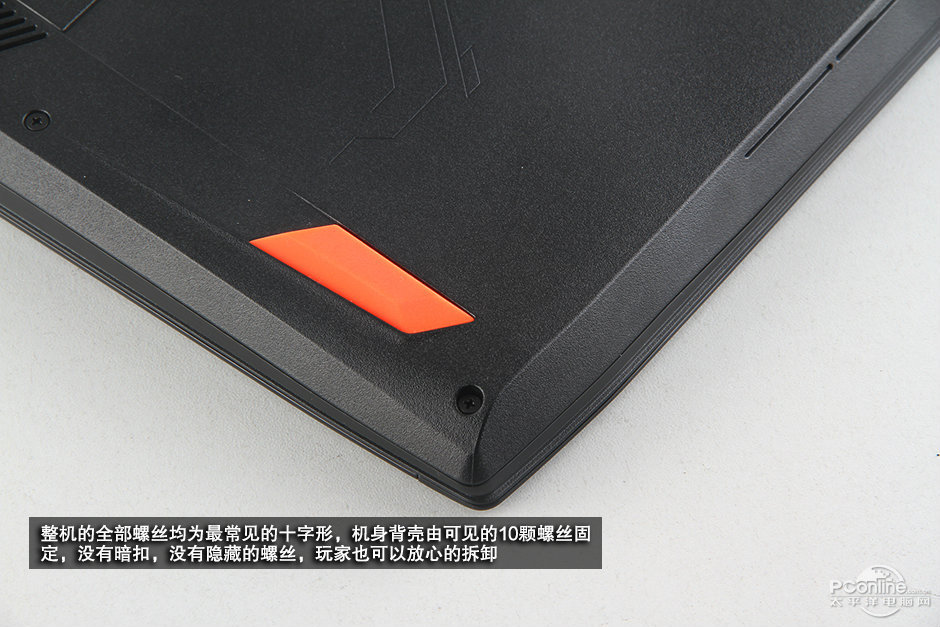
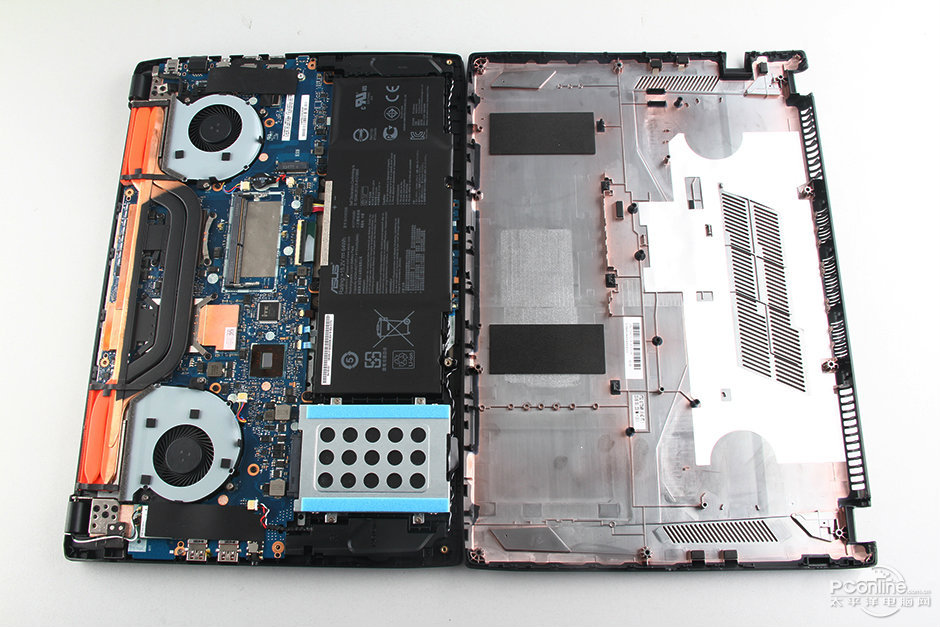
There are no snaps and hidden screw securing the bottom cover, so you can remove the bottom cover simple.
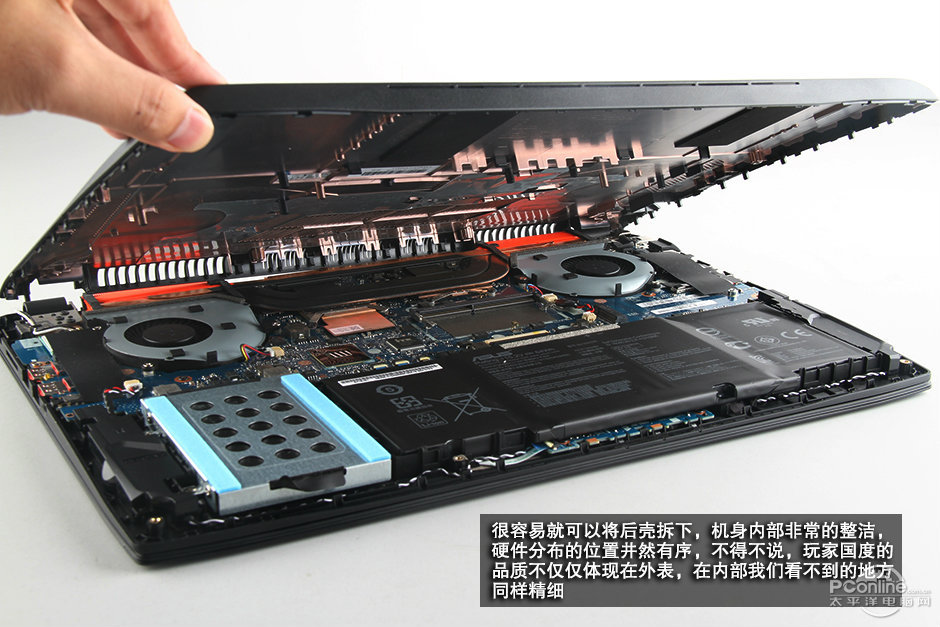
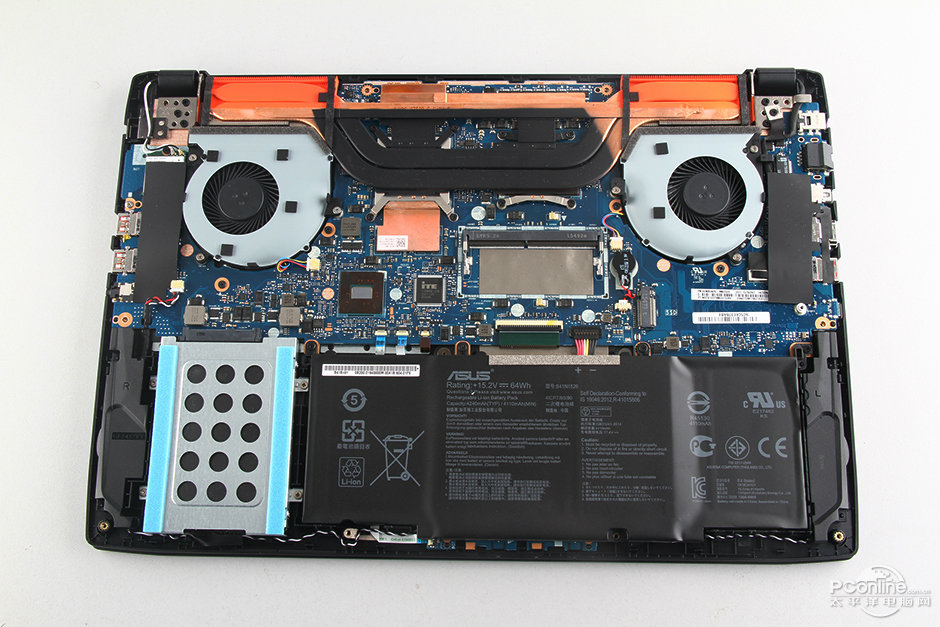
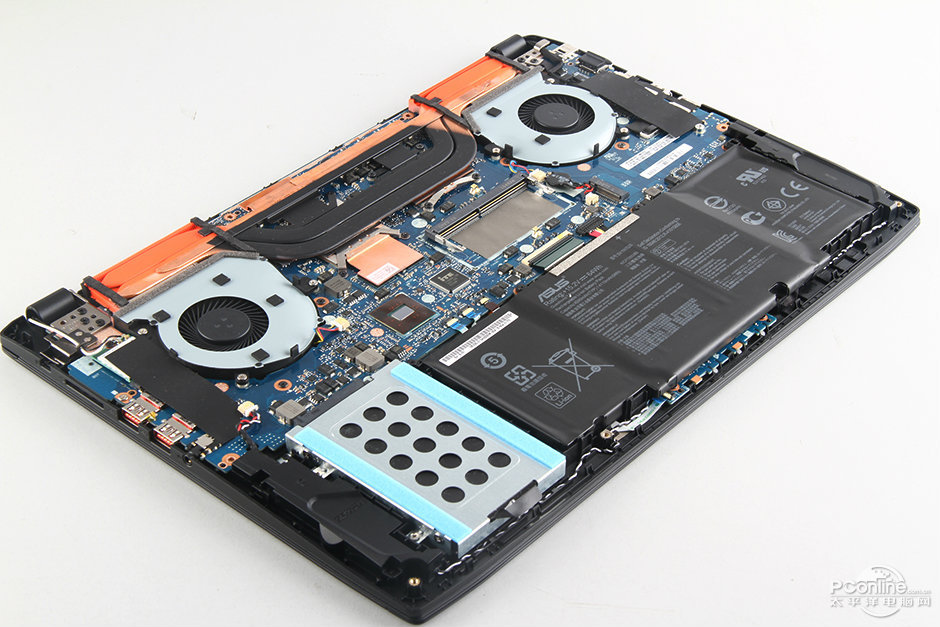
Under the bottom cover, you can get access to the most internal components, including the battery, hard drive, speaker, wireless card, heat sink, cooling fan, and motherboard.
In order not to damage the hardware, we need to remove the battery.
Remove all screws that securing the battery to the laptop.
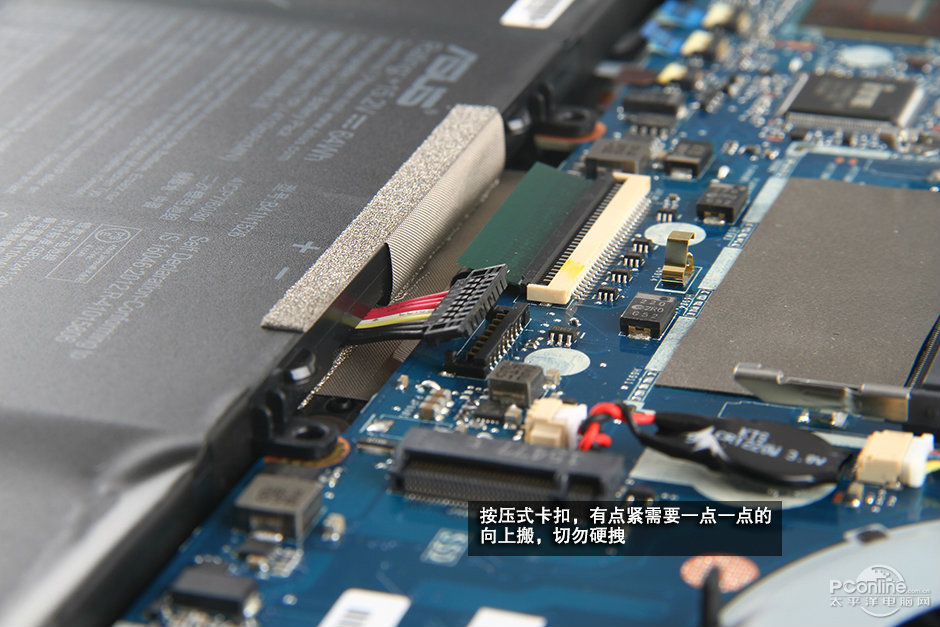
Disconnect the battery connector from the motherboard.
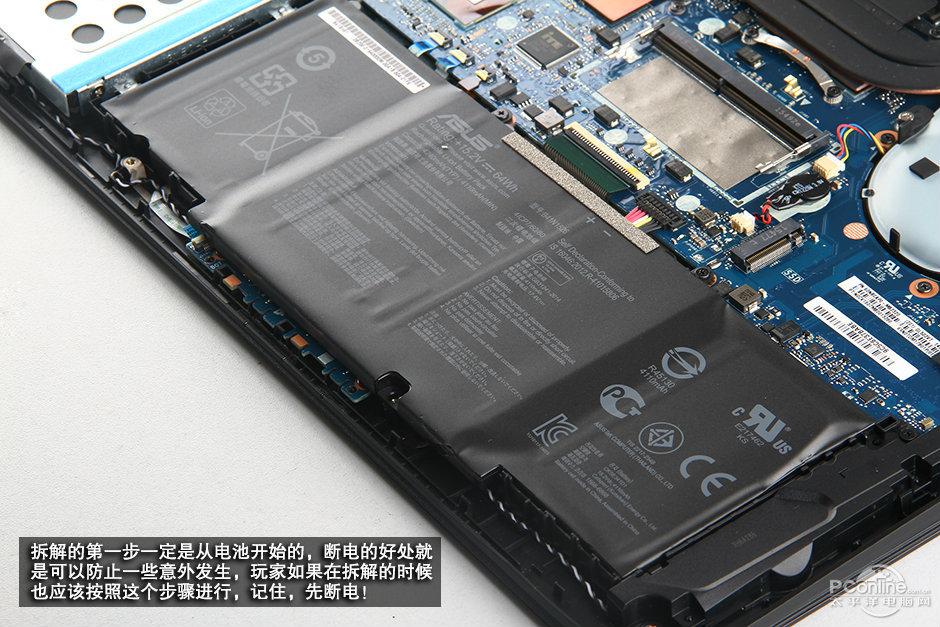
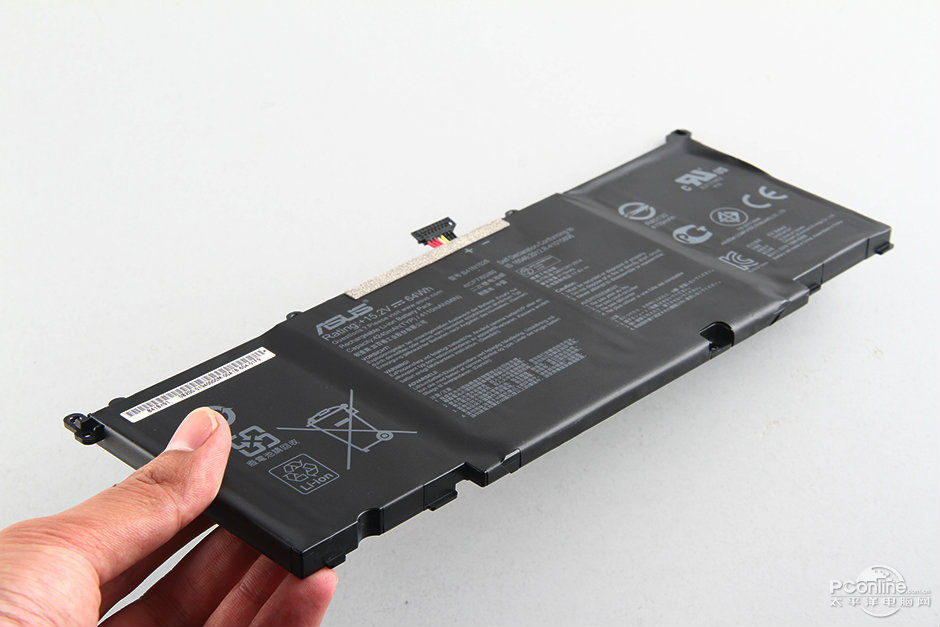
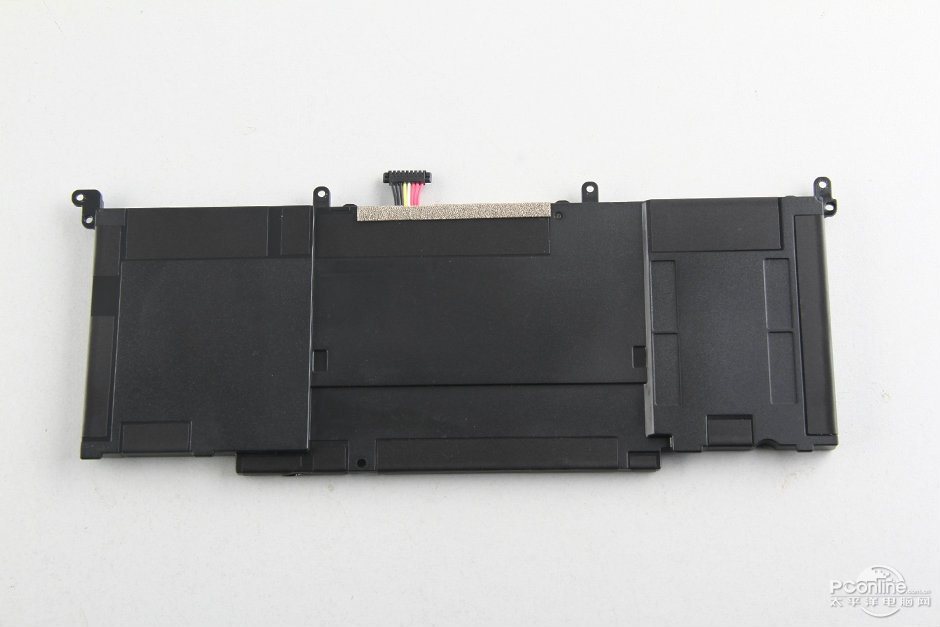
Asus ROG GL502VT comes with a 15.2V, 64Wh Li-ion battery.

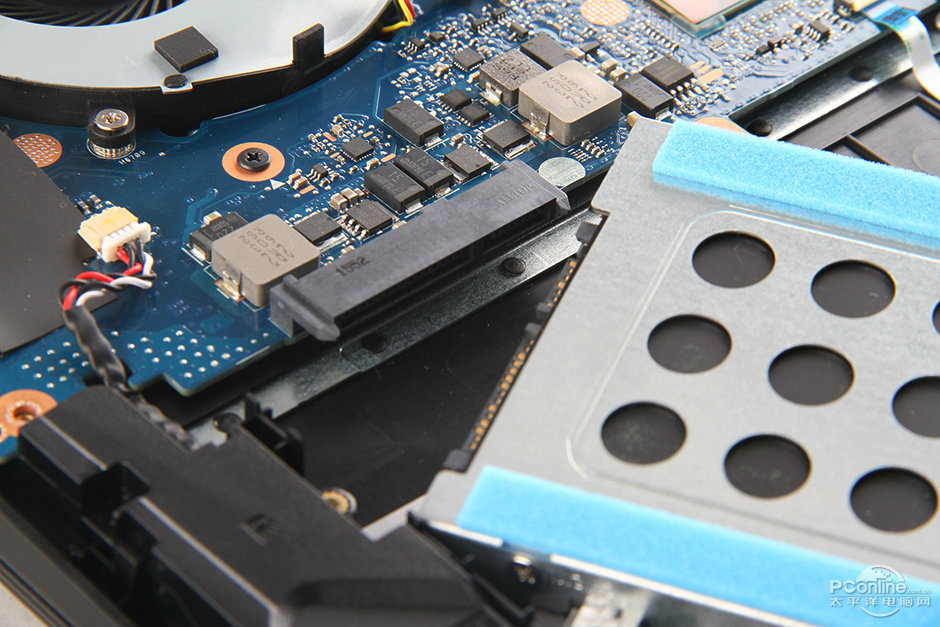
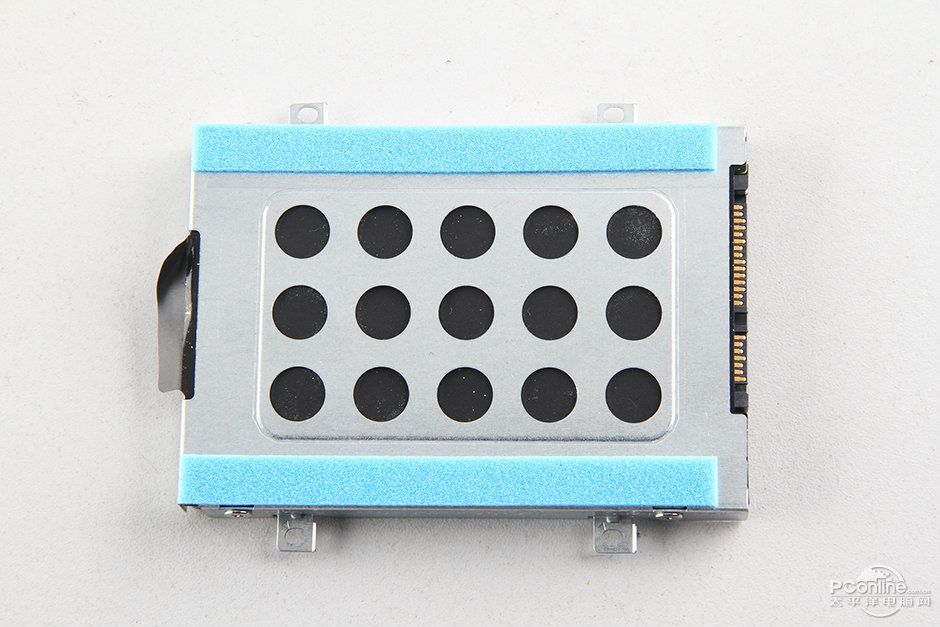
Remove four screws securing the hard drive module.
Lift up the black tape and pull it to the right to disconnect the hard drive from the motherboard.
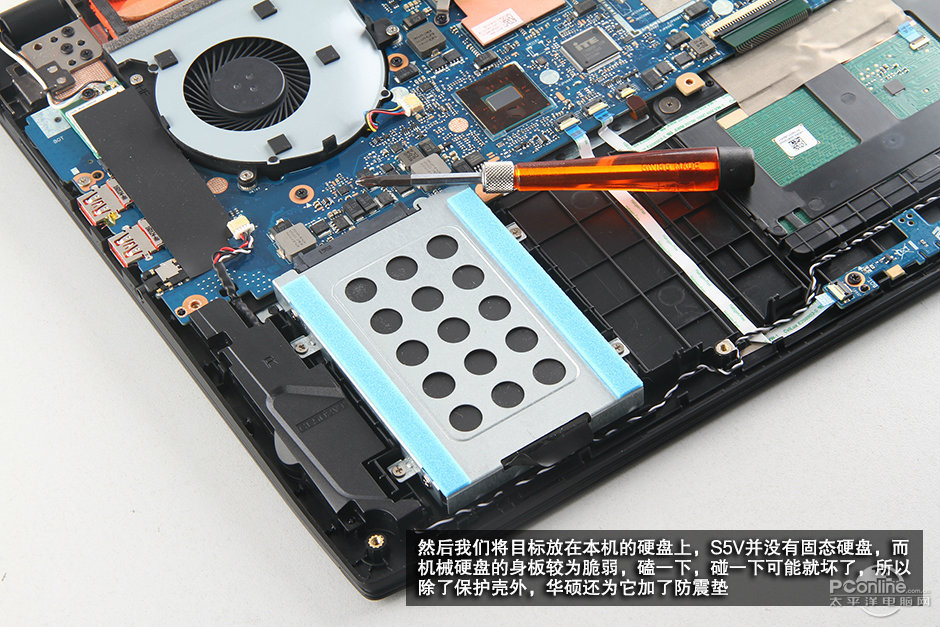
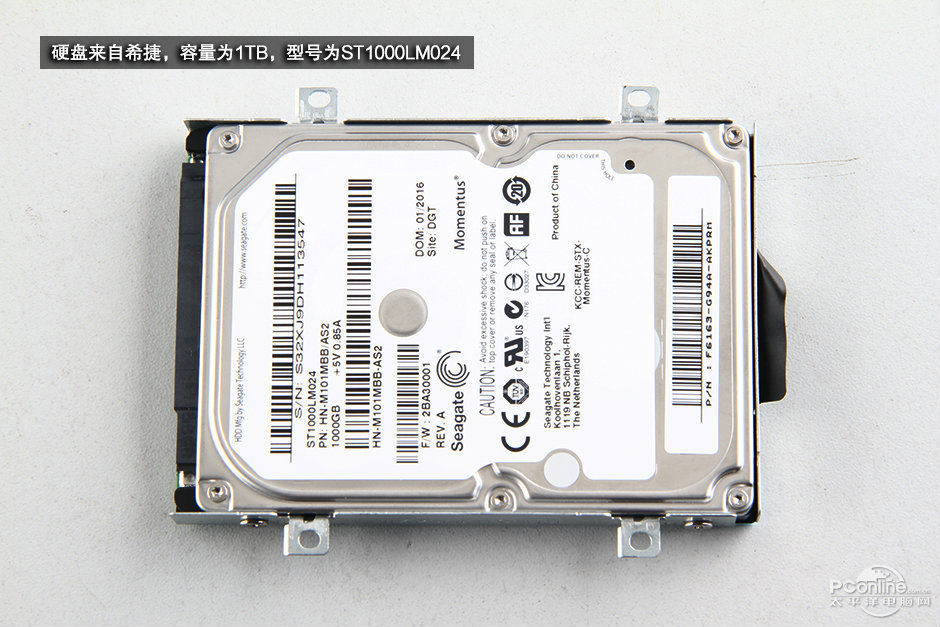
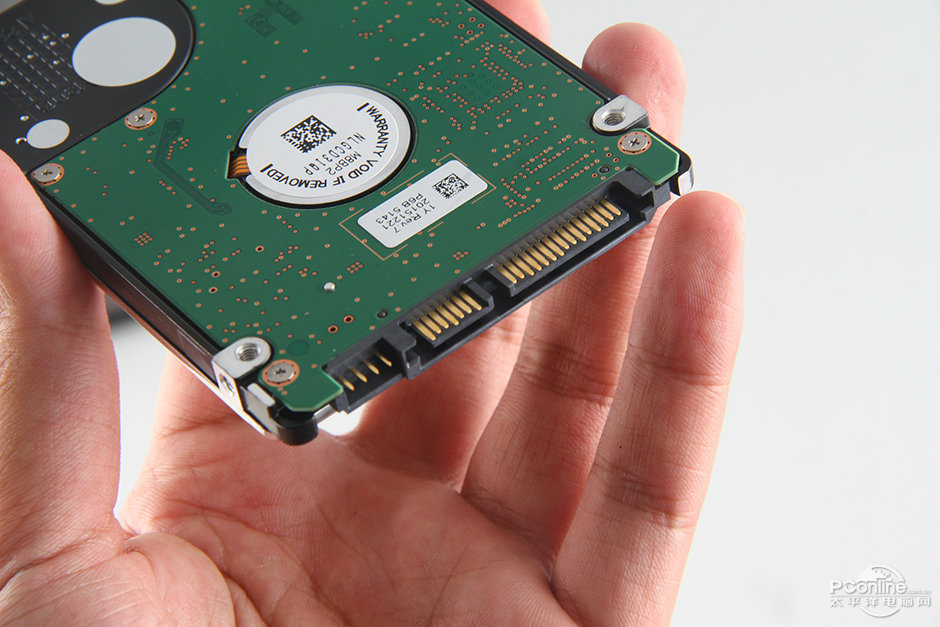
Asus ROG GL502VT features a Seagate 1TB 5400 RPM hard drive.
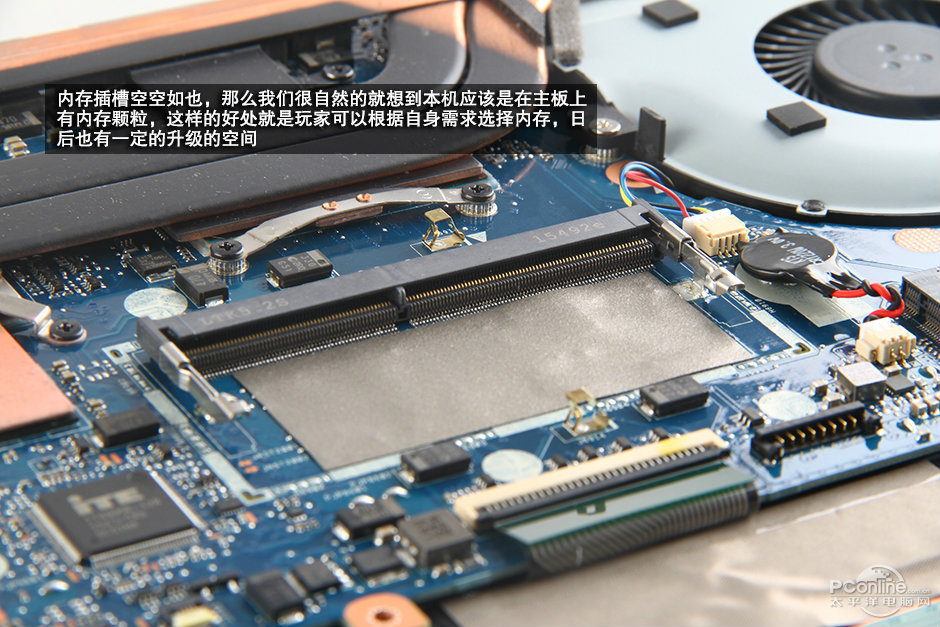
The laptop comes with an 8GB DDR4 2133 RAM onboard. It is also providing a spare RAM slot for upgrading the RAM, support up to 24GB RAM.
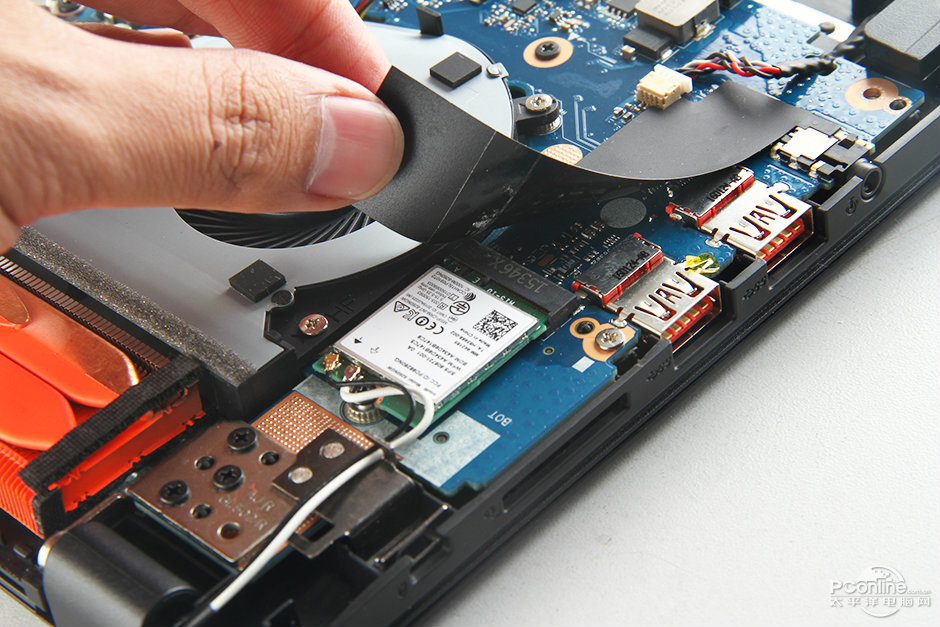
Uncover the black tape. You’ll be able to access the wireless card.
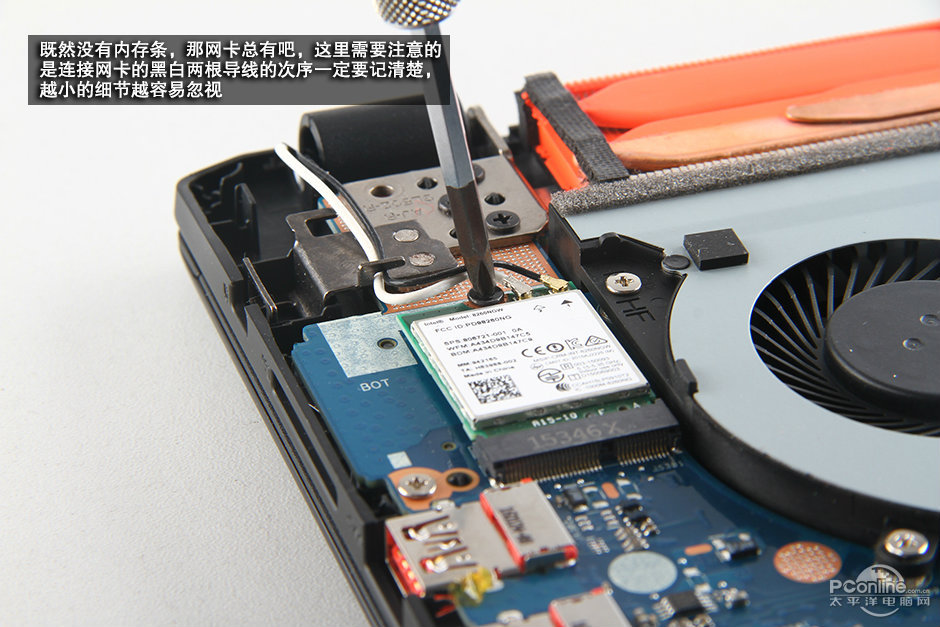
Unplug two wireless antenna cables and remove the screw securing the card.
You can take it out from its slot.
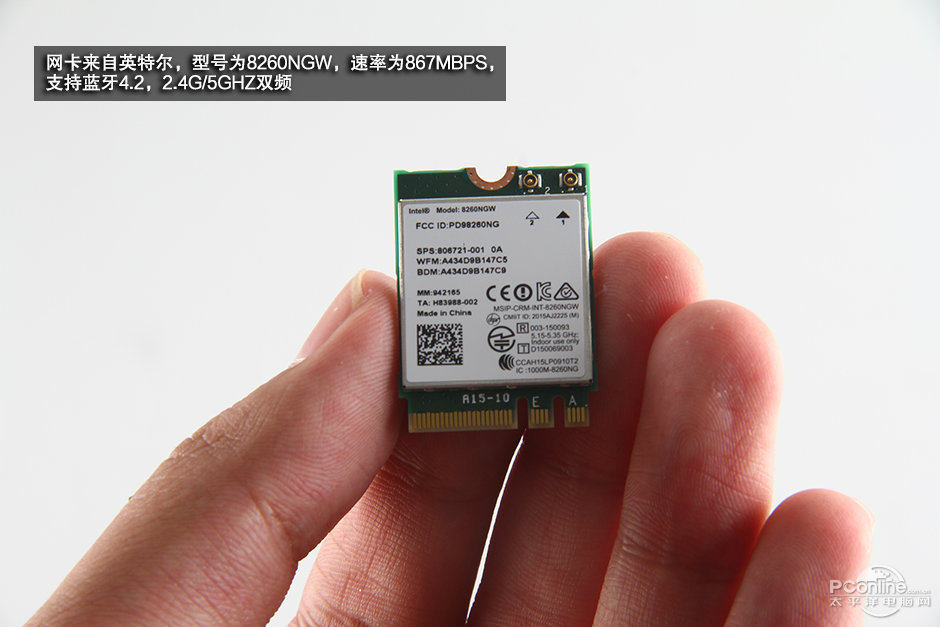
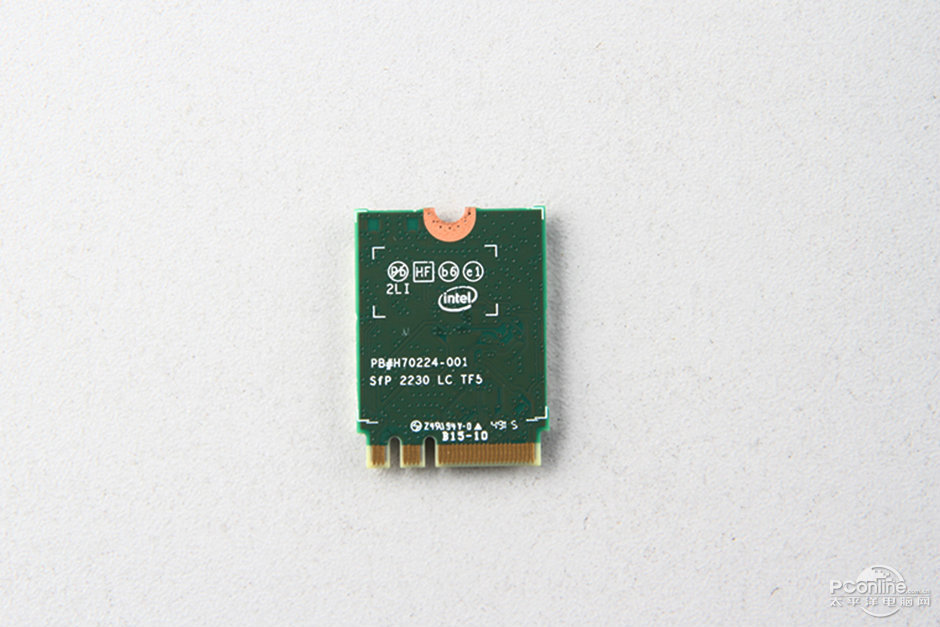
Intel® Dual Band Wireless-AC 8260, it is Intel’s 3 rd Generation 802.11ac, dual-band, 2×2 Wi-Fi + Bluetooth® 4.1 adapter.
But there is an HP part number available on the card – 806721-001.

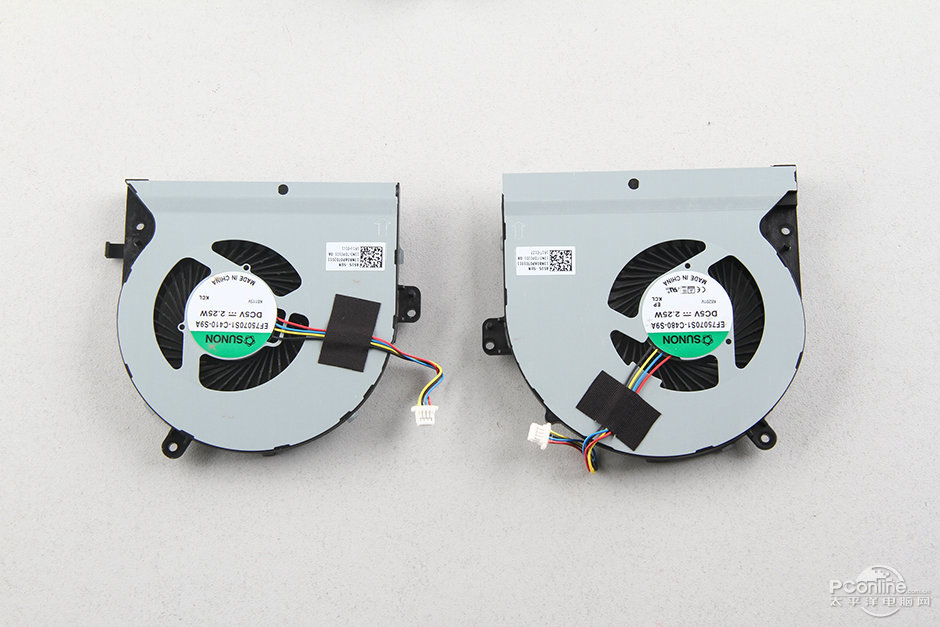
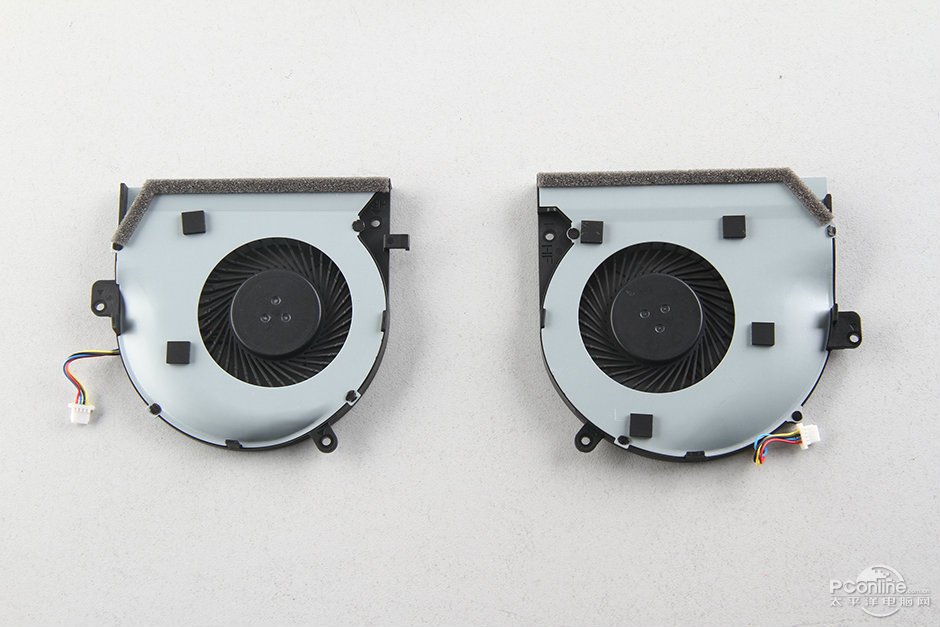
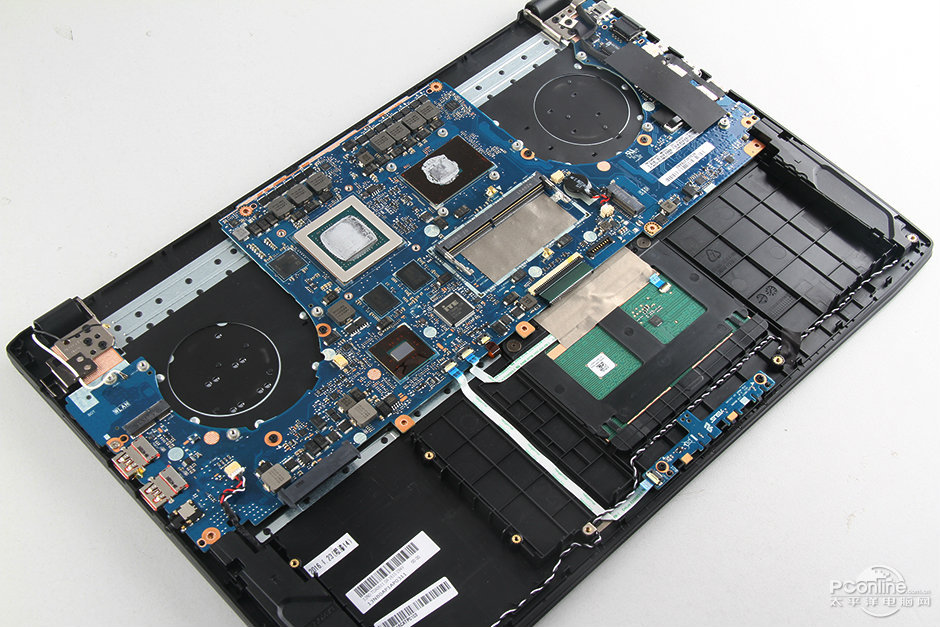
Remove three screws that securing the right cooling fan and unplug the fan cable from the motherboard. And then remove the cooling fan.

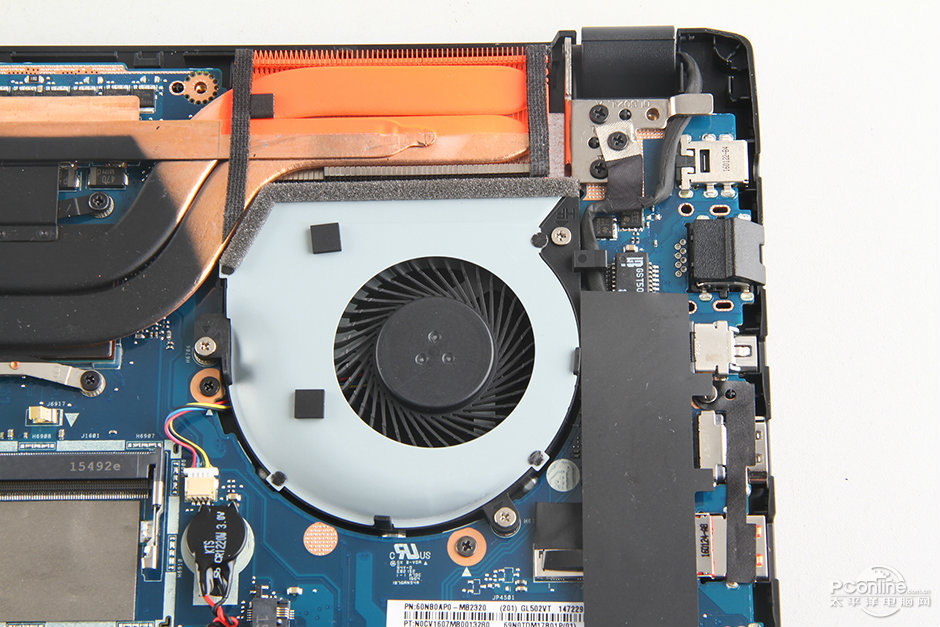
Remove three screws that securing the left cooling fan and unplug the fan cable from the motherboard. And then remove the left cooling fan.
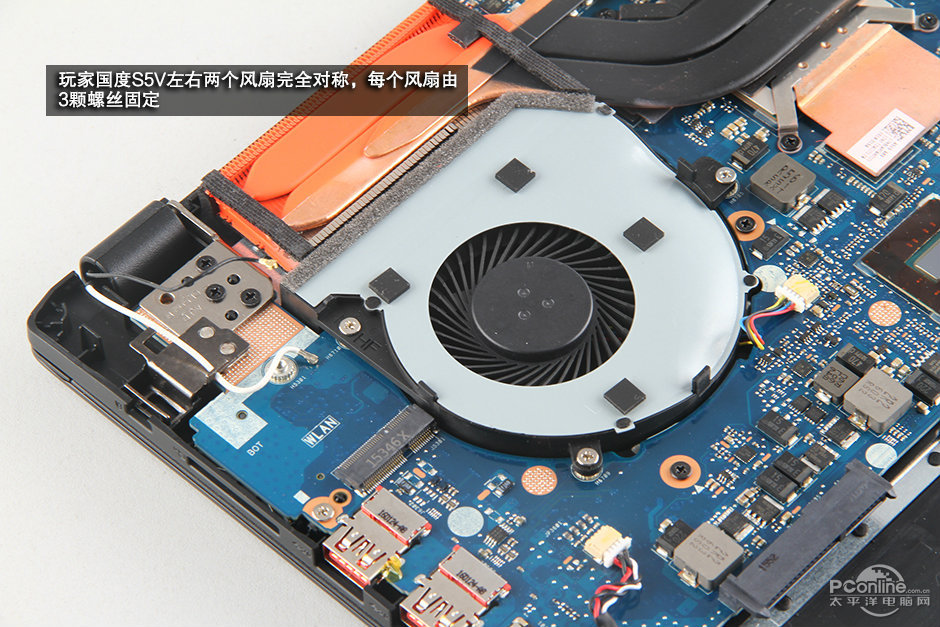
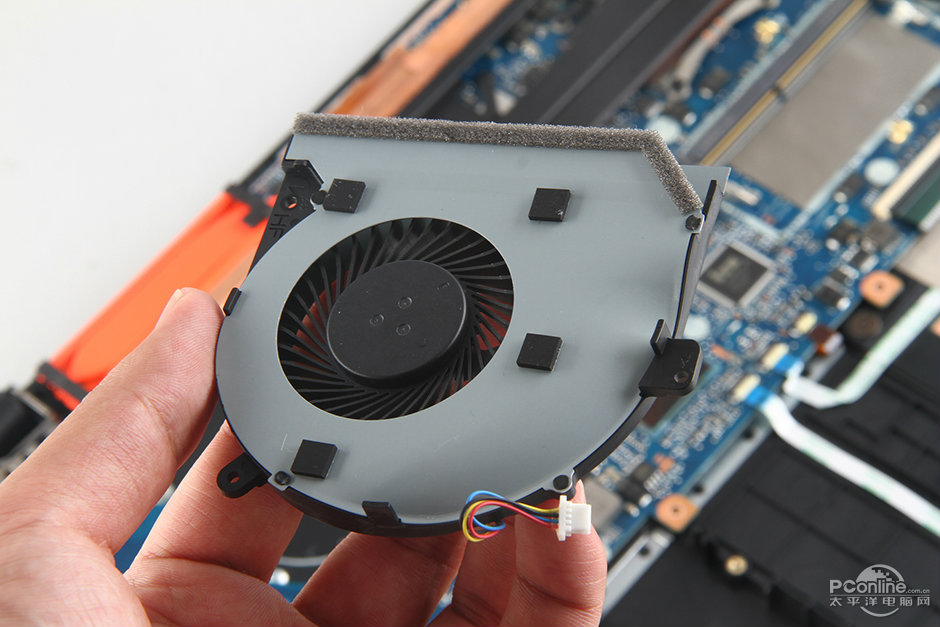
Both cooling fans come from Taiwan SUNON.
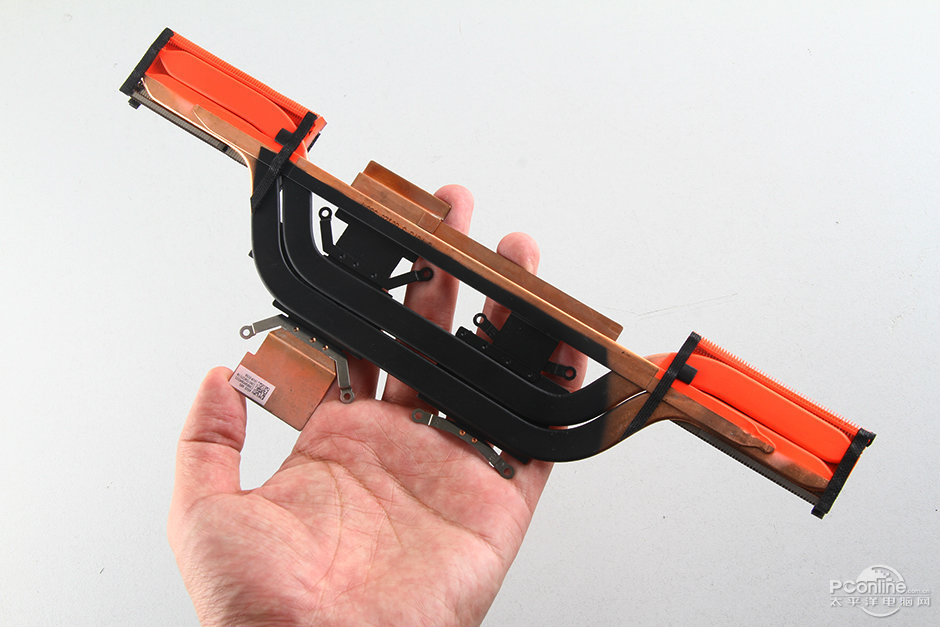
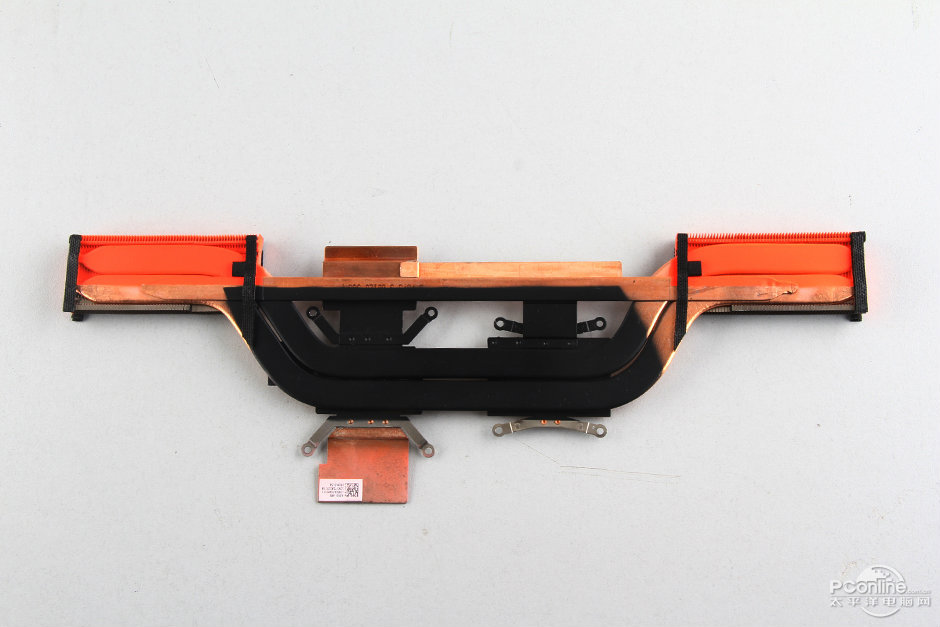
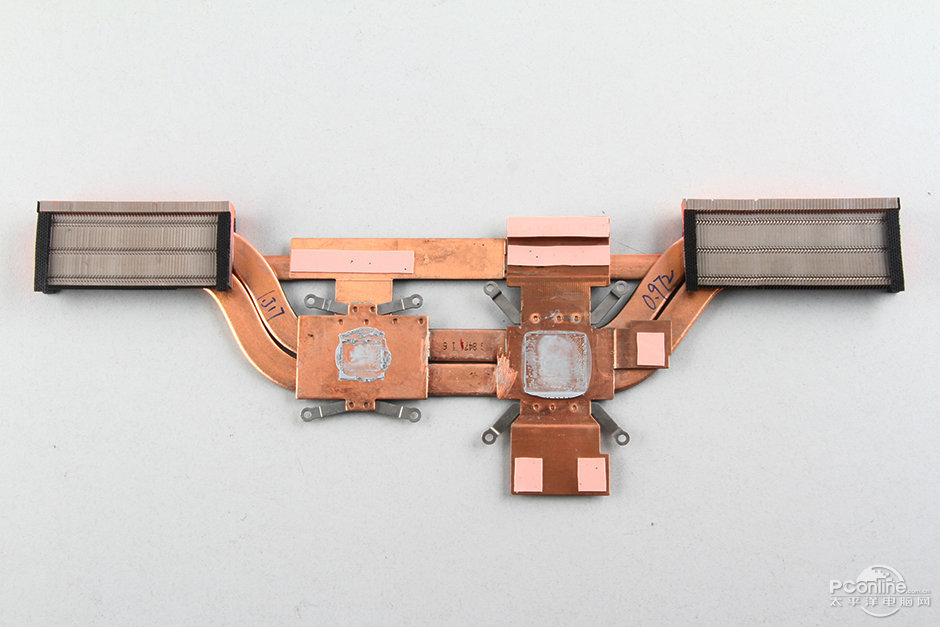
Remove eight screws securing the heat sink to the motherboard.
Lift up and remove it.
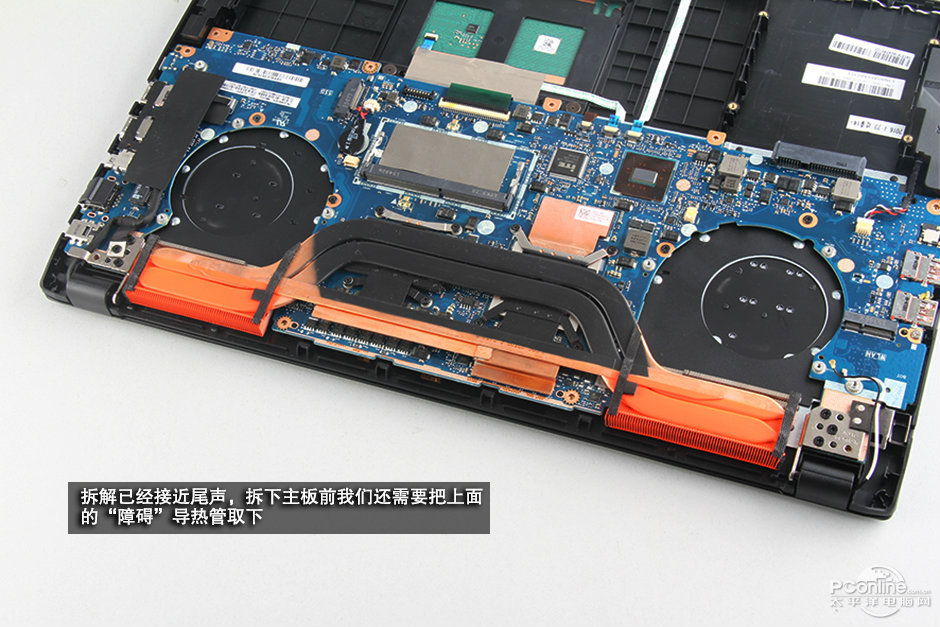
Asus ROG GL502VT’s heat sink with dual copper pipe design, it’s very strong.
In the next step, we will remove the motherboard from the laptop.
Disconnect the video cable from the motherboard.
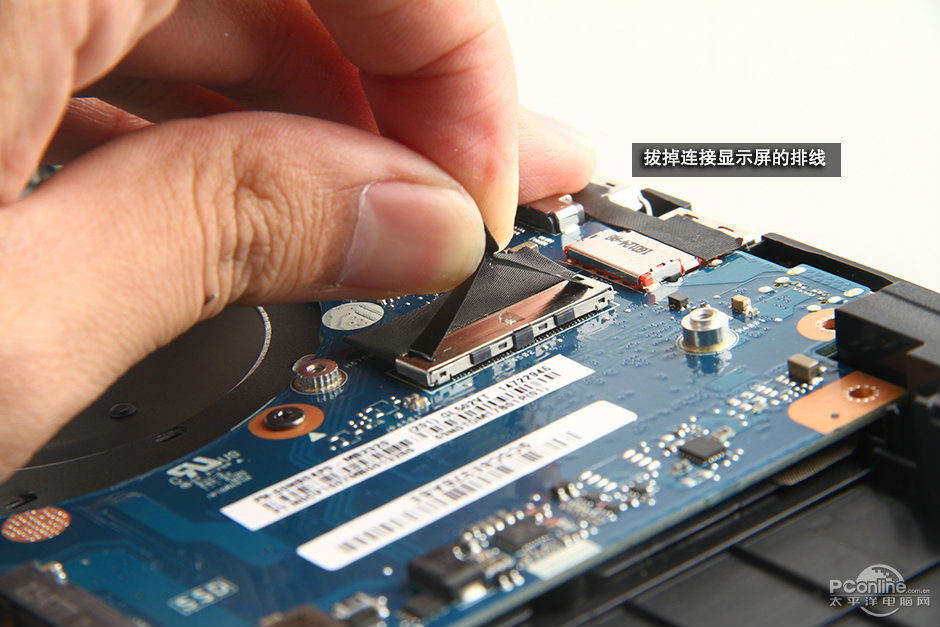
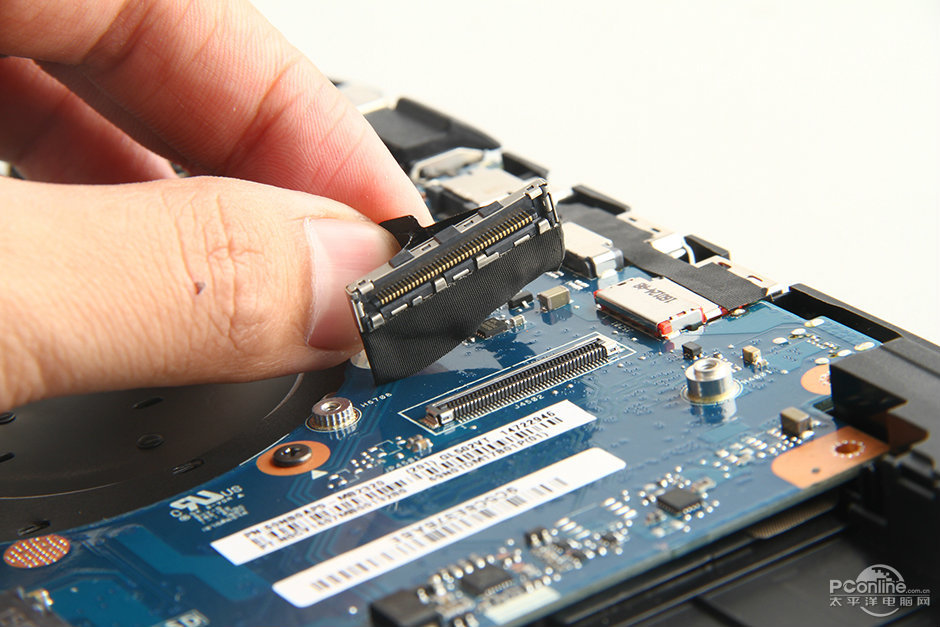
The video cable is fixed on the motherboard by a screw.
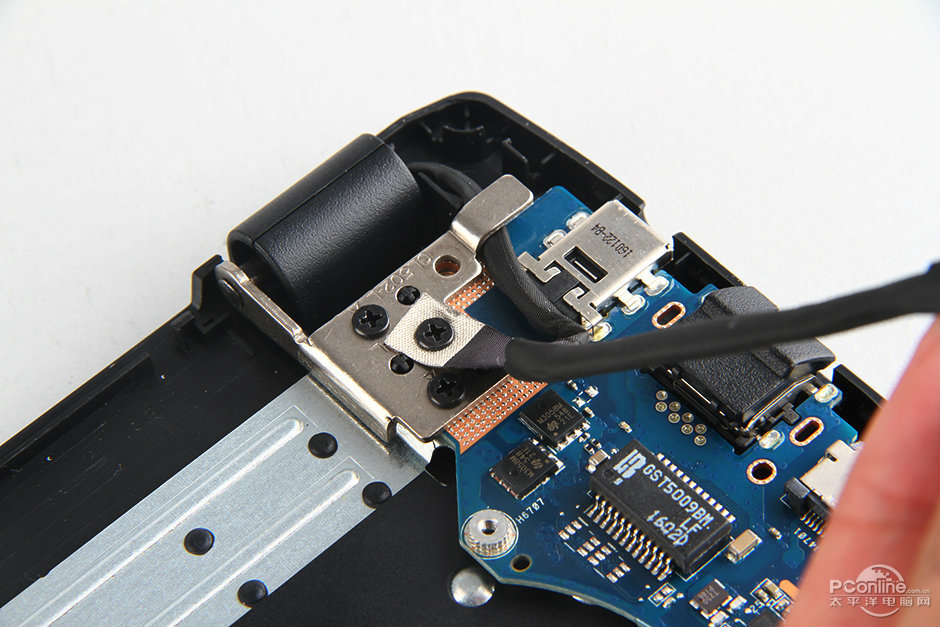
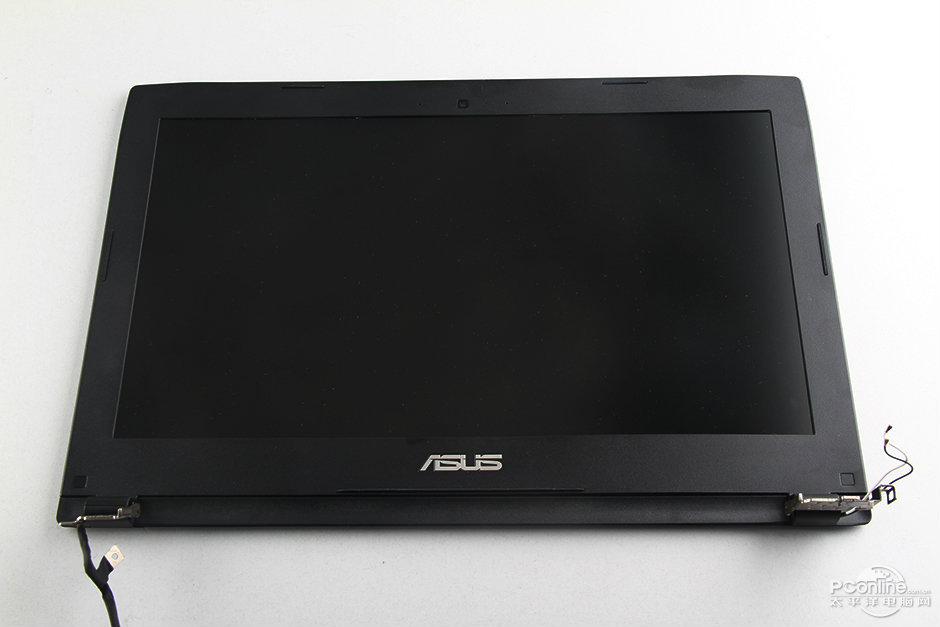
Remove some screws securing the LCD hinges. You can remove the laptop’s screen assembly.
Disconnect all cables connecting to the motherboard.
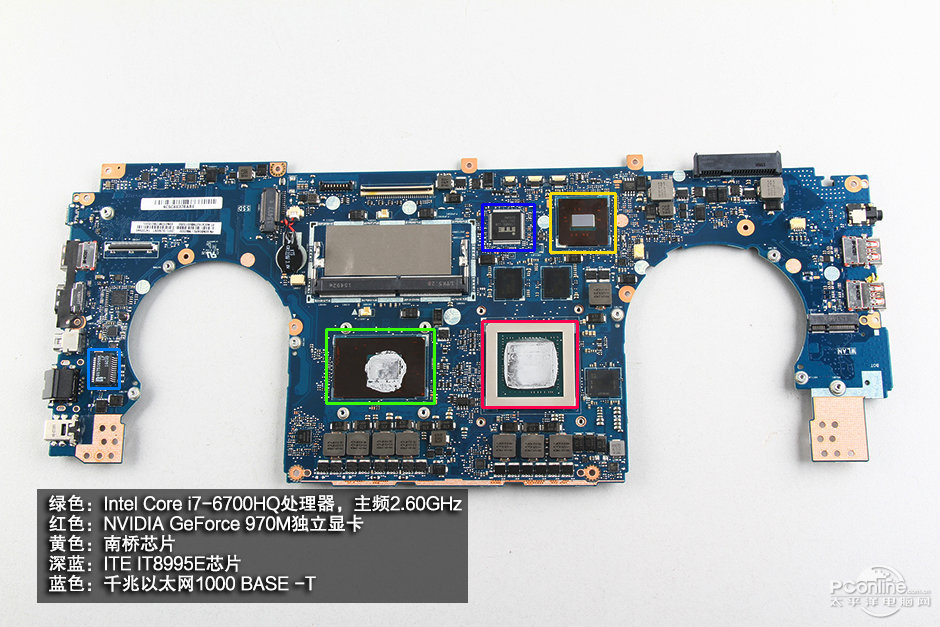
Remove all screws securing the motherboard. Lift up and remove the motherboard.

Green: Intel Core i7-6700HQ
Red: NVIDIA GeForce GTX 970M
Yellow: South Bridge chip
Deep Blue: ITE IT8995E chip
Blue: Gigabit Ethernet 1000 BASE-T
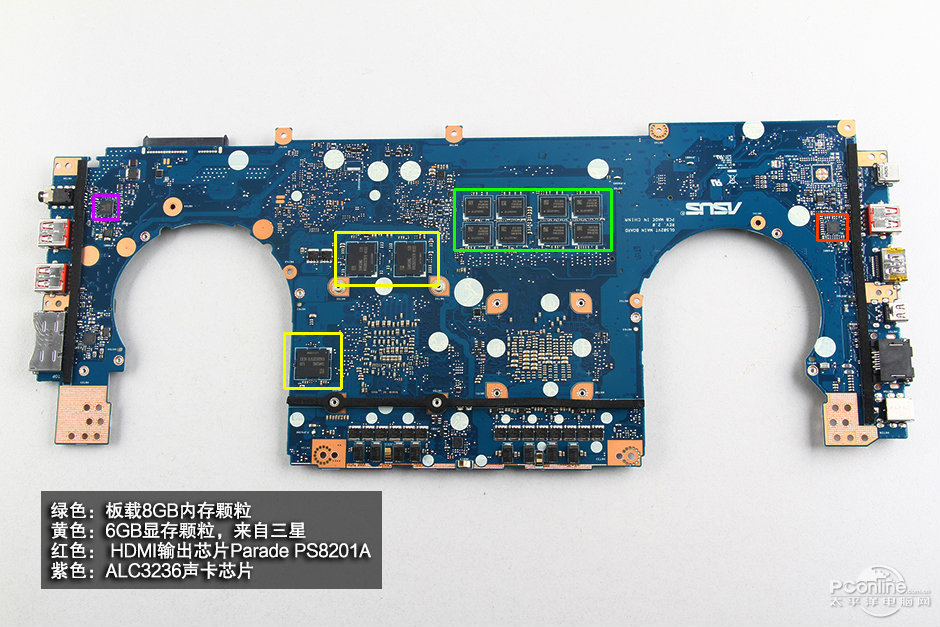
Green: 8GB RAM chips
Red: Parade PS8201A HDMI Output chip
Yellow: 6GB video memory chips
Purple: ALC3236 sound card chip

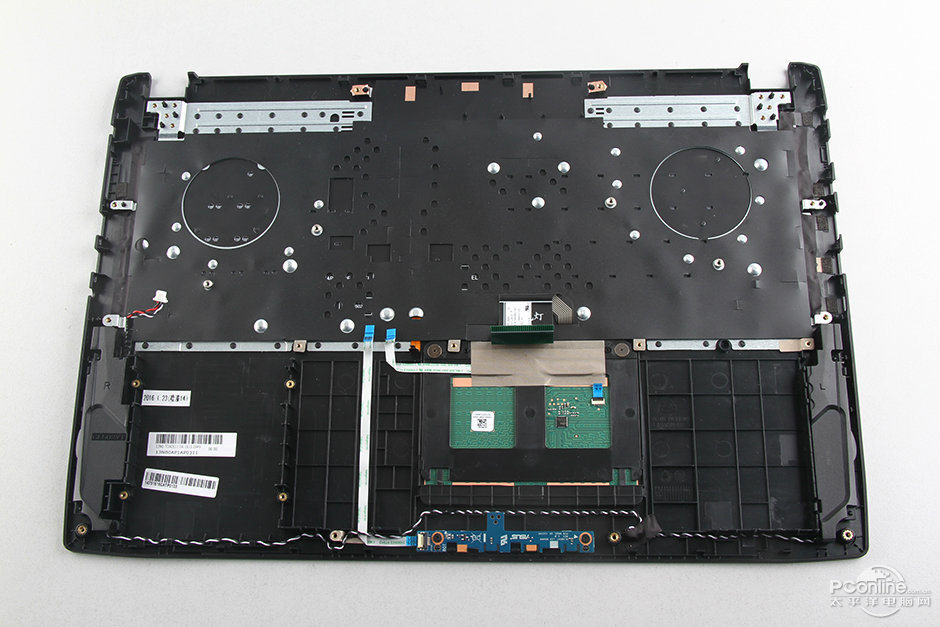
Asus ROG GL502VT’s touchpad and keyboard
Source: pconline.com.cn

")


Thank you very much for this article because of you I was successful installing my hard drive and repasting my CPU/GPU really appreciate it!
asus rog gl 702vm dis assembly please. touchpad glue is coming outshaz
Need to see how to change the keyboard!