This ASUS GL553VE with a 1.56-inch screen and an 8th Gen Intel Core i7-7700HQ processor, and an NVIDIA GeForce GTX 1050 Ti graphics card, 4GB video memory, 8G of RAM, 128G SSD + 1TB mechanical hard disk. This video card level is lower than the GeForce GTX 1060, But certainly higher than GeForce GTX 1050, so the relative game players, there will certainly be a better experience.
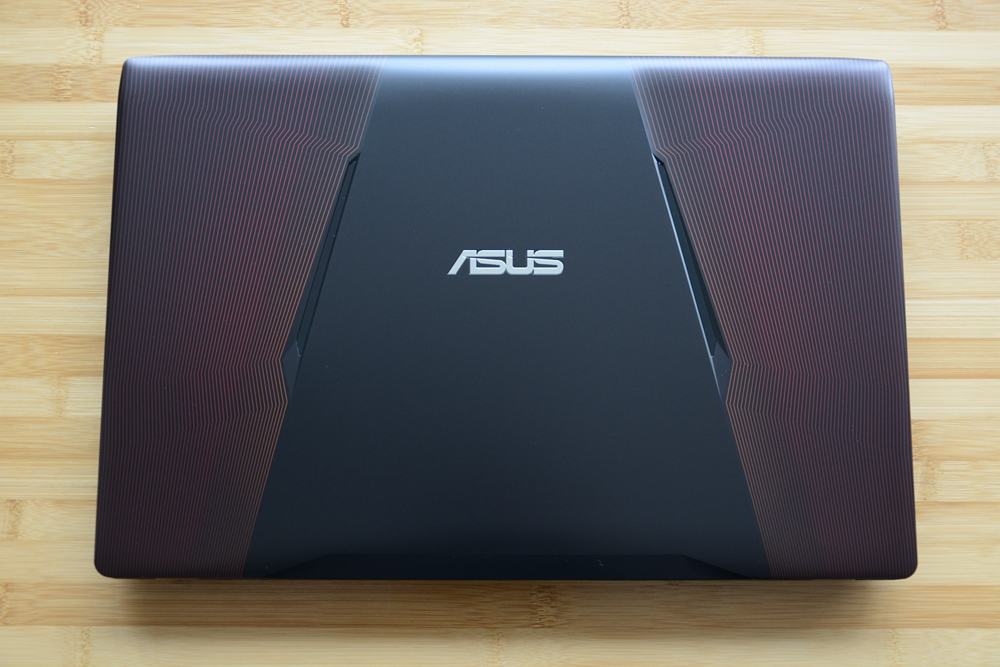
Unlike other models, the GL553VE uses a black and red appearance, the A side and the keyboard area designed a number of parallel and irregular dark red lines, these lines seem to bring to the machine some visual impact. However, the whole mold basically no change. The A side with a gloss surface, more easily contaminated with fingerprints, but also more afraid of scratches.
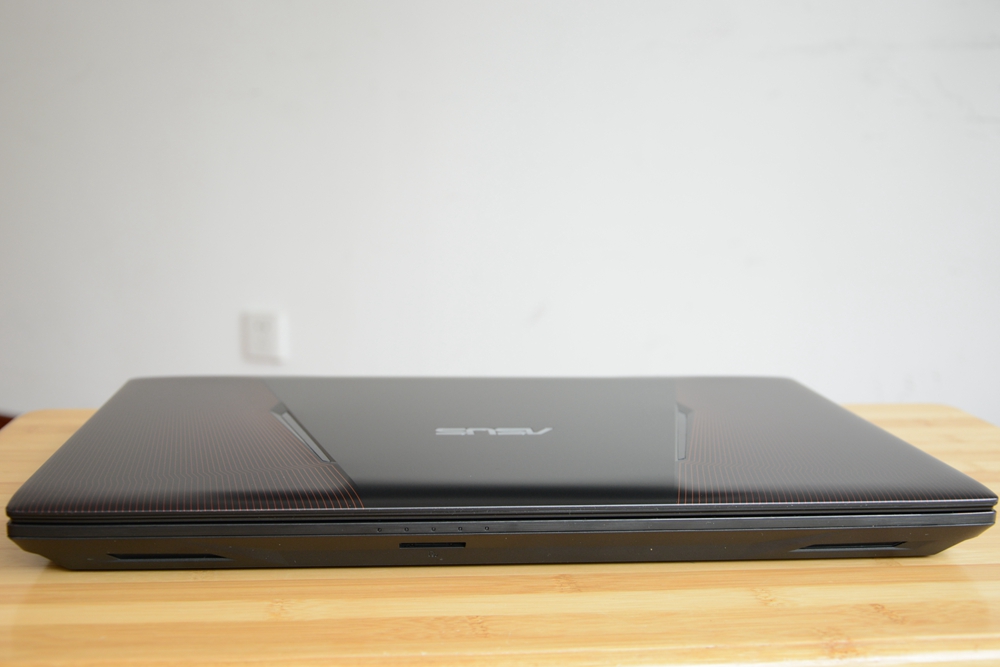
ASUS GL553VE body thickness of 3.0cm, not really thin, but we also understand the game laptop are relatively heavy.

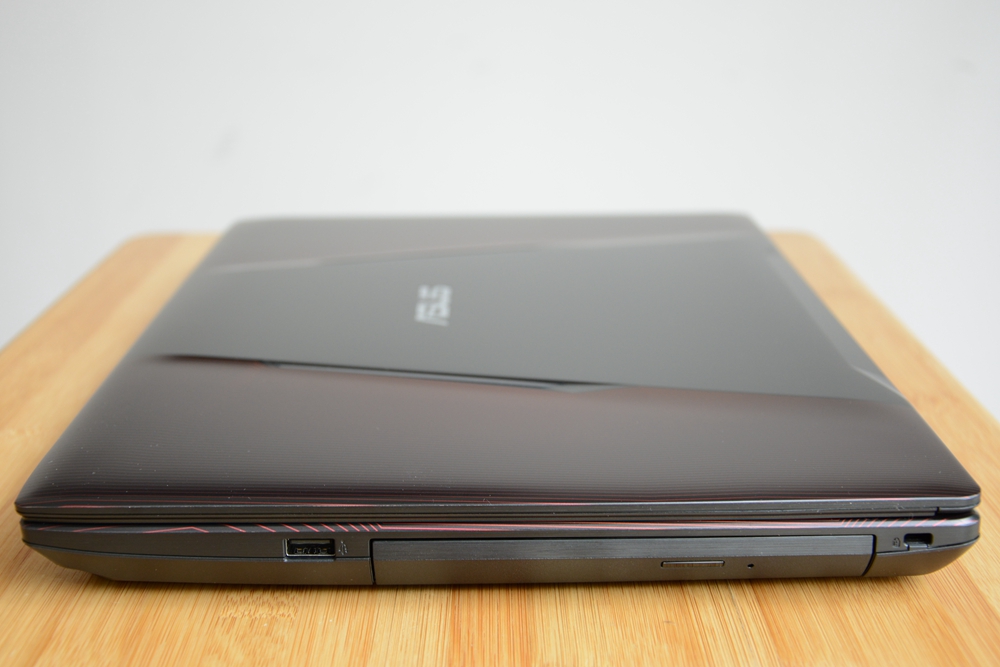
The right side of the laptop is only a USB2.0 port and a DVD burner. I believe that now very few people have used the drive. If there is more demand for storage, you may wish to add a hard drive in the location of the DVD drive.
The front of the fuselage is the LED status light, and the SD card slot and the speaker system on both sides.
1. Removing the bottom case
Remove all visible screws from the bottom case.

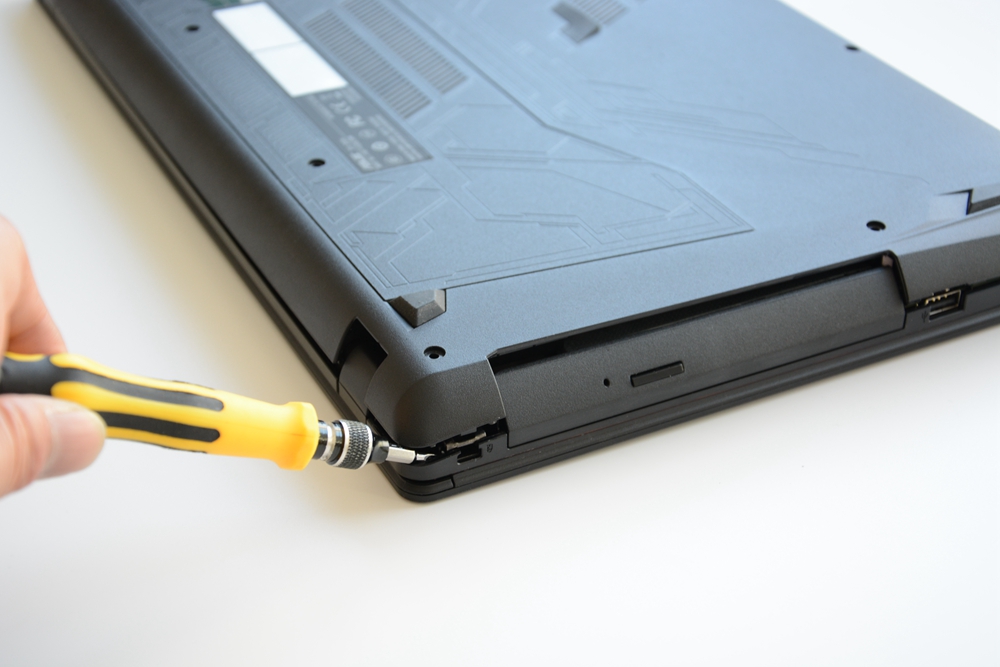
If you are the first time to dismantle the laptop, be sure to note that the visible screws are removed, the middle of the case there is a rubber pad, gently pry open, there is a hidden screw. After the screw is screwed off, the rear cover can be easily opened.
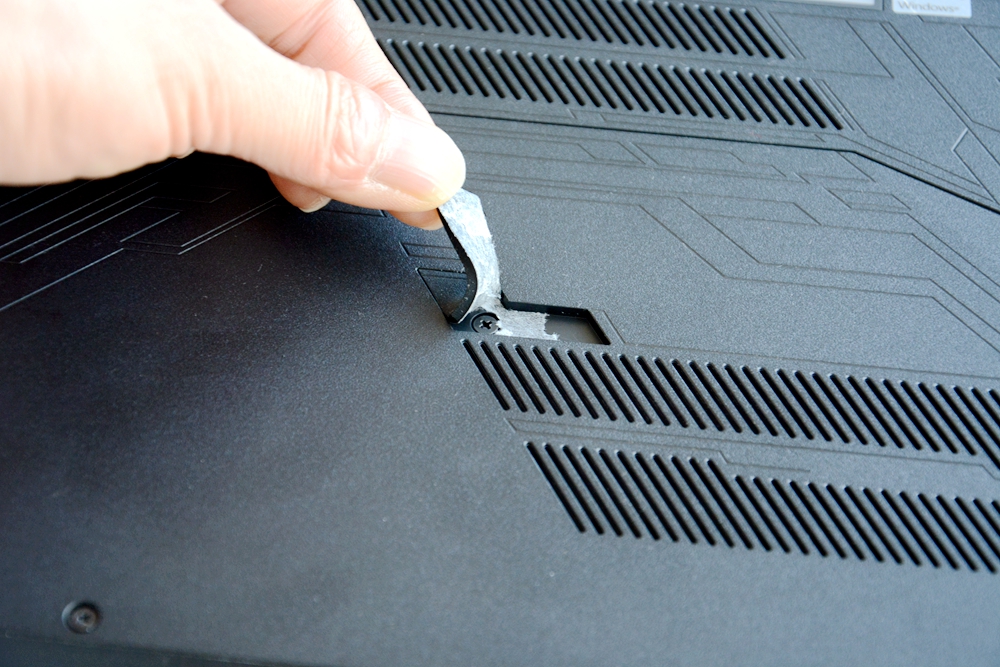
Pry the bottom case from the lower right corner with a guitar pick or a card. Please do not use a metal piece or screwdriver, use these tools will damage the bottom case.
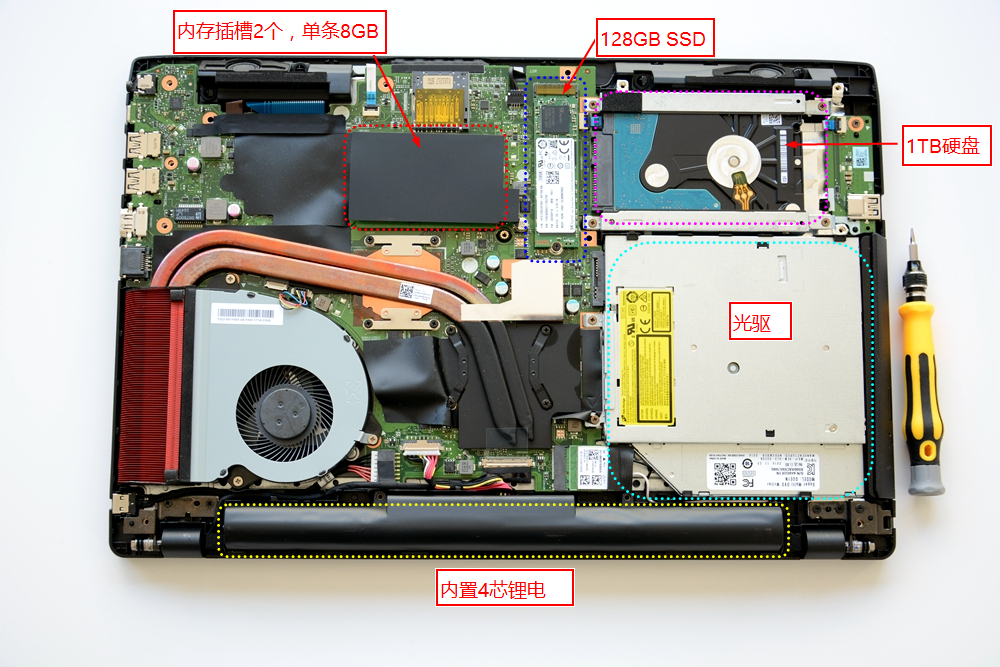
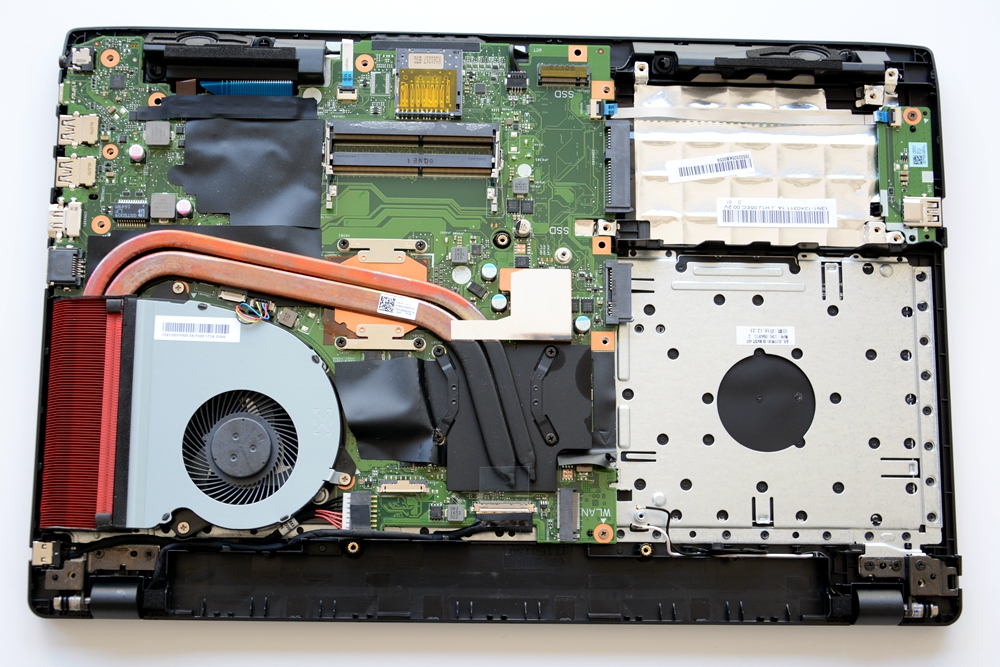
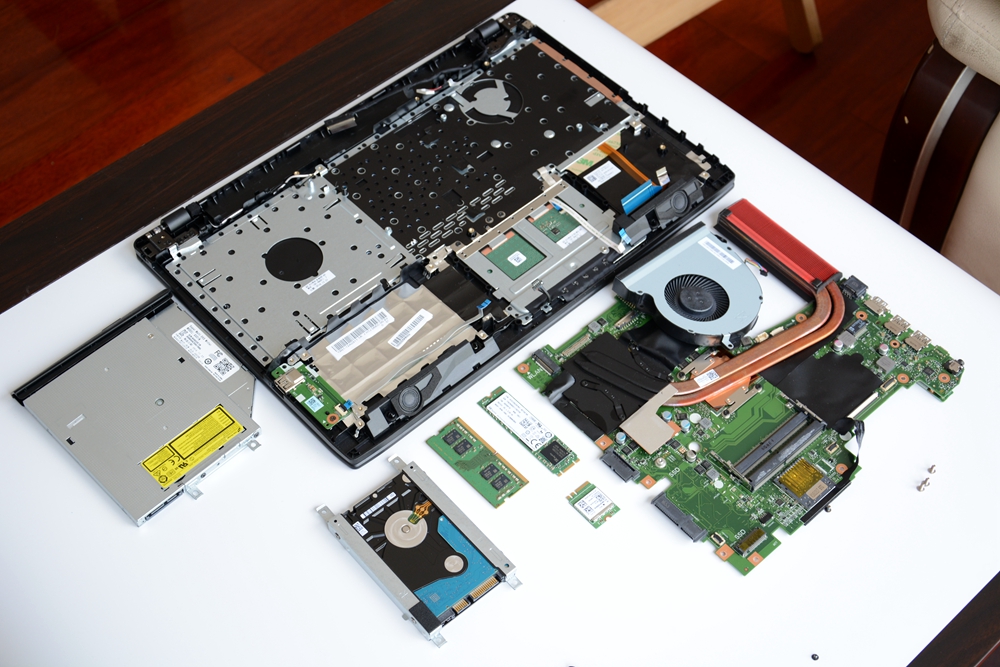
After removing the bottom case, you can get access to the battery, hard drive, SSD, RAM, DVD drive, Wi-Fi card, battery, heat sink, cooling fan and motherboard.
2. Removing the battery and DVD burner
Disconnect the battery connector from the motherboard and remove the battery.
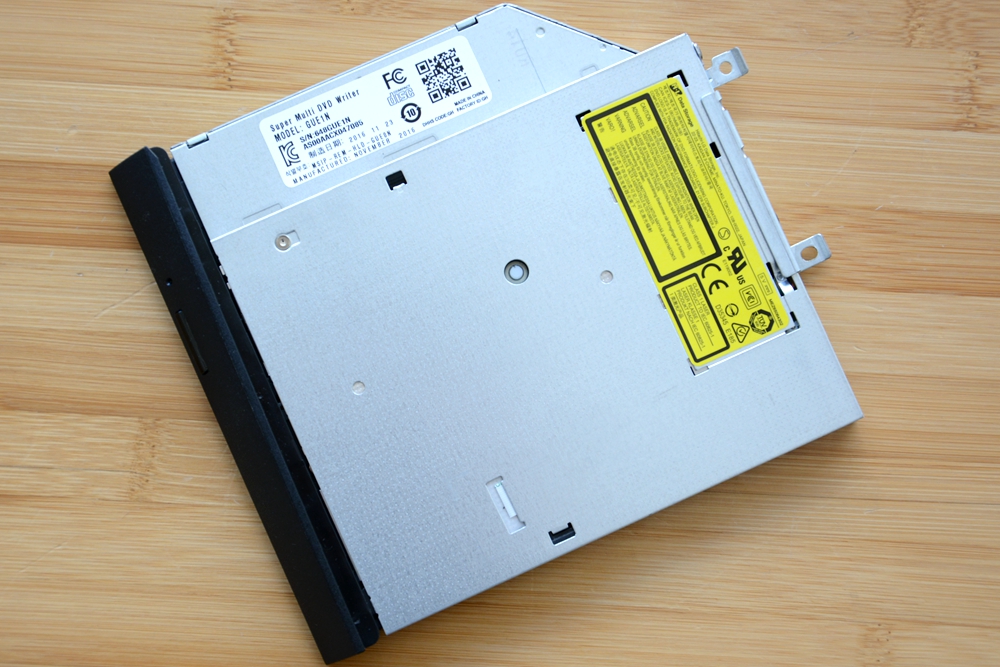
Remove two screws securing the DVD drive and remove it.

HL-DT-ST GUE1N DVD burner
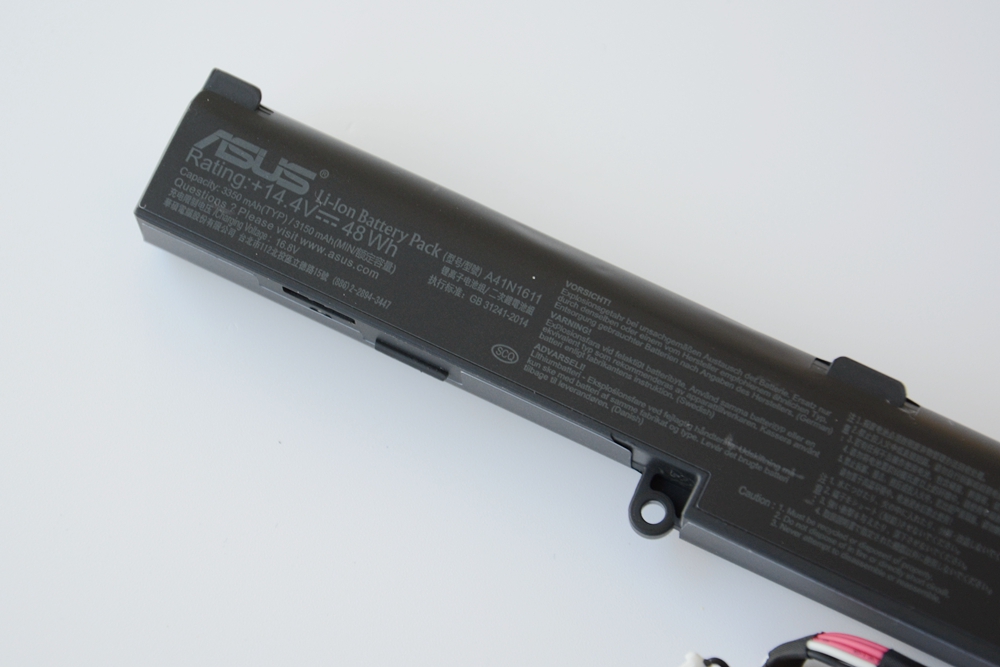
Here’s 4 cell Li-ion battery, the battery life should not be very long. For the game laptop, 4-cell battery is relatively small.
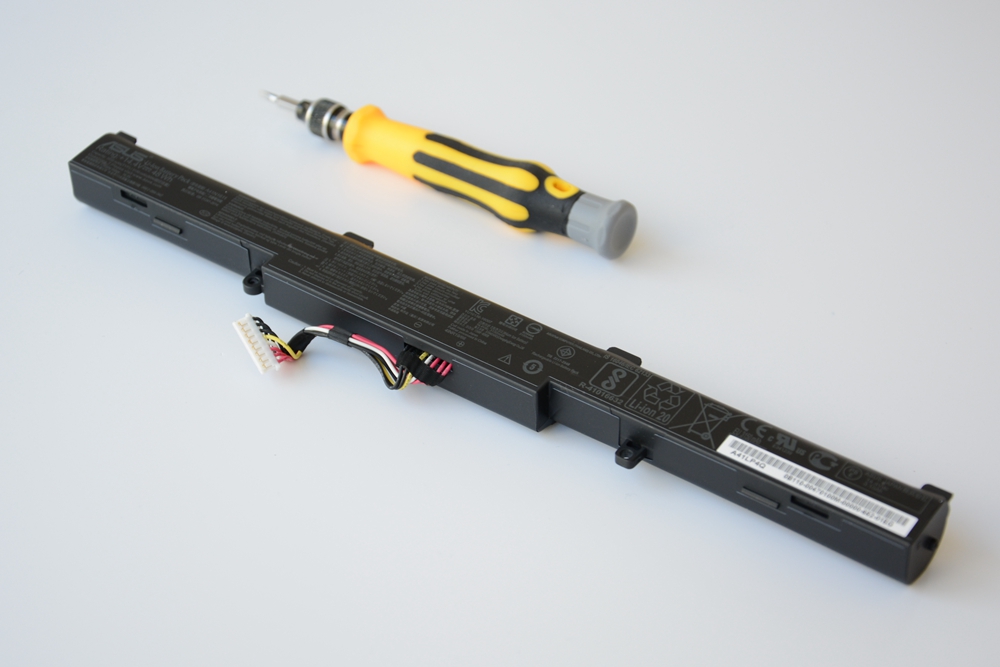
14.4V, 48Wh Li-ion battery, Asus P/N: A41N1611.
3. Removing the M.2 SSD
Remove the screw securing the SSD and take it out of its slot.
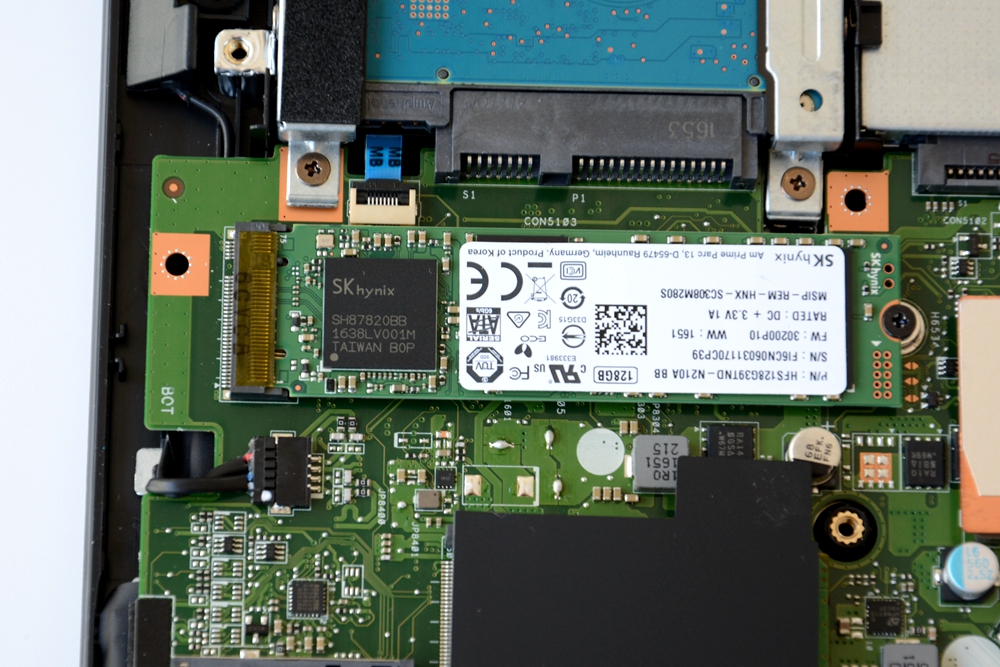
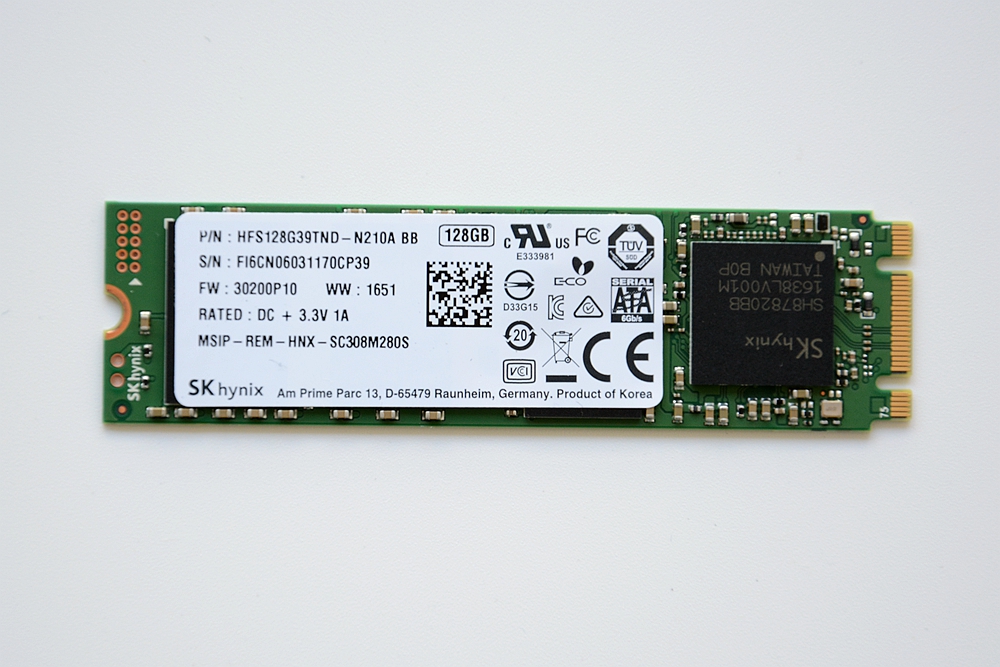
SK Hynix HFS128G39TND-N210A 128GB M.2 SATA SSD
The M.2 slot of ROG GL553VE is also supporting PCI-E Gen3X4 NVMe SSD. If necessary, you can replace it with a PCIe NVMe SSD.
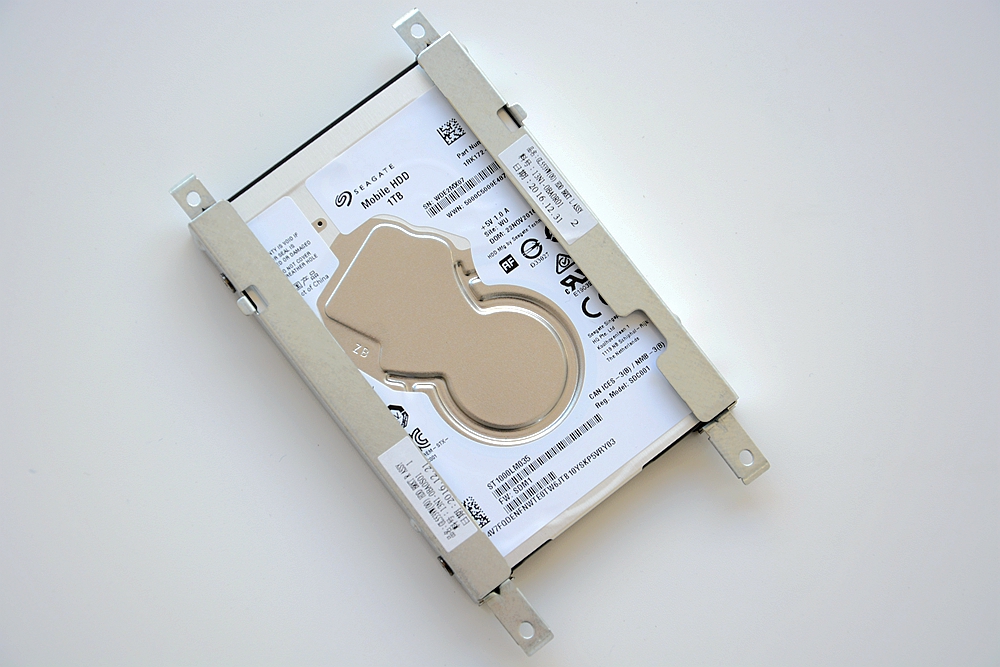
4. Removing the hard drive
Remove four screws and take out the hard drive module.
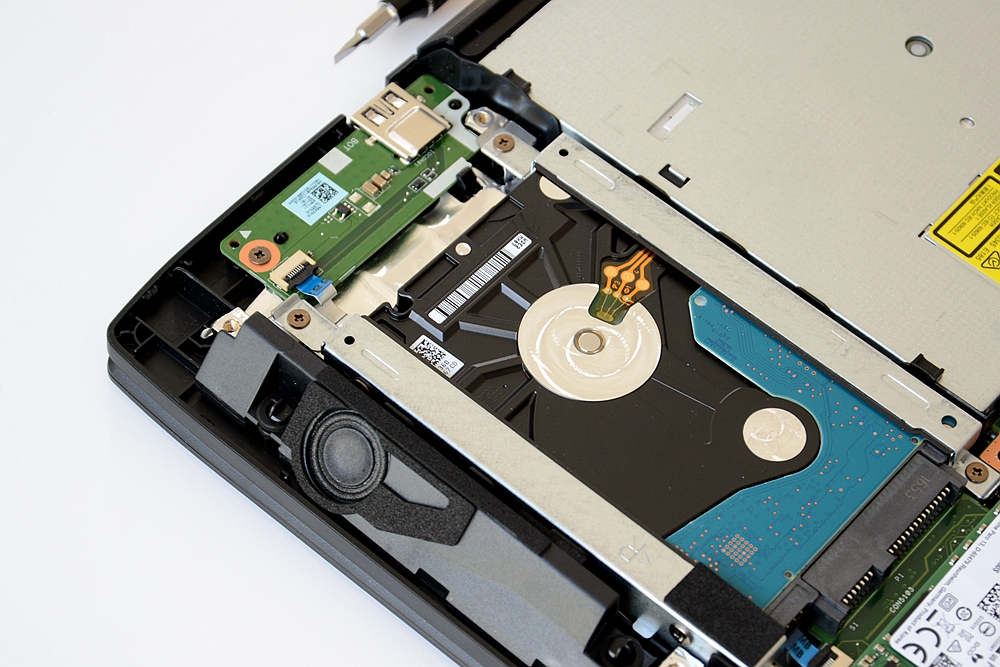
Seagate 1TB hard drive
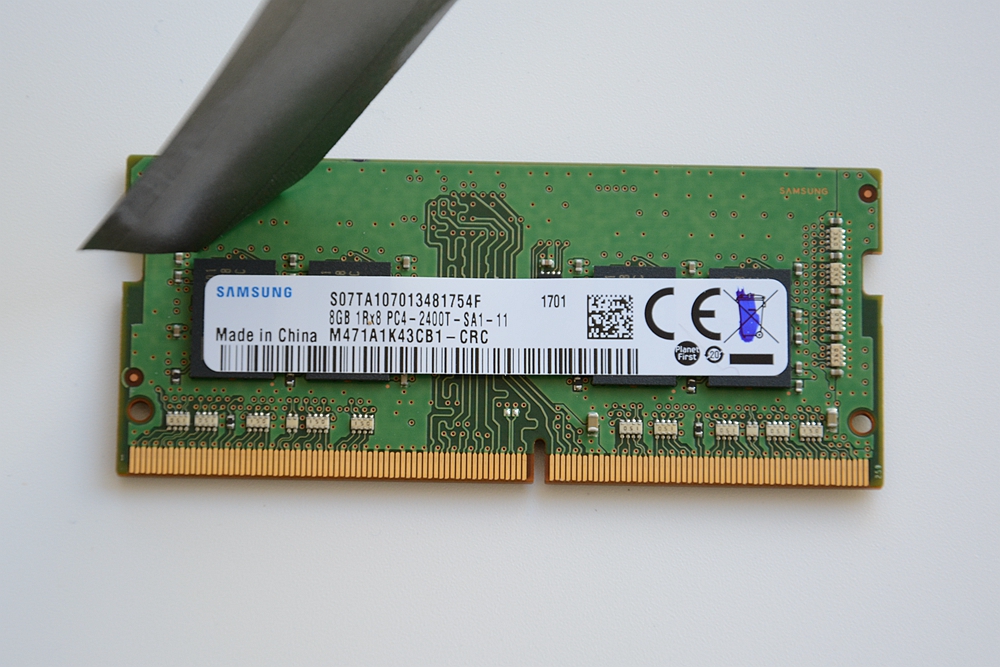
5. Removing the RAM
ASUS GL553VE has two RAM slots and support up to 32GB RAM.
The laptop comes with an 8GB DDR4 RAM.

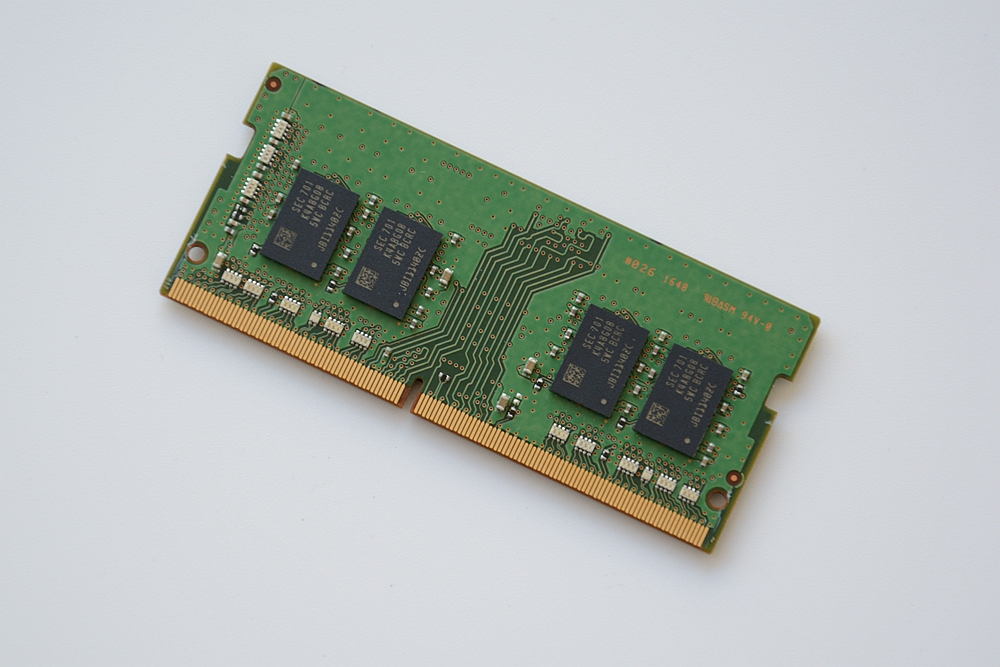

Samsung 8GB DDR4-2400MHz RAM
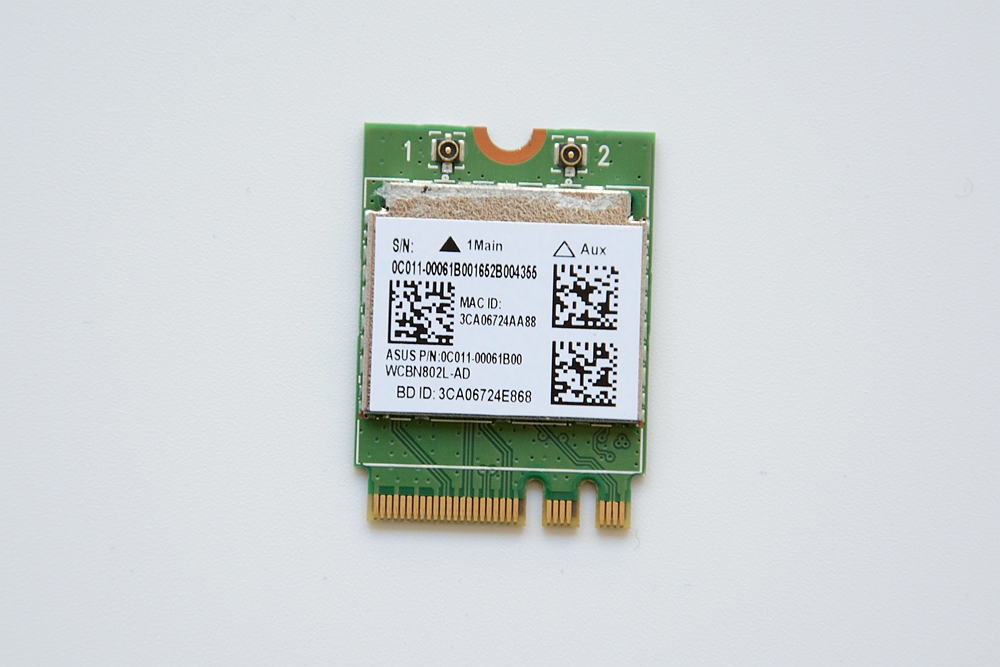
6. Removing the Wi-Fi card
Remove one screw and disconnect two antenna cables.
Pull out the card from its slot.
Wi-Fi module, Asus P/N: 0C011-00061B00
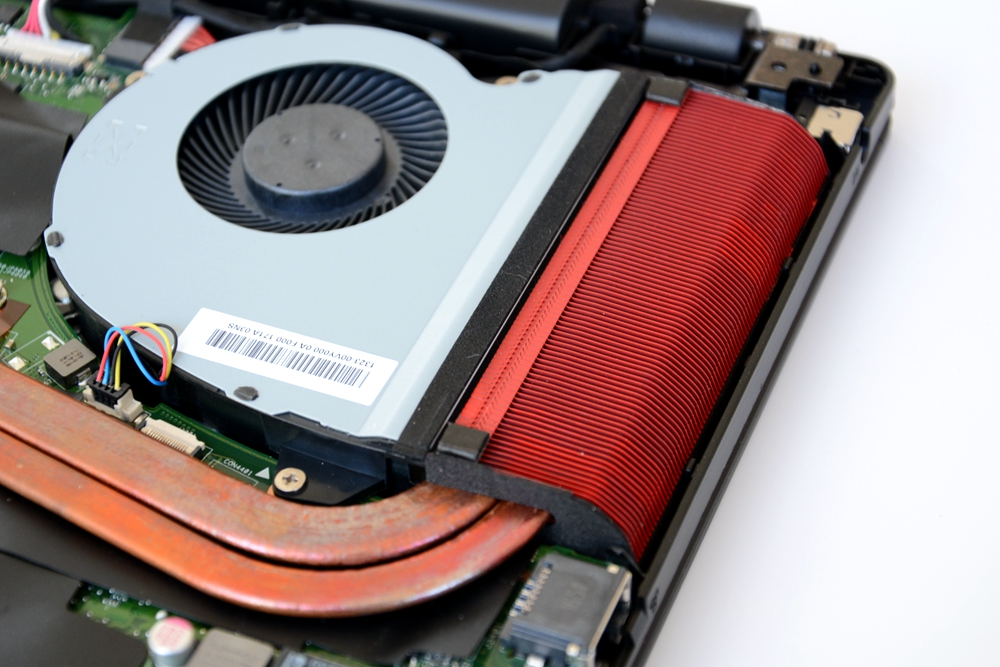
7. Removing the cooling fan
The basic hardware is removed. Is relatively simple, no trouble.
Here’s the speaker module.
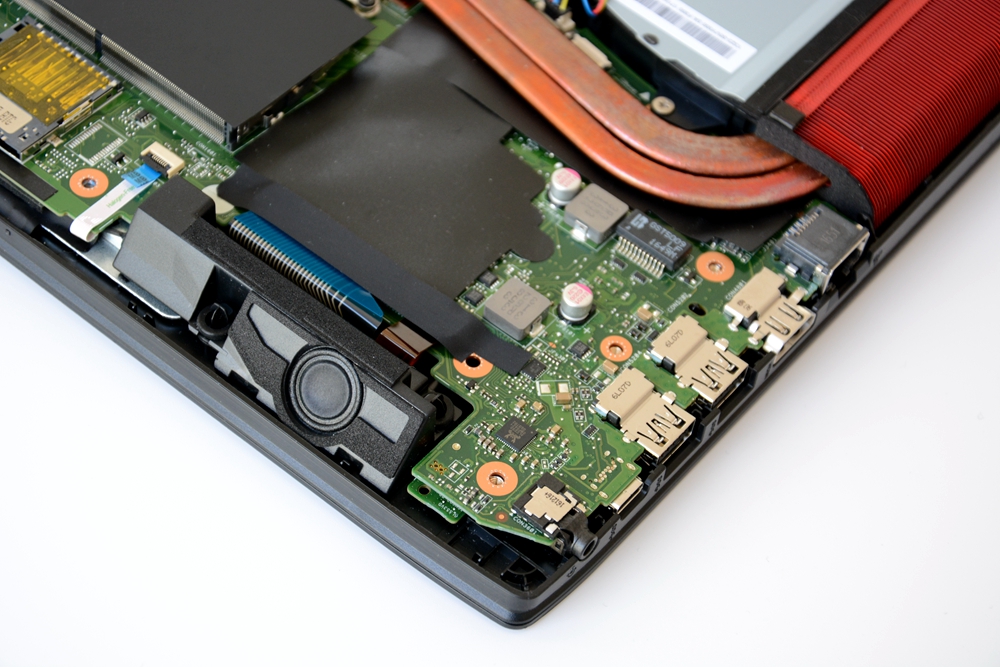
Remove the screw and disconnect fan cable from the motherboard. The cooling fan is relatively large, and the wind is relatively strong. The actual test results are also good.

8. Removing the motherboard
If you want to remove the motherboard, you need to disconnect all cables from the motherboard, do not have to remember the location, the main attention does not break them. There is only one screw securing the motherboard, but it is under the wireless module, so be sure to remove the wireless module.

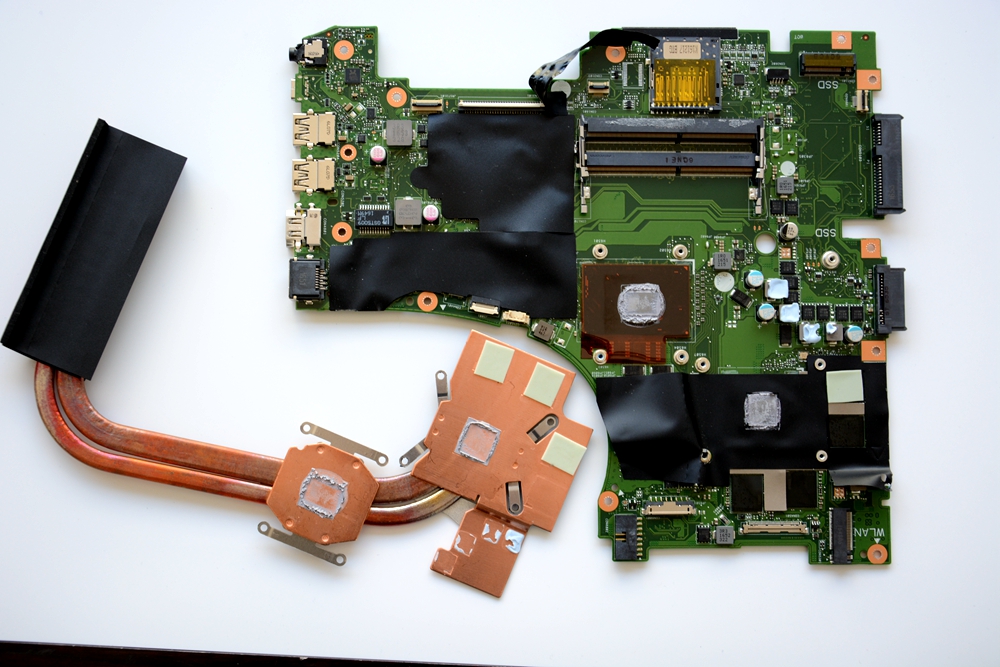
Green motherboard, the cooling system covering a large area of the motherboard

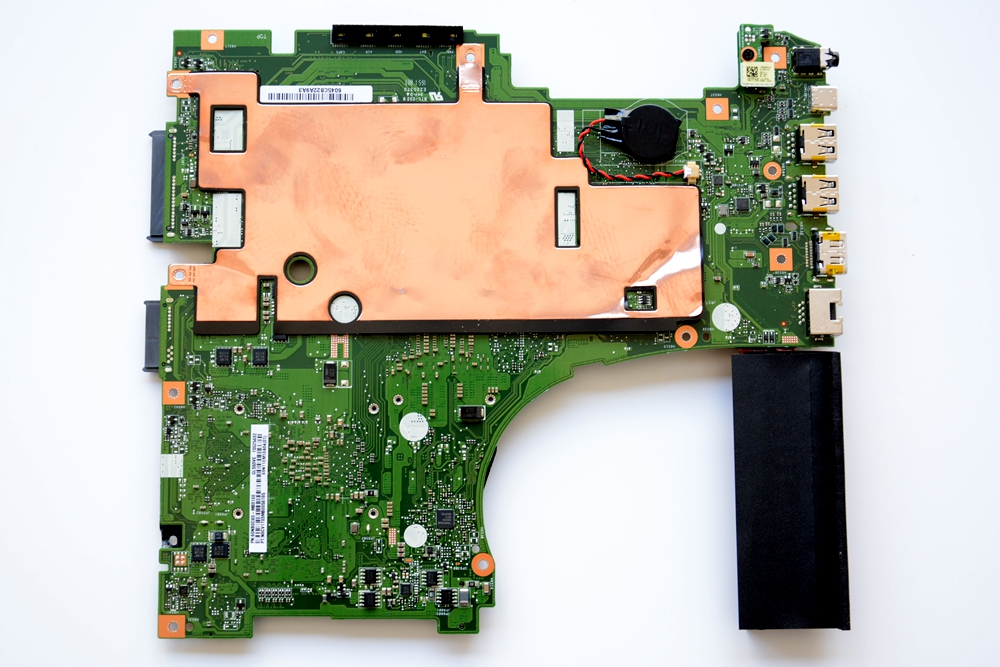
The back of the motherboard, there is a large piece of copper, is also used to heat dissipation.
The CMOS battery is also on the back of the motherboard.
9. Removing the heat sink
Unscrew the screws on the processor and graphics card. You can remove the heat sink. You can see all the parts covered with the thermal grease and thermal film.

")


