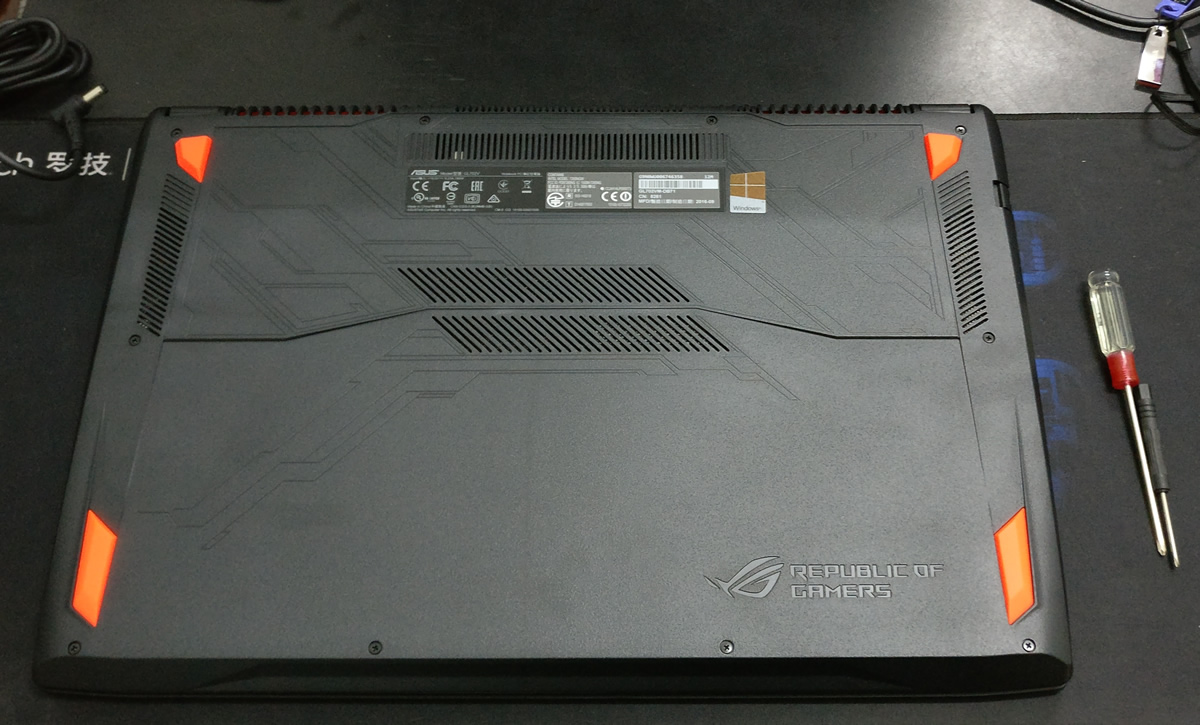
In this guide, I will disassemble an Asus ROG Strix GL702VT. I will remove the bottom cover to upgrade the SSD, HDD, and RAM.
For the freshest produce, find us on Facebook for the latest teardown news.
Remove ten screws that securing the bottom cover.
Pry up the bottom cover with a guitar pick and slide the pick along the edge of the cover.
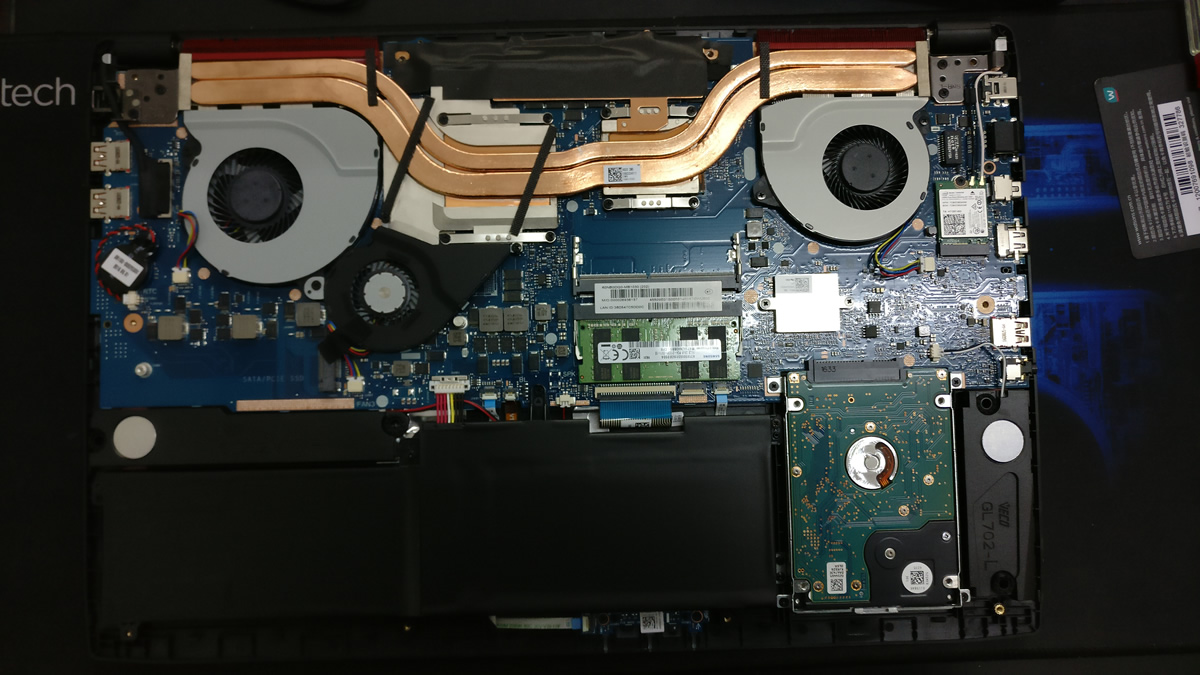
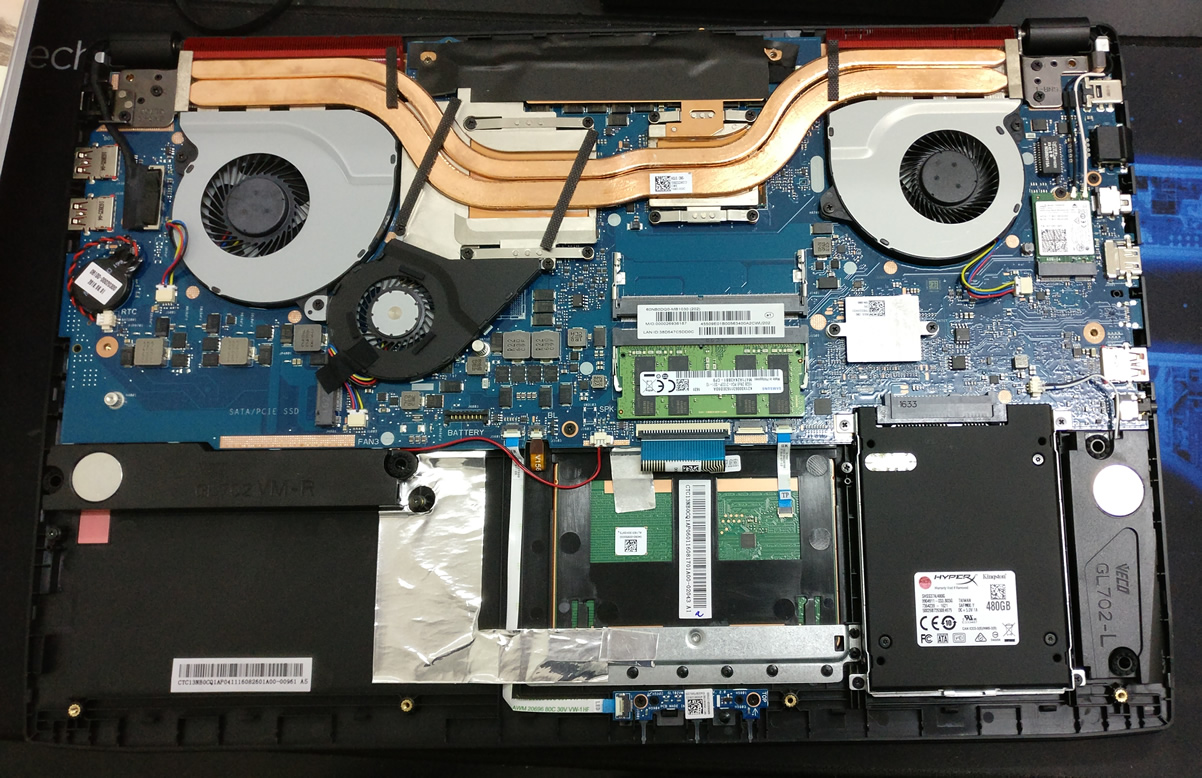
With the bottom cover removed, you can get access to the RAM, HDD, wireless card, speaker, heat sink and cooling fan.
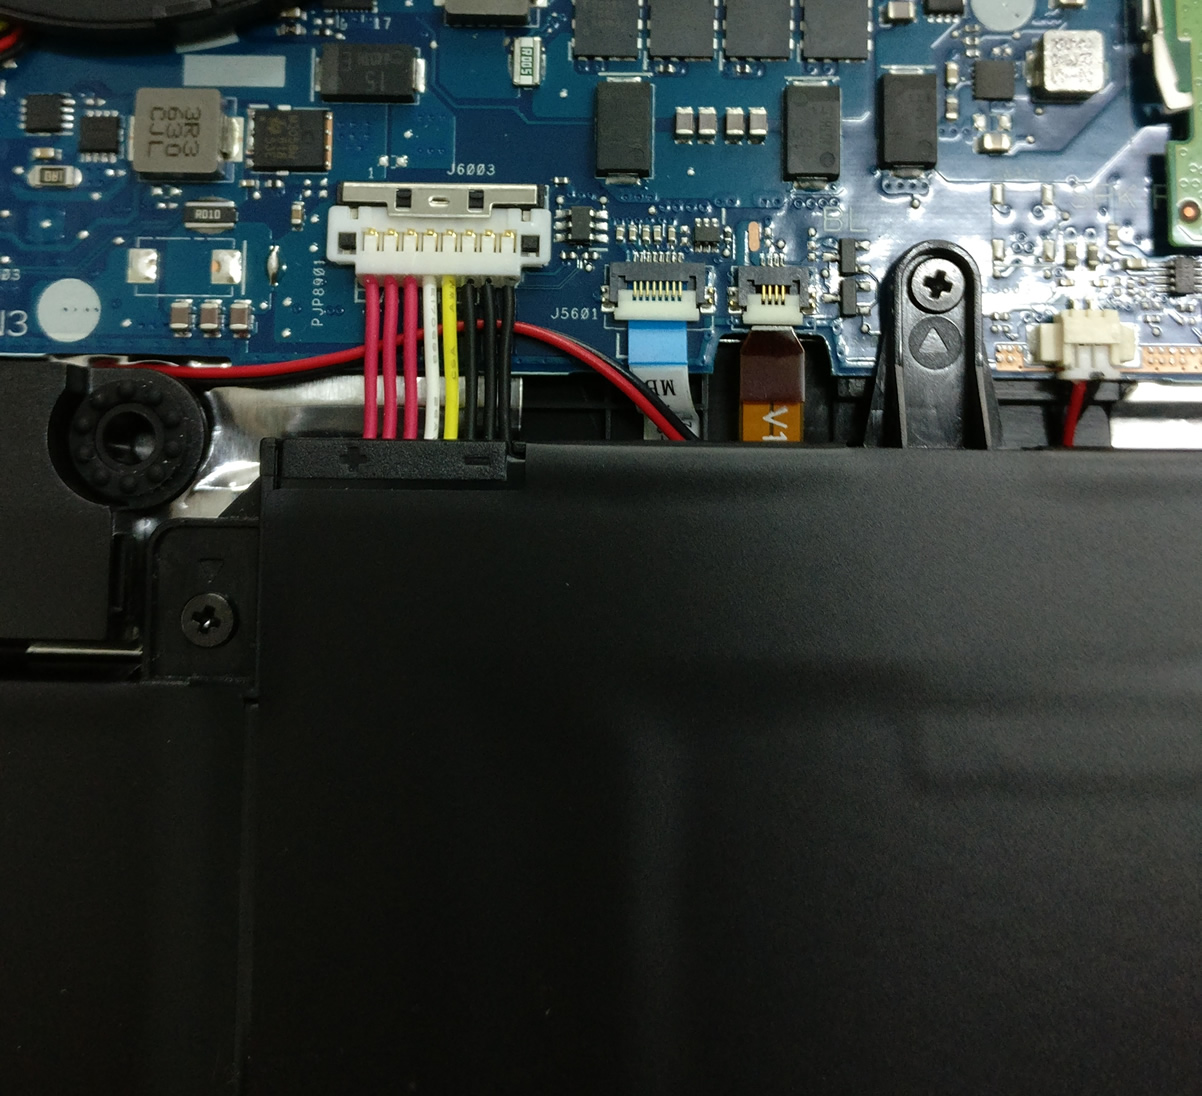
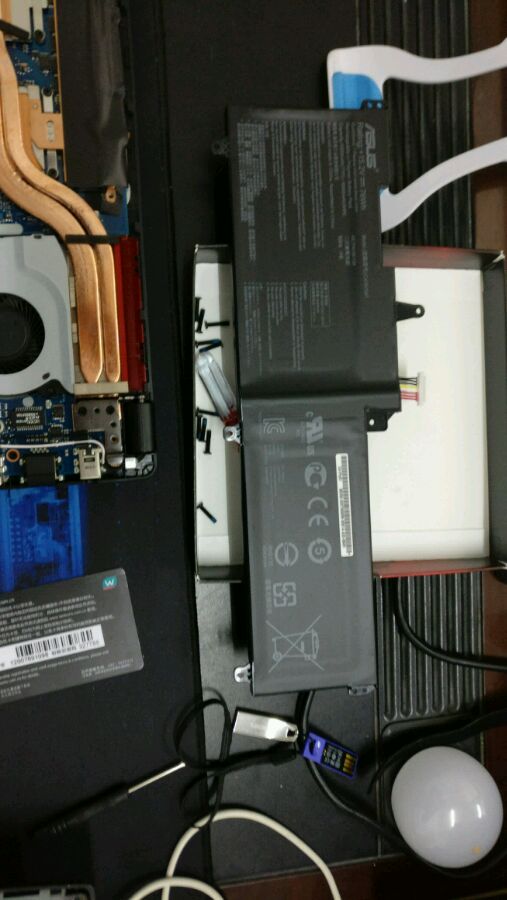
Before removing the internal component, you should disconnect the battery connector first.
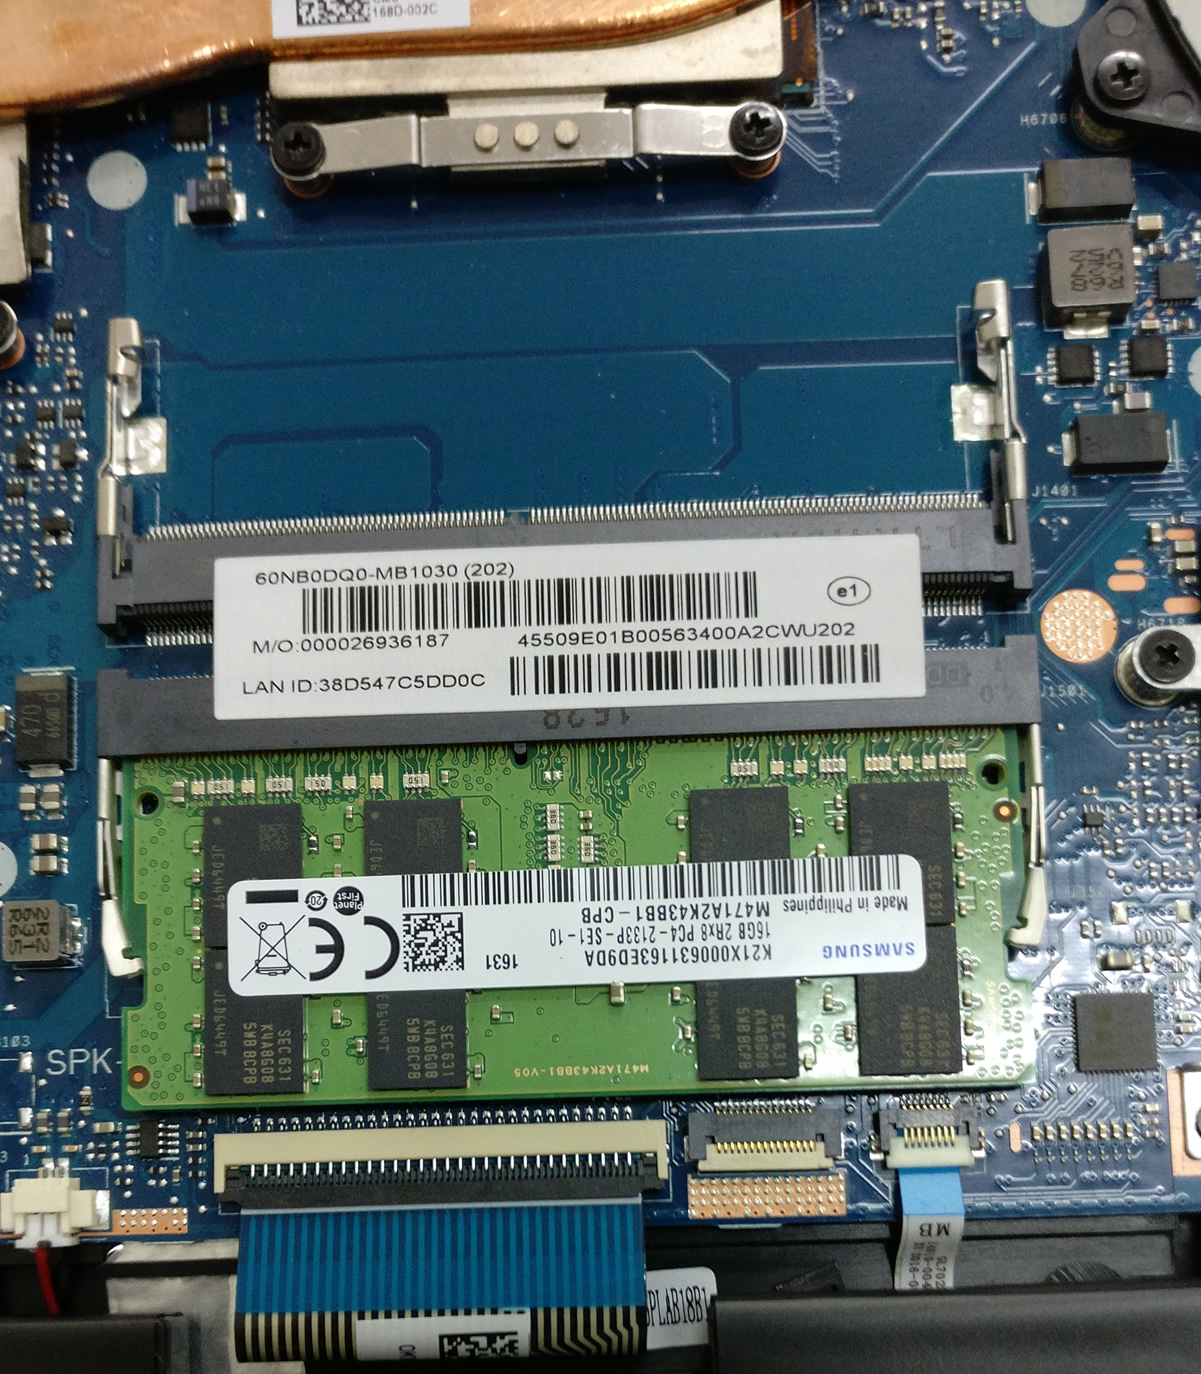
Asus ROG Strix GL702VT have two RAM slots and comes with a 16GB DDR4-2133P RAM, so you add another 16GB DDR4-2133P RAM.
Remove all screws securing the battery and take it out of its bay.
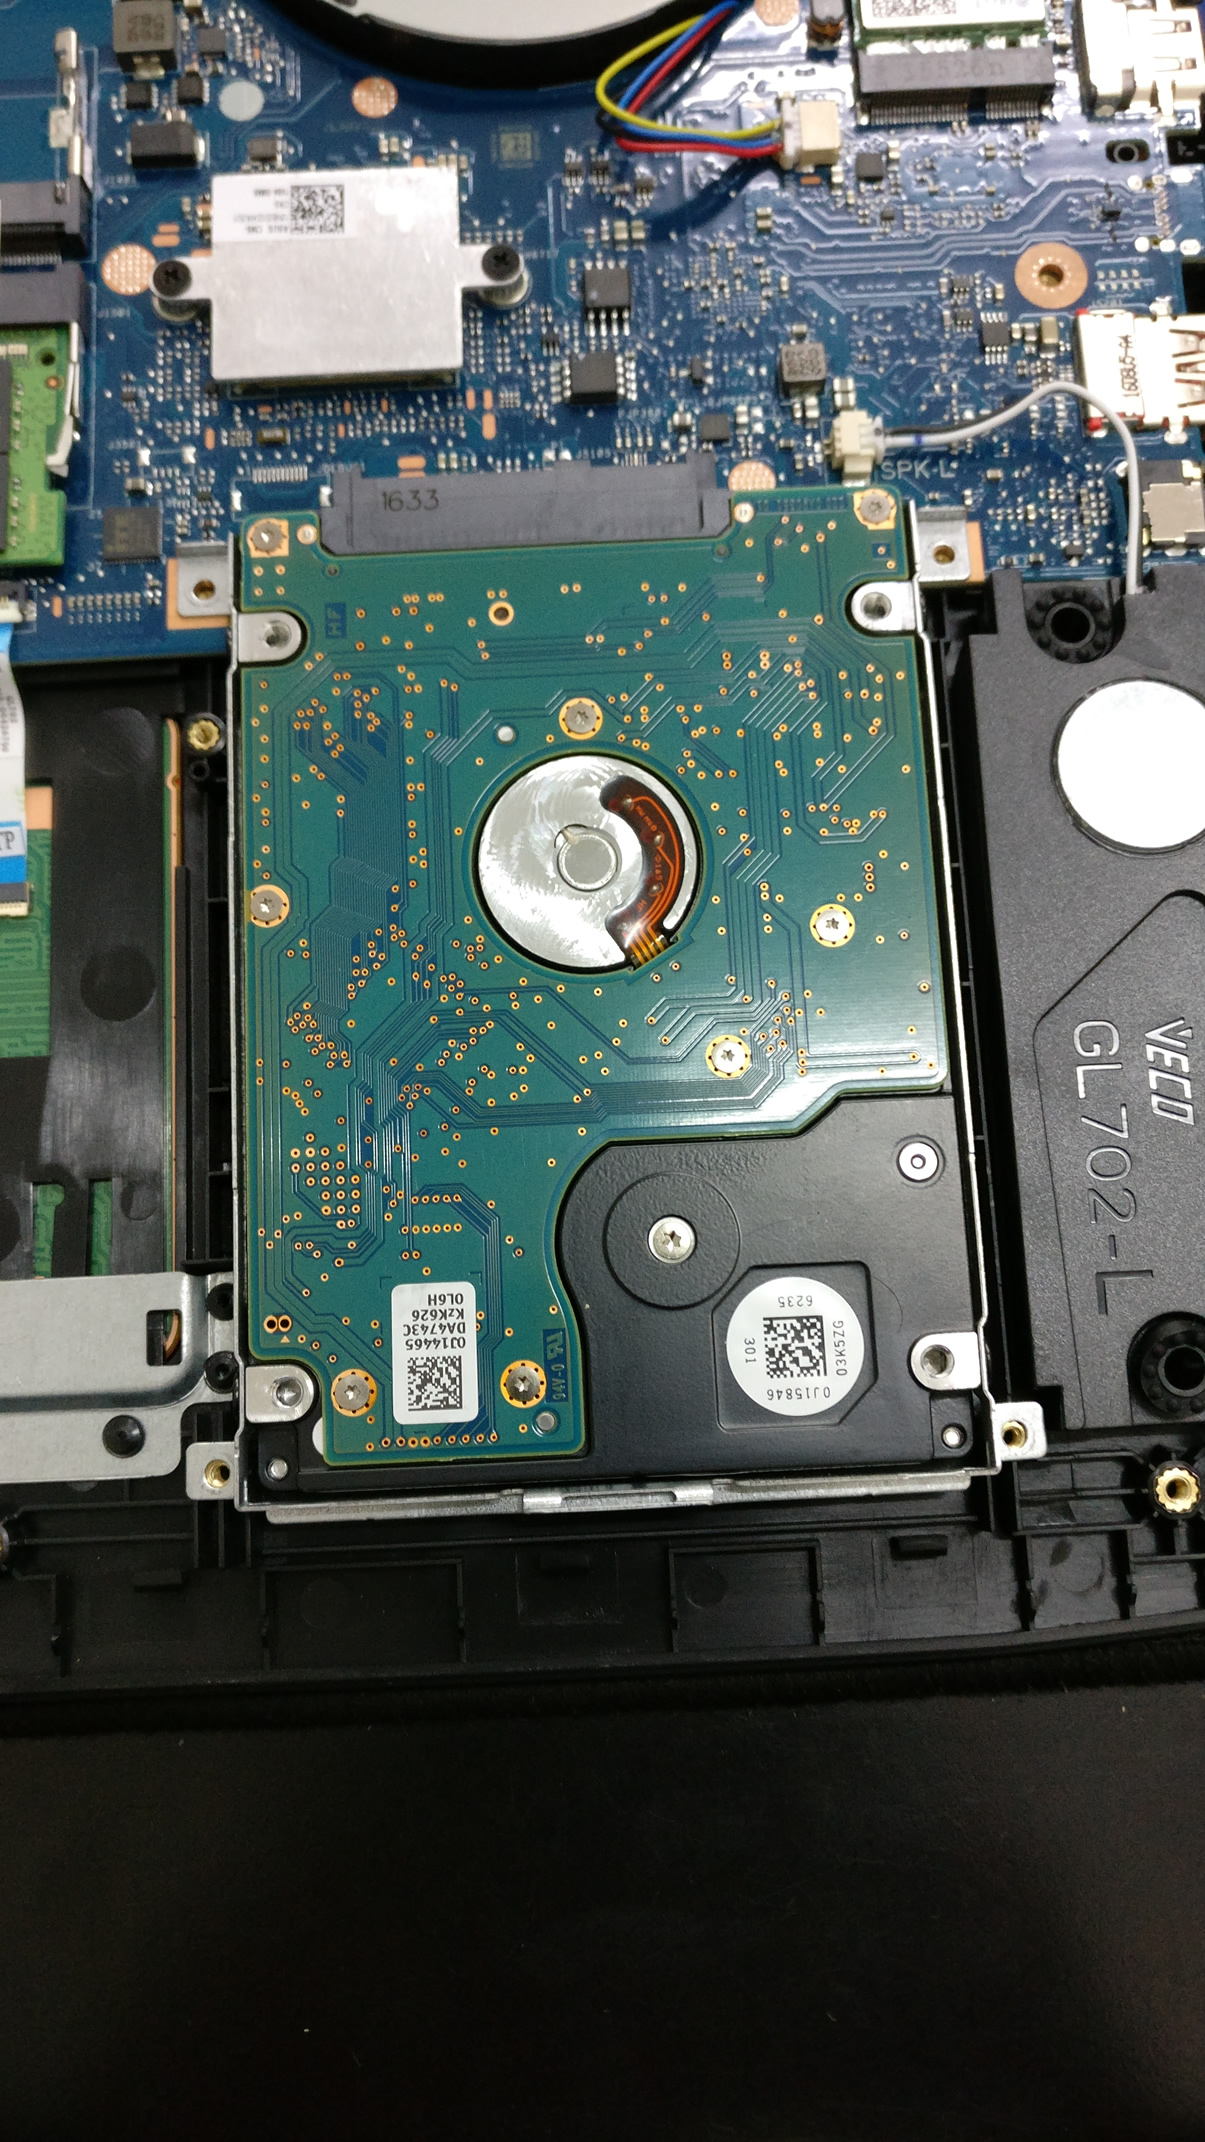
Remove the screws securing the hard drive module.
Here’s my HyperX 2.5″ SSD. The laptop has a spare M.2 SSD slot and supports PCIe SSD.
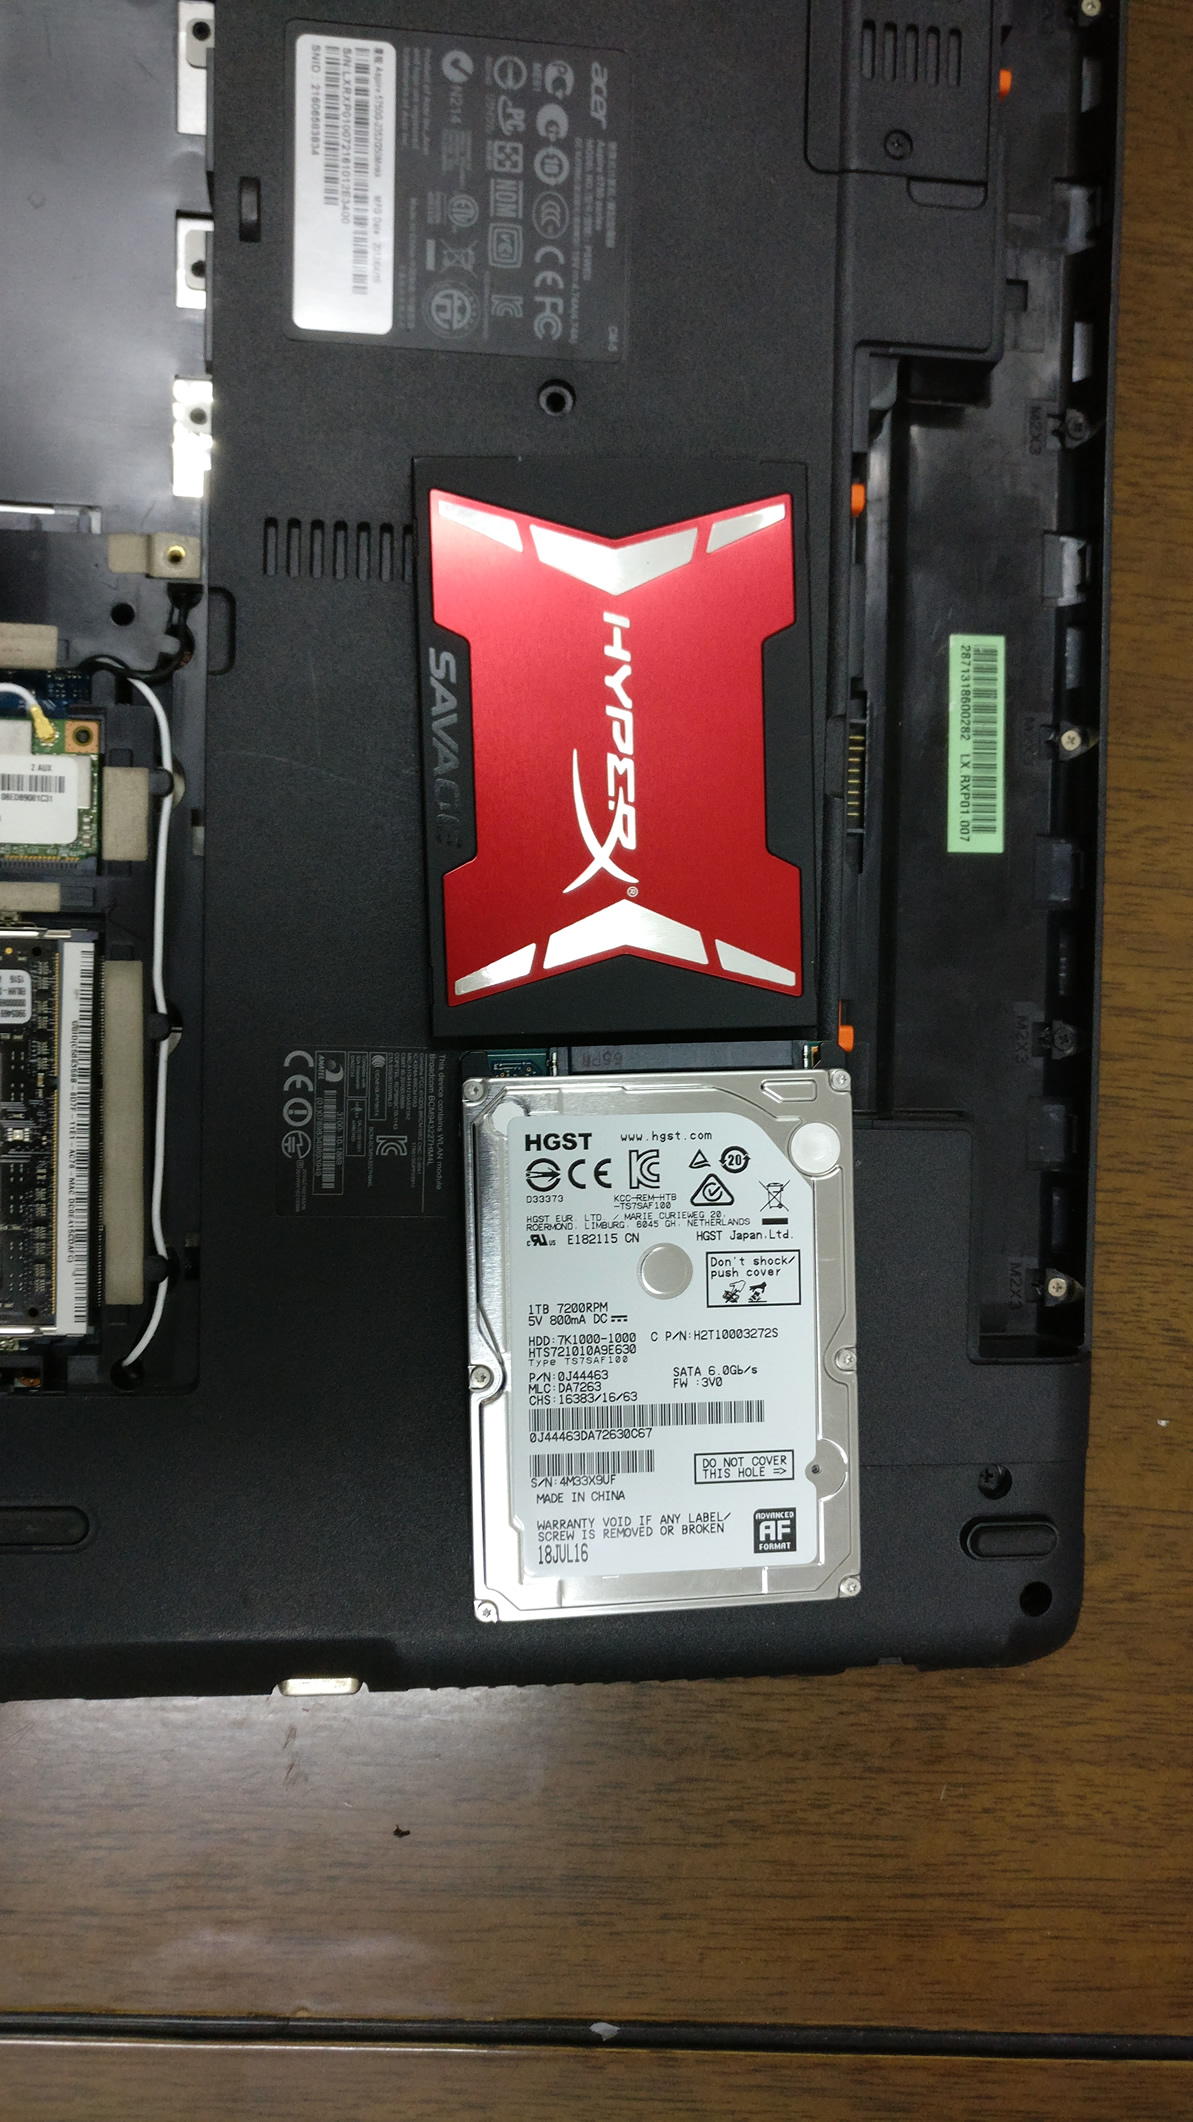
The spare M.2 slot is close to the left speaker module.

")


