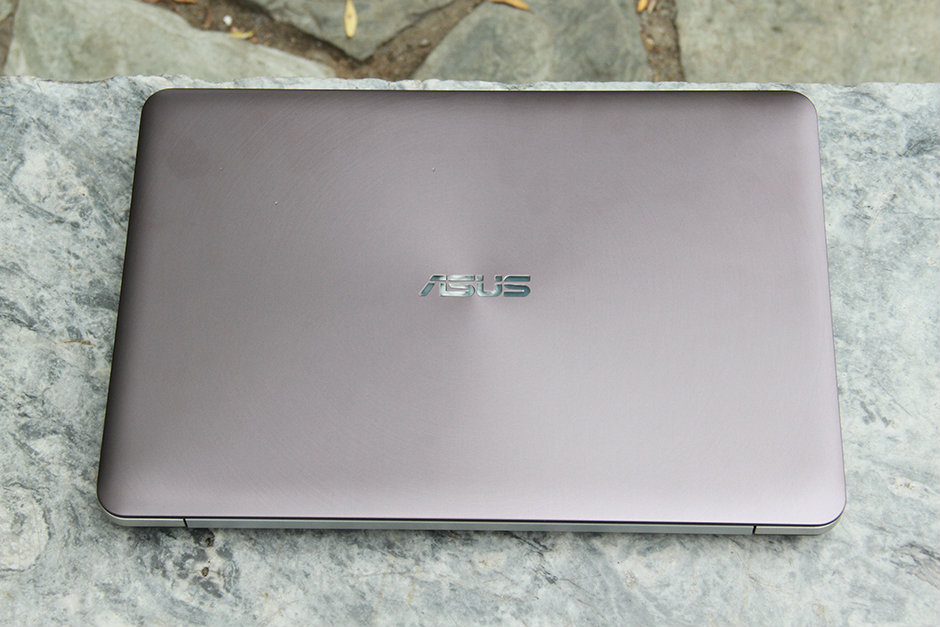
The Asus N552VW is power packed with the latest Intel i7-6700HQ quad-core processor and the NVIDIA GeForce GTX 960M graphics card to let you unleash the power of gaming on the move. While most competing notebooks at a similar hardware setup are priced almost twice as much as the N552VW, this laptop does offer a simple design to make up for the powerful hardware.
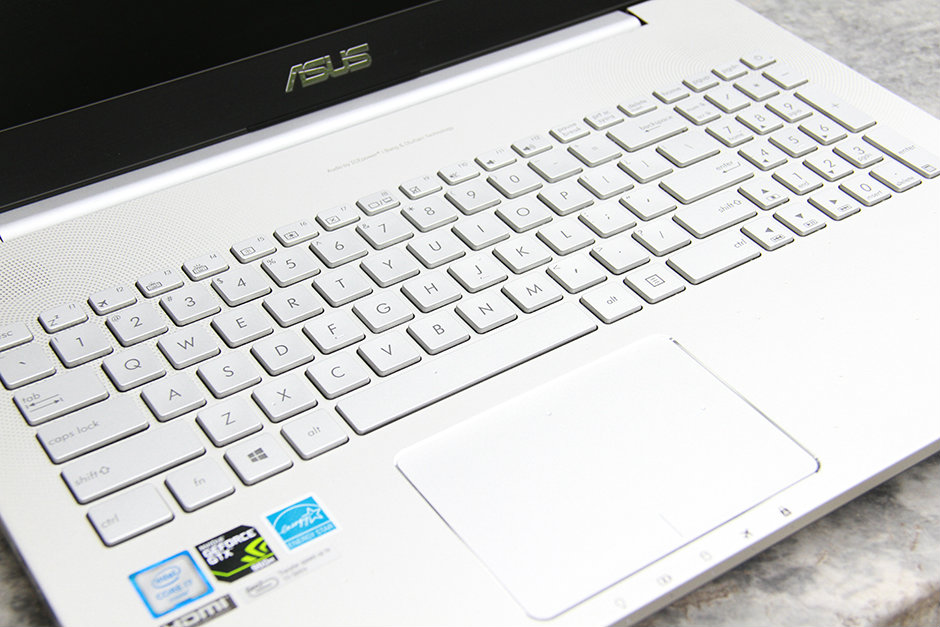
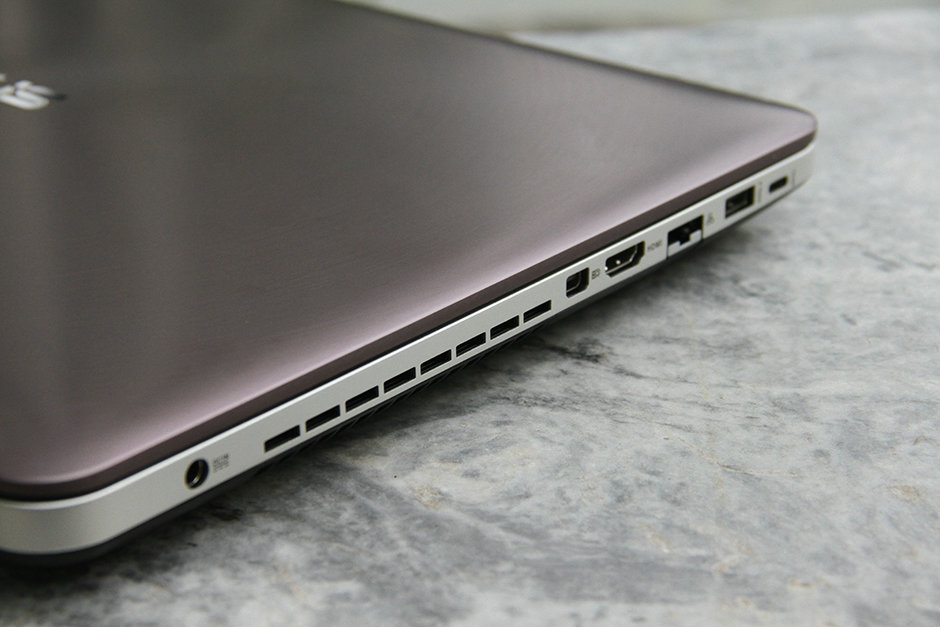
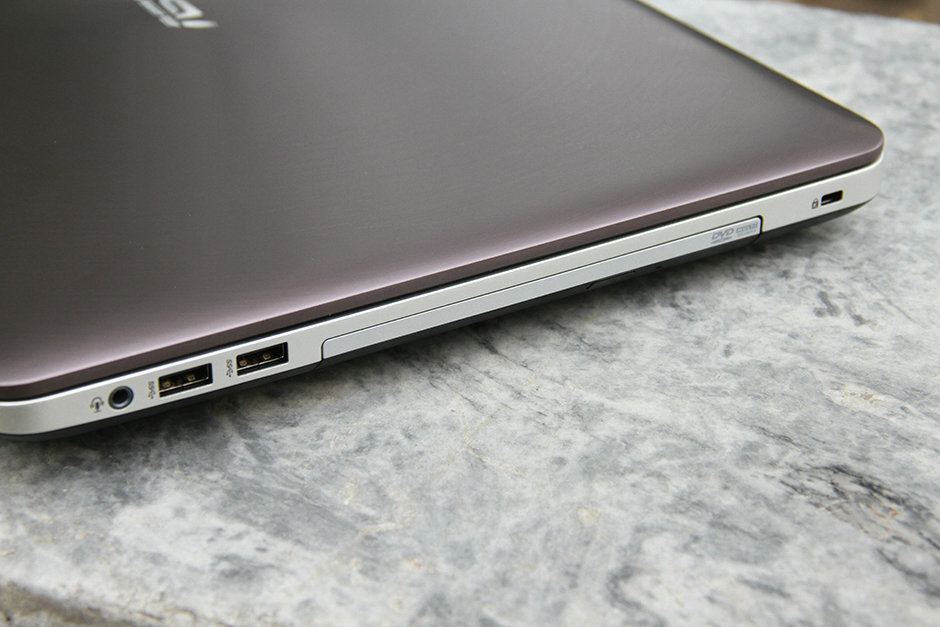
Asus has equipped the N552VW with a 15.6 inch Full HD display panel from LG, based on the IPS display technology and sporting a resolution of 1920 x 1080 pixels. The Asus N552VW is quite well-equipped with connectivity options, which includes 3 x USB 3.0 ports, 1 x USB 3.1 Type-C port, 1 x mini Display Port, 1 HDMI port, SD Card Reader, a DVD burner and a Combo audio jack.
Remove two screws securing the service cover.
Using a plastic stick pry the cover out and remove it.

Remove four screws securing the hard drive bracket to the case.
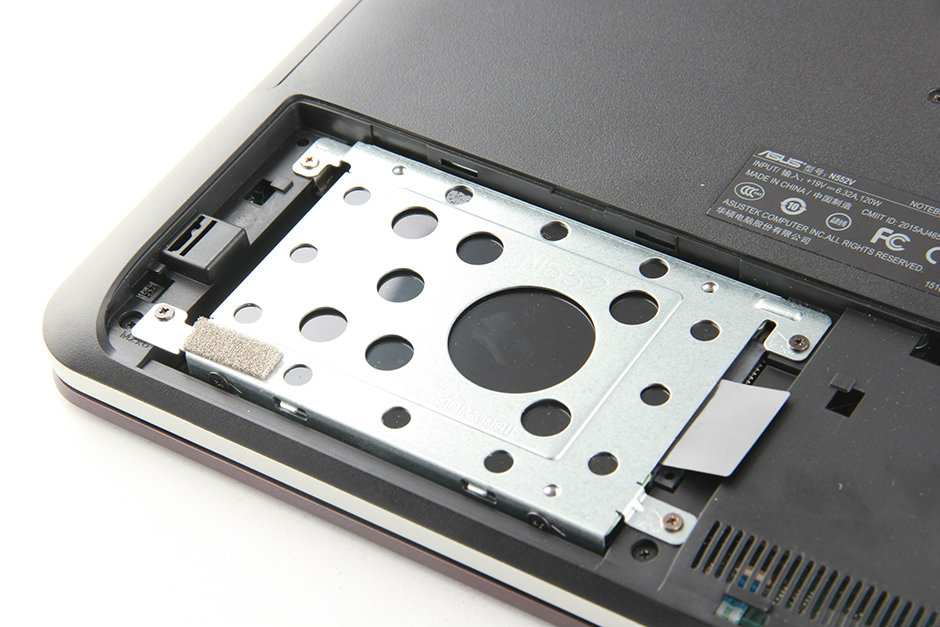
Slide the hard drive assembly to the left to disconnect it from the motherboard.
Lift up and remove the hard drive.
The laptop comes with an HGST 1TB 7200RPM hard drive.

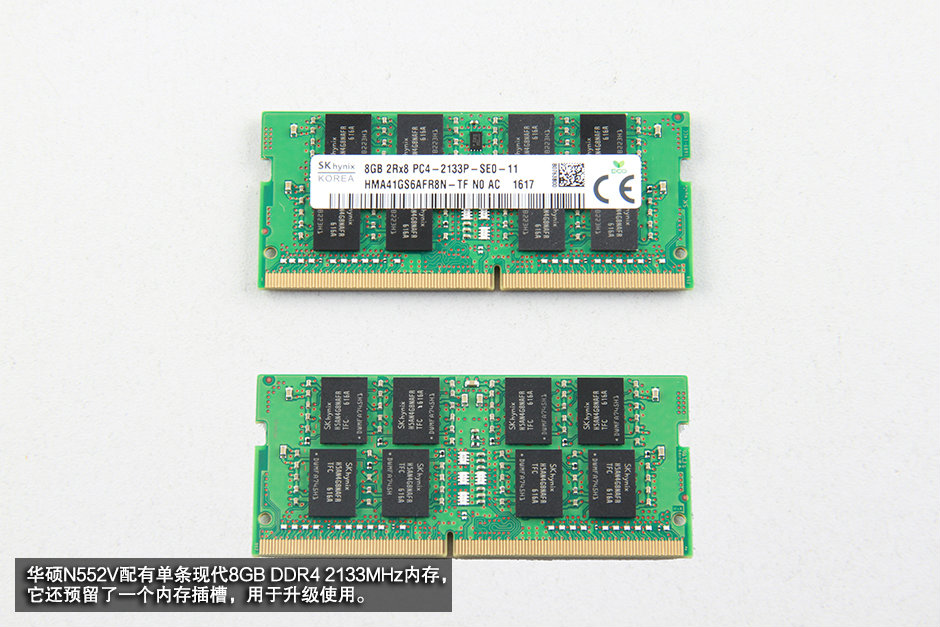
Asus VivoBook Pro N552VW has two RAM slots, but only one RAM slot was taken, so you can upgrade the RAM. According to the Asus website information, the laptop supports up to 16GB DDR4 RAM.
Separate the clips and remove the RAM from its slot.
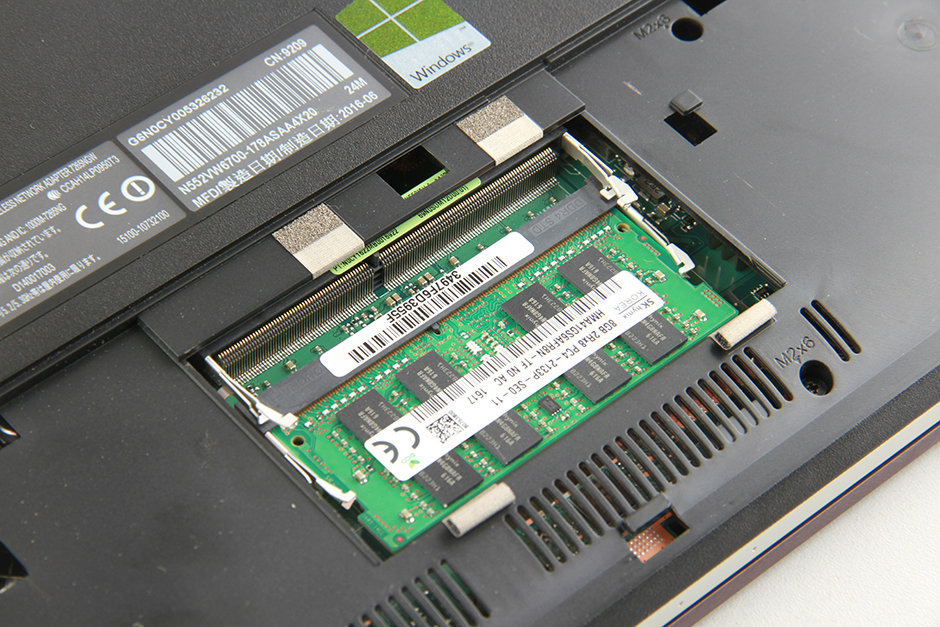
SK Hynix 8GB PC4-2133P RAM
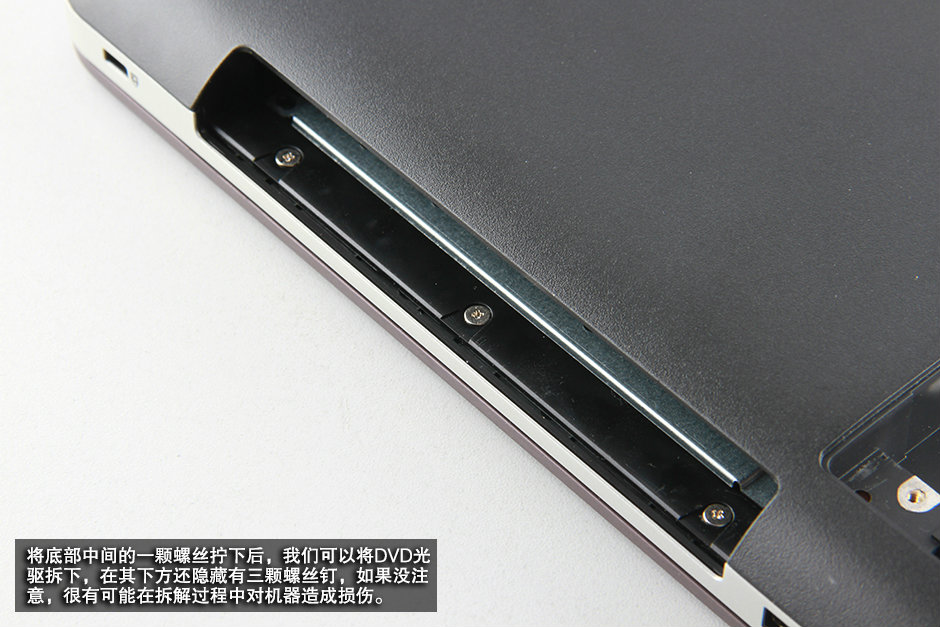
Remove one screw securing the optical drive.
Slide the drive to the left and pull it out of the laptop.
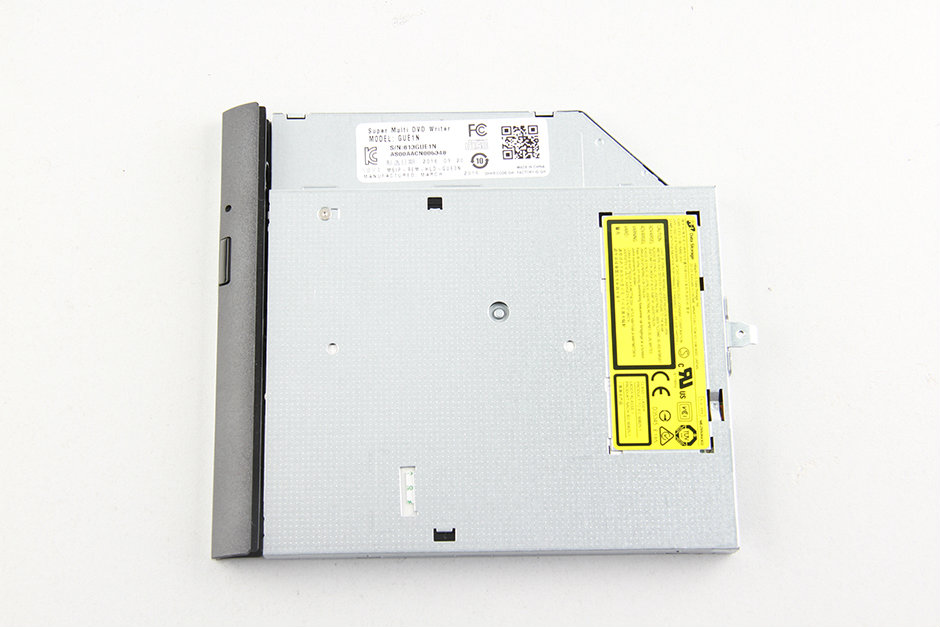
HL-DT-ST GUE1N CD DVD-RW Burner Drive
Remove all screws that securing the bottom cover.
Do not forget to remove some screws in the optical drive bay and some screws under the service cover.
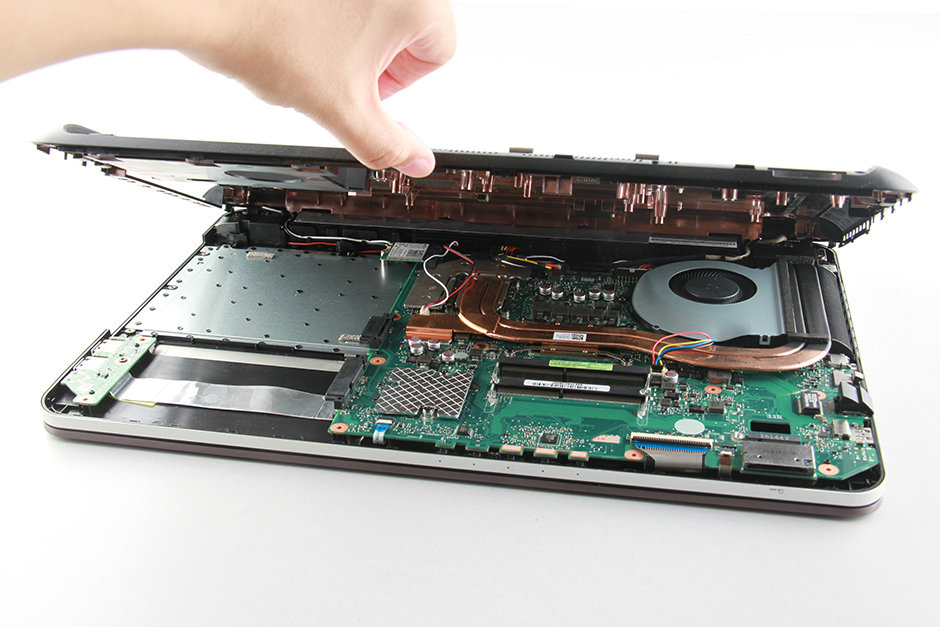
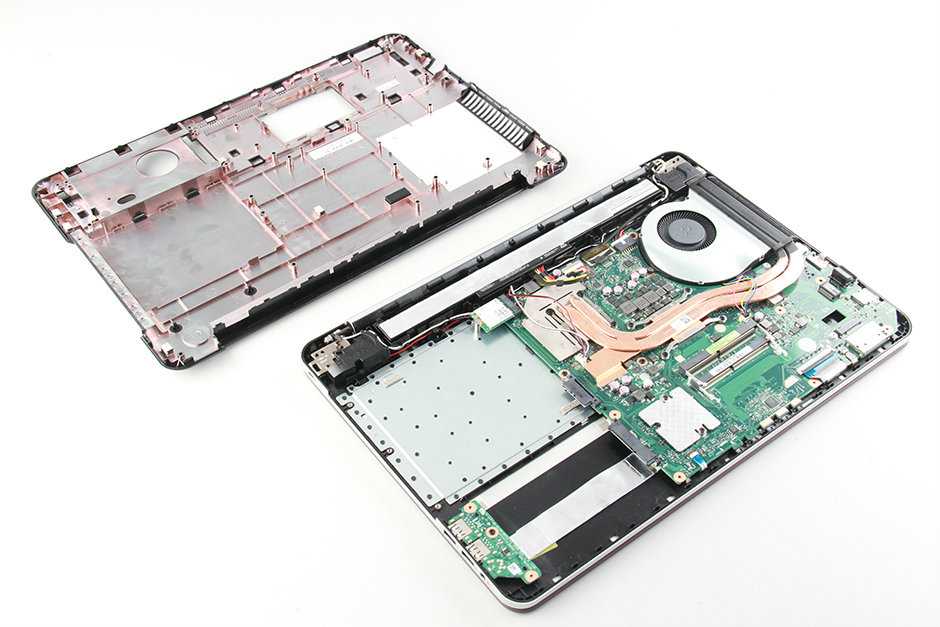
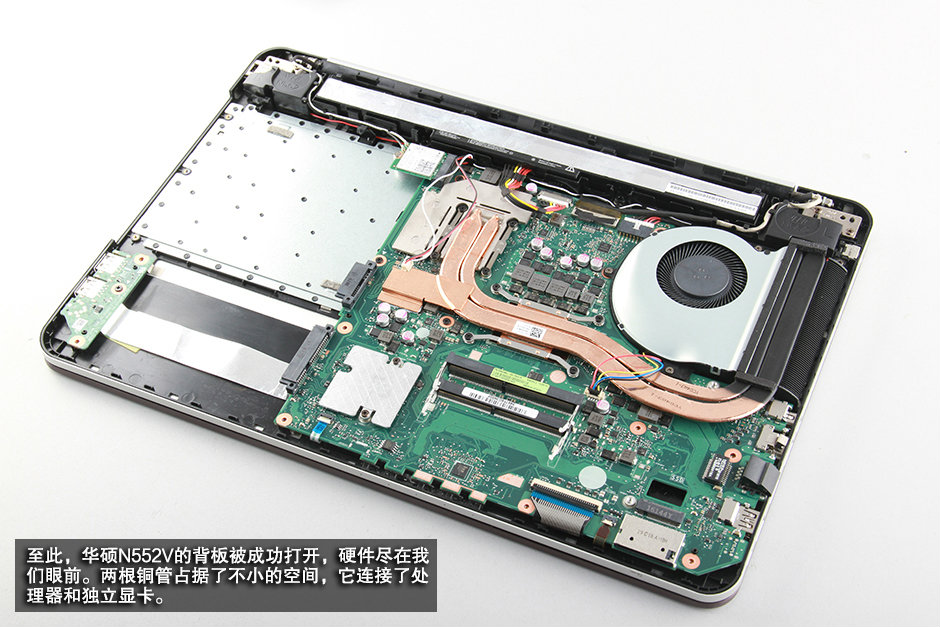
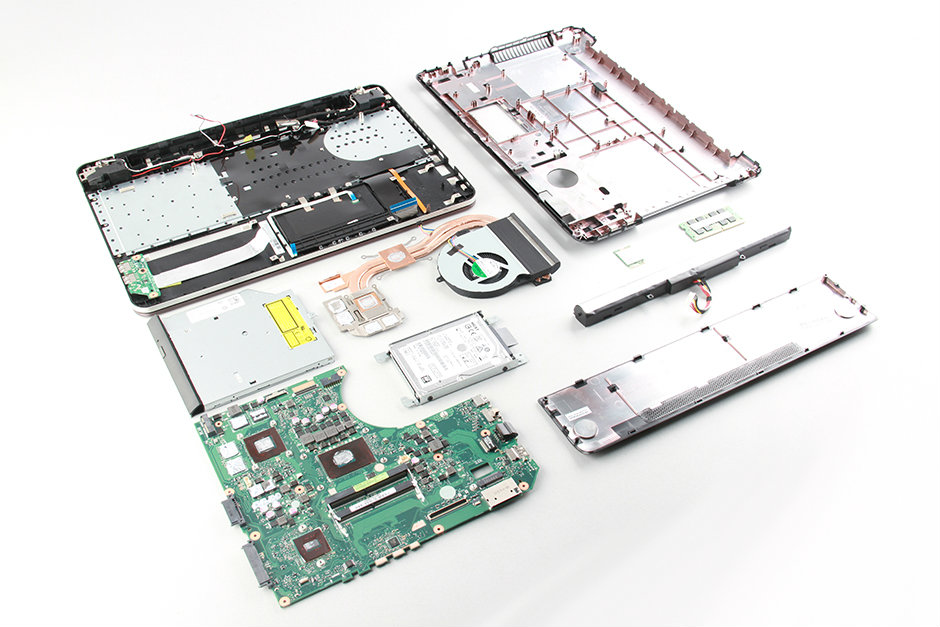
With the bottom cover removed, you will be able to get access to the wireless card, USB board, battery, speakers, heat sink and motherboard.
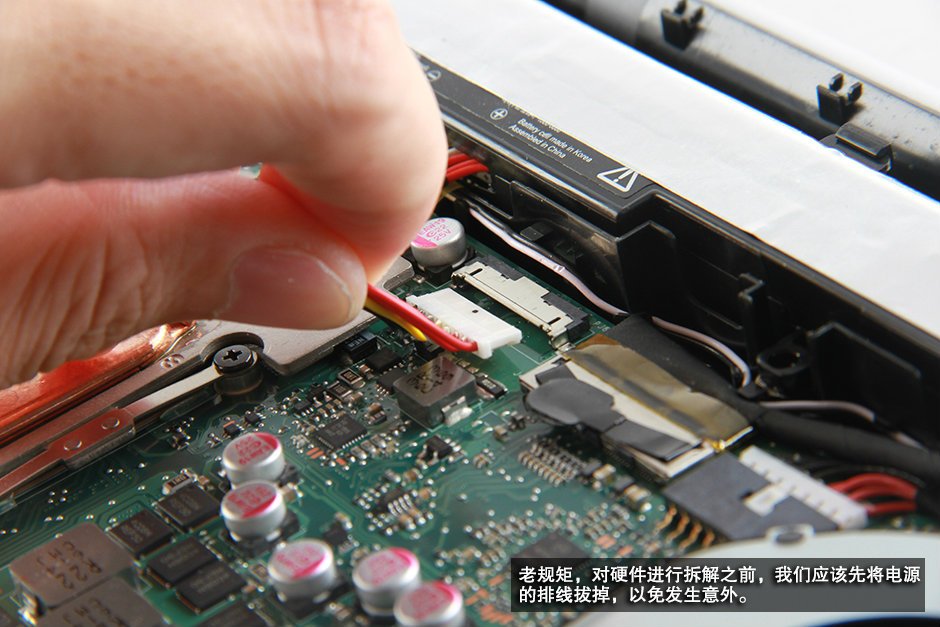
Disconnect the battery connector from the motherboard.
Remove two screws securing the battery to the laptop.
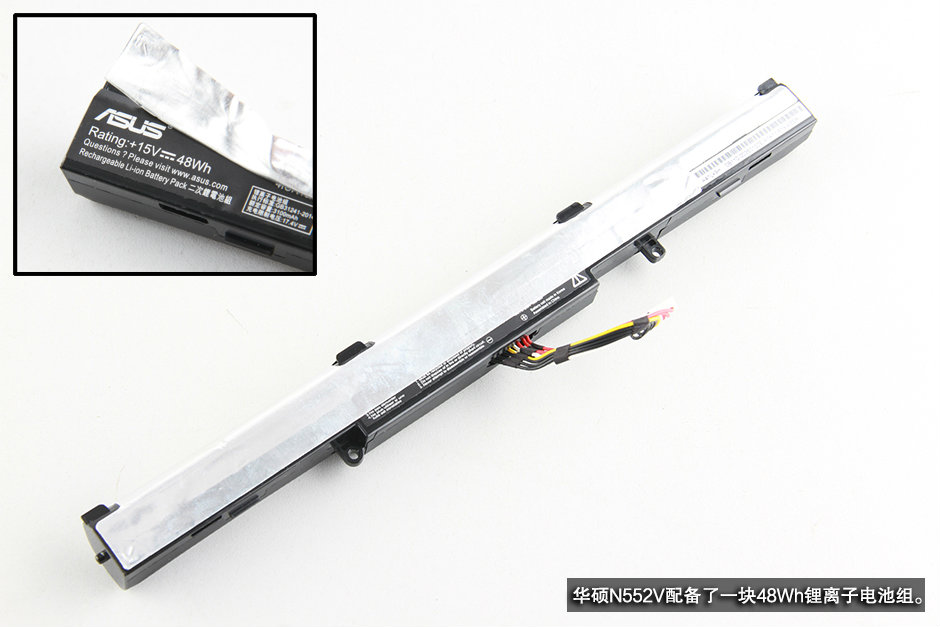
Asus VivoBook Pro N552VW features a 15V, 48Wh, Li-ion battery.
Remove one screw securing the wireless card.
Disconnect two antenna cables from the wireless card.
Take it out of its slot.
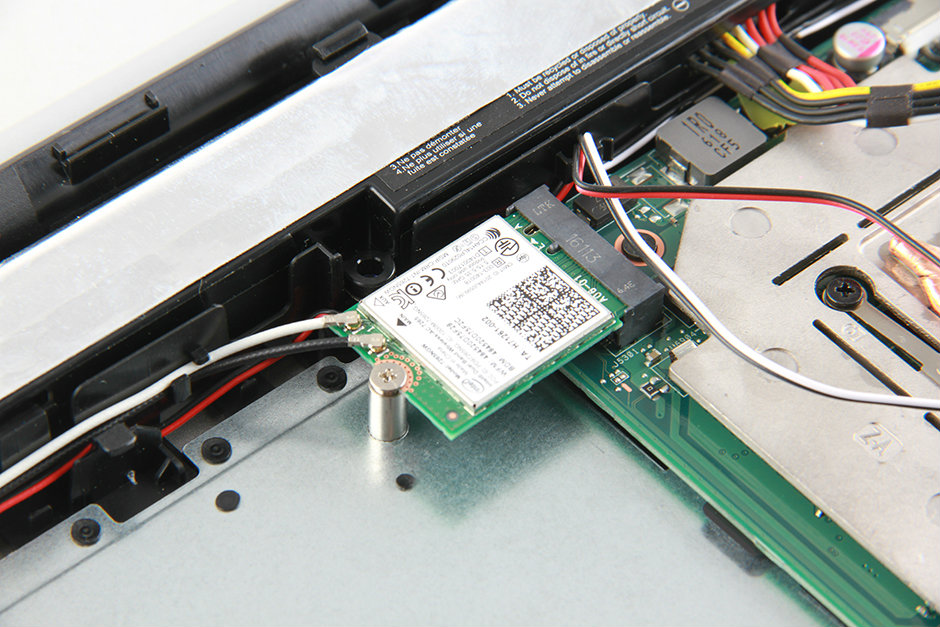
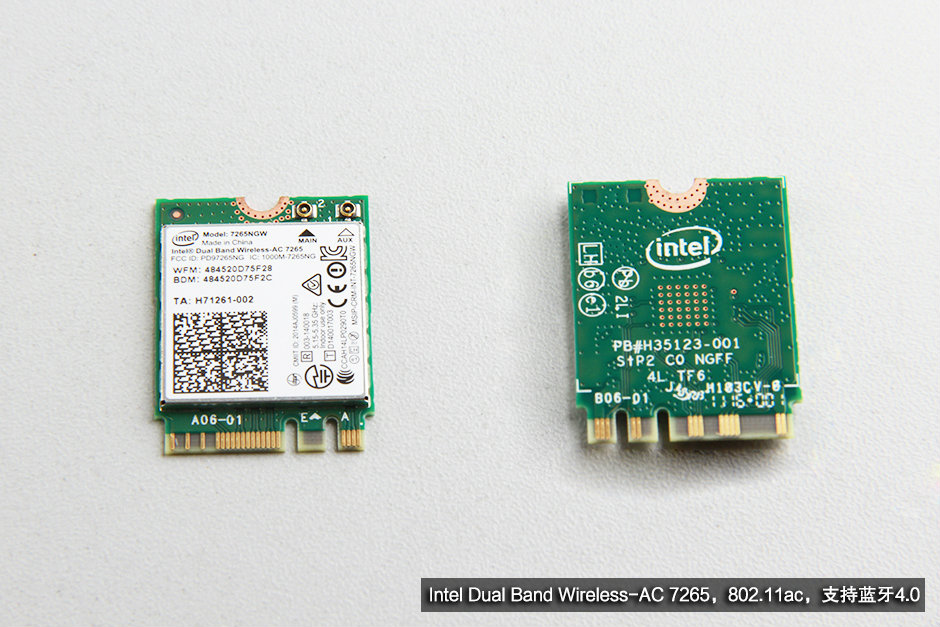
Intel® Dual Band Wireless-AC 7265NGW Wi-Fi card, it supports 802.11ac, Dual Band, 2×2 Wi-Fi + Bluetooth 4.0.
The south bridge chip is covering with a heat sink.
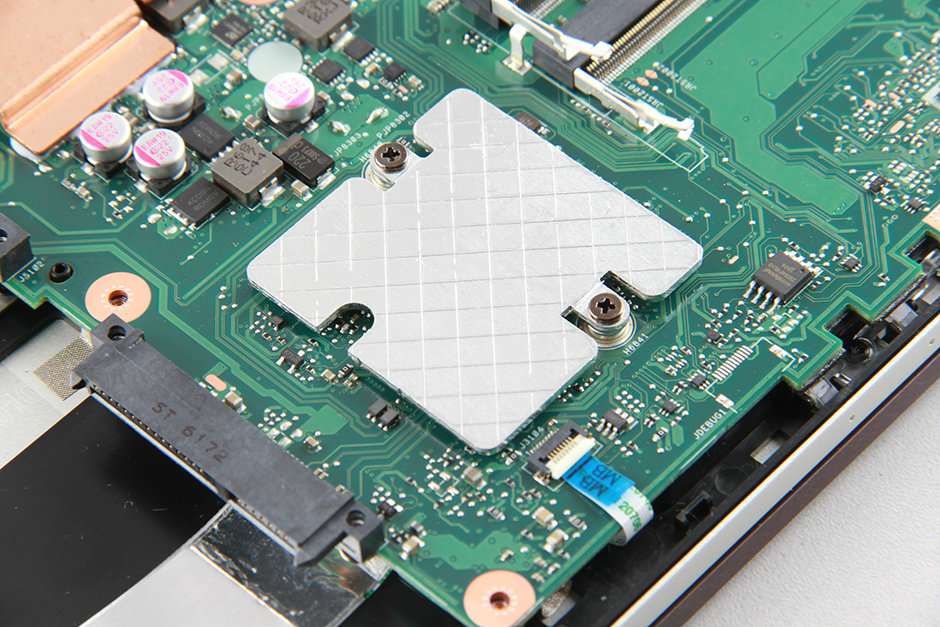
Remove two screws securing the heat sink.
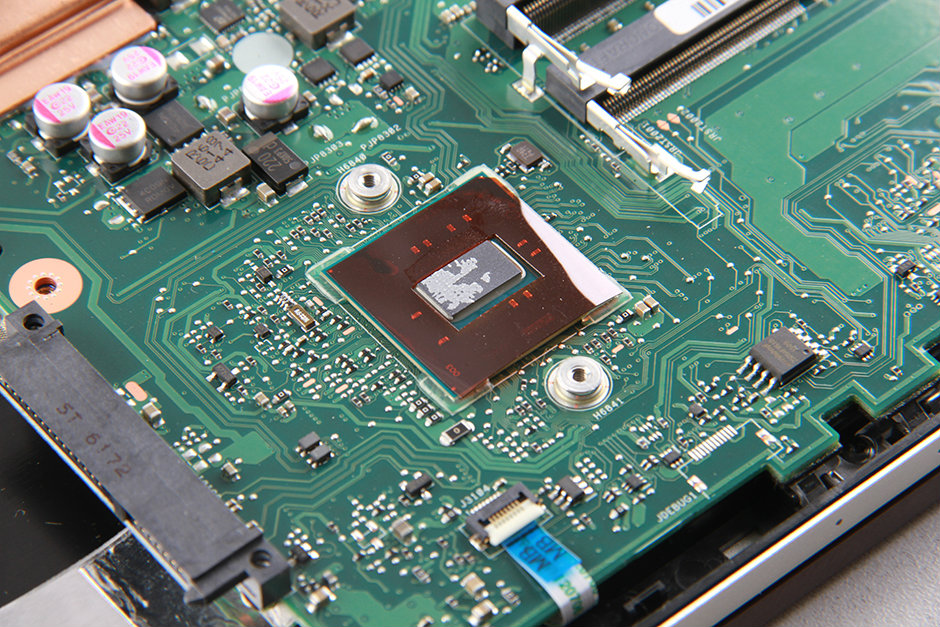
Under the heat sink, you can access the south bridge chip.
Disconnect the speaker cable from the motherboard.
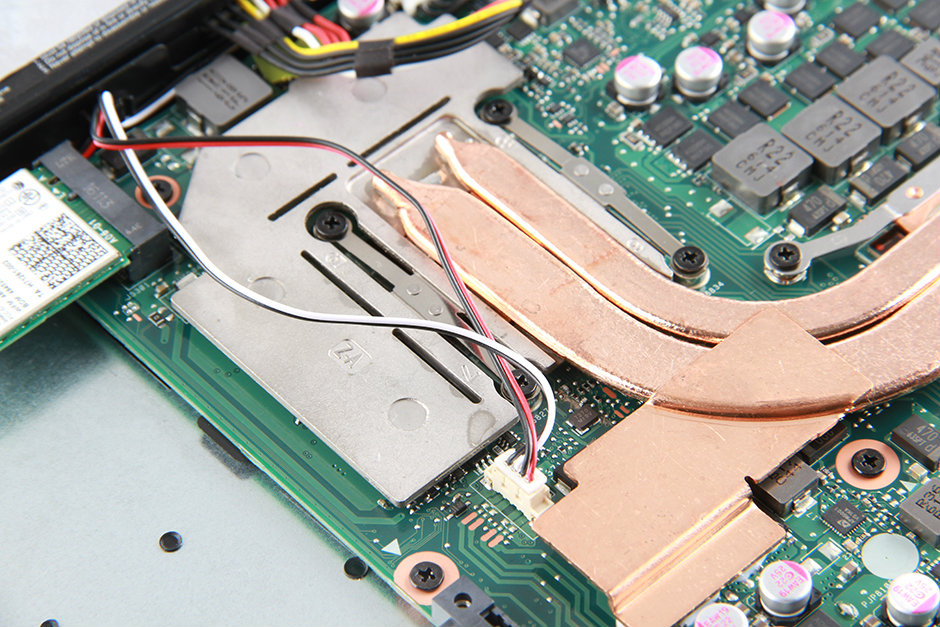
Disconnect the fan cable from the motherboard.
Remove eight screws securing the heat sink and two screws securing the cooling fan.
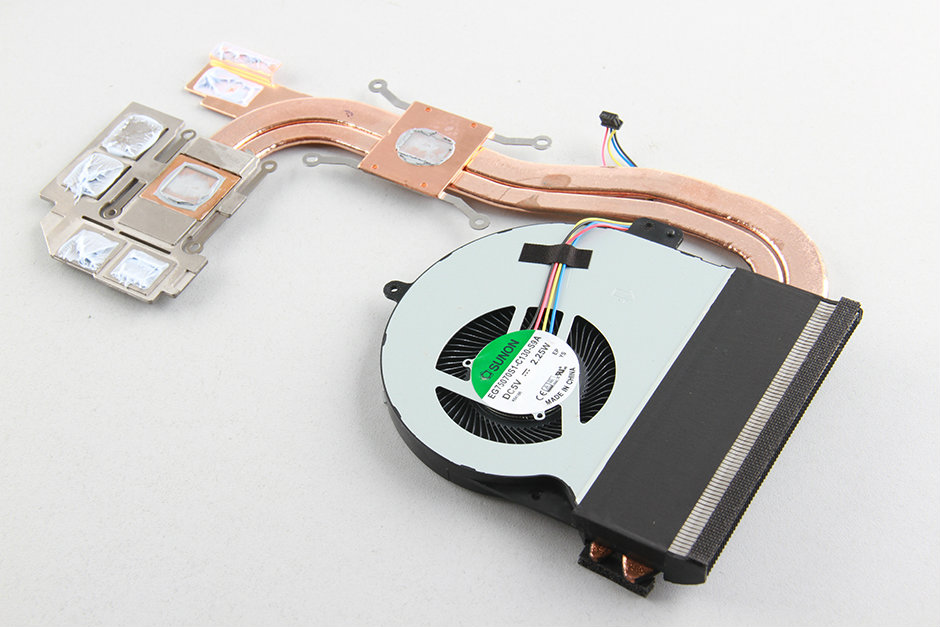
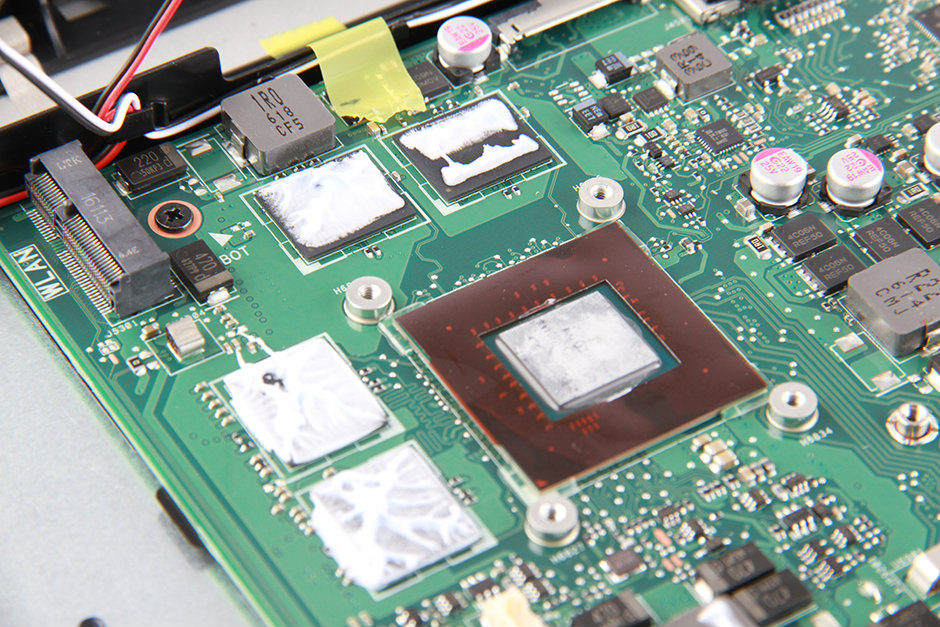
You can remove the heatsink/cooling fan assembly.
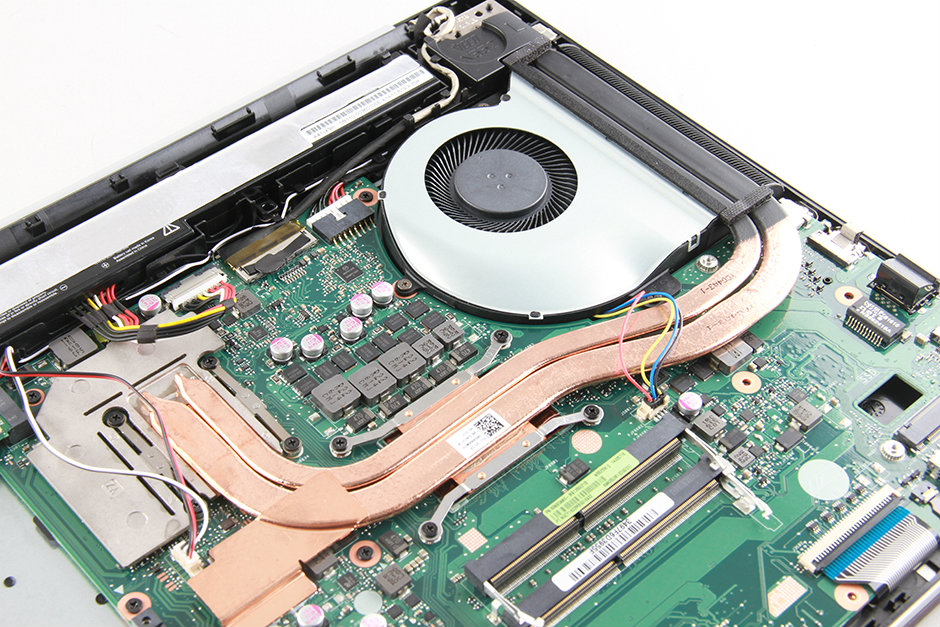
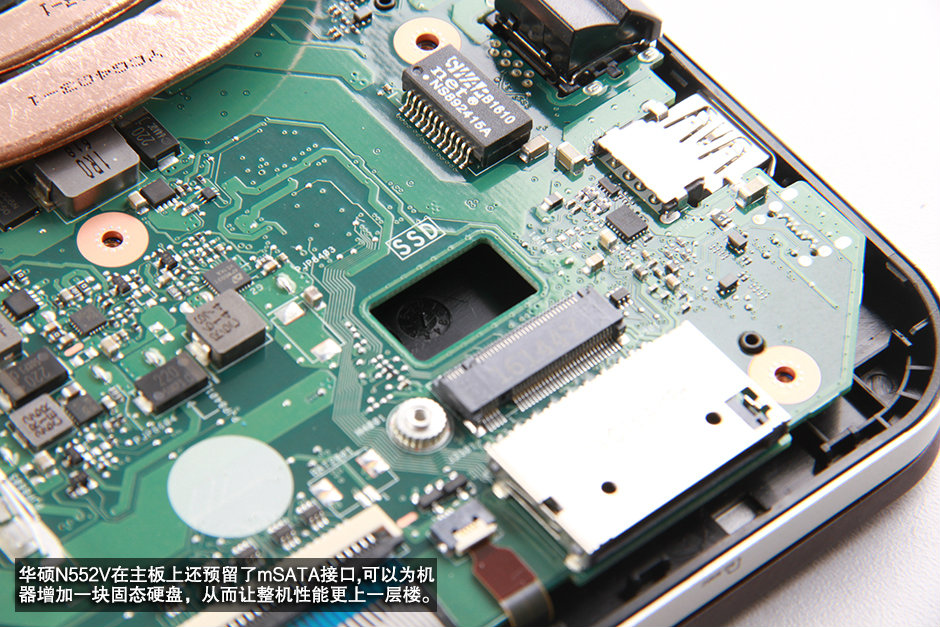
Asus VivoBook Pro N552VW provide an M.2 2280 slot for upgrade SSD.
Here’s heat sink/cooling fan assembly.

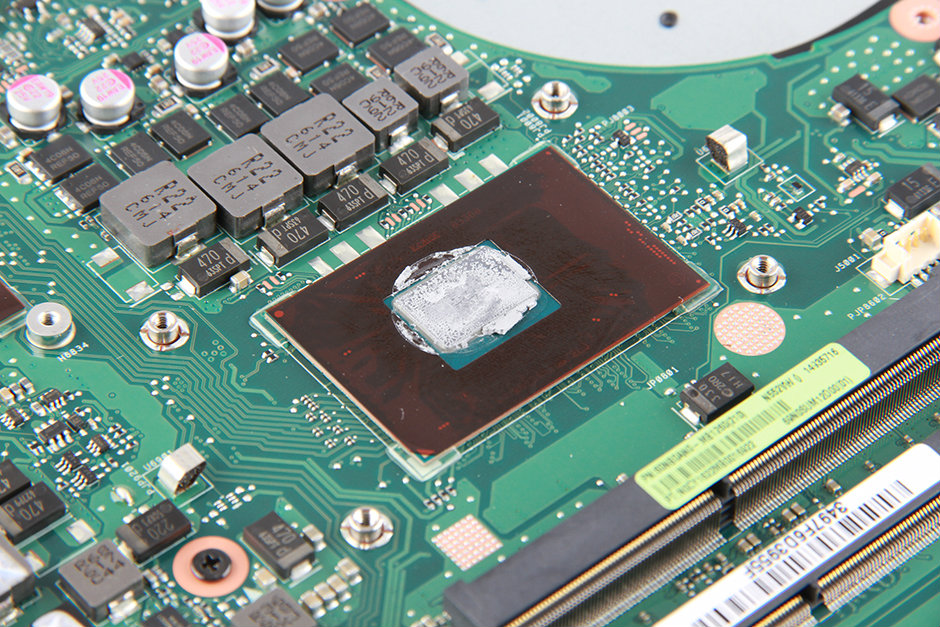
Intel i7-6700HQ quad-core processor
NVIDIA GeForce GTX 960M graphics card
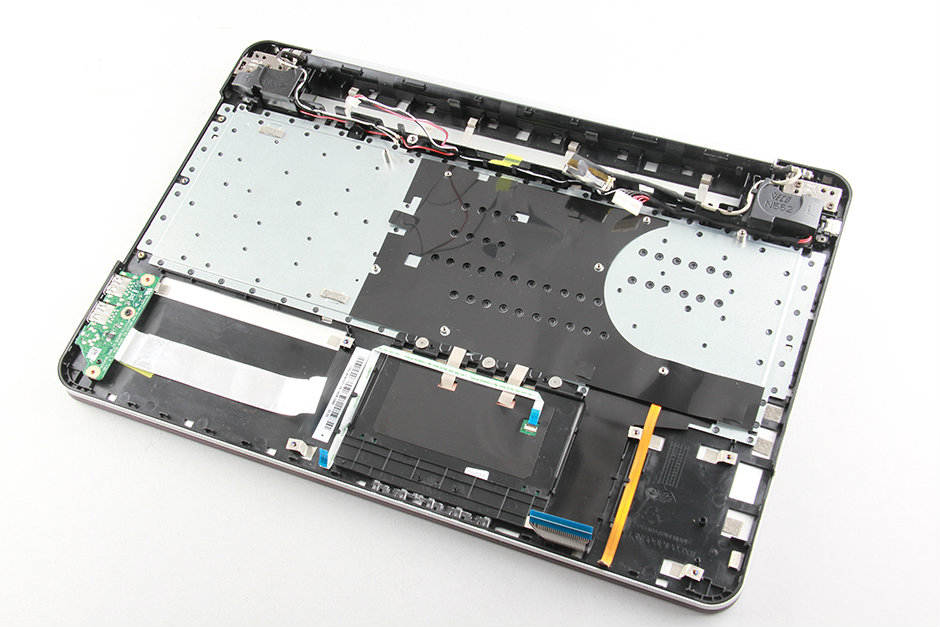
When the motherboard was removed, you can get access the touchpad and keyboard.
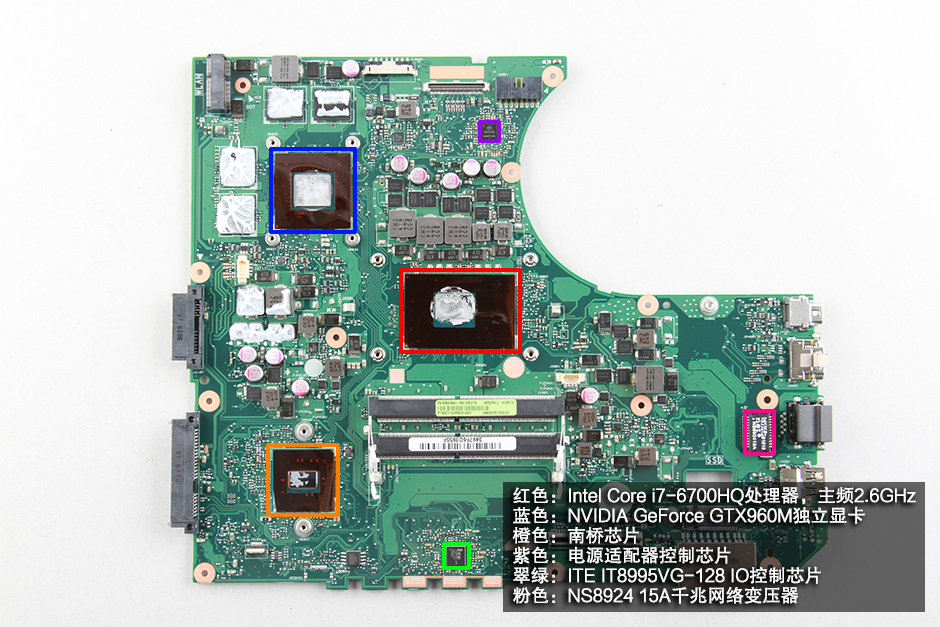
Red: Intel® Core™ i7-6700HQ Processor (6M Cache, up to 3.50 GHz)
Blue: NVIDIA GeForce GTX 960M graphics card
Orange: Southbridge
Purple: Power adapter control chip
Green: ITE IT8995VG-128 IO control chip
Pink: NS8924 15A Gigabit network adapter
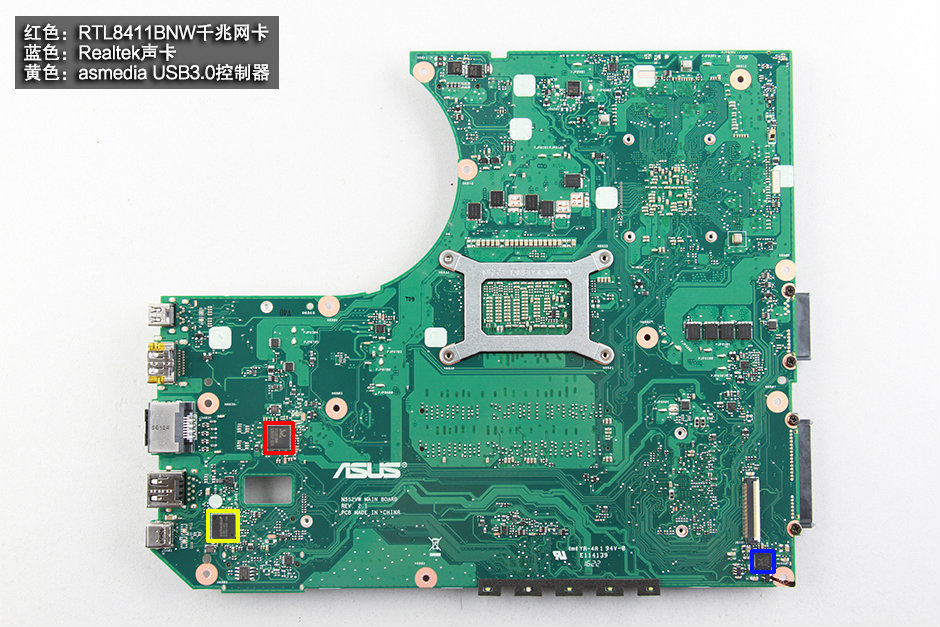
Red: RTL8411BNW Gigabit Ethernet
Blue: Realtek sound card
Yellow: Asmedia USB 3.0 Controller
Source: pconline

")


Does anyone know who can supply a new motherboard for ASUS laptop N552VW?
ASUS will not supply replacement motherboards in UK except to registered ASUS repairers.
Did you find a New motherboard?
Where is the CMOS battery?
I want that answer too !!!!
==> Where is the CMOS battery?
Can I change my graphic card to GTX 1080?
Hello, exhaustive & well-done article. My only concern is….where is the CMOS battery? I got some issues with my laptop and I should need to replace it.
Thanx in advance