In this guide, I will disassemble a Dell Precision 7720. I will remove the bottom case and battery cover to remove the battery, RAM, SSD, Wi-Fi card, keyboard, graphics card, cooling fan, heat sink, and motherboard.
Specification:
Processor: Intel Core i7-7920HQ (Quad Core 3.10 GHz, 4.10 GHz Turbo, 8MB 45W, w/Intel HD Graphics 630)
Operating System: Windows 10 Home
Display Type: 17.3″ UHD IPS Narrow Border (3840×2160) Wide View with Camera and Mic
Memory: Dual channel DDR4, 4*8GB=32GB, DDR4 2677MHz
Graphics Card: Radeon Pro WX 7100 w/8GB GDDR5
SSD: 1st M.2 PCIe 256GB SSD Class 40, 2nd Additional M.2 PCIe 256GB SSD Class 40, 3rd Additional M.2 PCIe 256GB SSD Class 40
Battery: 6-cell (91 Whr) Lithium Ion Polymer Battery with ExpressCharge
Wi-Fi: Intel Dual Band Wireless-AC 8265 2×2 802.11ac + BT4.0
For the freshest produce, find us on Facebook for the latest teardown news.
The bottom of the Precision 7720 is divided into two parts. Approximately one-third is the battery cover, and the upper part is the base cover. The left and right slightly smaller pane is the main intake window of the cooling fan, and the two larger panes near the center correspond to the memory slot position and the dual M.2 slot position.
It is important to note that the four pads on the four corners of the bottom case, its shape makes it very easy to clean up. Its material is relatively tough hardened rubber, pressed by hand without any deformation.
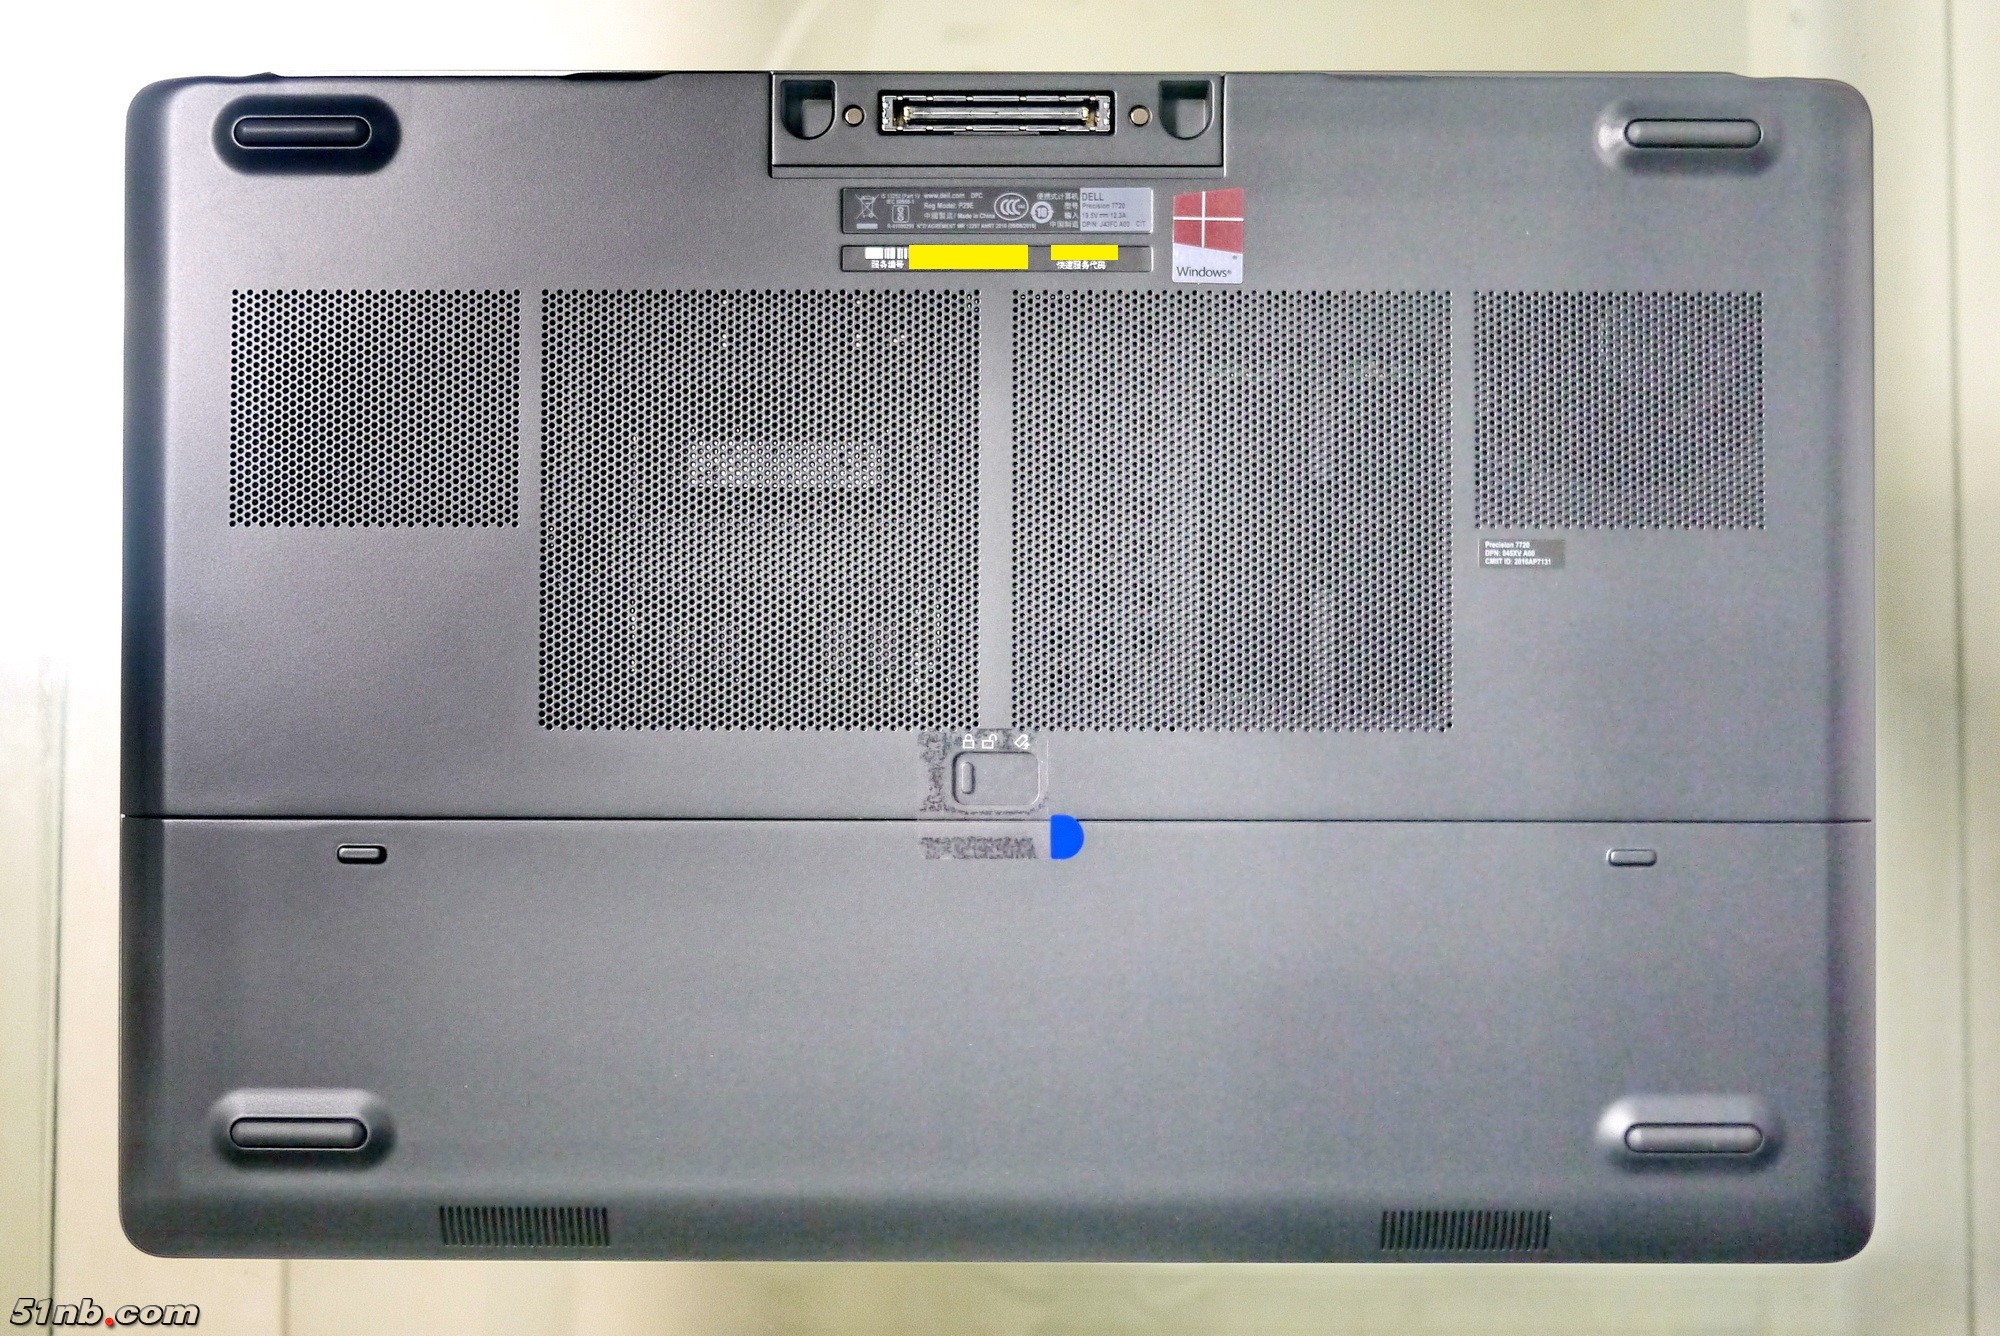
On the right side of the bottom case, there is a small label below the small heat dissipation pane. The above is marked Precision 7720, along with DPN and CMIIT ID.
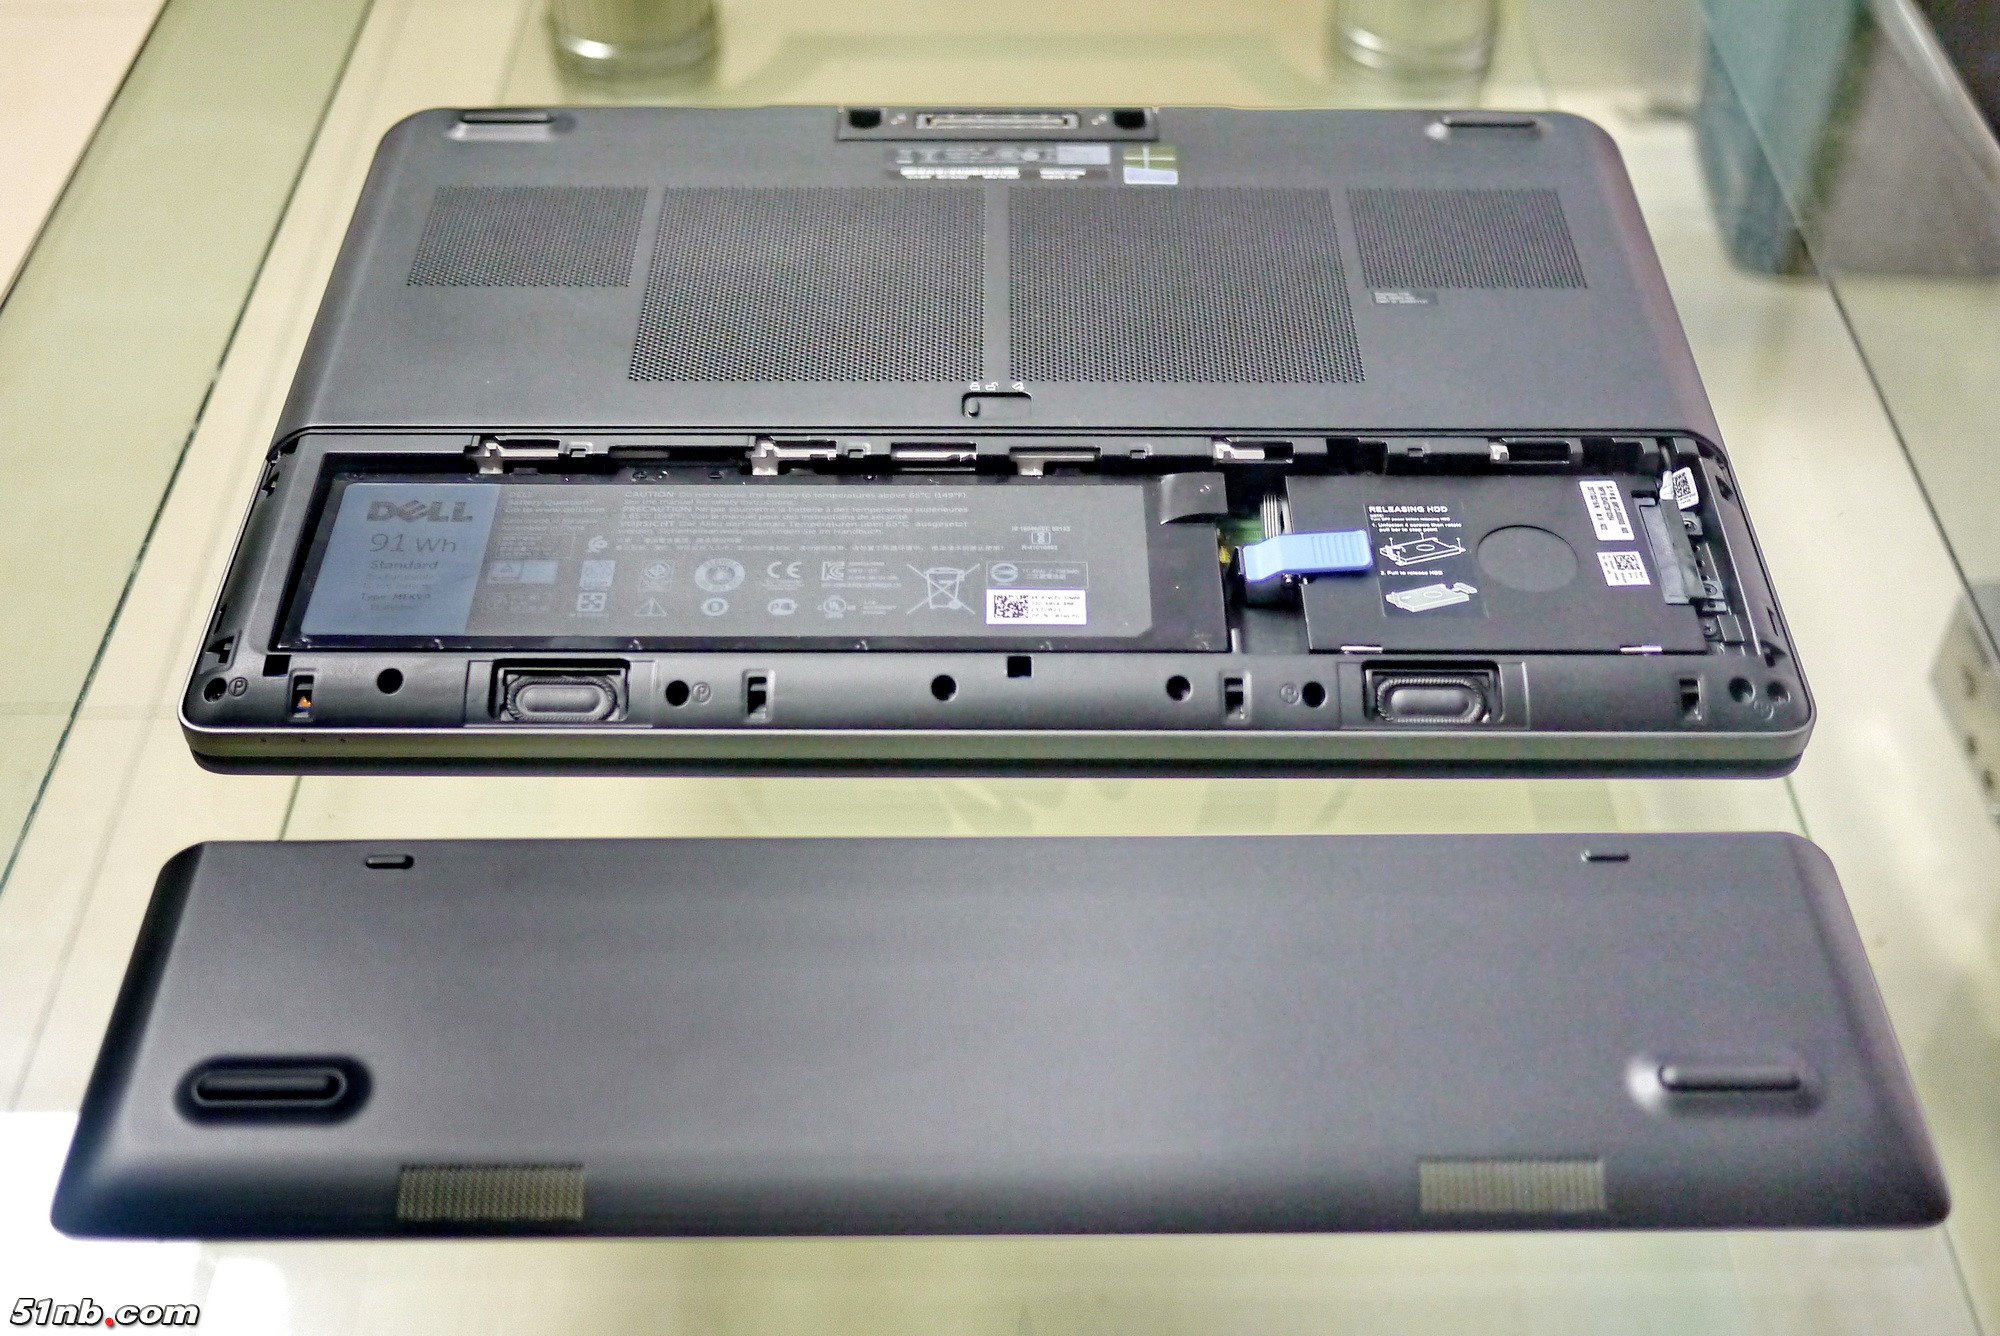
Unlock the latch and remove the battery cover.
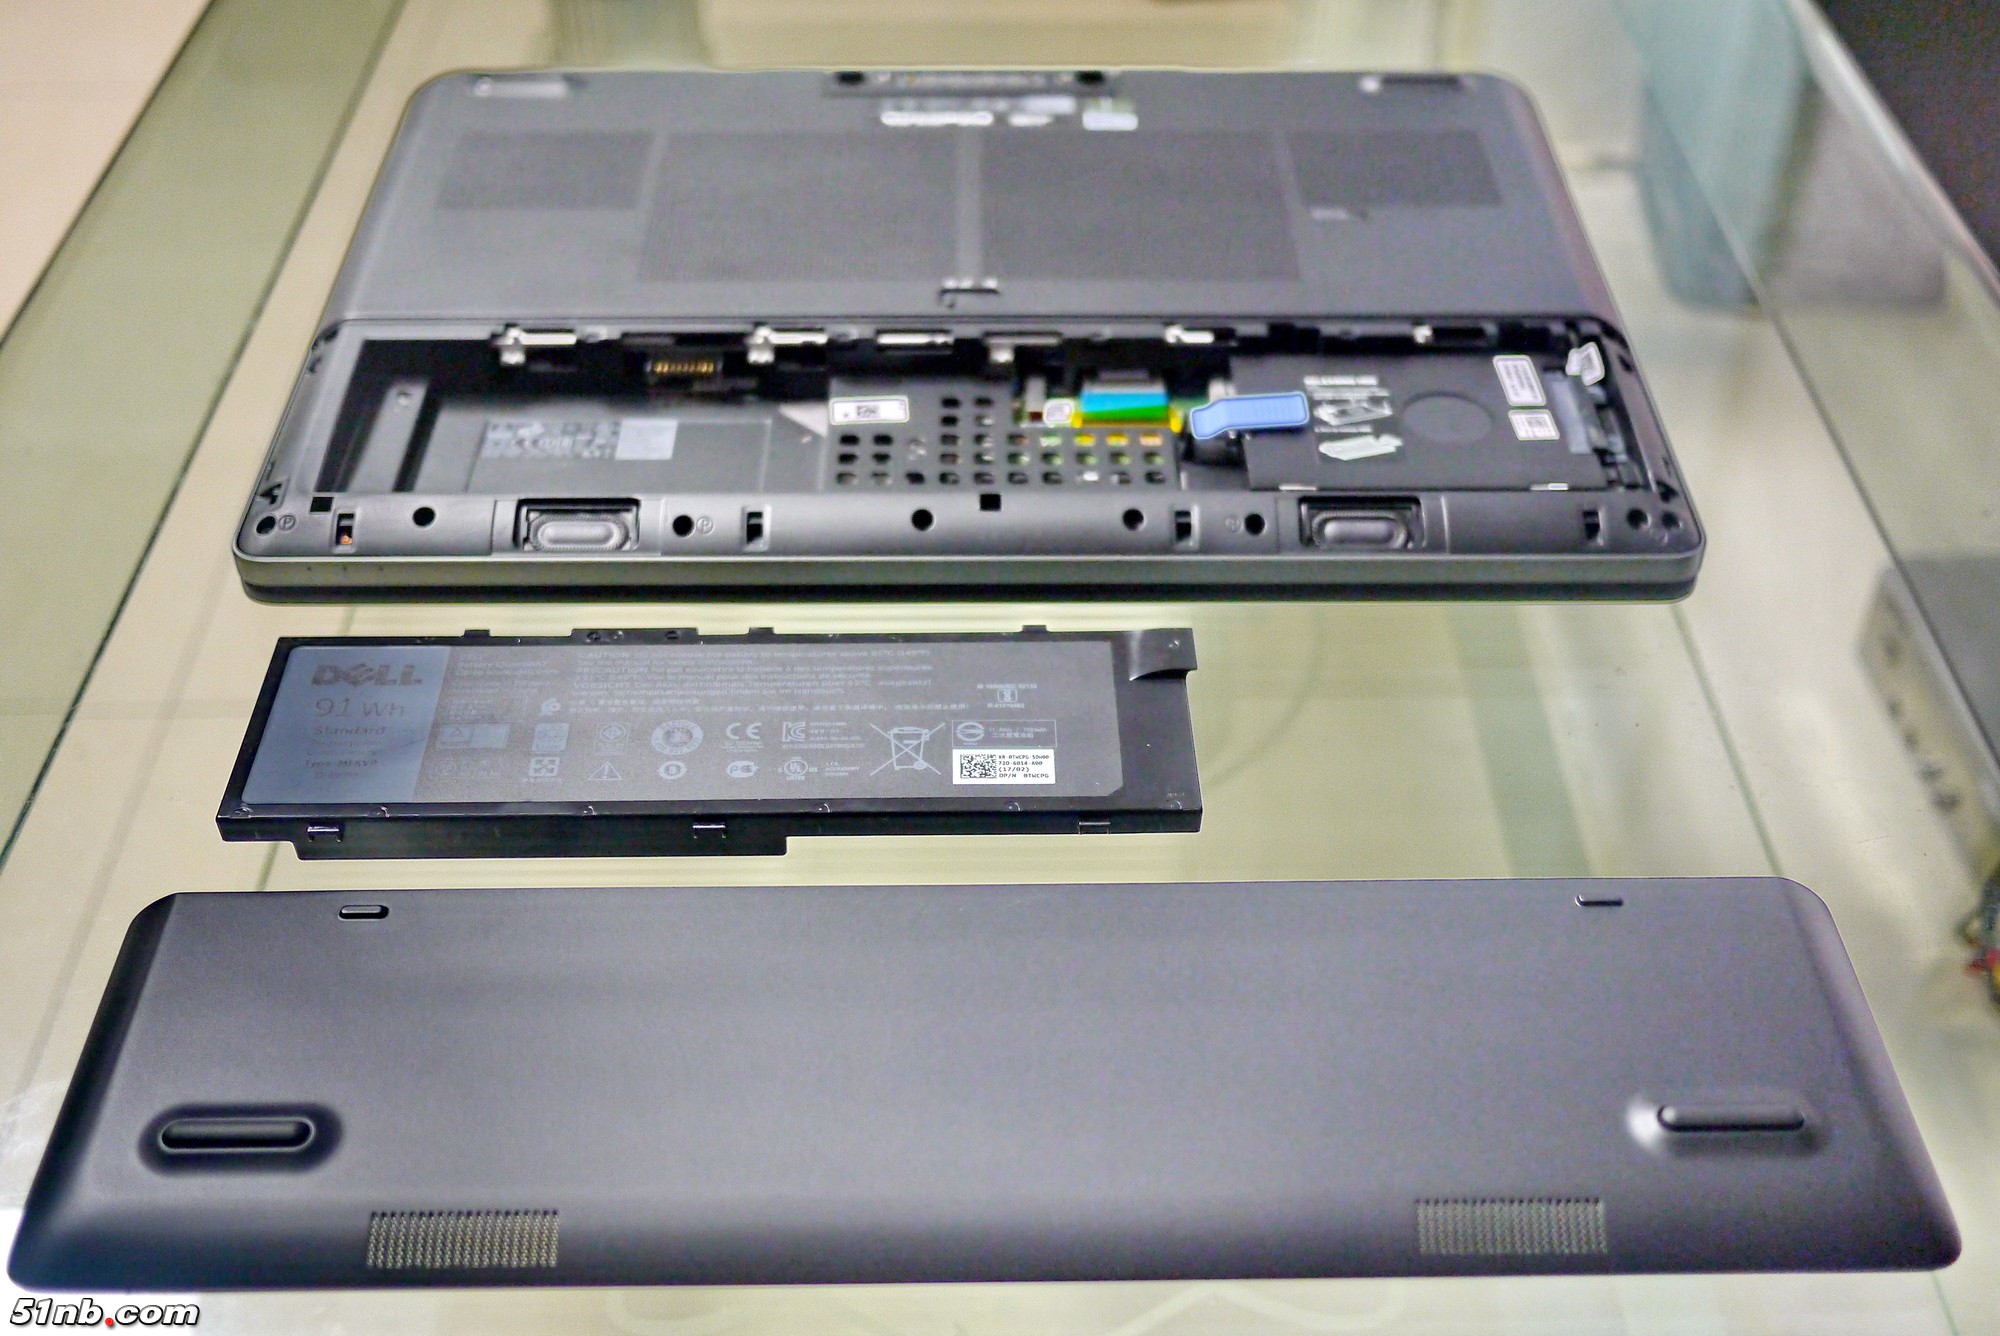
Slide the lock again to the right and reach the rightmost battery icon position. At this point, the battery is ejected, and the battery can be removed.

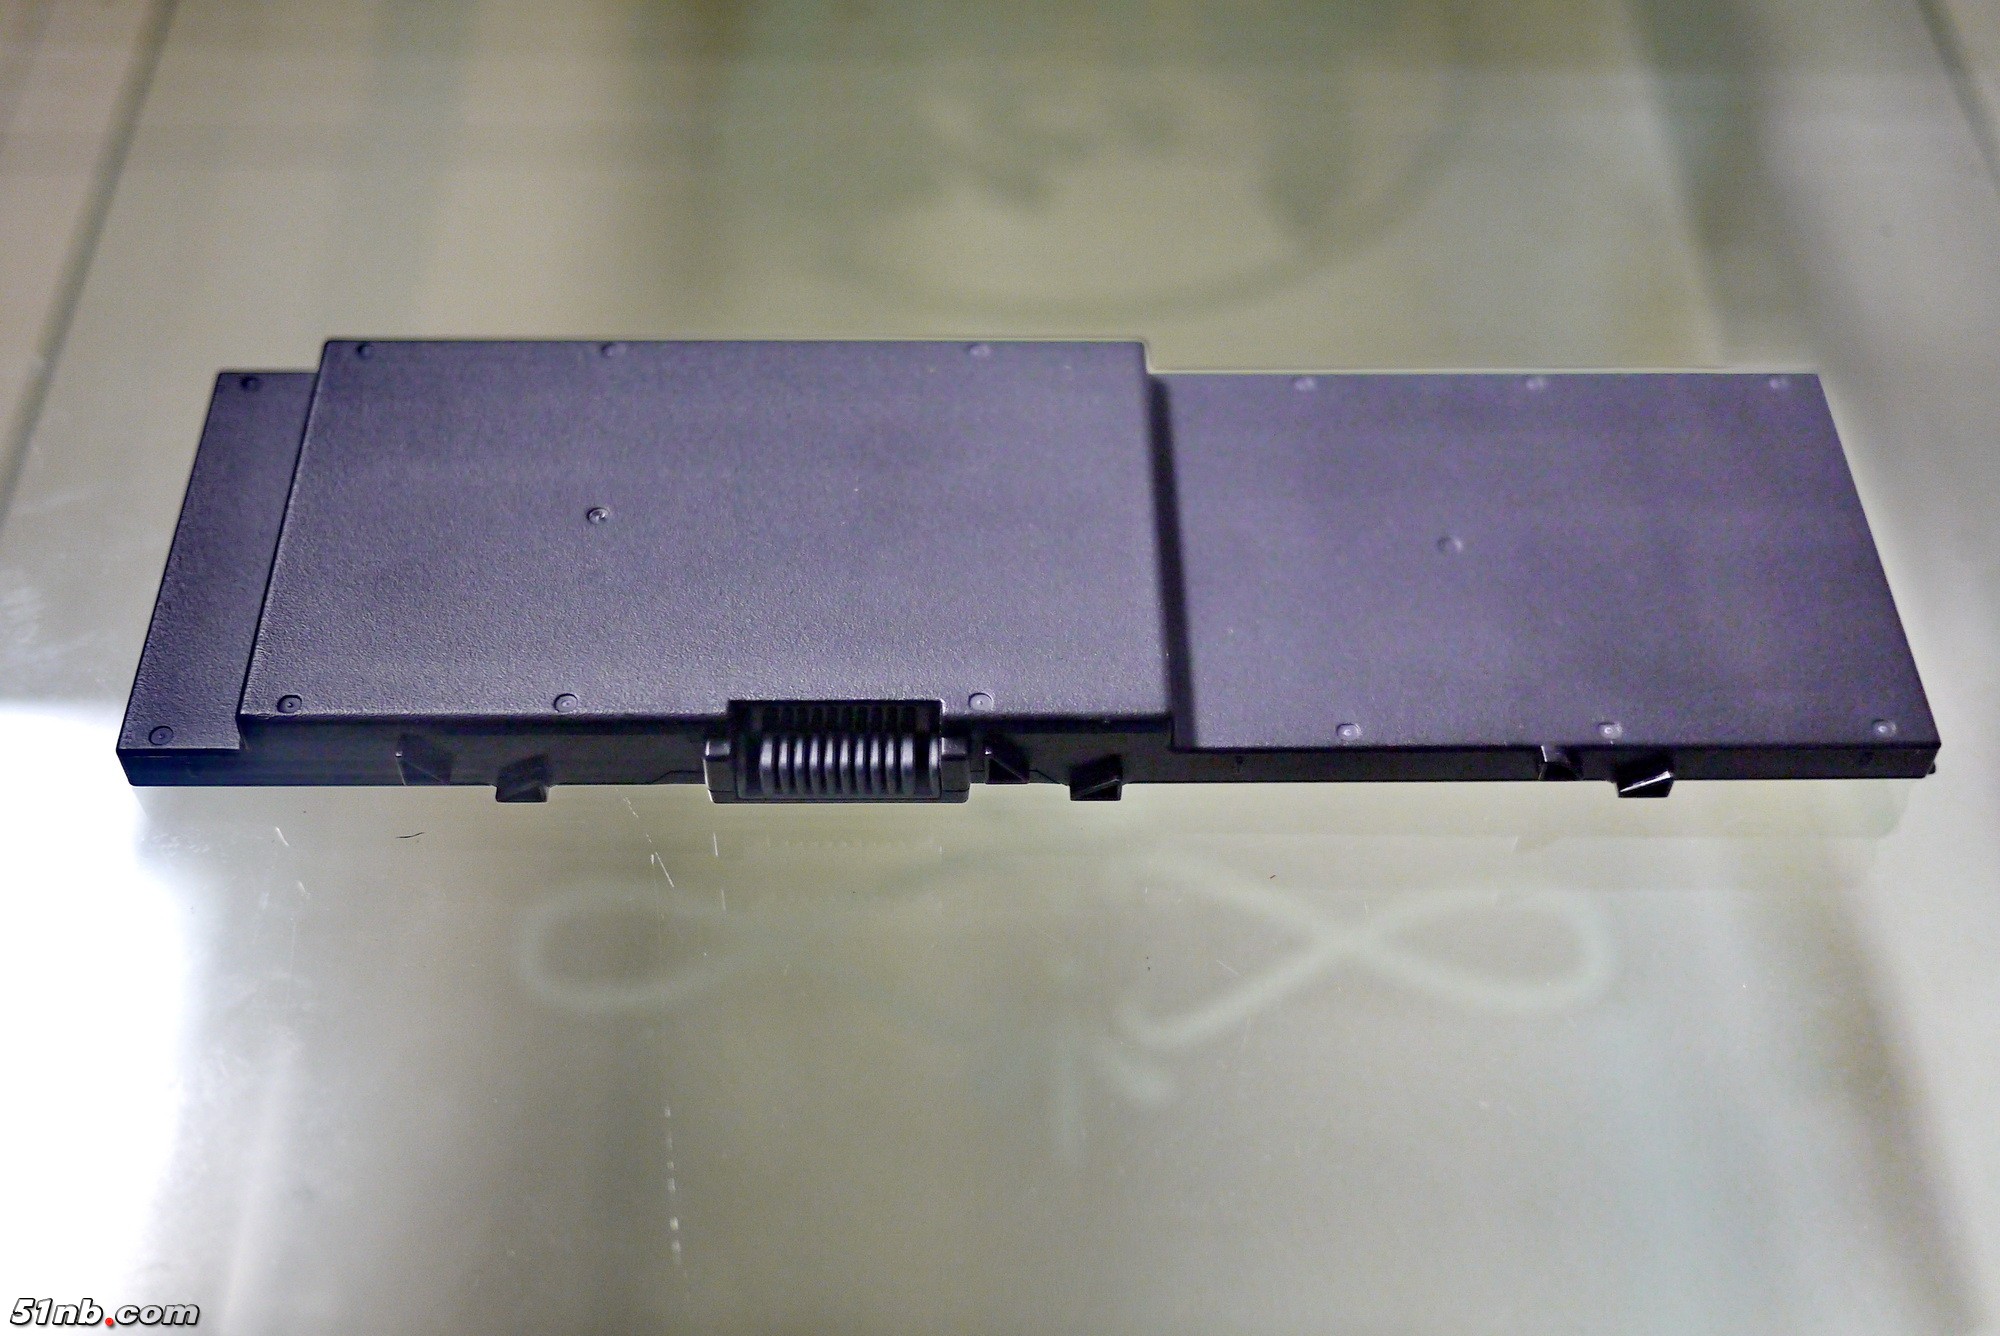
The battery of my Precision 7720 is basically the same as the previous generation Precision 7710, and it’s also the 6 cell, 11.4V, 91Wh, 7583mAh, Dell P/N: MFKVP.
Now you can see the 2.5-inch hard disk bay and several sets of cables on the left of the hard disk bay.

Carefully observe the top of the battery compartment inside the sticker, in addition to a variety of certification mark, you will find the following information: DELL Reg Model: P29E, Reg Type No: 29E002, DP/N: BY1X9 A00 DPC.

The hard drive bay of my Precision 7720 is the same as the previous generation Precision 7710. It can be quickly plugged.
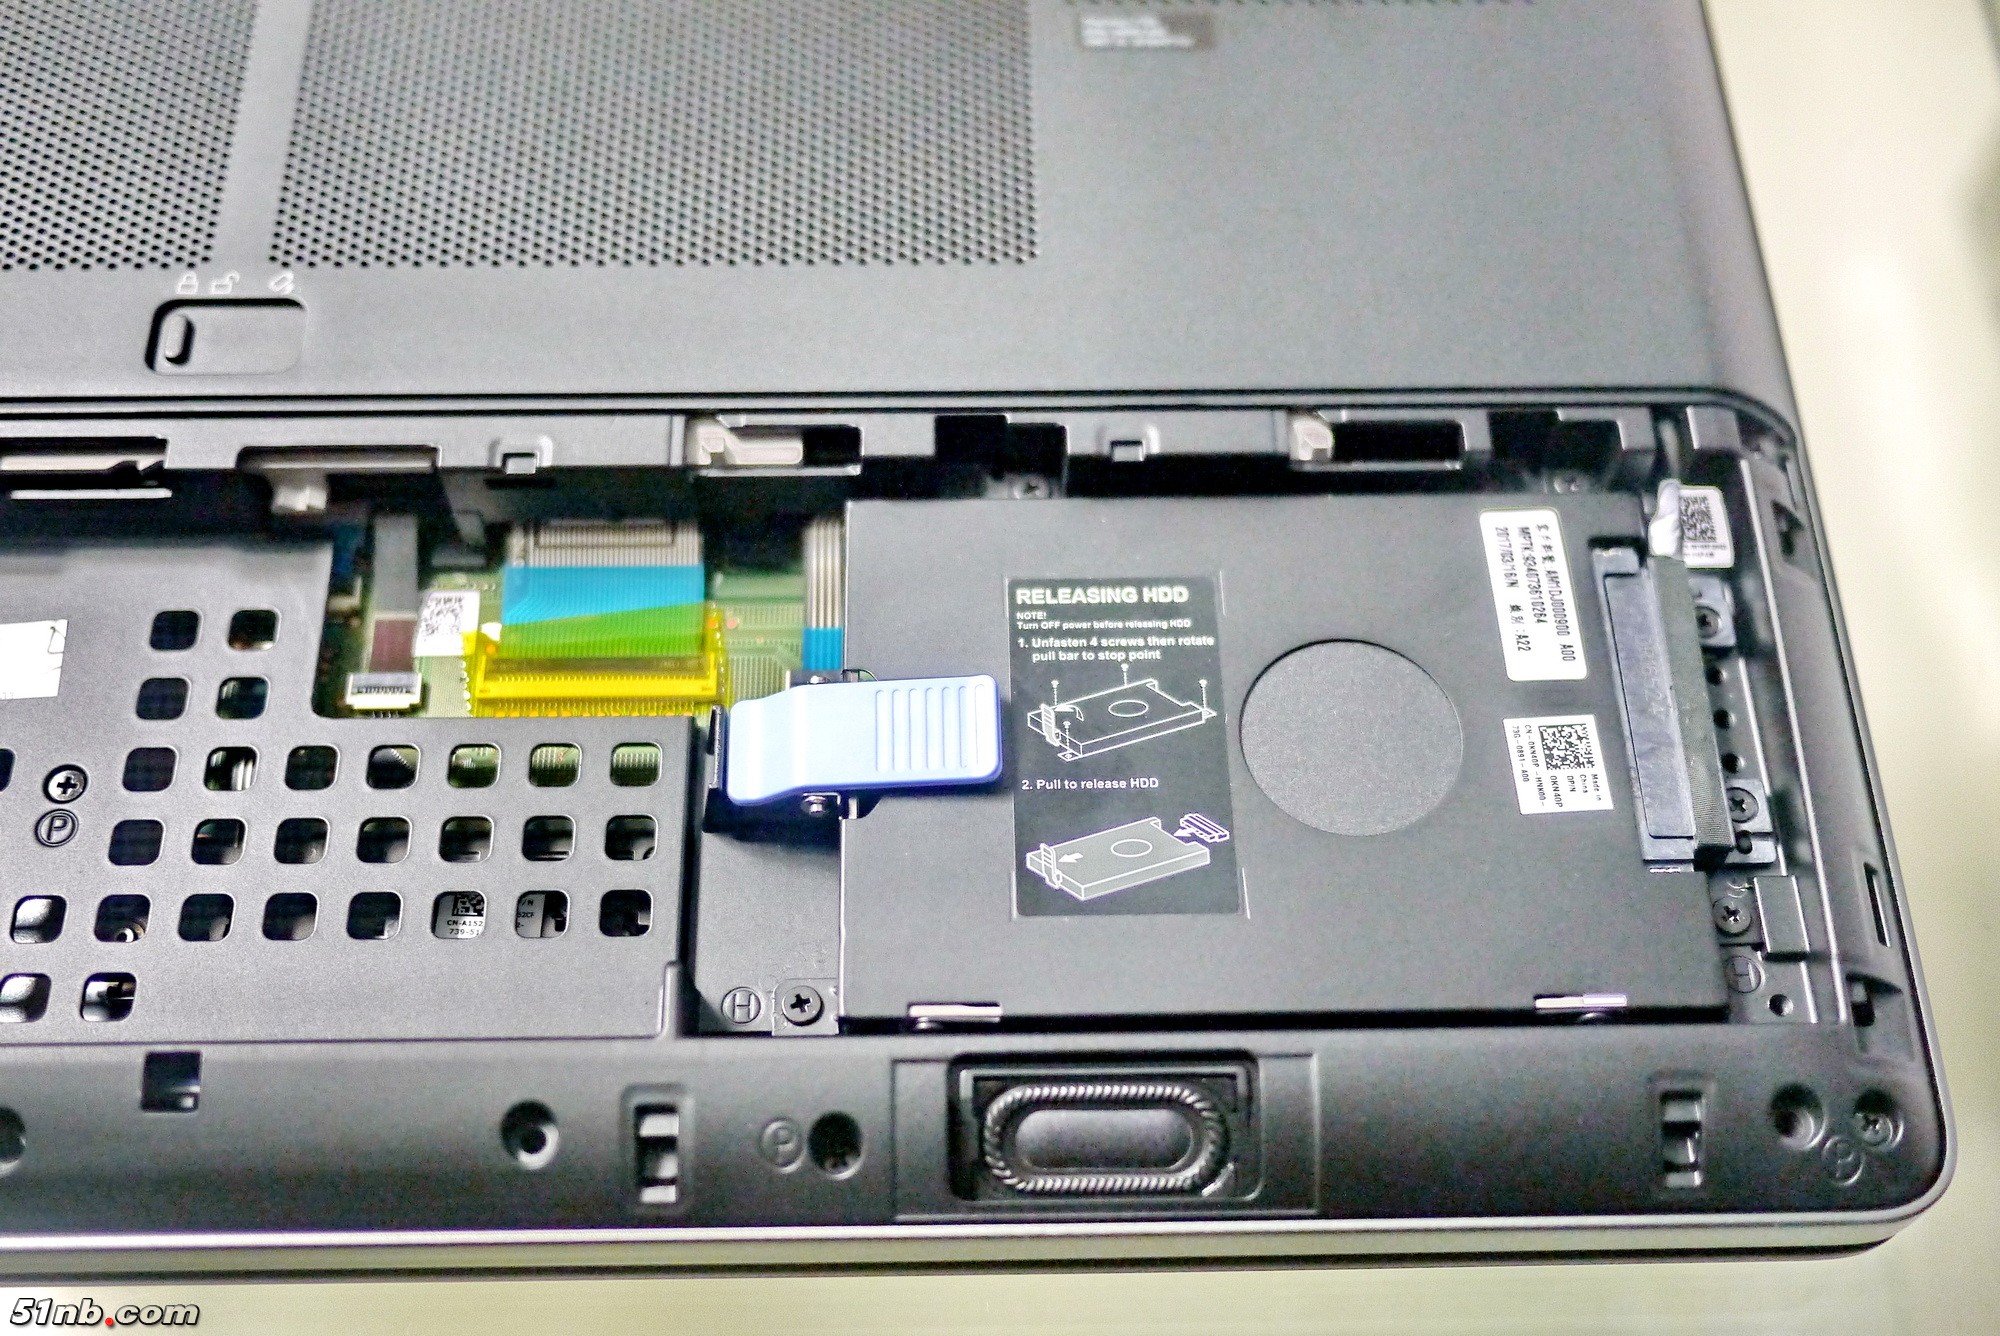
Remove four screws securing the hard drive module.
Slide it to the right and remove it.

On the back of the hard drive module, there is an M.2 PCIe 256GB SSD.

The hard disk module includes 2.5-inch hard disk caddy, M.2 to SATA adapter card, 2280 M.2 SSD, SSD heatsink and five screws.

The above has been straight to said “2.5-inch hard drive”, but did not say 2.5-inch SATA hard drive, because this is not a pure SATA hard drive, but SATAe hard drive – that is an upgraded version of SATA 3: SATA express.
Intel originally tried to merge the two SATA 3.0 interface, theoretically get 6Gbps +6 Gbps = 12Gbps bandwidth, but found that there is a problem of backward compatibility, and the cost is high. So changed to use the PCI-E channel can theoretically be completely irrelevant to the original SATA. SATA express using the PCI-E 3.0X2, with the theoretical 16Gbps, which has greatly improved the 6Gbps of SATA 3.
In fact, in Precision 7720’s previous generation model, Precision 7710 has already used the SATA express hard disk in this 2.5-inch hard disk position. But this time, I’d like to know whether the SATA express used by Precision 7720 is PCI-E, 3.0X2 or PCI-E 3.0X4, and whether it supports NVMe completely.
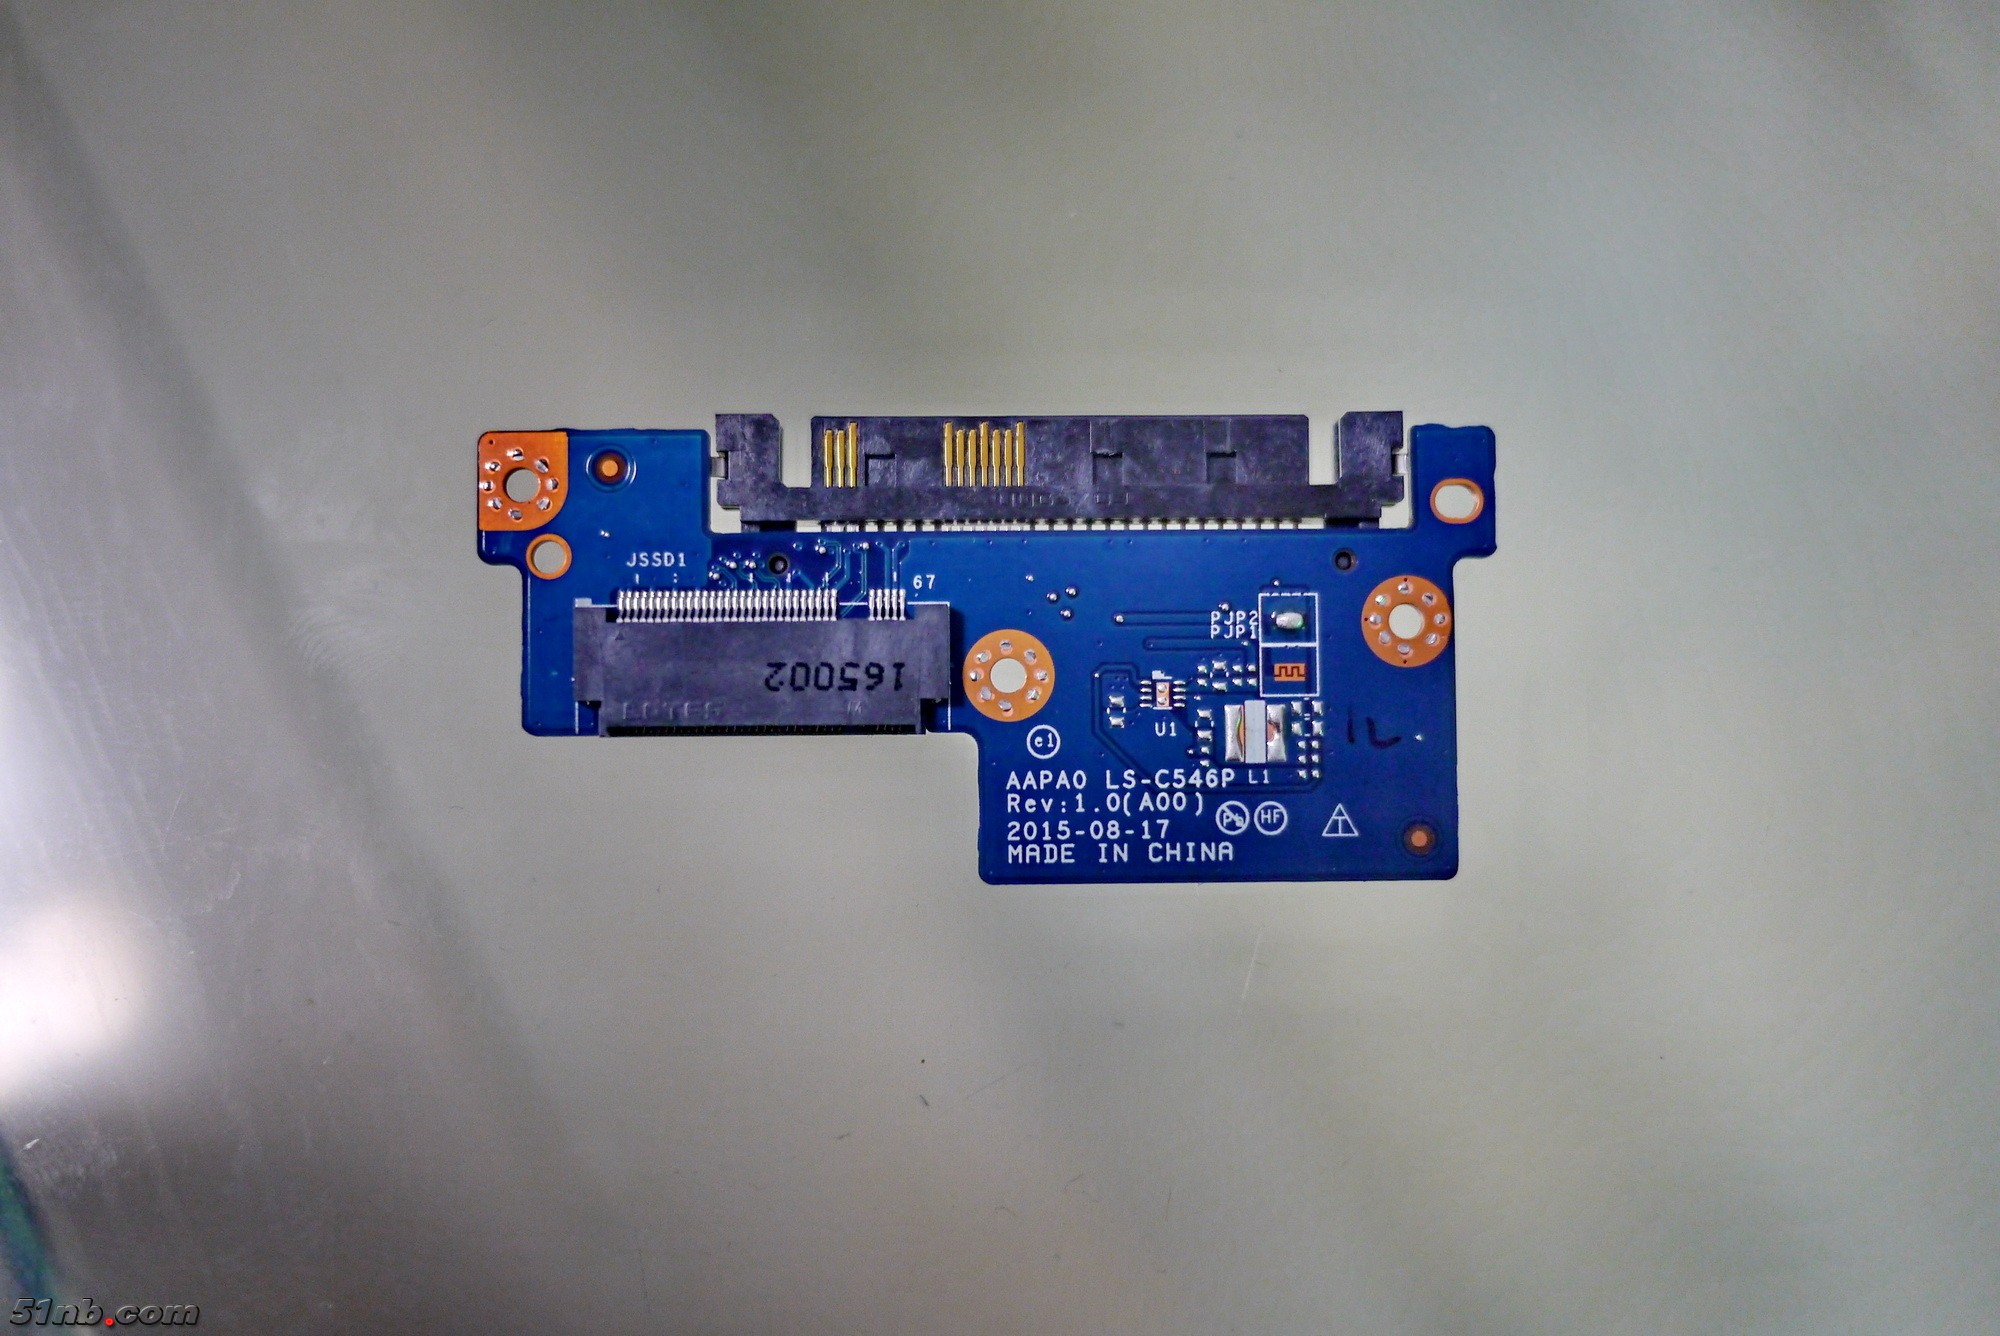
Take a look at this M.2 to SATA express adapter board. The gold finger on the front SATA express interface is distinct from the ordinary SATA interface. It has more than 3+7 gold fingers, and the length is not uniform.
It is also possible to see the version Rev:1.0 (A00) marked on the circuit board, the manufacturing date of 2015-08-17, from this point of view, which should be the same version as the previous generation Precision 7710, which appeared on the market in 2015.
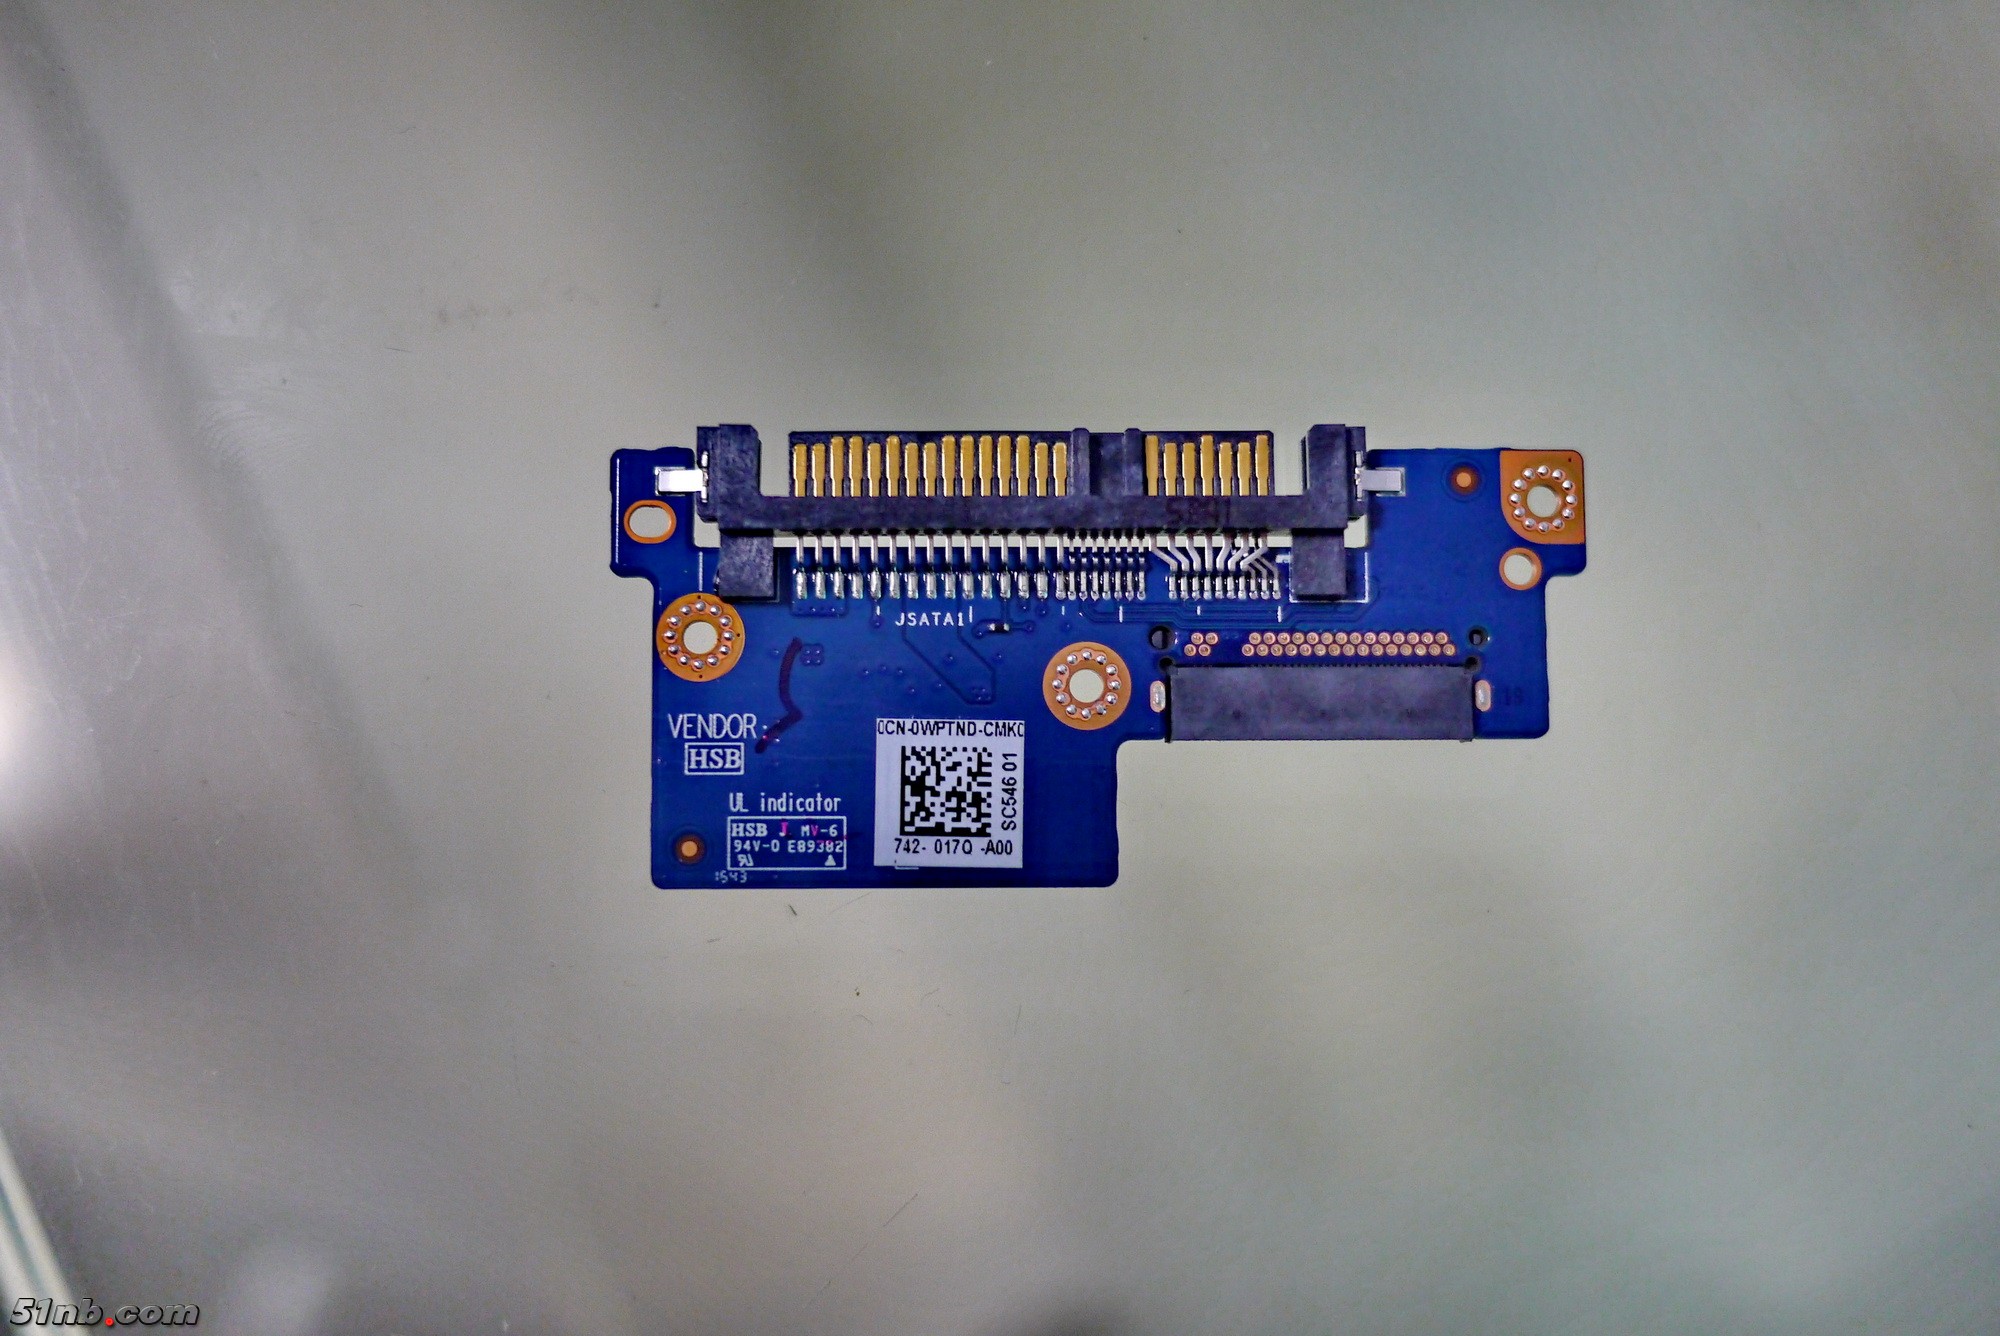
In the back of the adapter board, the number and arrangement of the 15+7 gold finger, and SATA are same — this is why the SATA express compatible SATA, so why, Precision 7720 is also perfect to install and use 2.5-inch SATA hard drive.
The standard SATA interface of 15+7 gold fingers, plus the above saying, has more than 3+7 gold fingers, a total of 32 pins, from this point of view, this is a standard SATA Express 32P interface.
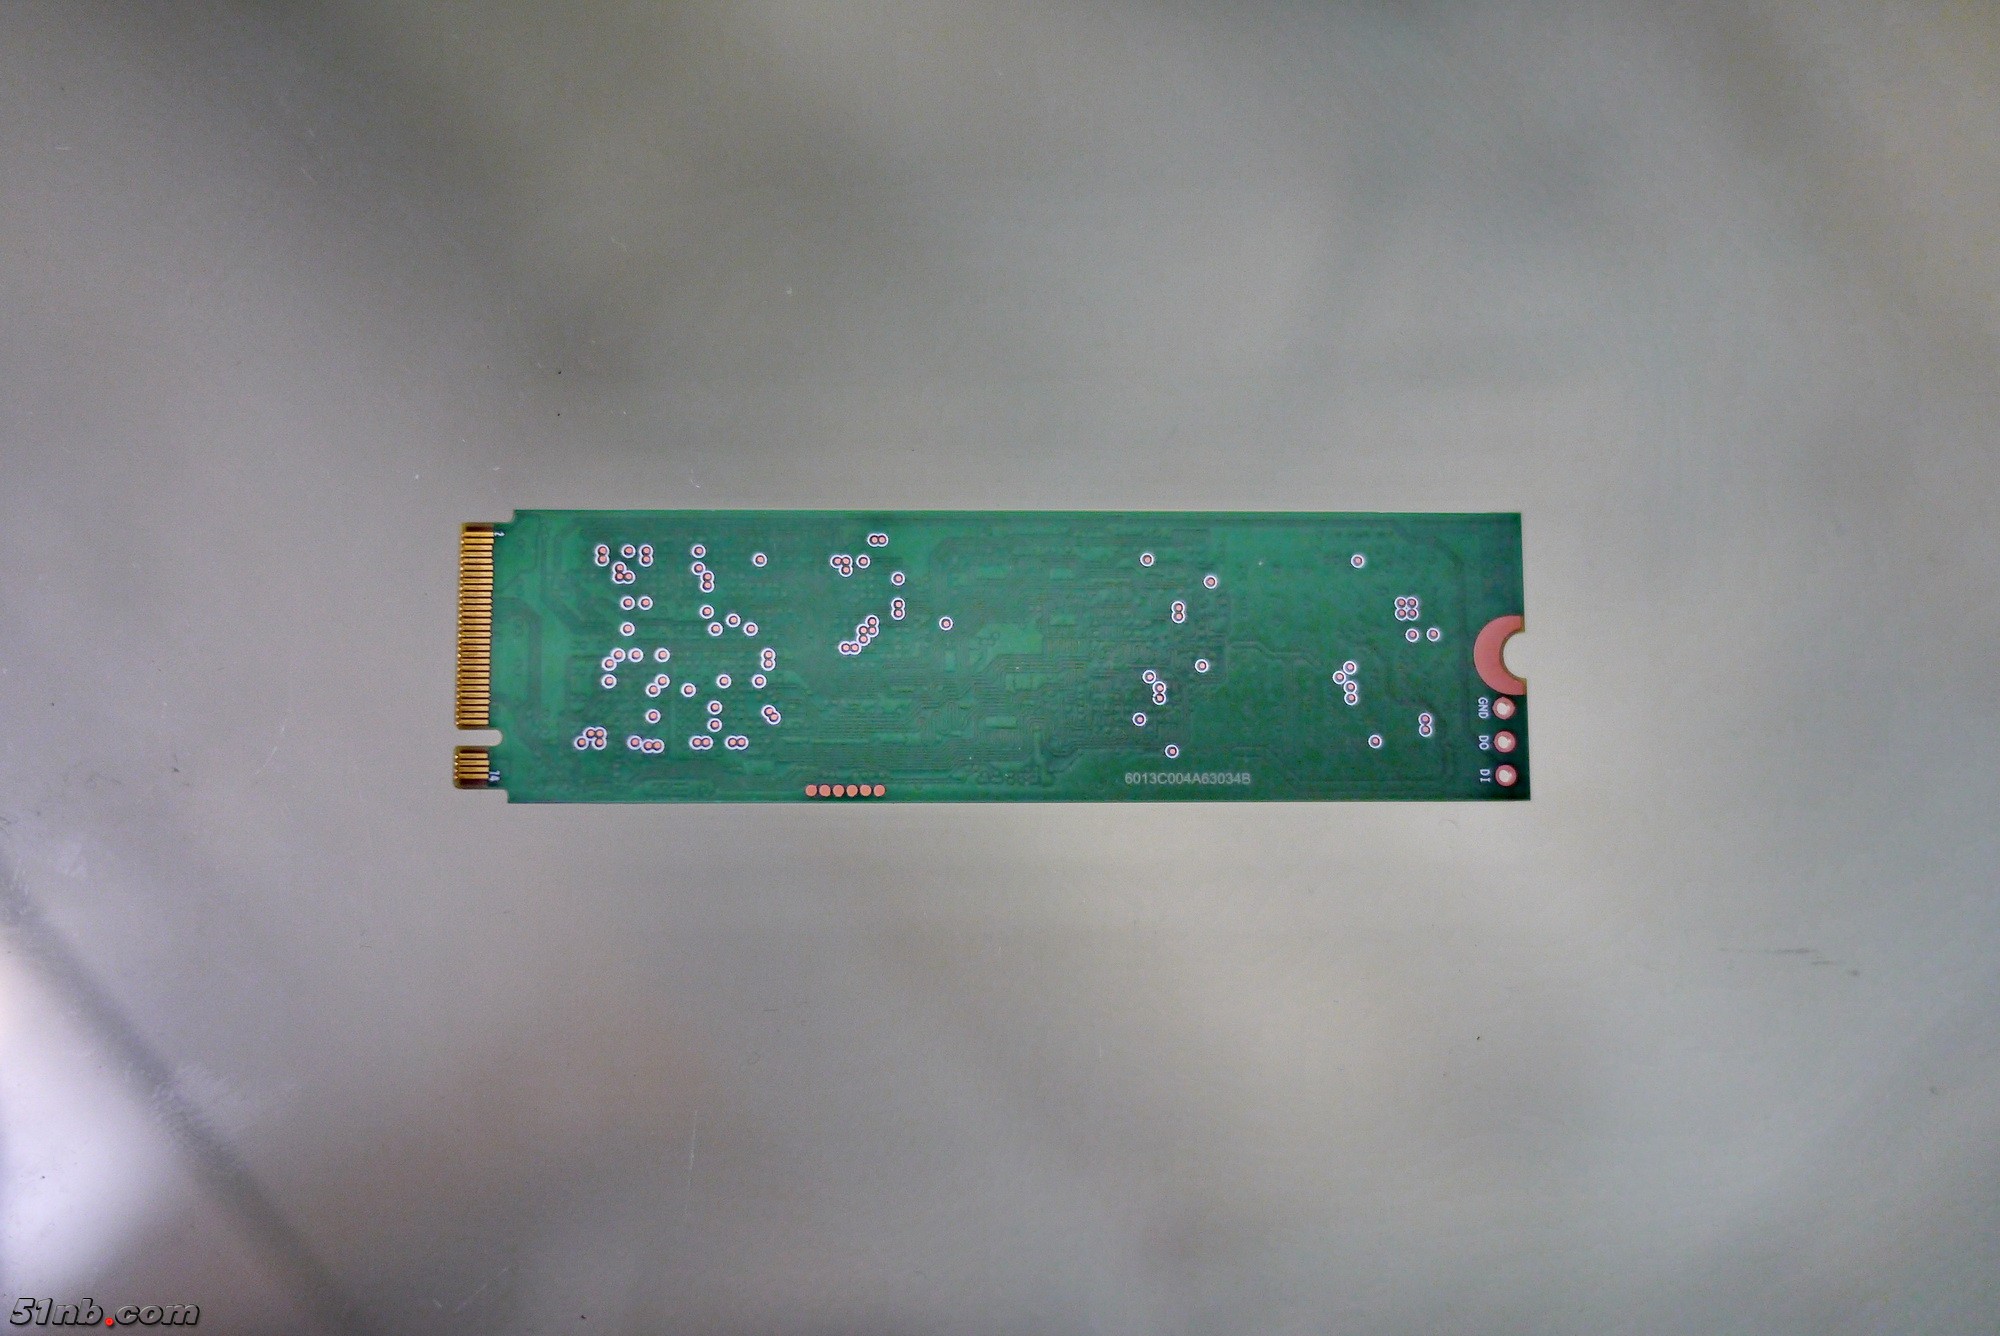
The M.2 2280 SSD, which is come from SK Hynix, the model is HFS256GD9MND-5510A BA, PC300 NVMe SK Hynix 256GB, indicating that it is a 256GB support NVMe protocol SSD, also indicate the PCIe Gen3 x 4.
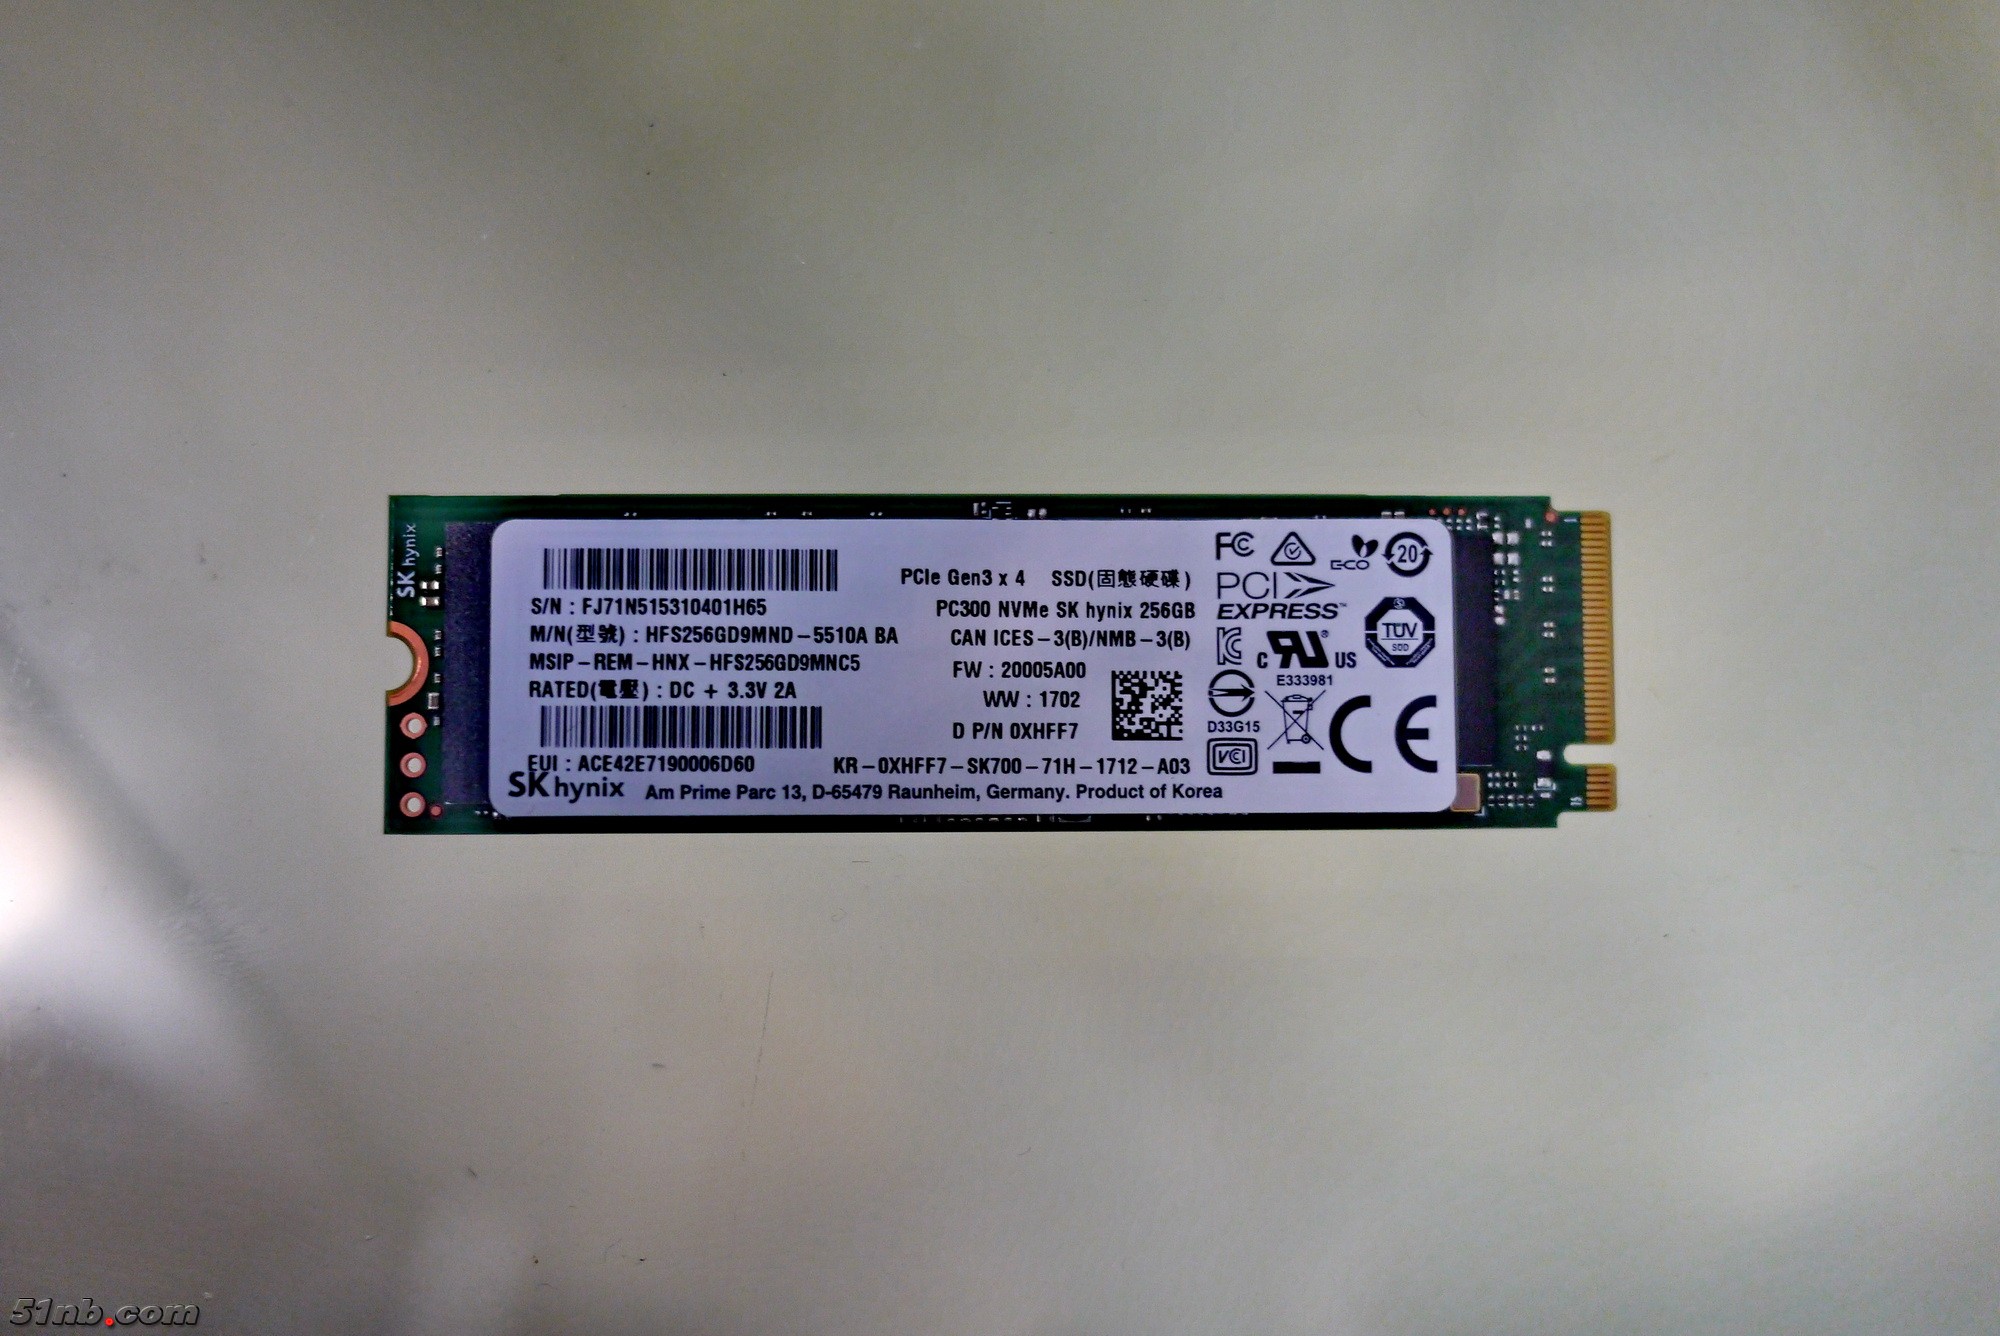
The PC300 NVMe SK Hynix 256GB is single sided design, so there is no part on its back.
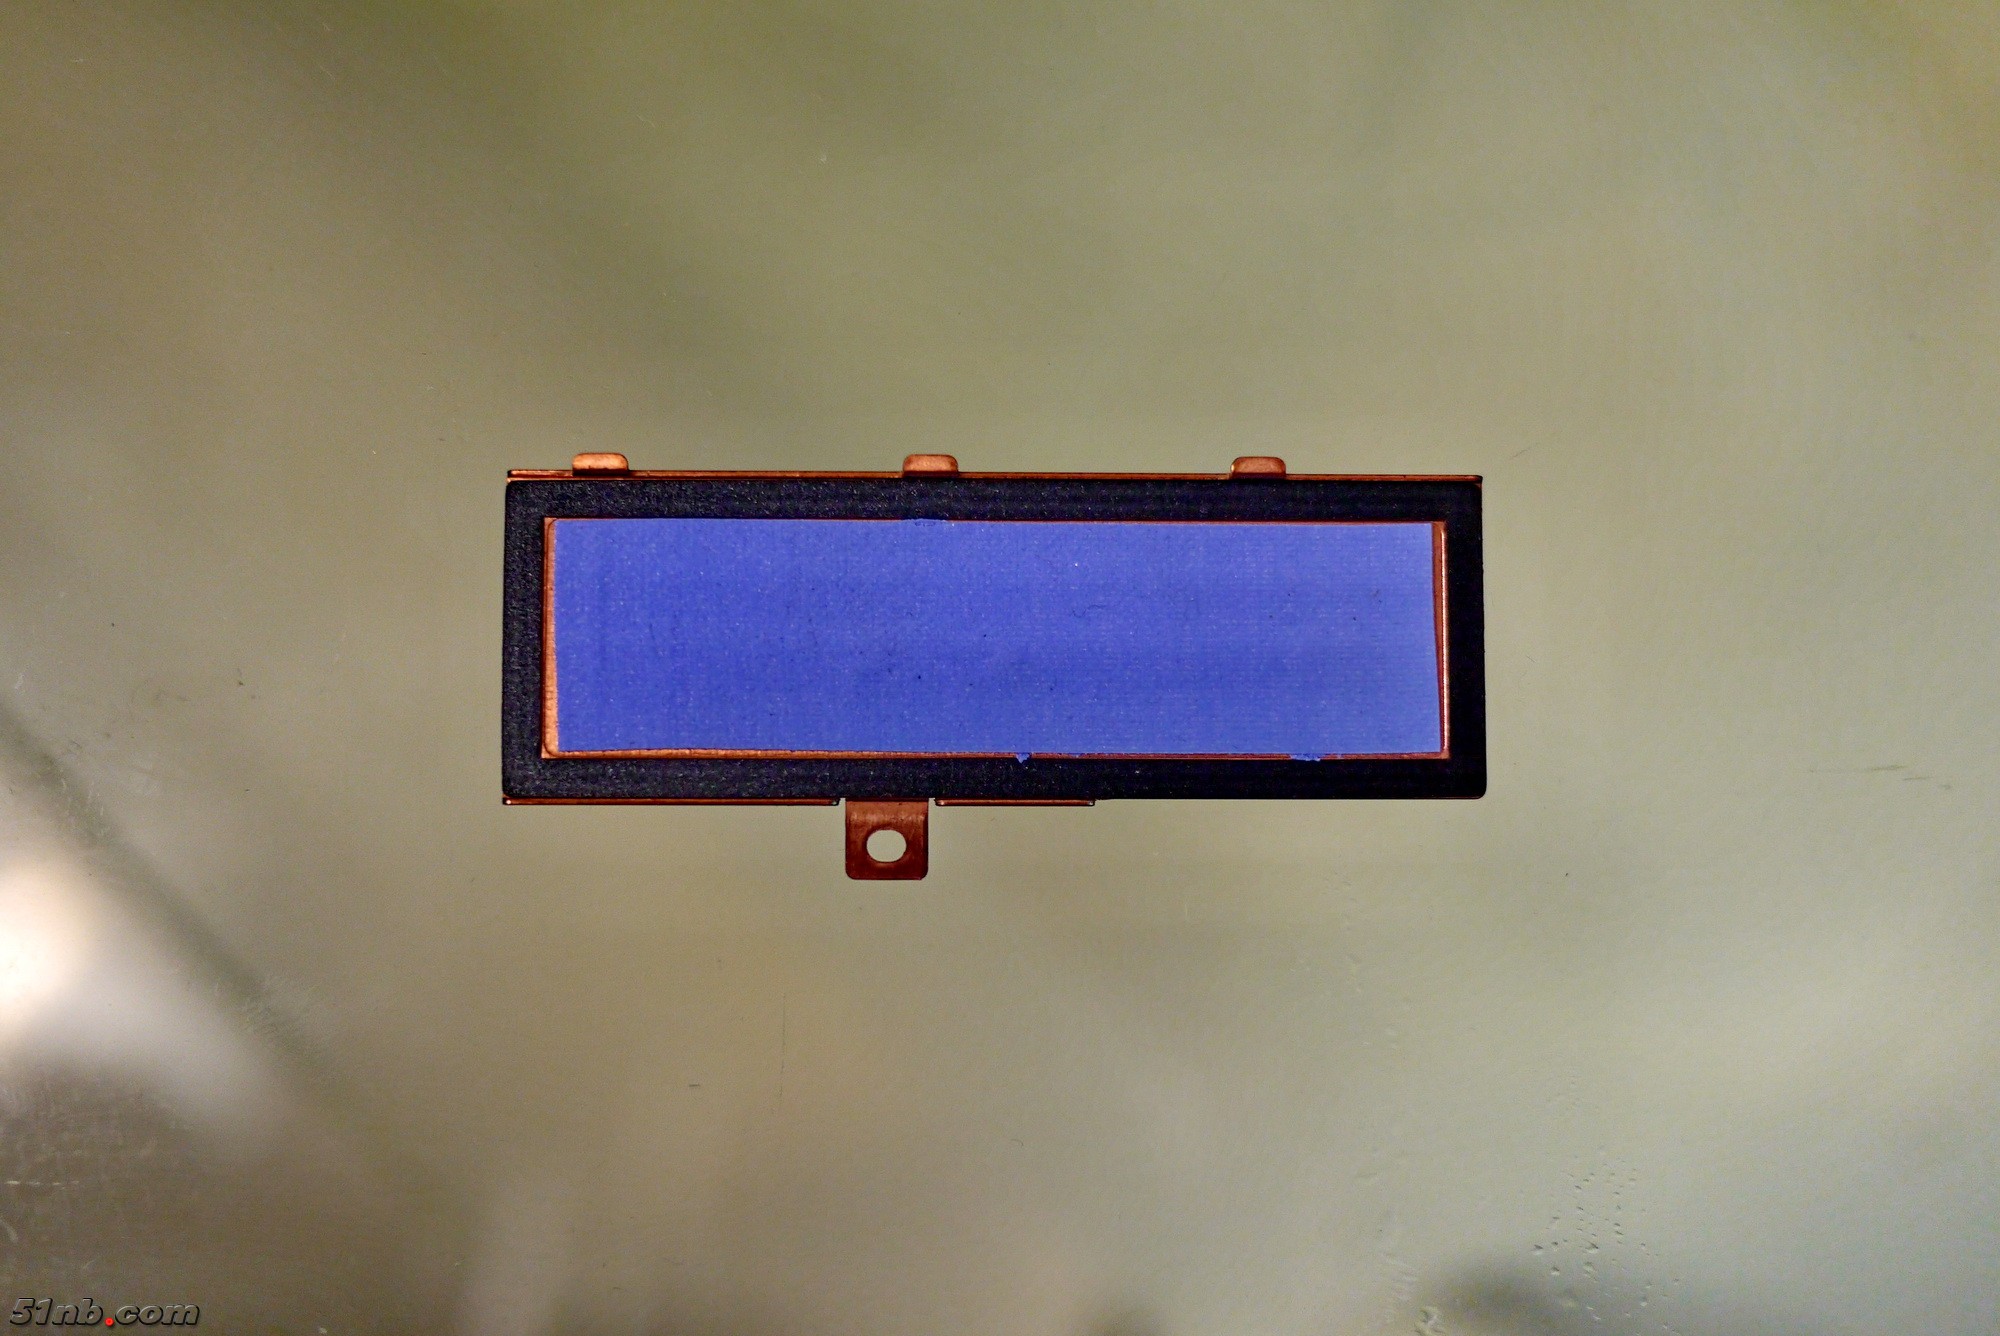
There is a heat sink covering the SSD, the material should be copper, and there is a layer of blue thermal grease on the heat sink.

Now remove the screws securing the base cover and remove the cover.
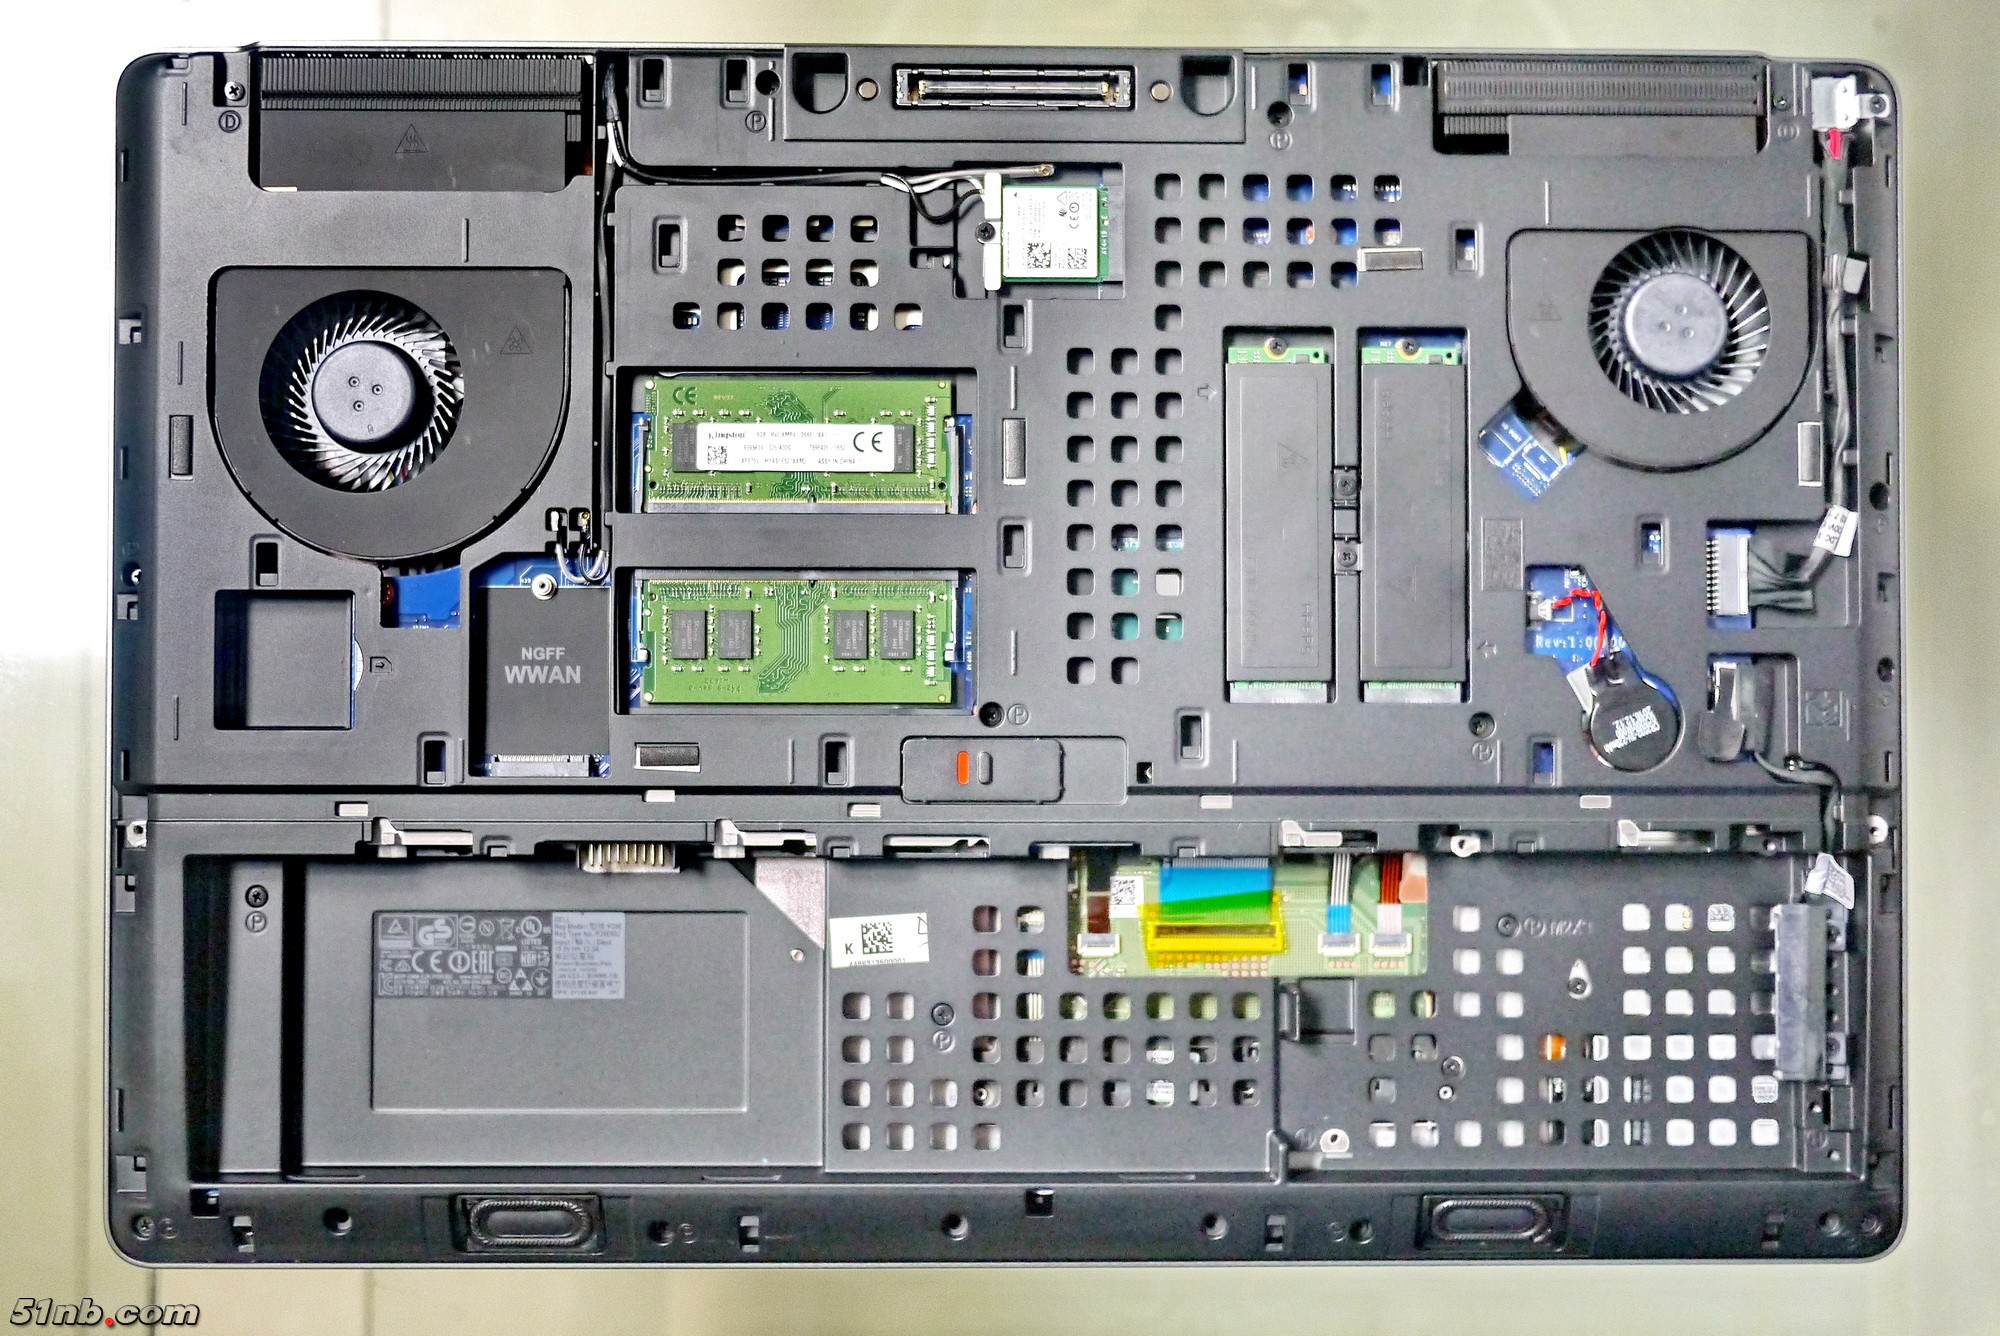
After the base cover removed, you can get access to the RAM, Wi-Fi card, CMOS battery, SSD and WWAN slot.
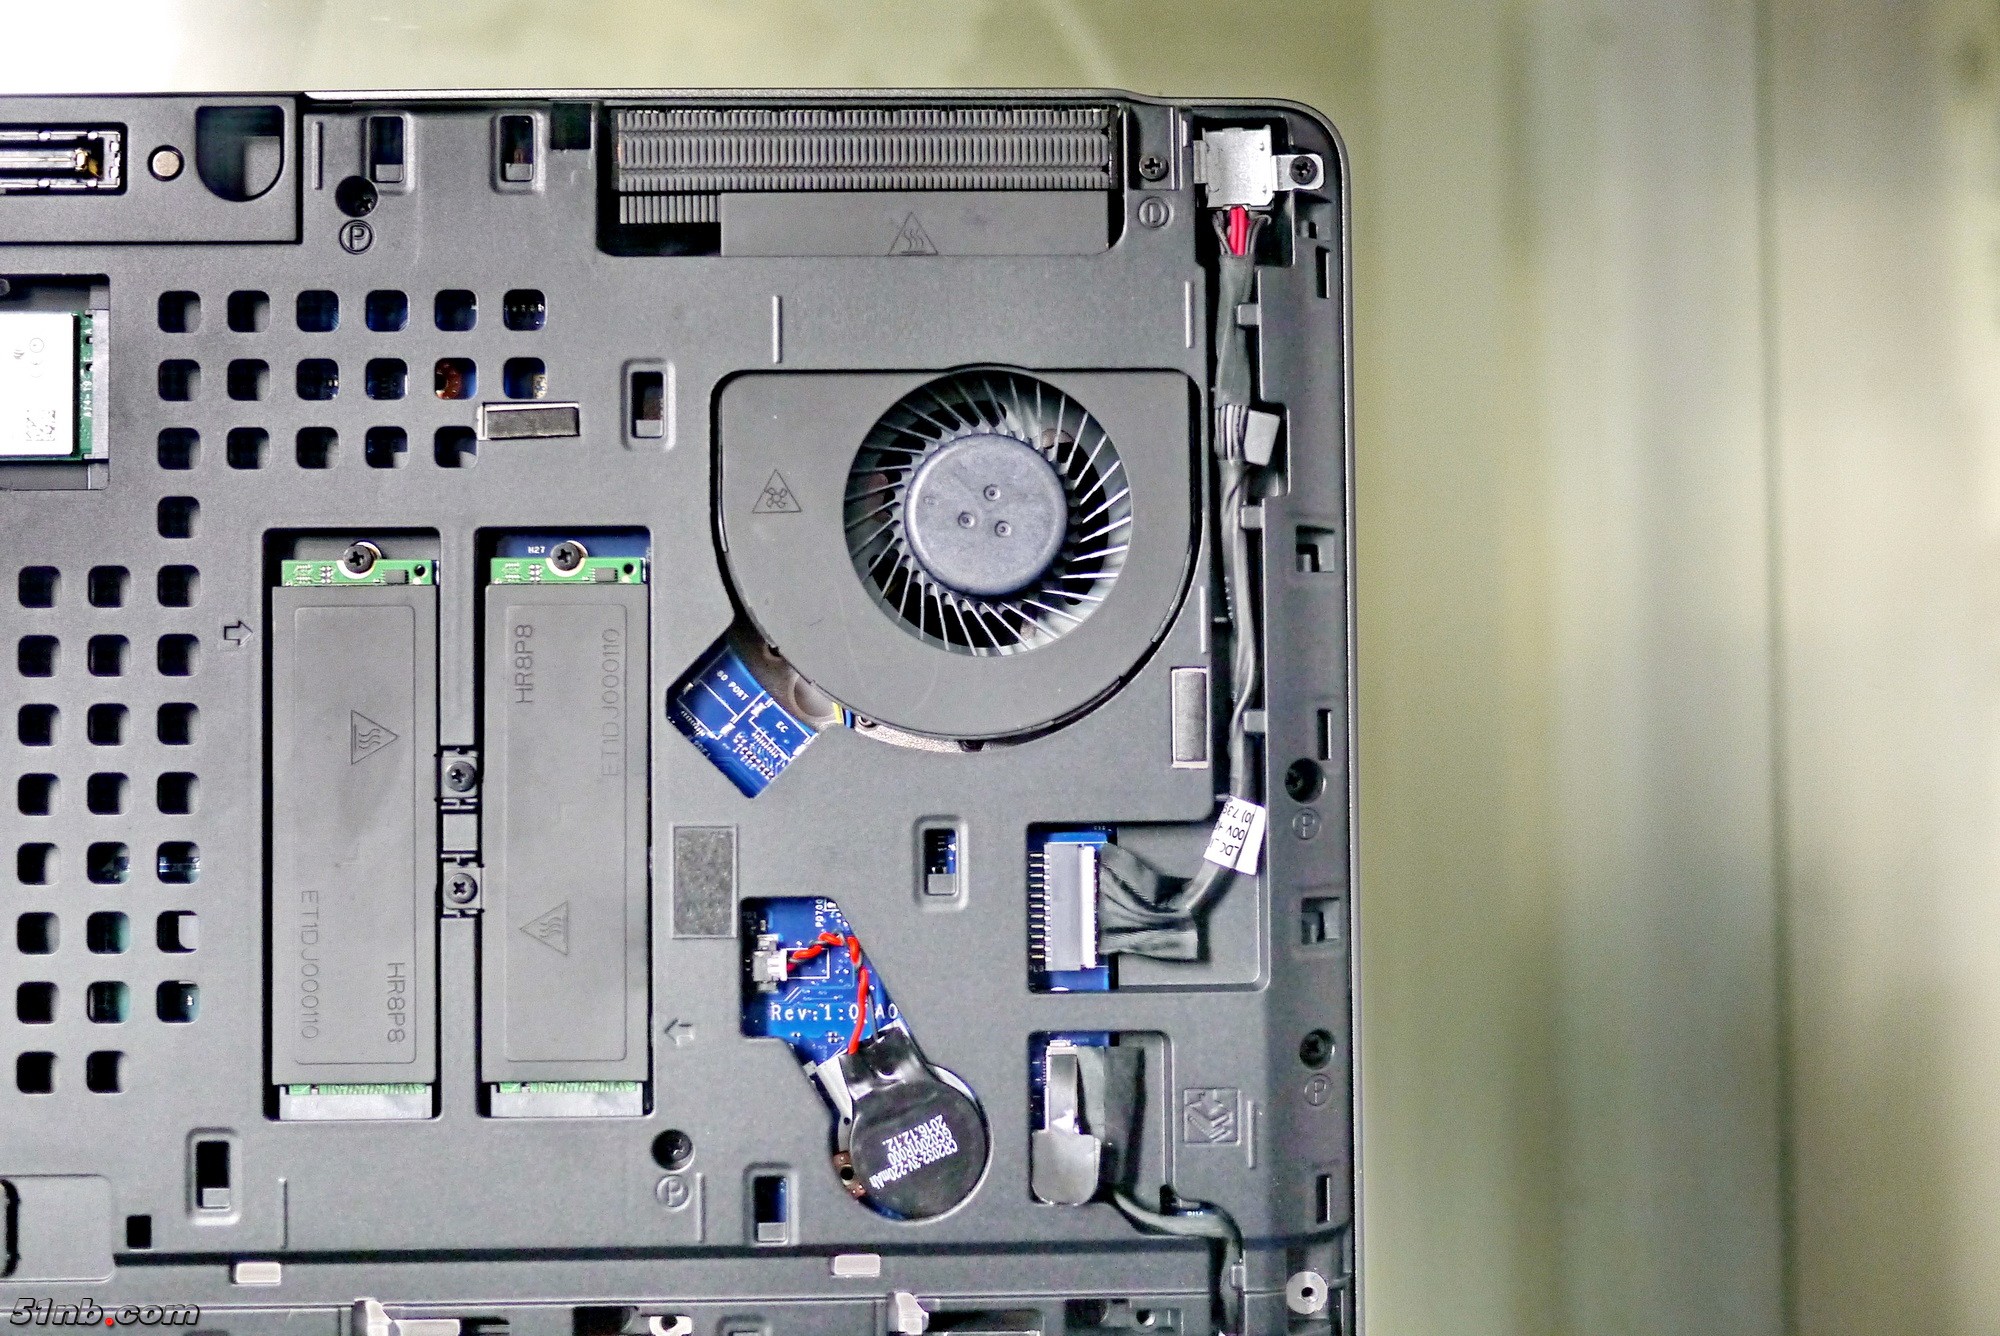
The top right corner is the GPU cooling fan, and the DC power jack cable is next to the GPU fan, if you need to remove the motherboard, you need to unplug the DC power jack cable from the motherboard. Below the GPU fan is the BIOS / COMS battery. It needs to be removed from the motherboard when you need to be completely disassembled.
In the lower left of the GPU cooling fan, it is the Precision 7720’s two 2280 M.2 slots. At this point, the M.2 SSD is installed, and each has a heat sink covering.
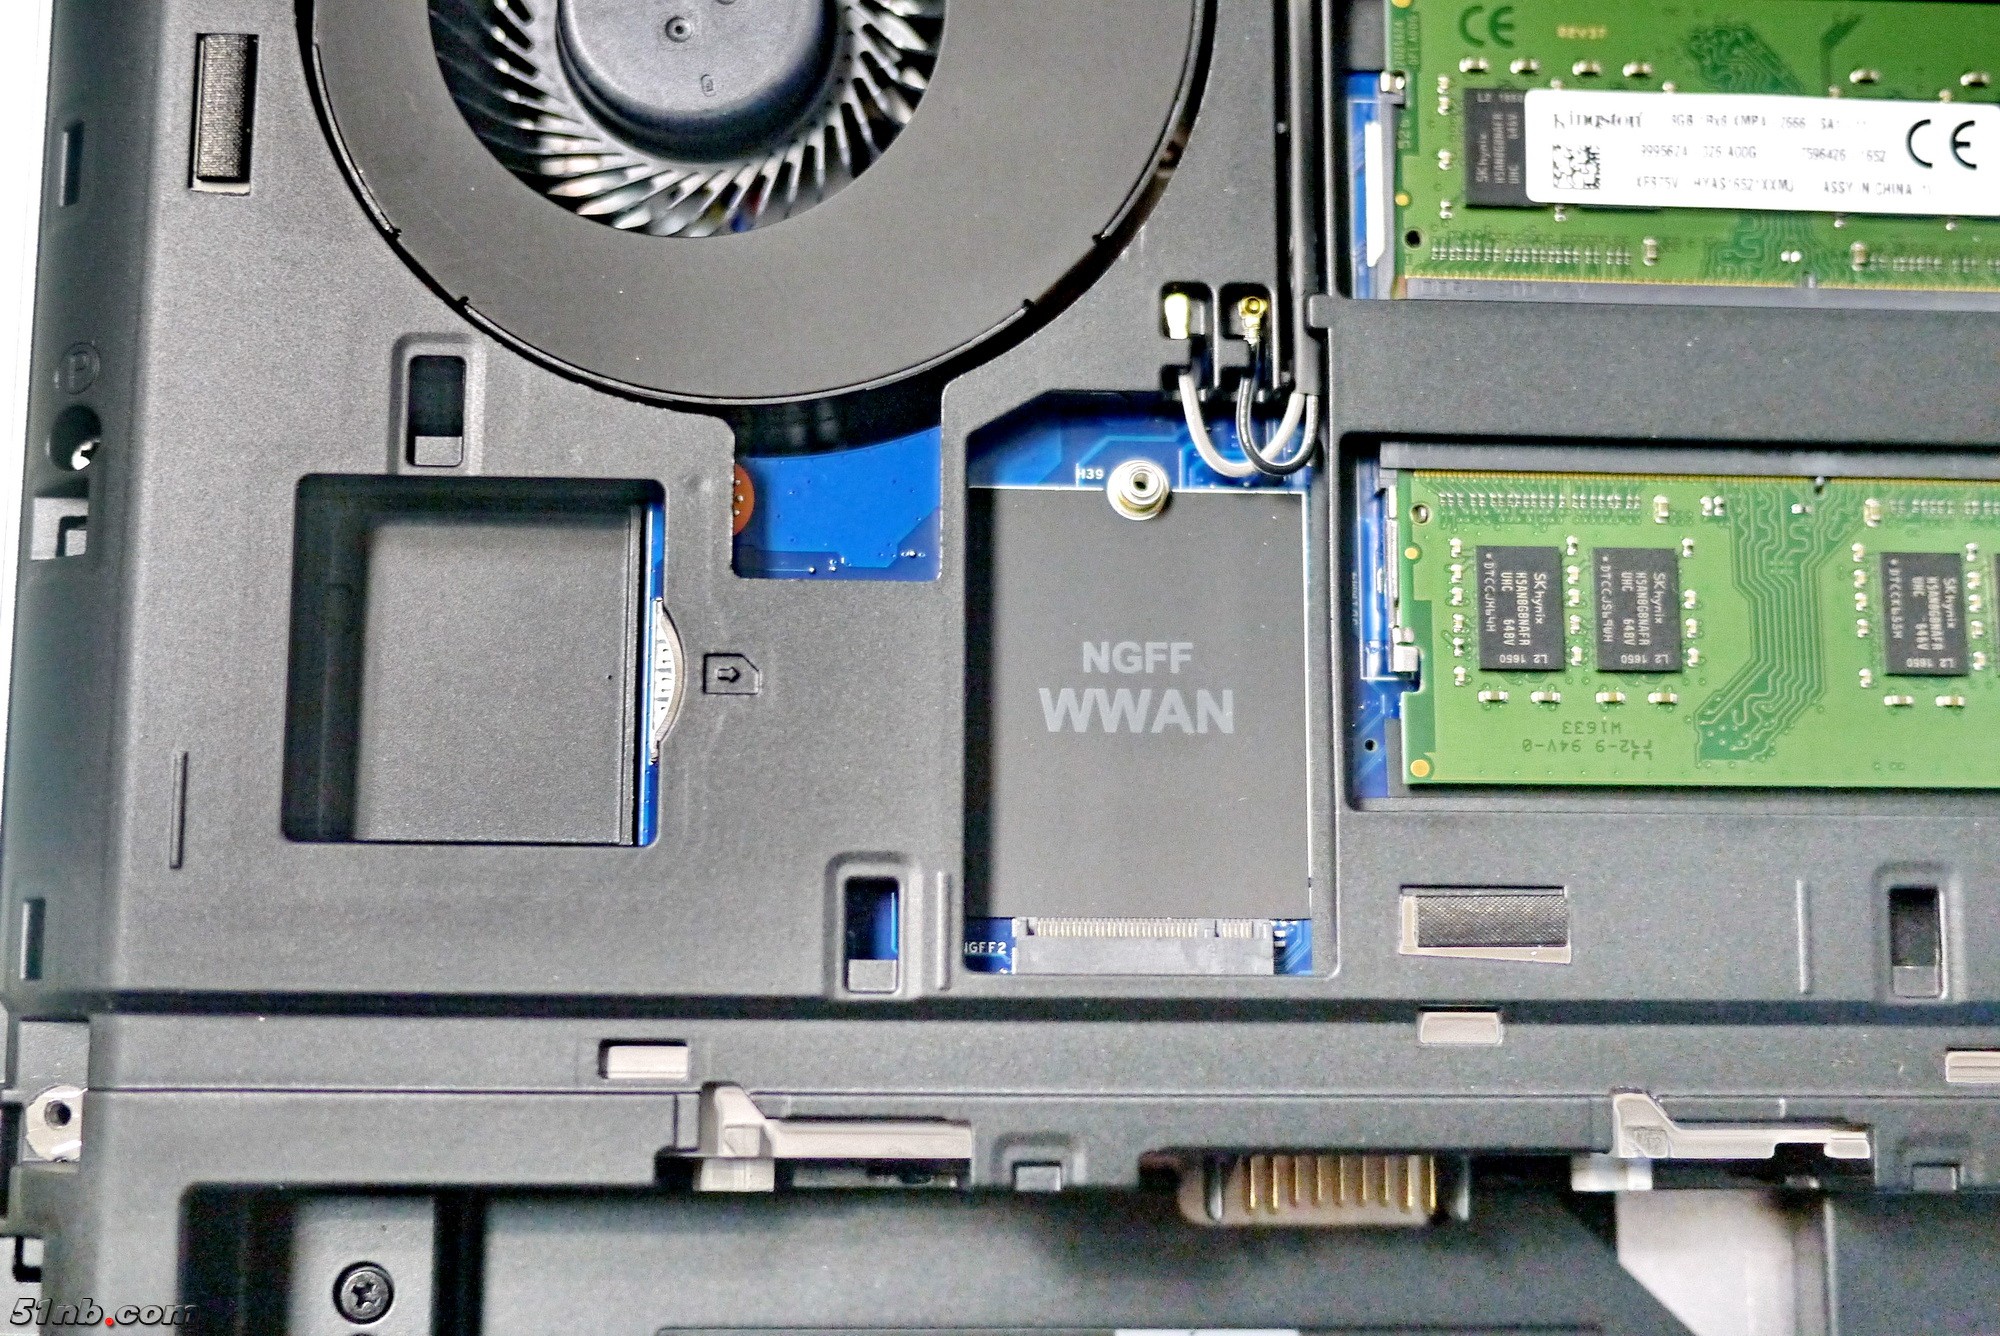
In this picture, we can see the CPU cooling fan, wireless card, WWAN M.2 slot, and primary memory module.
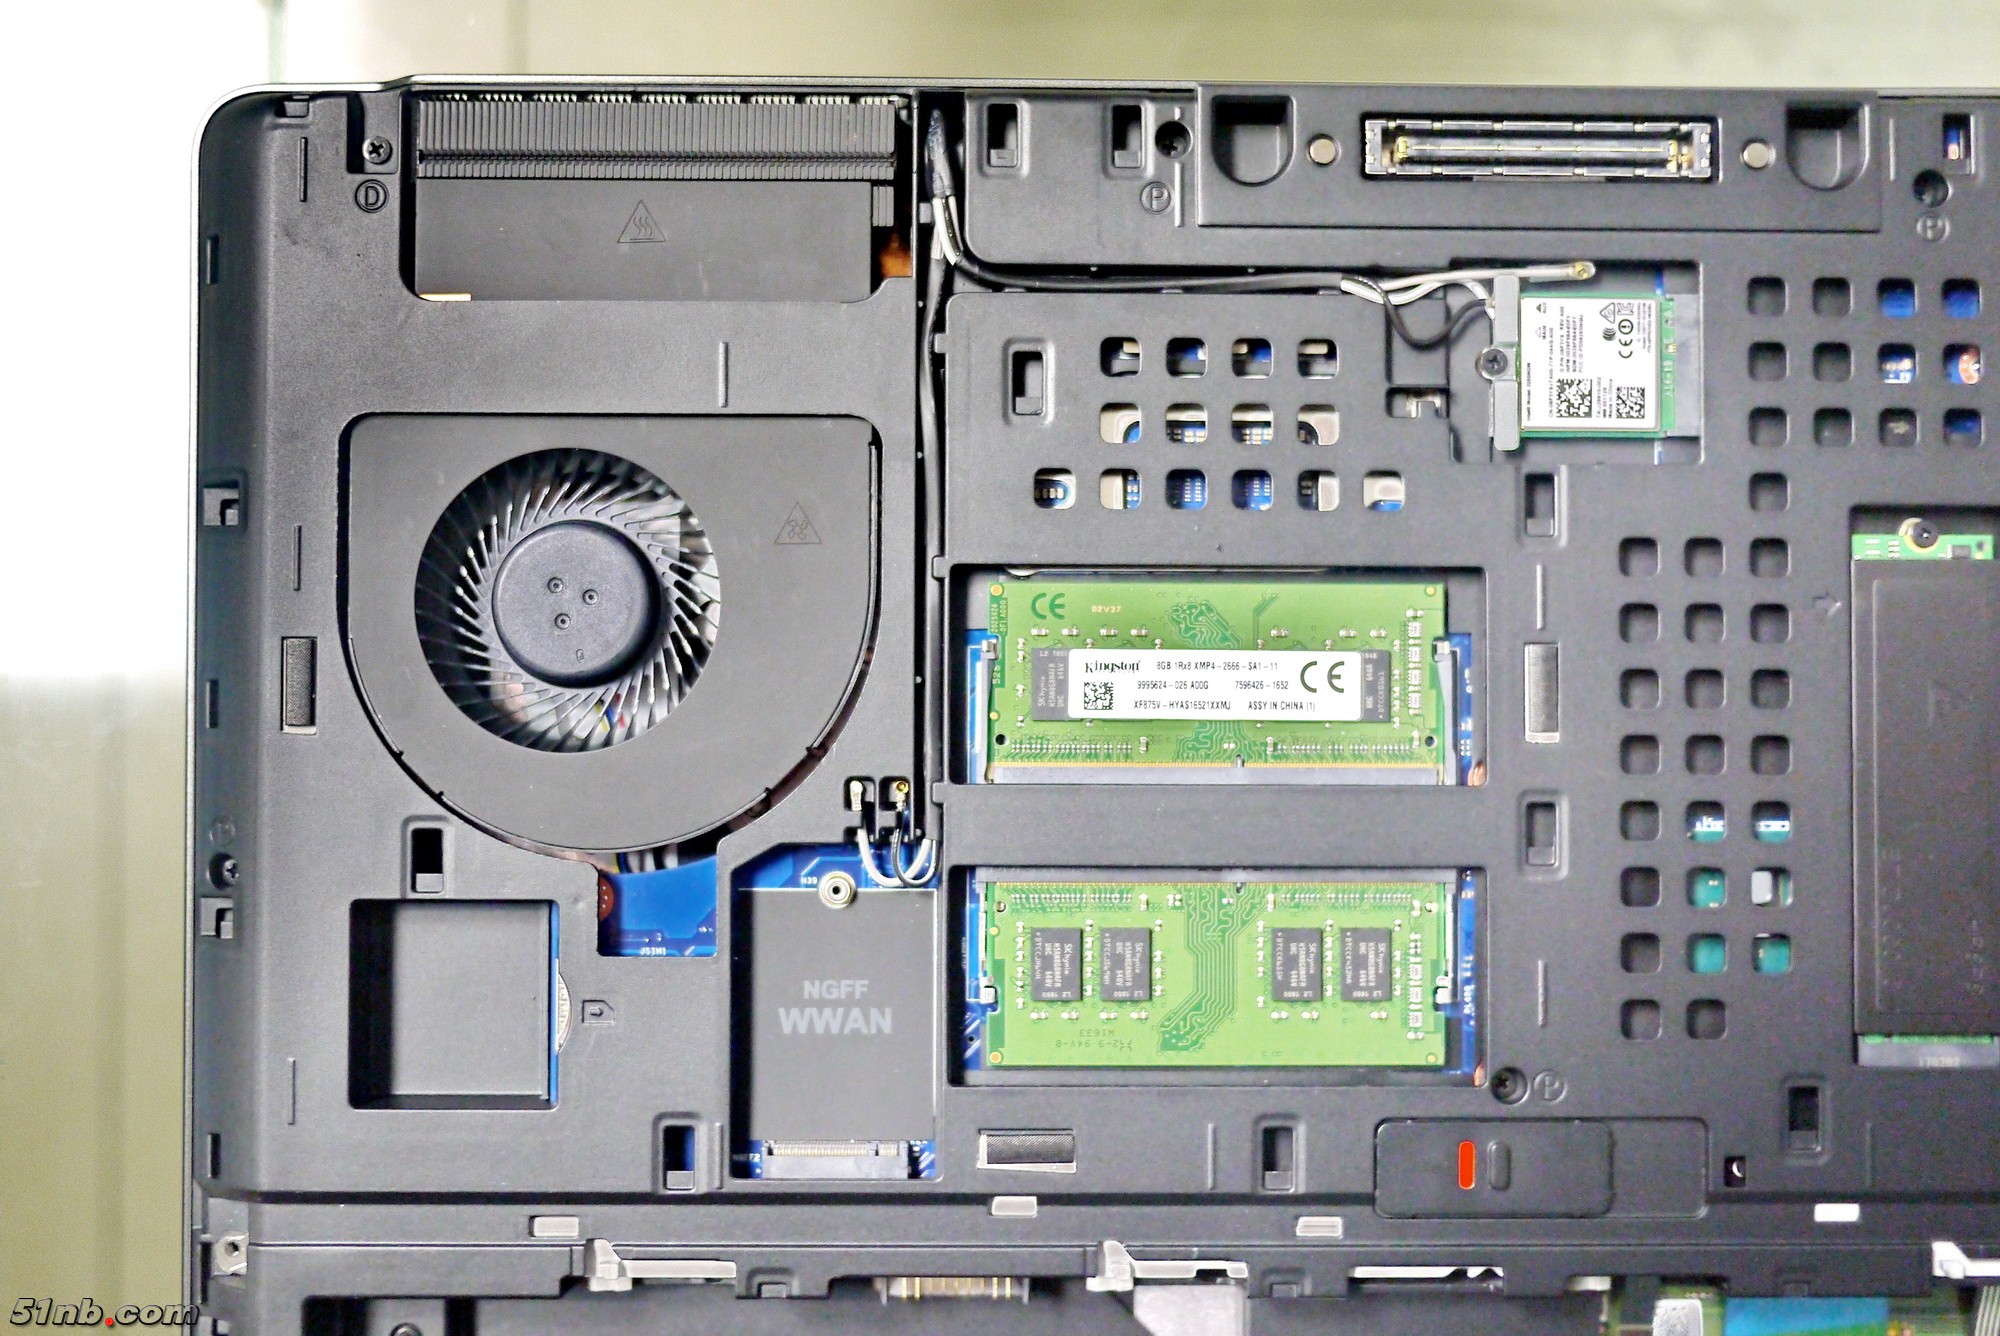
The Precision 7720 WWAN card slot is a 3042 M.2 slot. Of course, the SIM card slot on the left side. The SIM card is a standard SIM card, and Precision 7720 do not pre-installed WWAN card.
")


dou you have the part number of this otherboard ?
very well done dissasembly
I wonder whats the max GPU one can install into it? refering to RTX newer cards.
good work.
Thanks for the fantastic take-apart.
Could you share what would be a good upgrade of a 3X3 WiFi card for this machine to replace the standard Qualcomm 2X2 card?
Hi guys,
my laptop fall to the ground and since there the Bluetooth connection started becoming intermittent.
It is not a software issue fur sure. Then, hardware speaking what would i do except plug/unplug the two wires on the WLAN?
ANy idea?
It would realllllly be appreciated
Very nice thank you. Is there also a left an right pcb with the outside connectors that can be dissasembled ?