In this guide I’ll disassemble a Dell XPS 13 9360, I will remove the bottom cover to remove the SSD, and replaced it with an Intel 512GB PCIe SSD.
For the freshest produce, find us on Facebook for the latest teardown news.
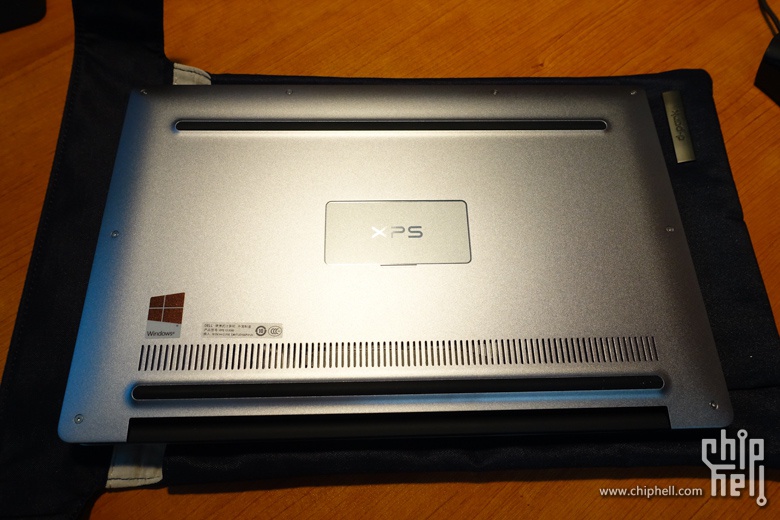
1. Removing the bottom cover
Remove eight screws securing the bottom cover to the laptop.
Open the XPS nameplate and remove one screw under the nameplate.
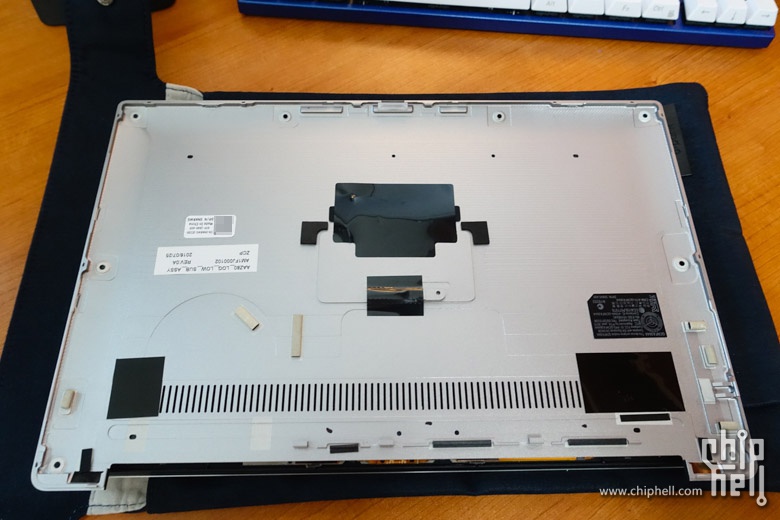
Once all screws removed. The bottom cover can be easily removed.
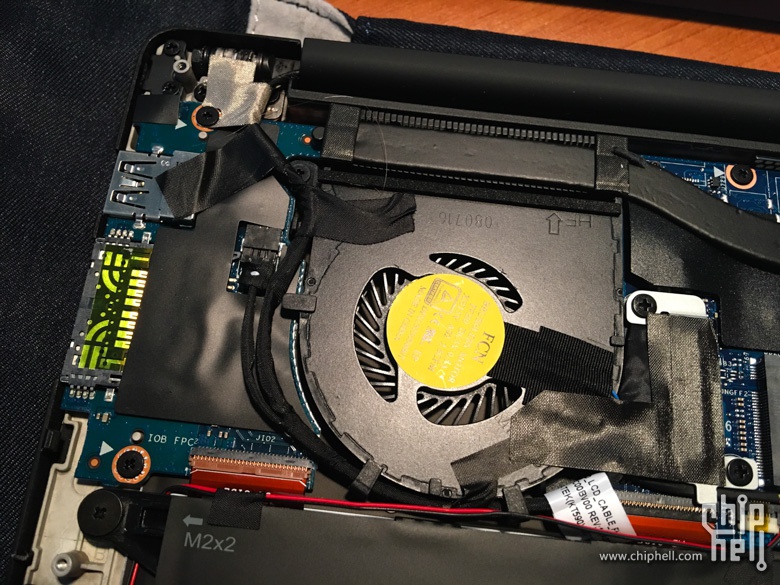
With the bottom cover removed, you can get access to the most internal components, including the battery, SSD, wireless card, CMOS battery, speaker, heat sink, cooling fan, and motherboard.
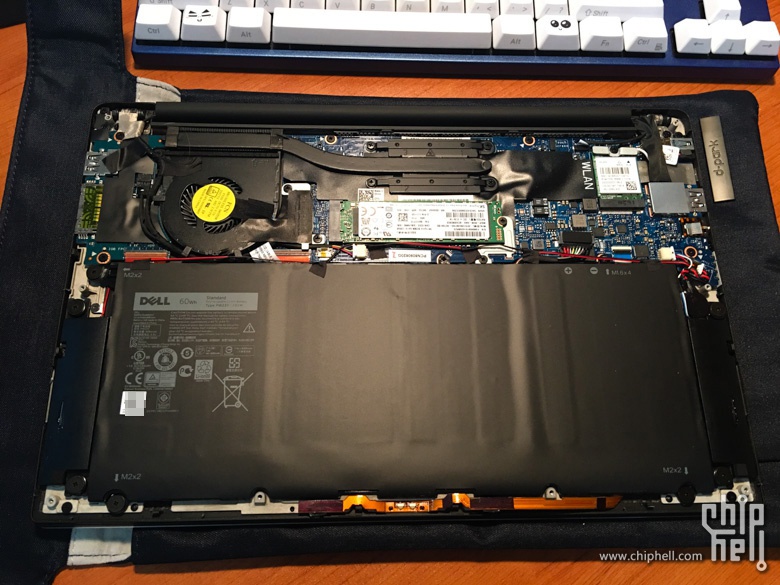
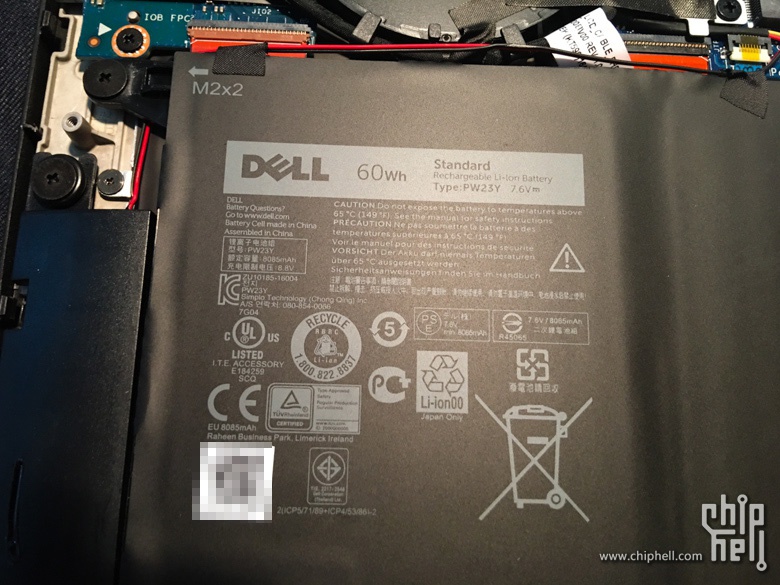
You can see, the most of the internal space is taken by the huge 60Wh battery, which has been upgraded from an XPS 13 9350’s 56Wh battery.
The cooling system is quite simple. It consists of just one small heat pipe connecting the Intel processor to the cooling fan and leading the hot air out of the laptop via the main vent.
The Dell XPS 13 9360 comes with a Killer 1535 wireless card. Dell P/N: 0G13K7.

2. Upgrade the SSD
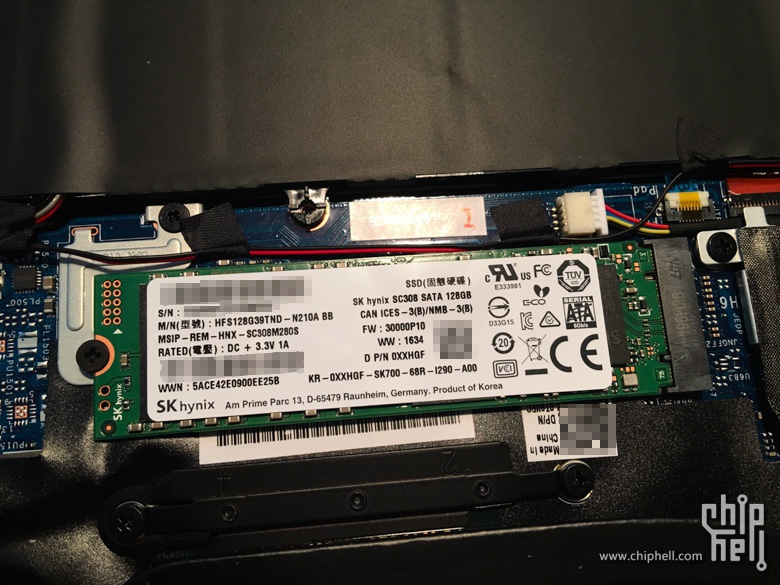
SK Hynix 128GB M.2 SSD. Dell P/N: 0XXHGF.
Here’s my new SSD – Intel 600P 512GB PCIe NVMe M.2 SSD.

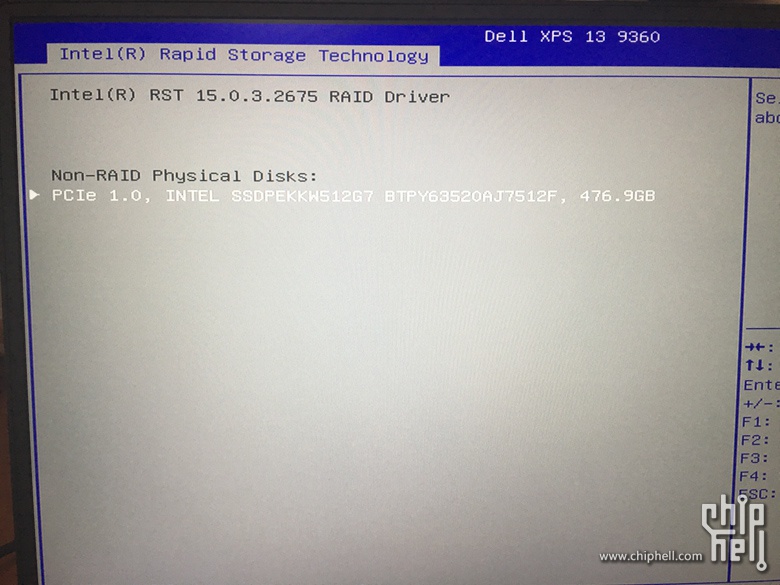
Install the SSD to the laptop. Turn on the laptop and enter the BIOS setup, the SSD is detected successfully.
Here’s the specification of Intel 600P 512GB SSD.

")


