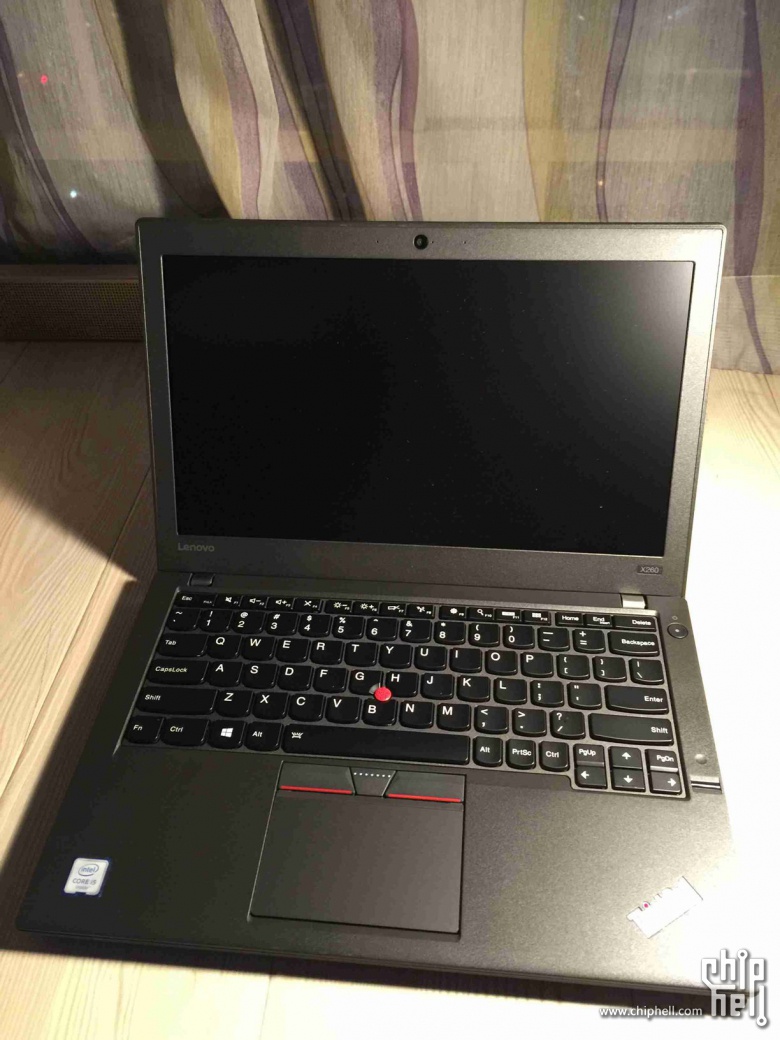
Specifications:
Processor: Intel® Core™ i5-6200U 2.3 GHz processor (3M Cache, up to 2.80 GHz)
Graphics: Intel® HD Graphics 520
Memory: 8GB DDR4-2133 SODIMM
Display: 12.5″ HD (1366 x 768) IPS screen, non-touch
Storage: 500GB Hard Disk Drive, 7200rpm, 2.5″, SATA3
Networking: Intel Dual Band Wireless-AC(2×2) 8260, Bluetooth Version 4.1
Battery: 3 cells 23.2Wh front Li-Ion battery, 6 cells 47Wh rear Li-Ion battery
Camera: HD (720p) webcam
Operating System: Windows 10 Pro 64
Weight: 1.42kg
Looking for more guides from laptopmain.com? Follow us on Facebook for all the latest teardown news.
Specification list


Laptop AC adapter, power cord, 6-cell external battery

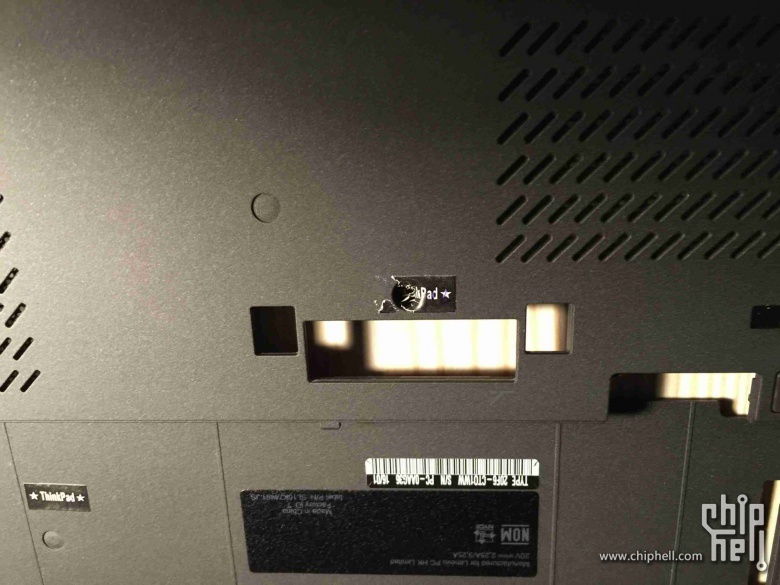
There is a screw under the Lenovo fragile stickers, to remove the bottom case, we need to remove the screw first.
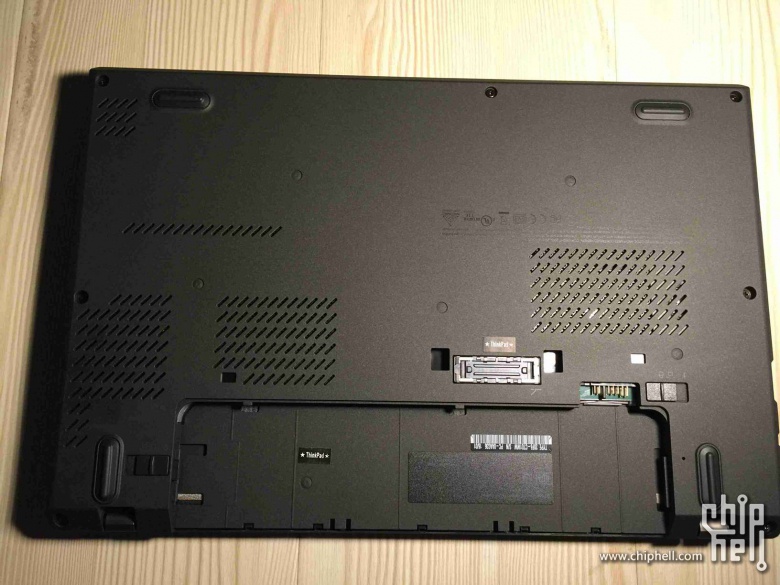
Remove the screw.
Pry up the bottom case with a plastic crowbar.
When the bottom case was removed, you were able to access the built-in battery, RAM, hard drive, wireless card, speakers, heat sink and cooling fan.
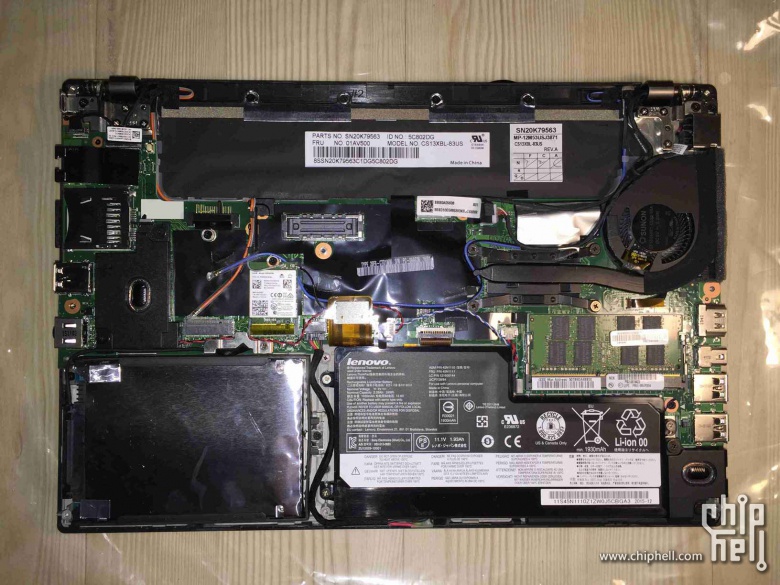
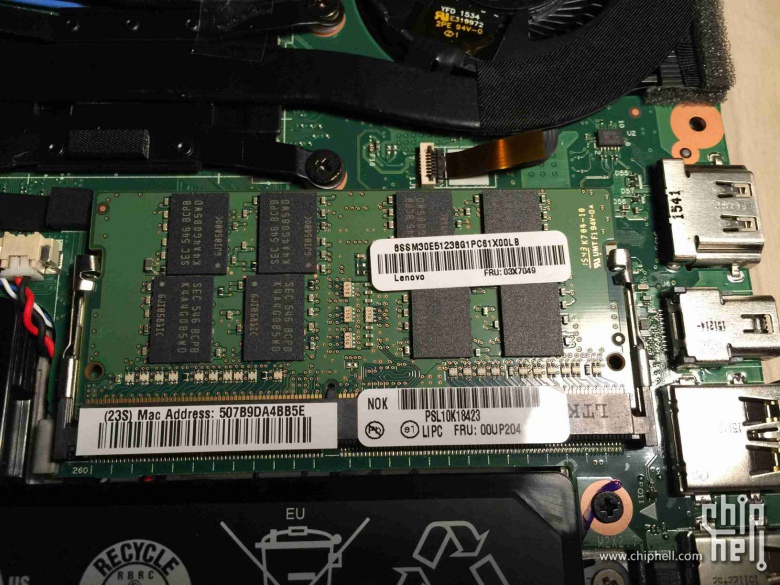
Lenovo ThinkPad X260 only has one RAM slot and comes with an 8GB DDR4-2133 RAM.
We have contacted Lenovo to confirm that the laptop supports up to 16GB RAM so that you can replace it with 16GB DDR4-2133 RAM.
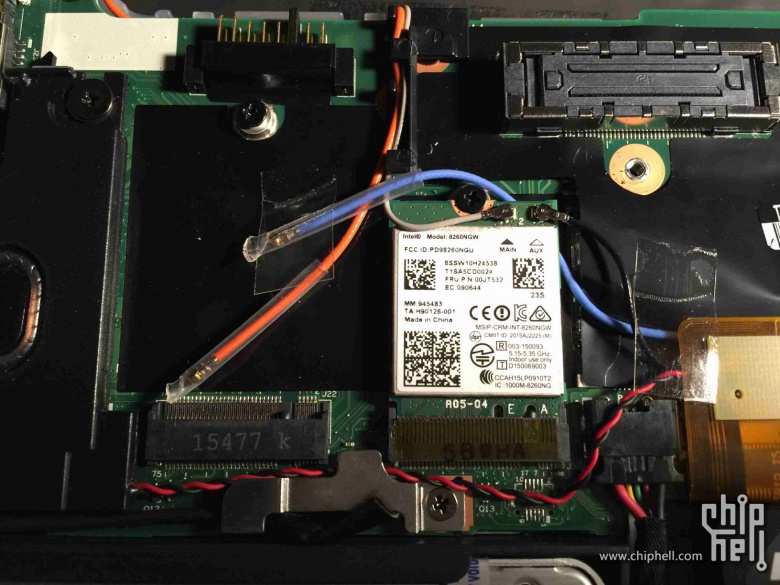
It features an Intel® Dual Band Wireless-AC 8260 wireless card.
The Intel® Dual Band Wireless-AC 8260 is Intel’s 3rd generation 802.11ac, dual-band, 2×2 Wi-Fi + Bluetooth® 4.1 adapter.
The laptop also has a spare M.2 NGFF SSD slot.
Lenovo ThinkPad X260’s heat sink and cooling fan modules

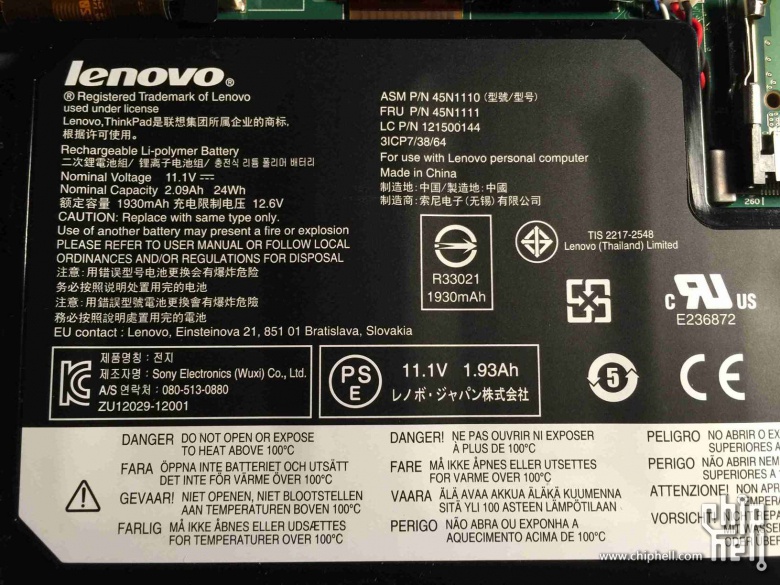
3 Cell 11.4v, 24Wh built-in Li-Ion battery, Lenovo P/N: 45N1110, 45N1111, 121500144, 3ICP7/38/64
Remove the SATA cable.
Remove the hard drive.
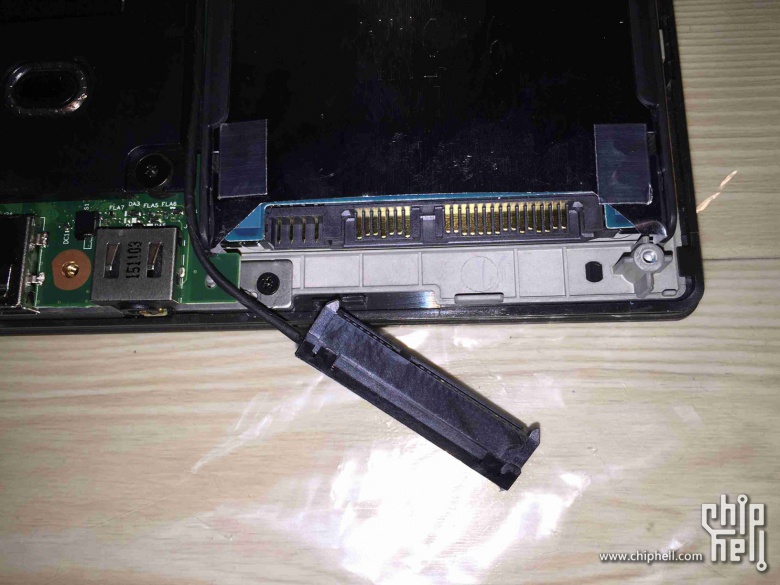
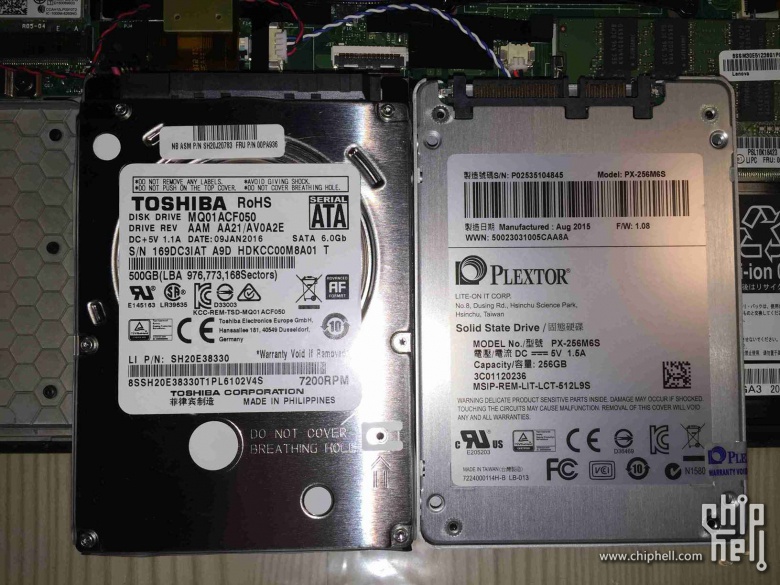
This Lenovo ThinkPad X260 features a Toshiba 500GB 7200RPM hard drive.
My new SSD is PLEXTOR 256GB 2.5″ SSD.
Source: chiphell.com


it is possible upgrade Harddisk or RAM without FRU?
Off course, but you need to make sure the RAM is DDR4-2133.
thank you for your infomation.
so i can upgrade ram using crossair or kingston. also ssd like sandisk without any restriction cause FRU?