Before start the teardown process, let’s take a look at the specification of Huawei Mate 9
Processor: HiSilicon Kirin 960 (Octa-core, 2400 MHz, ARM Cortex-A73 and ARM Cortex-A53, 64-bit)
Graphics processor: Mali-G71 MP8
Memory: 4GB
Built-in storage: 64GB
Storage expansion: microSD, microSDHC, microSDXC up to 256 GB
Battery: 4000mAh
Display: 5.9-inch 1080 x 1920 pixels IPS LCD capacitive touchscreen, 16M colors (373 PPI pixel density)
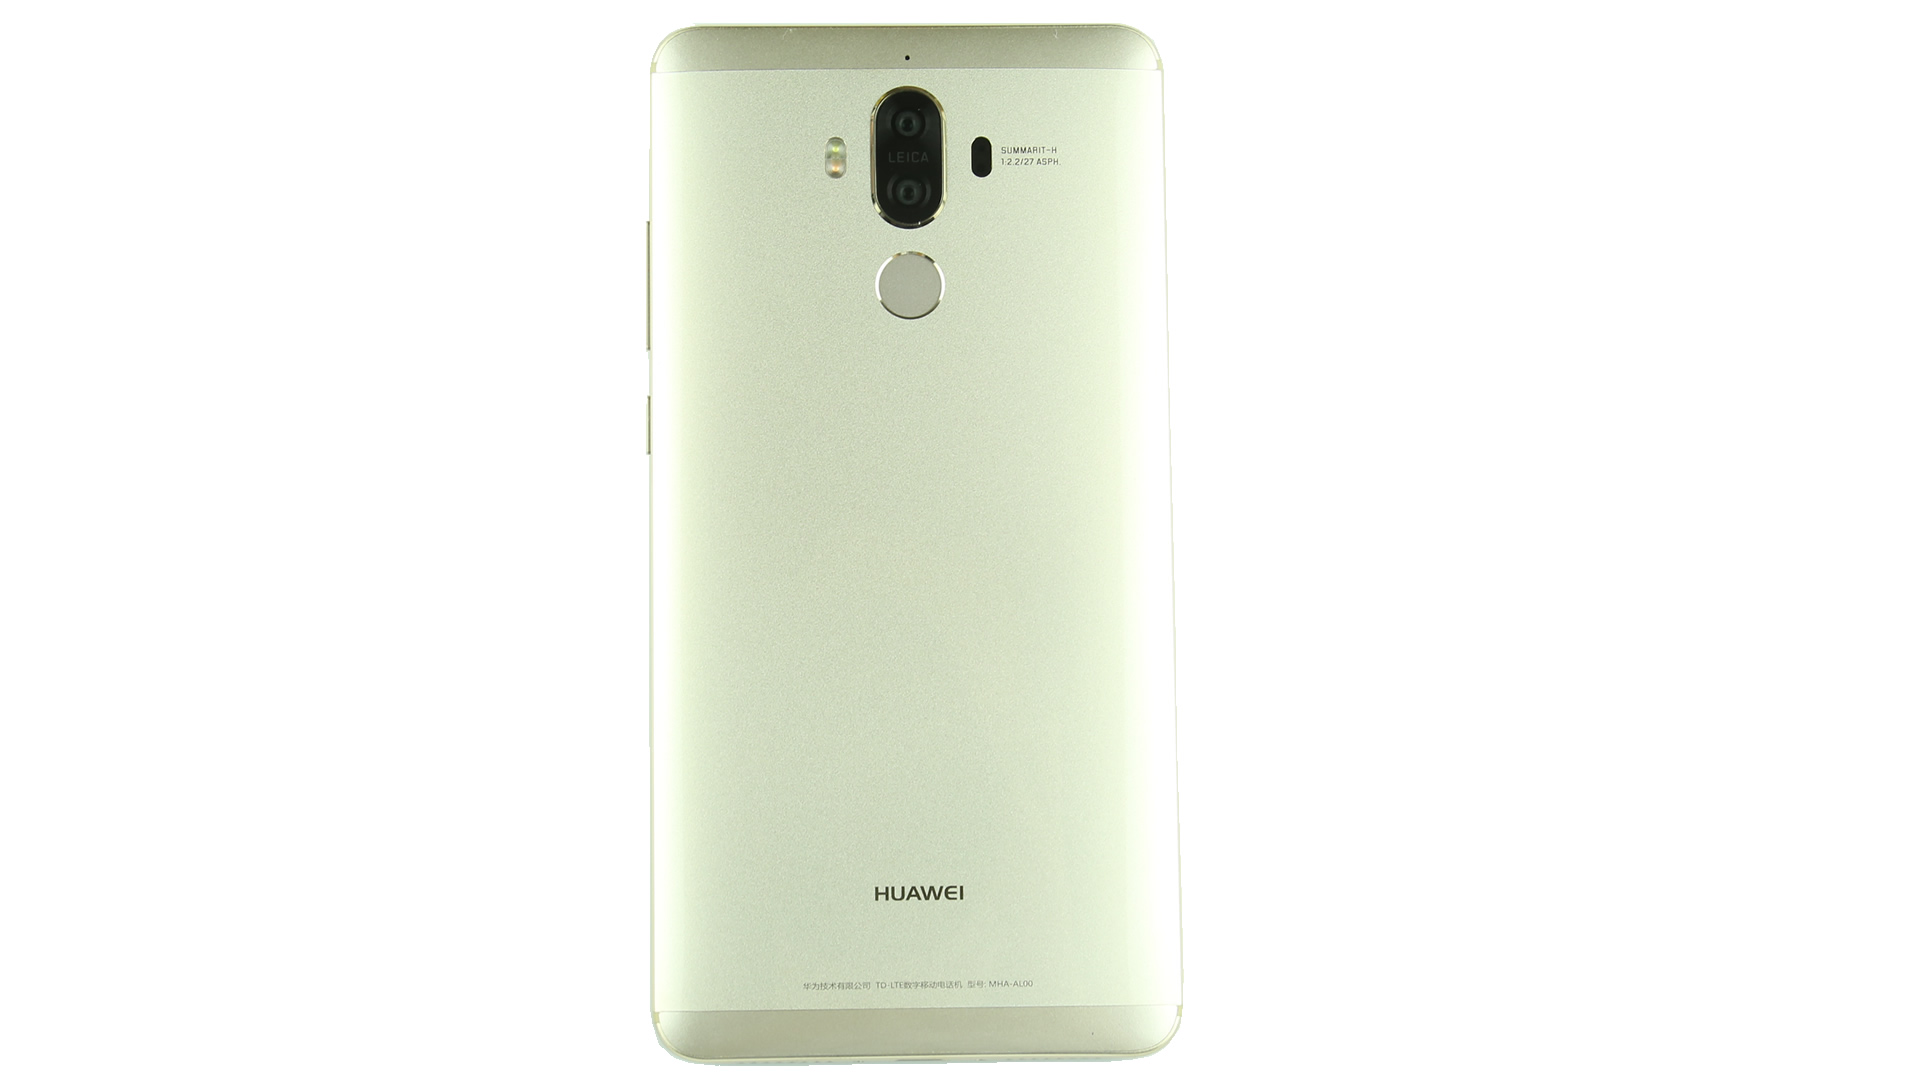
Rear Camera: Dual 20 MP +12 MP, f/2.2, OIS, 2x zoom, Leica optics, phase detection & laser autofocus, dual-LED (dual tone) flash
Front camera: 8 MP, f/1.9, 1080p
Looking for more guides from laptopmain.com? Follow us on Facebook for all the latest teardown news.
Tools needed: Screwdriver, tweezers, crowbar, suction cup, guitar pick

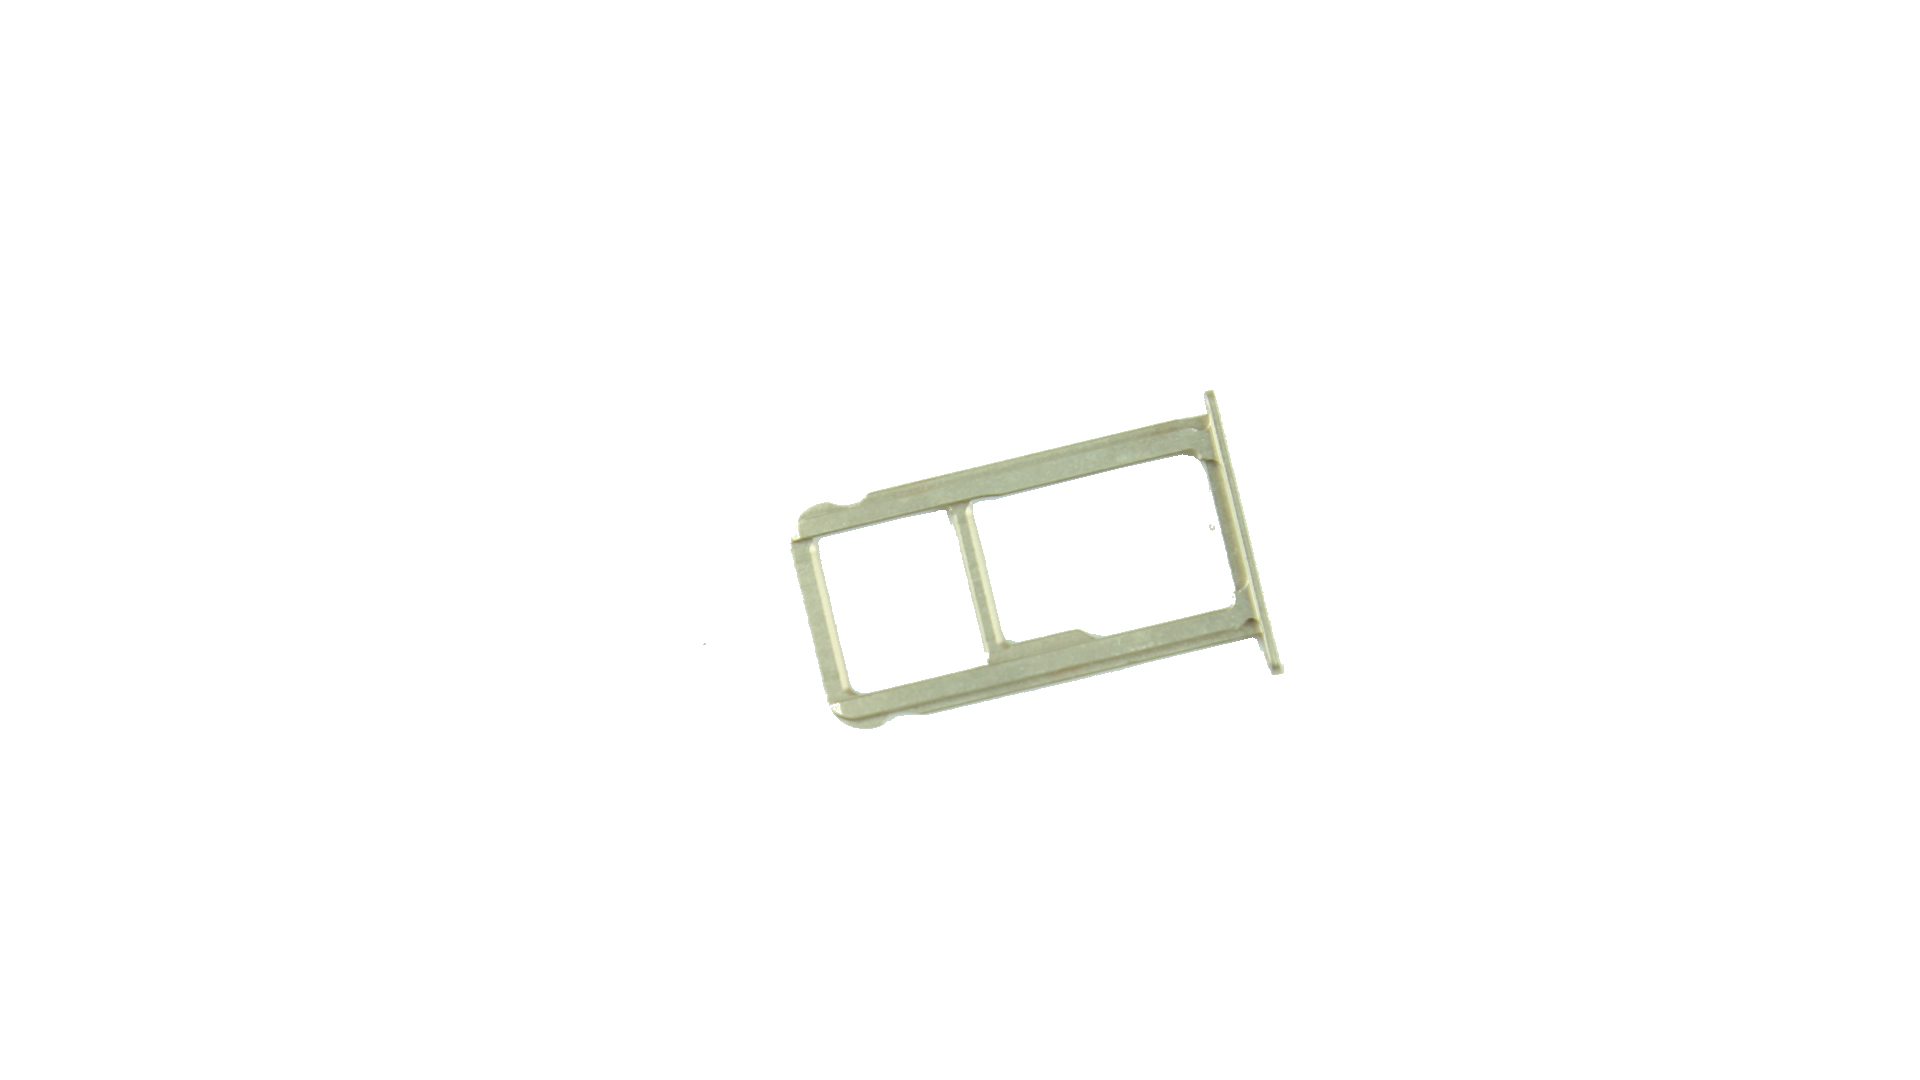
Remove the SIM card tray with an E-ject pin.
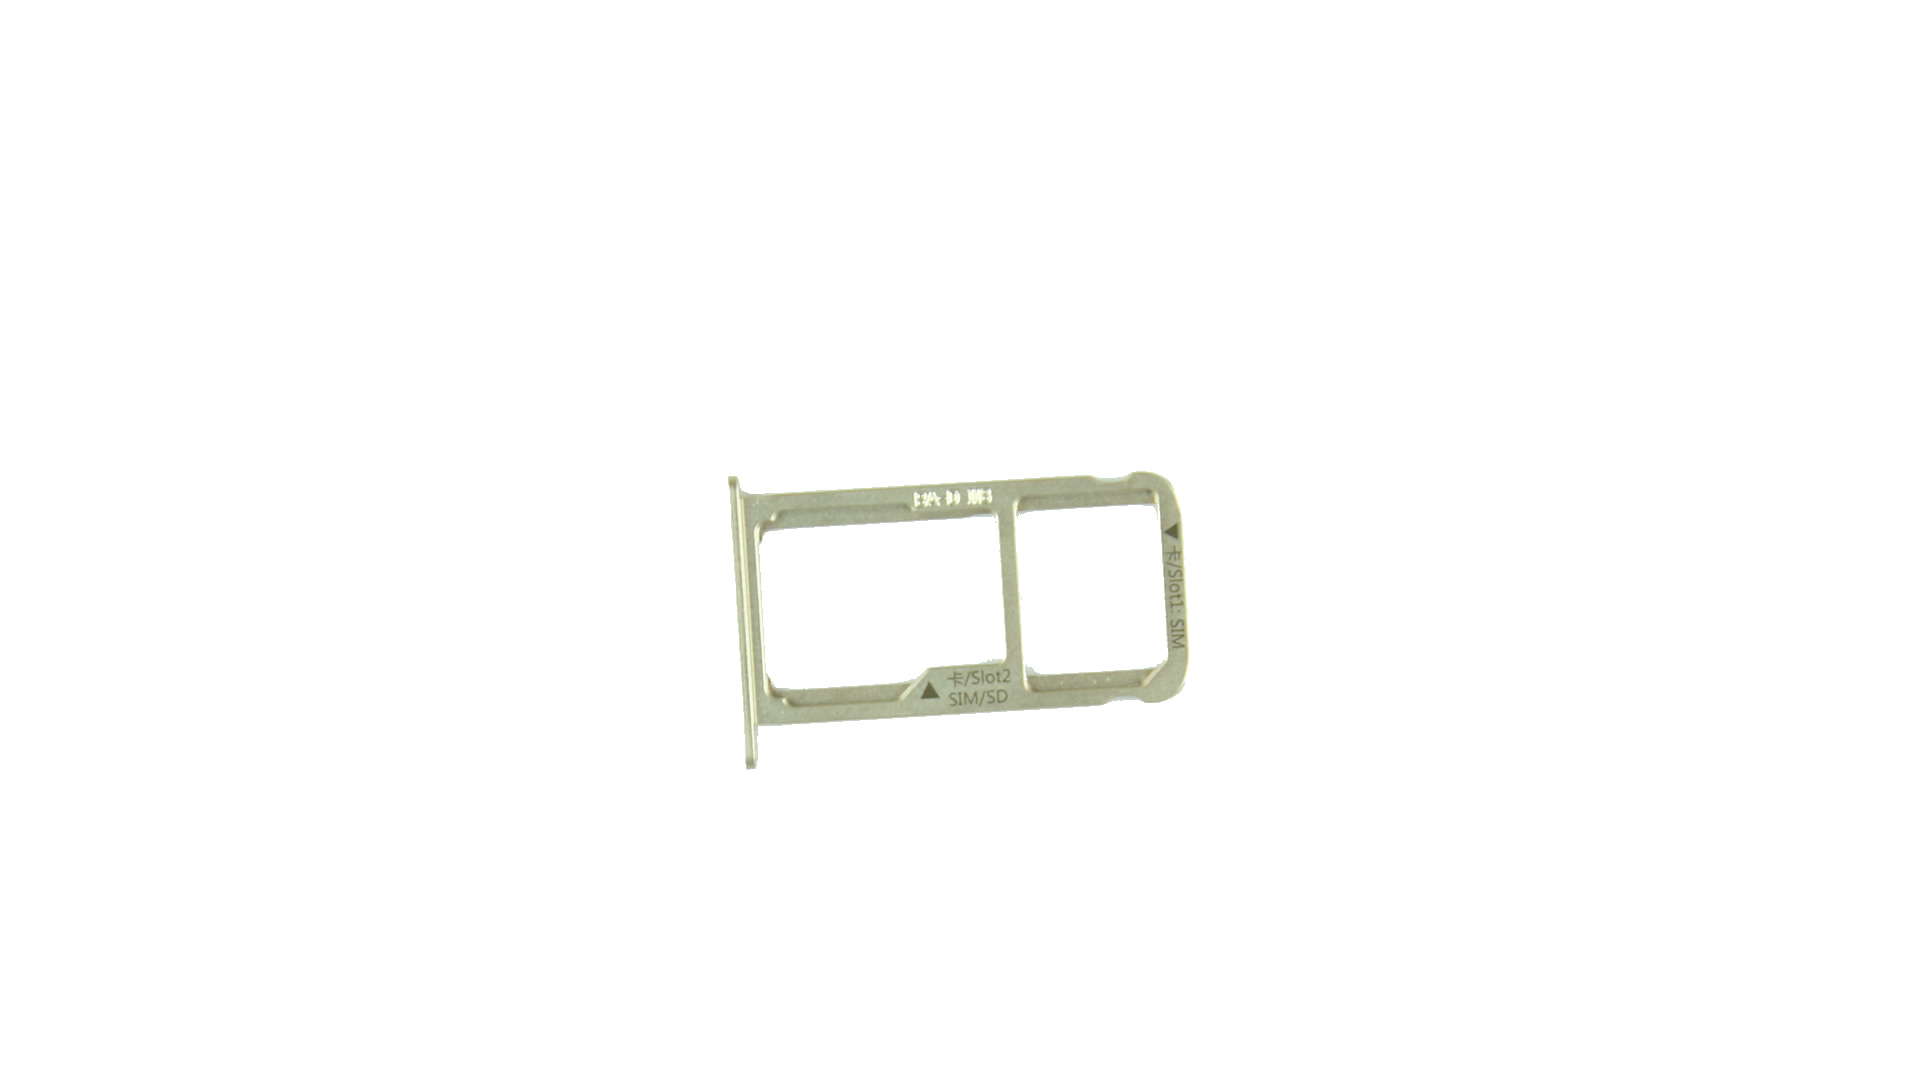
Card tray design: SIM 1 is for Nano-SIM card, SIM 2/TF is for Nano-SIM card and microSD card.
Remove two screws beside USB Type-C port with a screwdriver.

Use the suction cup to suck the front panel of the phone and open a rip. Using the pick to insert it into the rip and move it up and down. When the side is totally opened, the back cover is free to go.
Huawei Mate 9’s fingerprint module is fixed to the back cover. Before totally separation, you need to disconnect the fingerprint module.
Huawei Mate 9’s fingerprint module


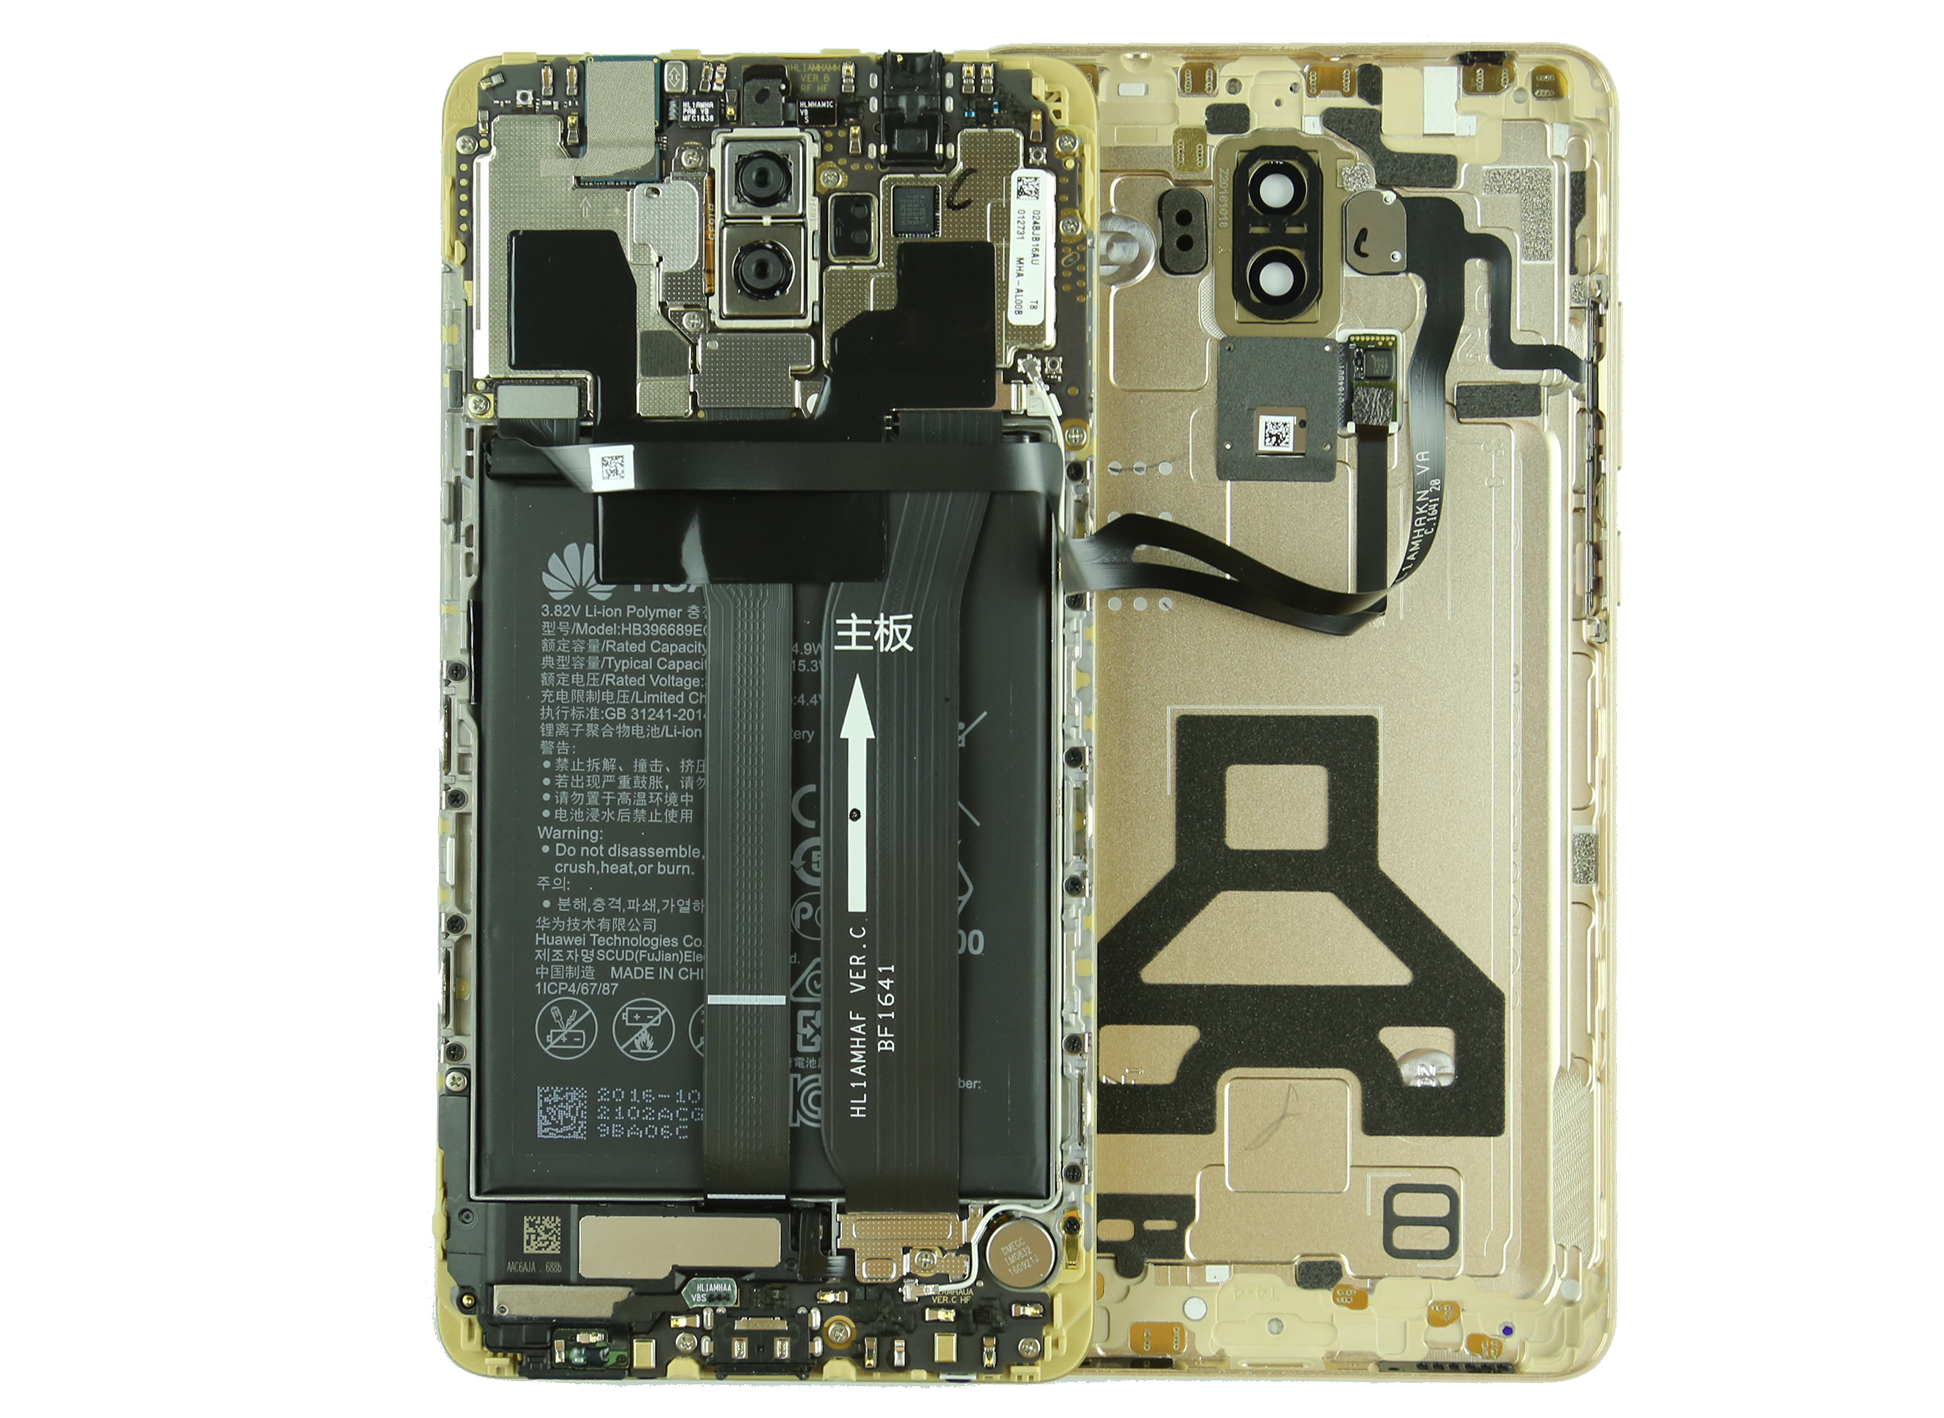
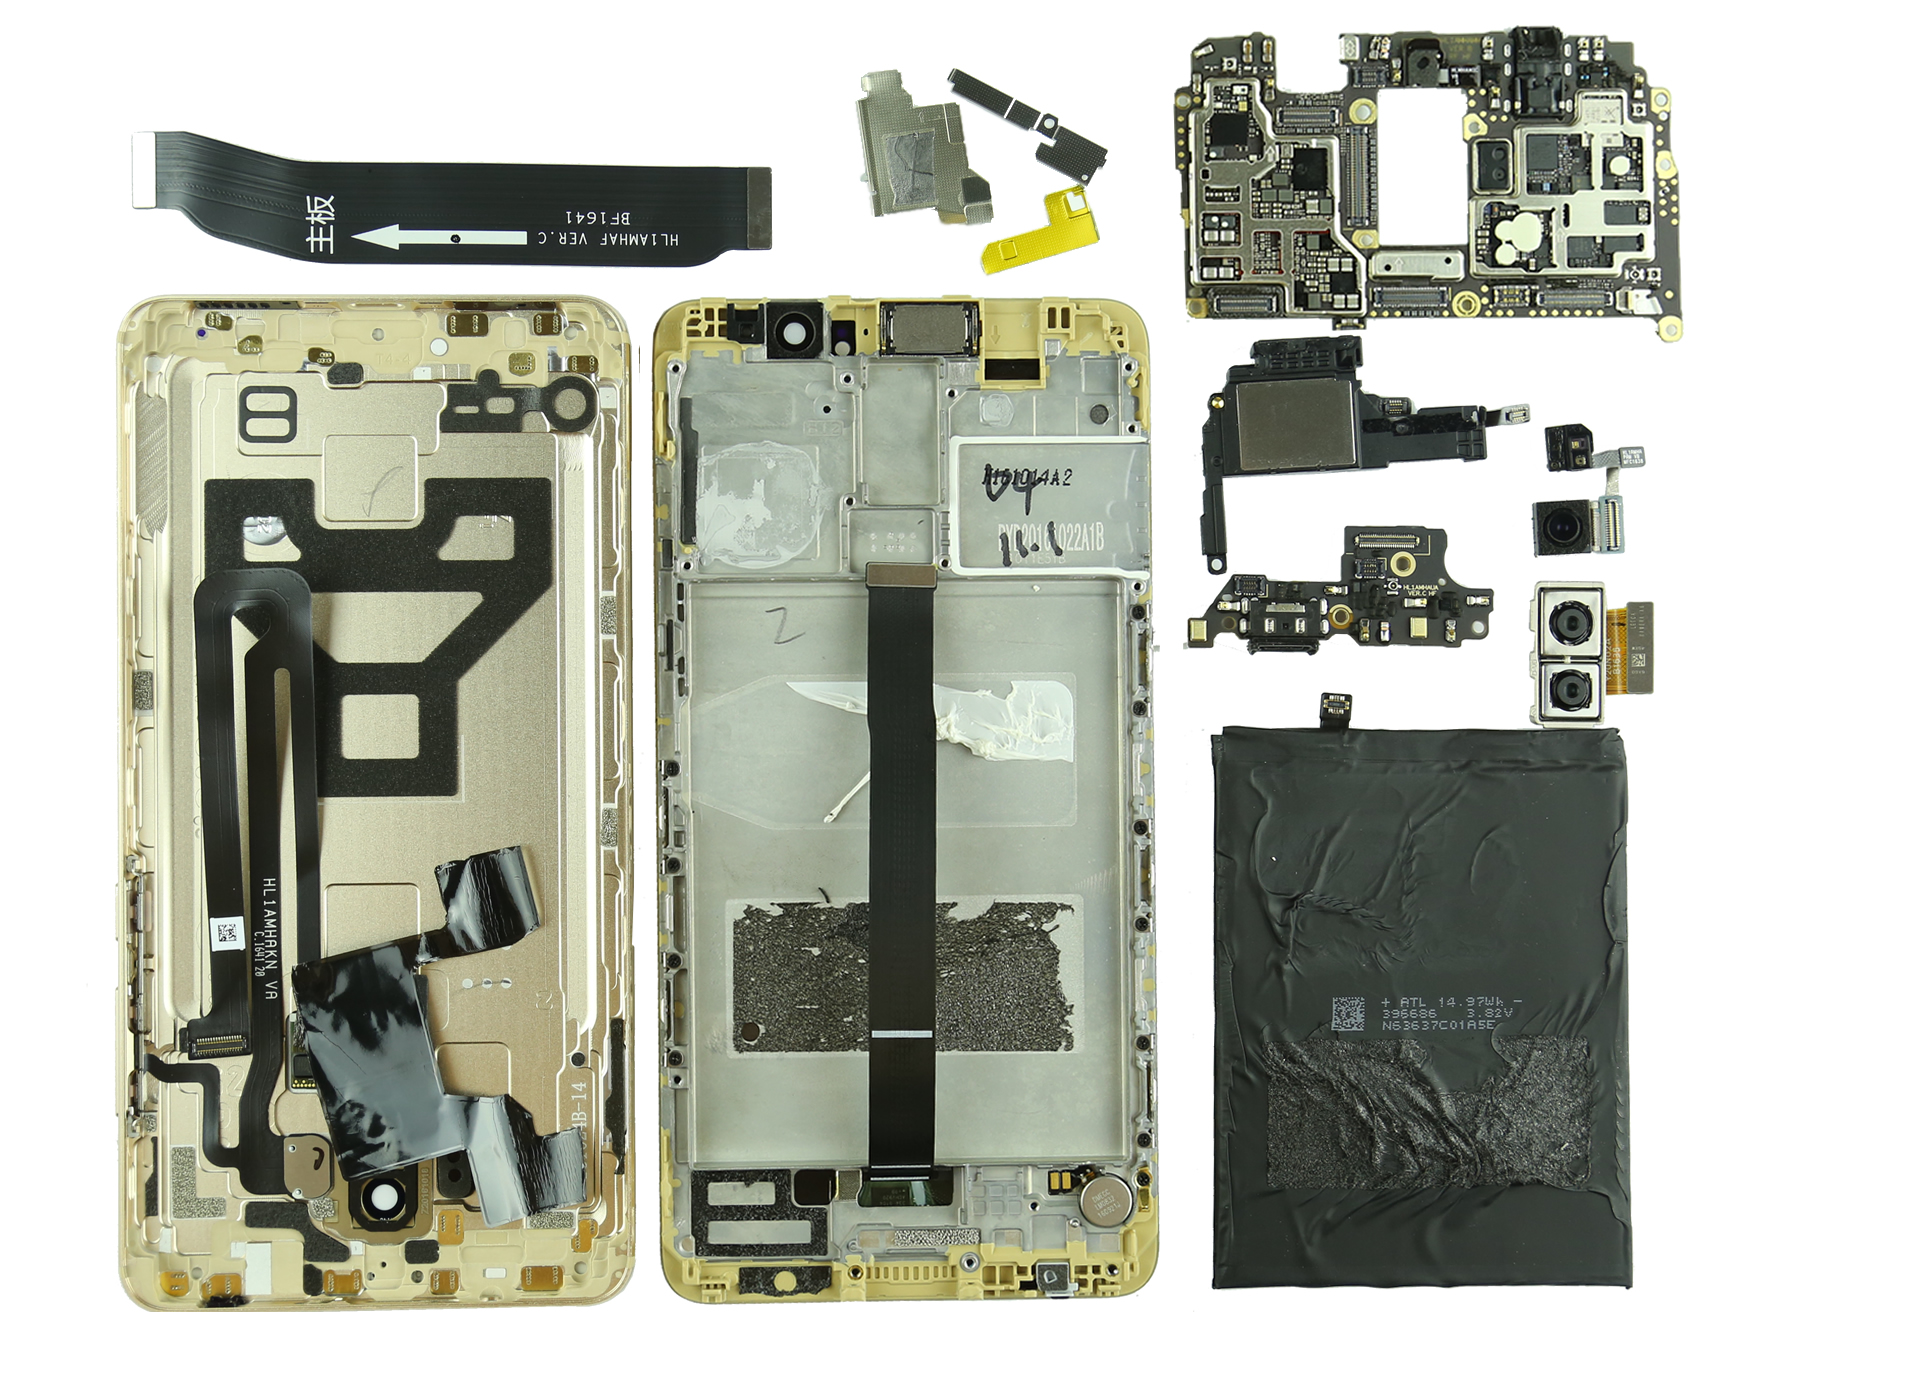
Huawei Mate 9 uses a three-stage design. The middle occupies a big area to install the battery.
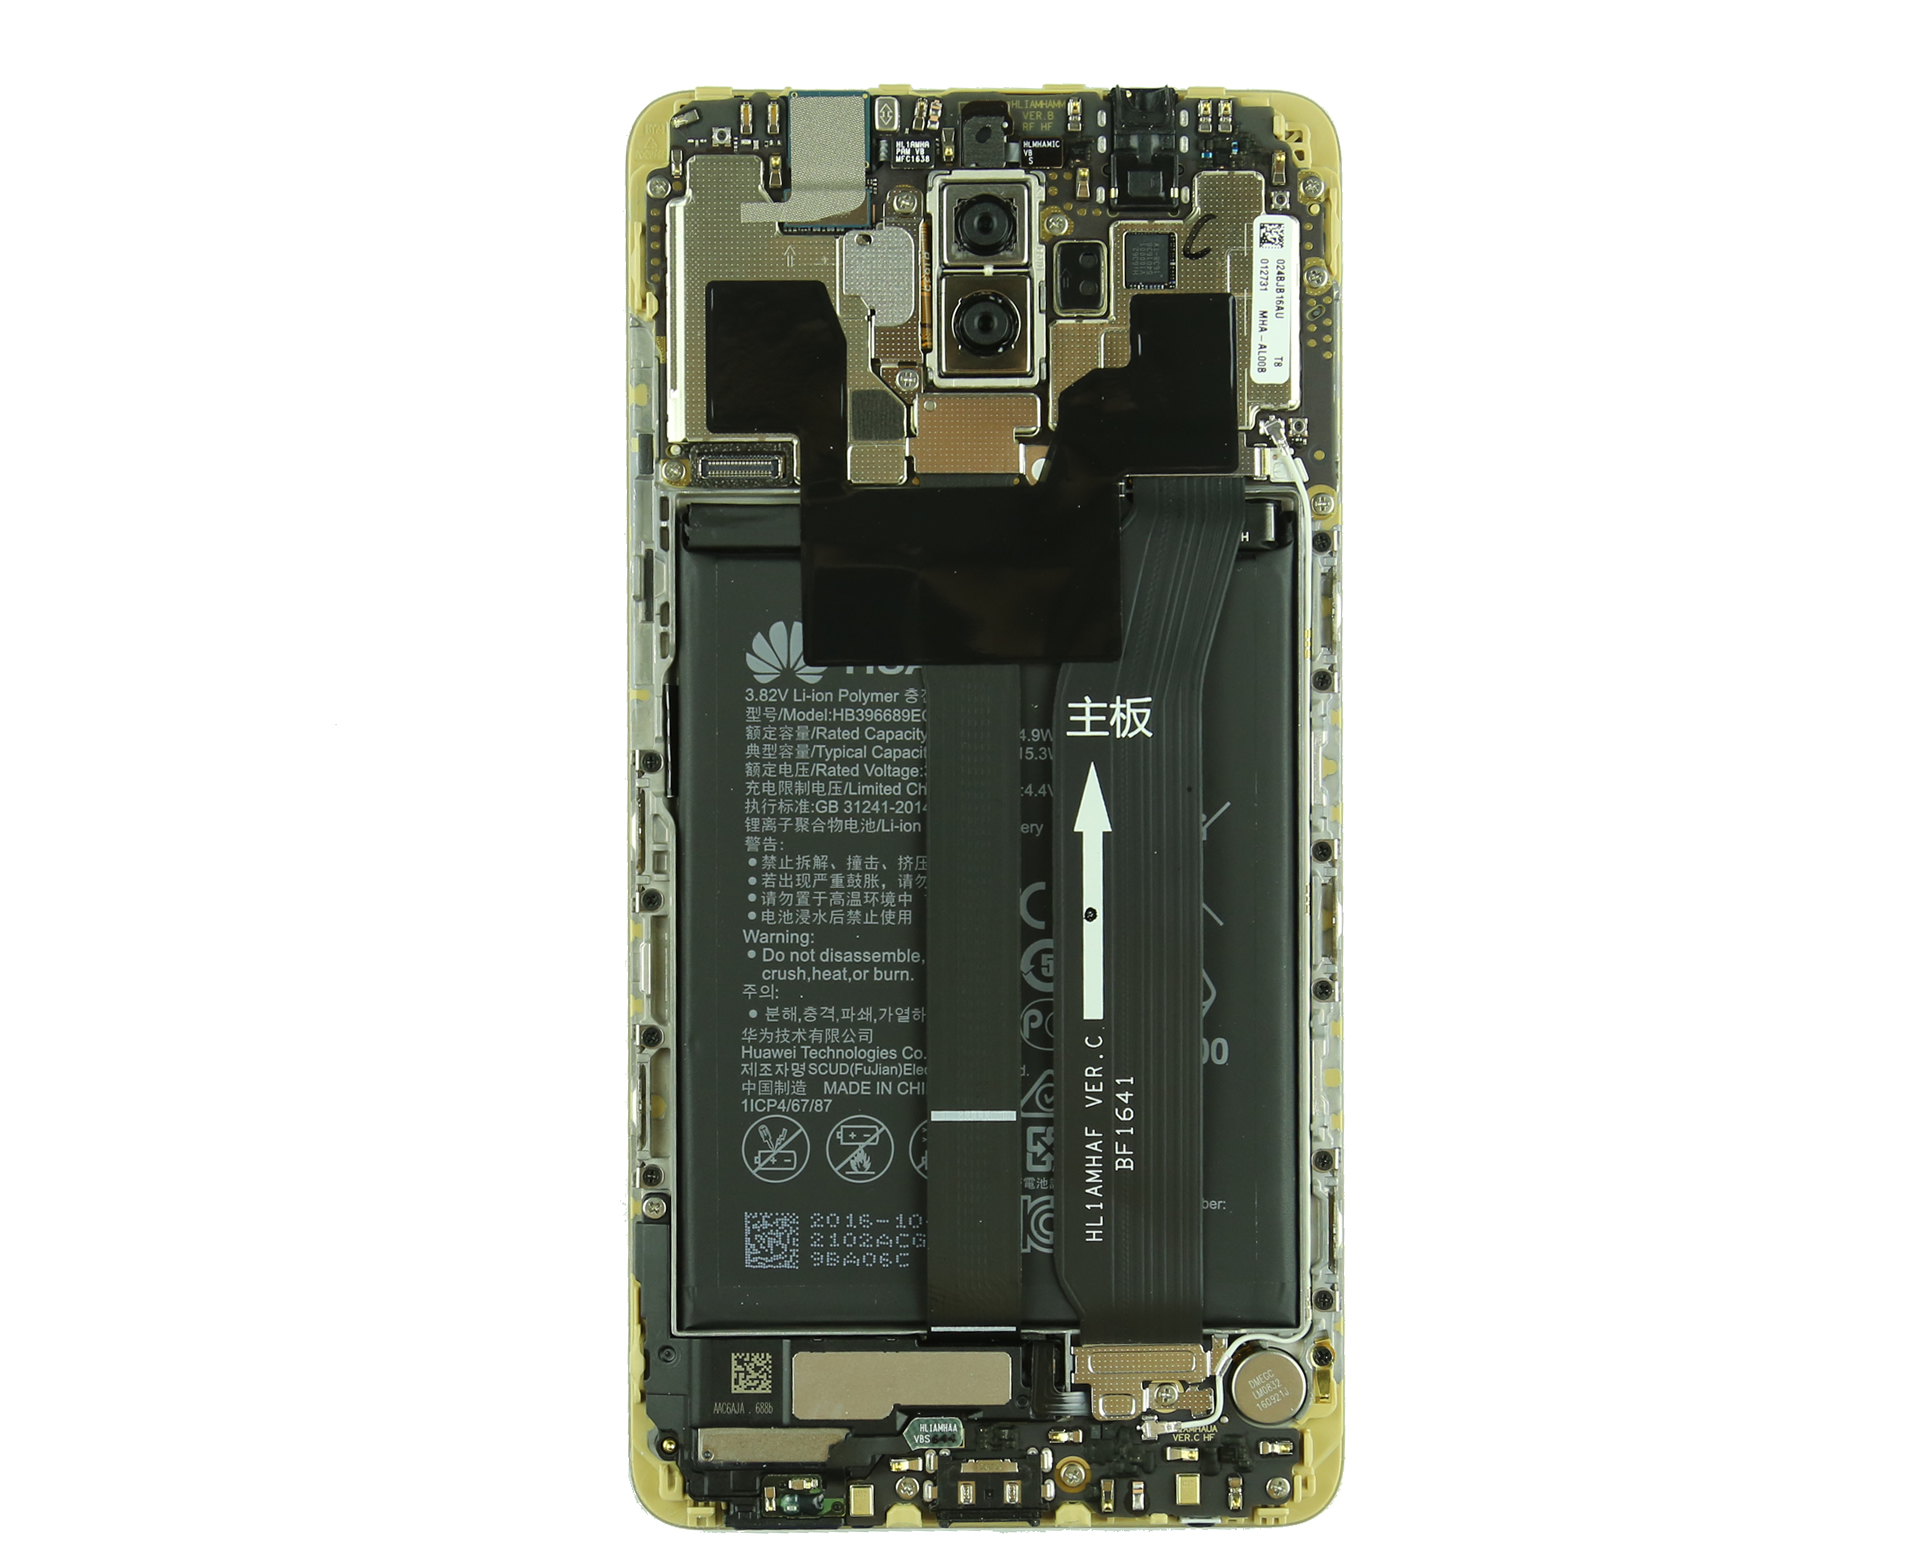
There is a graphite sticker covering the metal shield.
Opened the graphite sticker, you can find three cable connectors fixed by stainless steel sheet.
The stainless steel sheet fixed by one screw and the screw is covering by a white sticker.
When the sticker meets the water, it turns to red, that means you will void the warranty.

Remove the white sticker and remove the screw under the sticker.


Disconnect the battery connector, screen cable, main FPC and RF antenna from the motherboard.
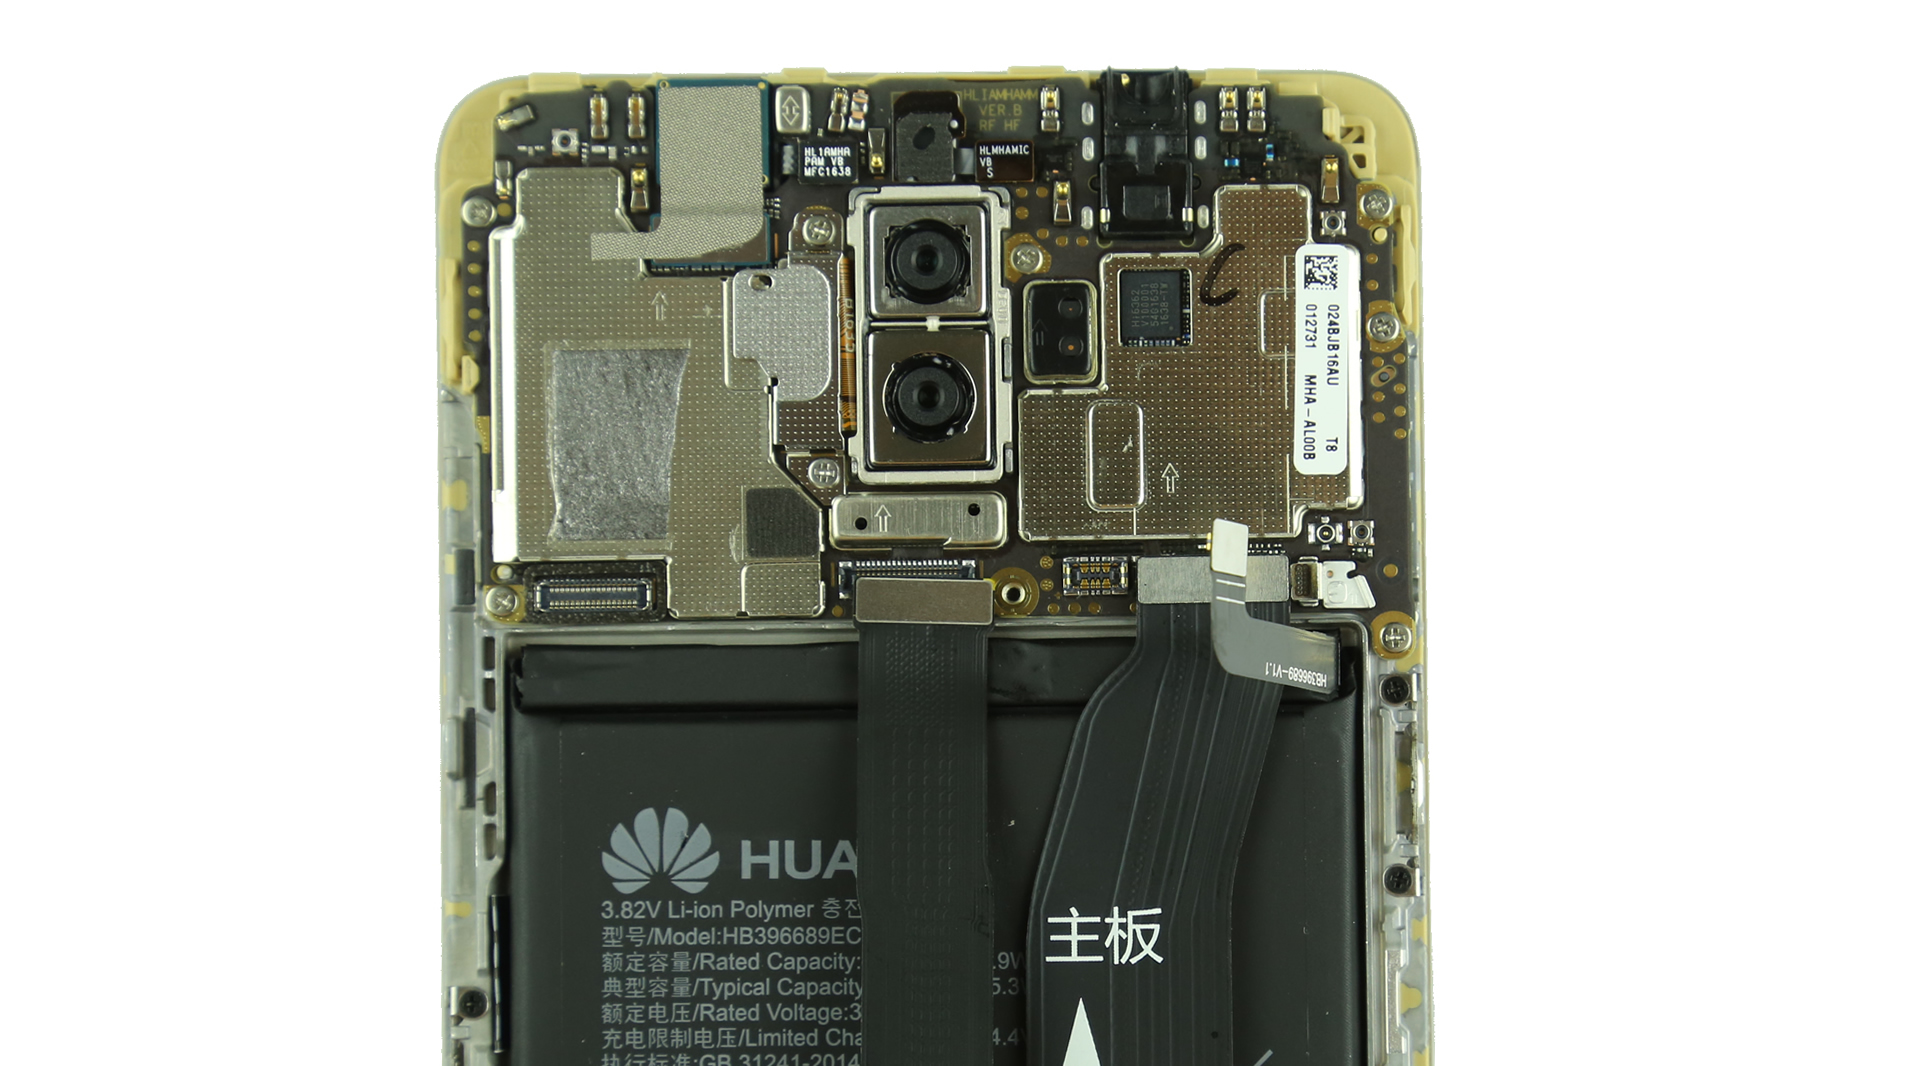
Remove two screws securing the stainless steel sheet that securing the rear camera cable.
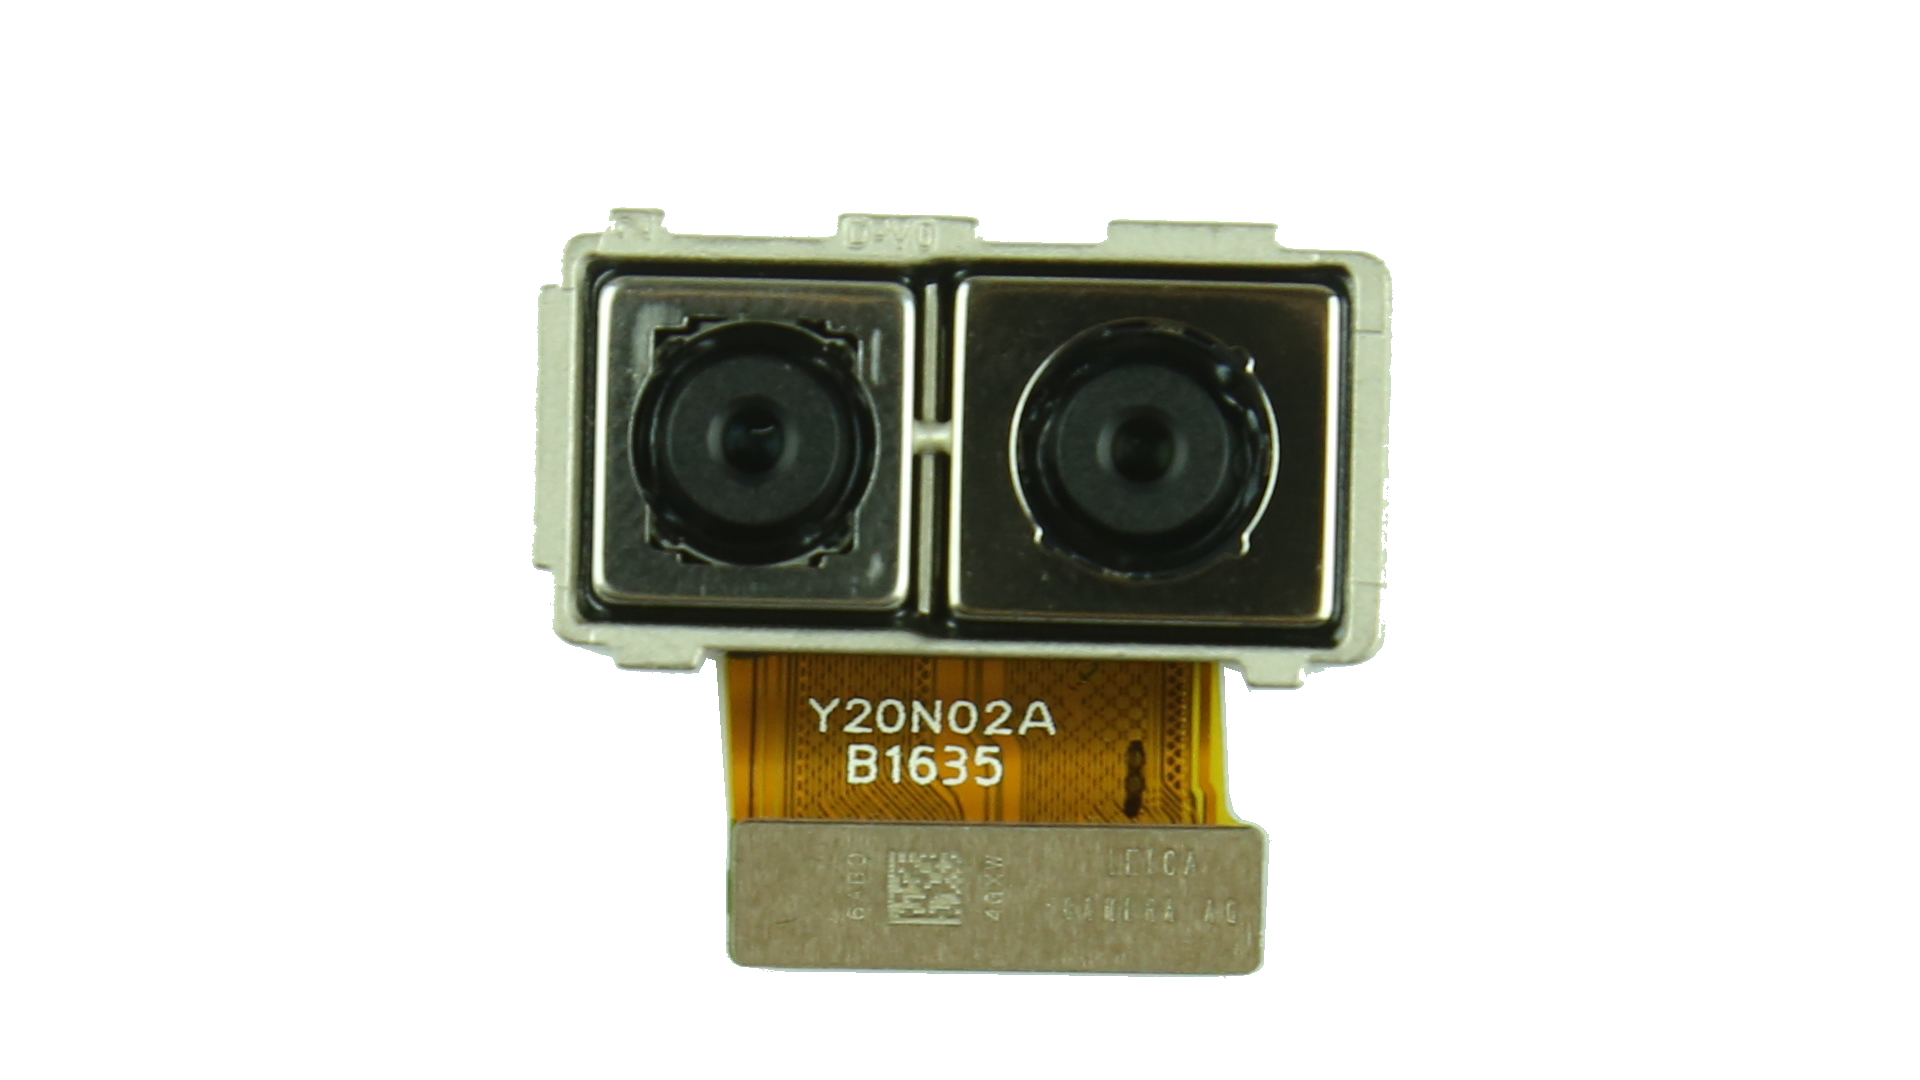
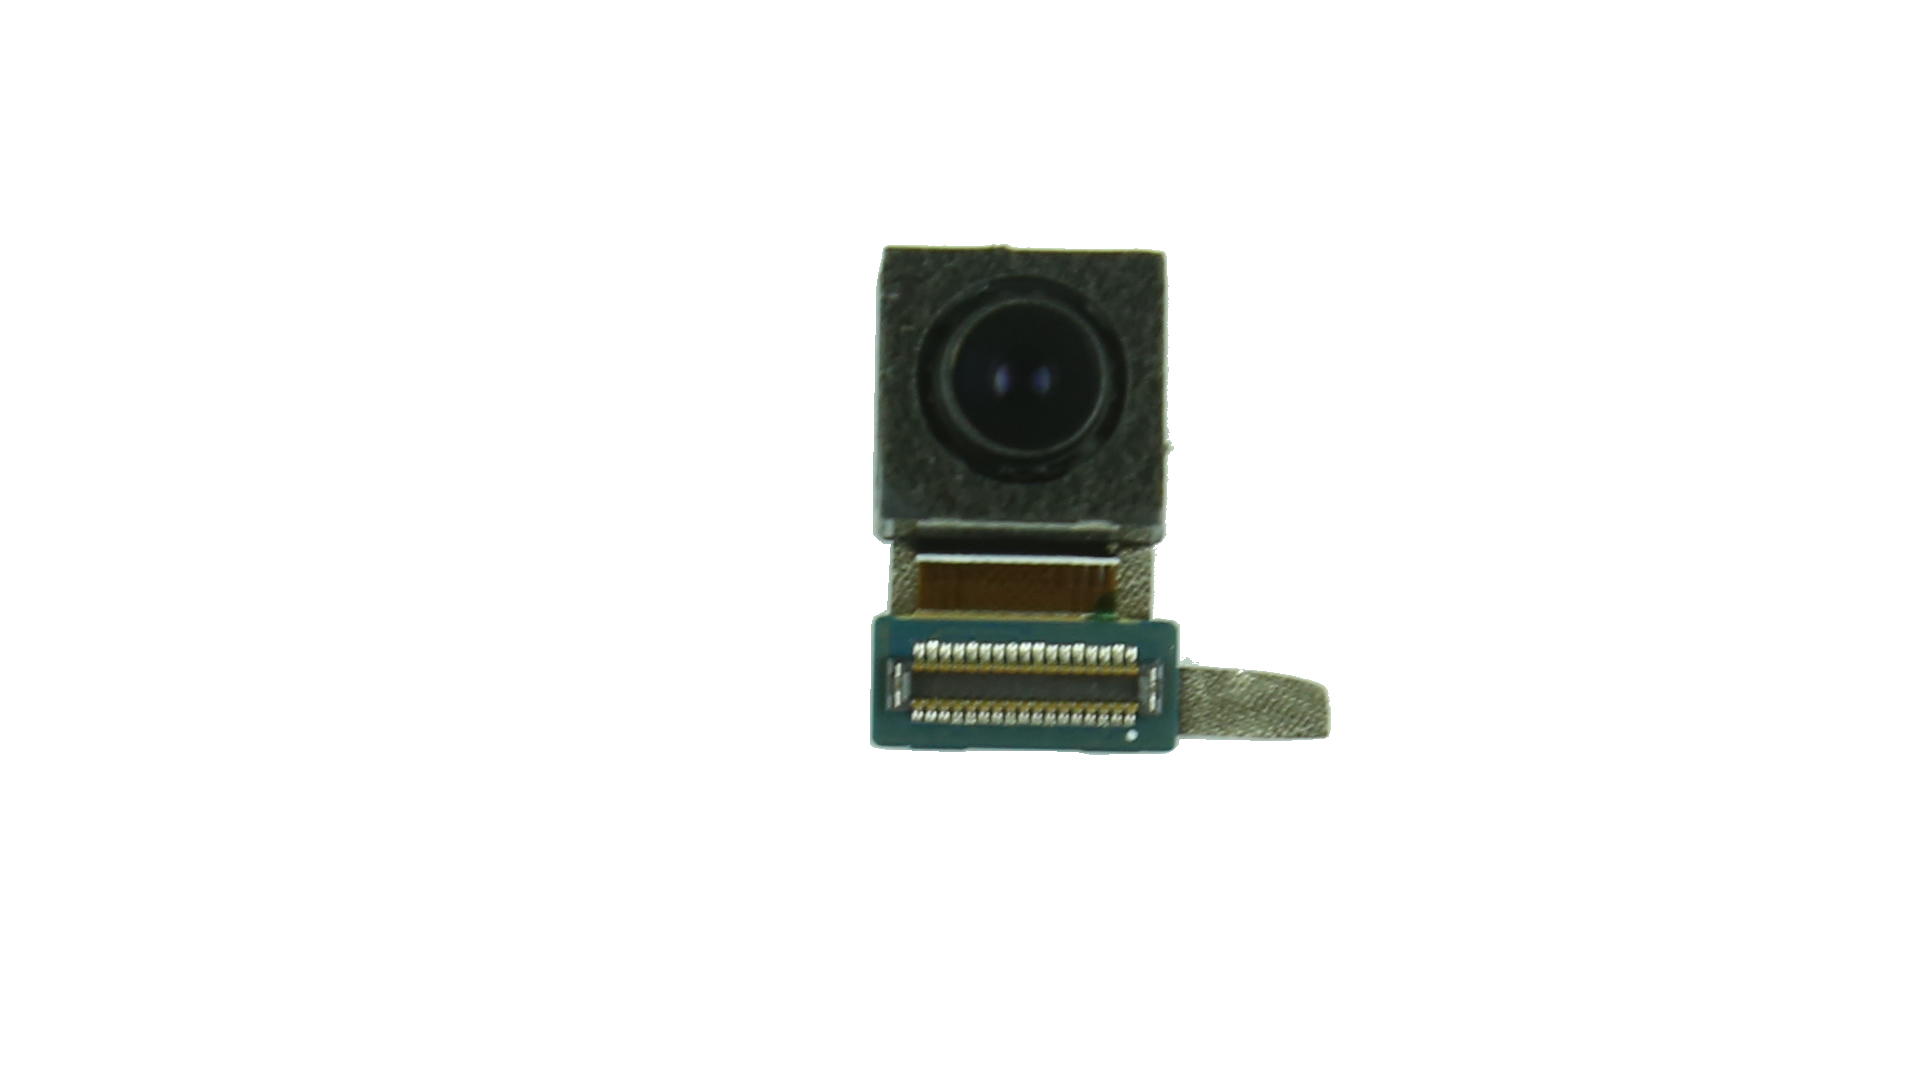
Remove the rear camera from the motherboard.
Huawei Mate 9 features a Leica Dual 20 MP +12 MP camera, f/2.2, OIS, 2x zoom, supports phase detection and laser autofocus.
8 MP, f/1.9, 1080p front camera
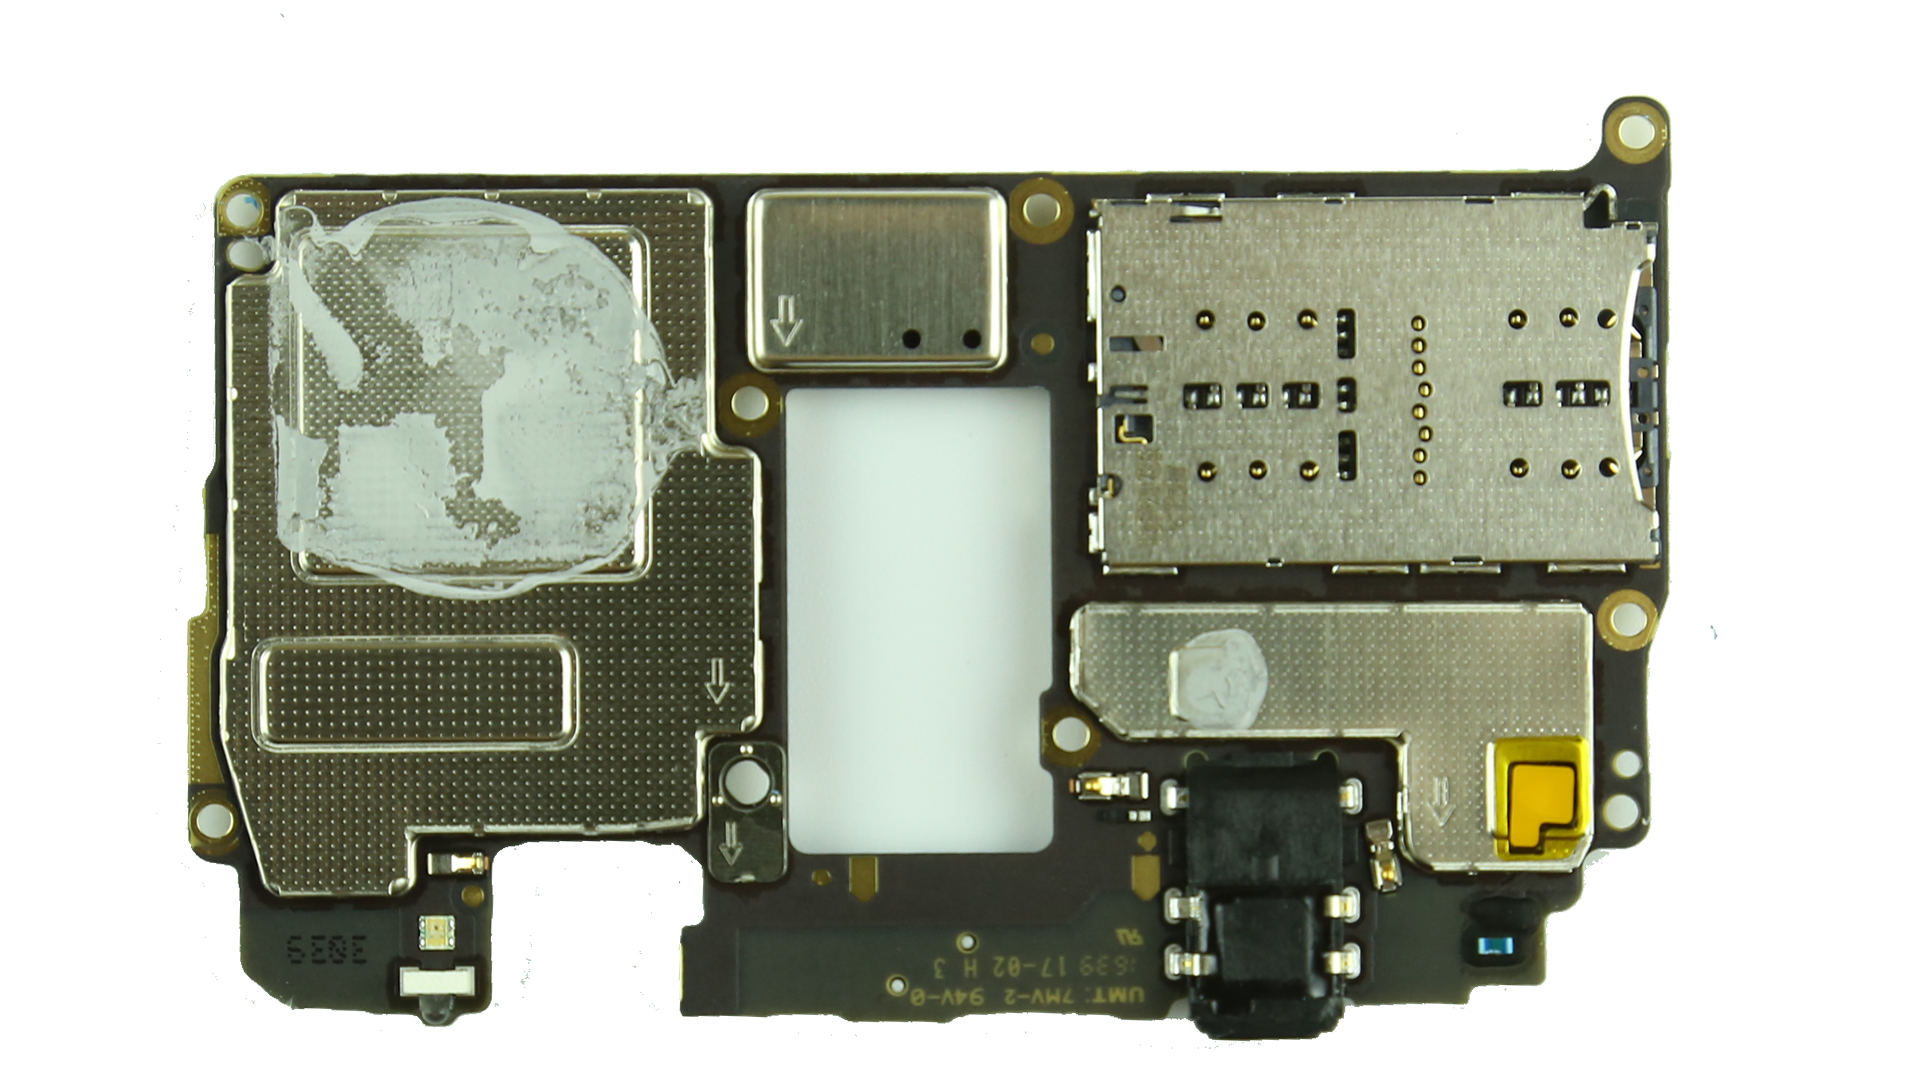
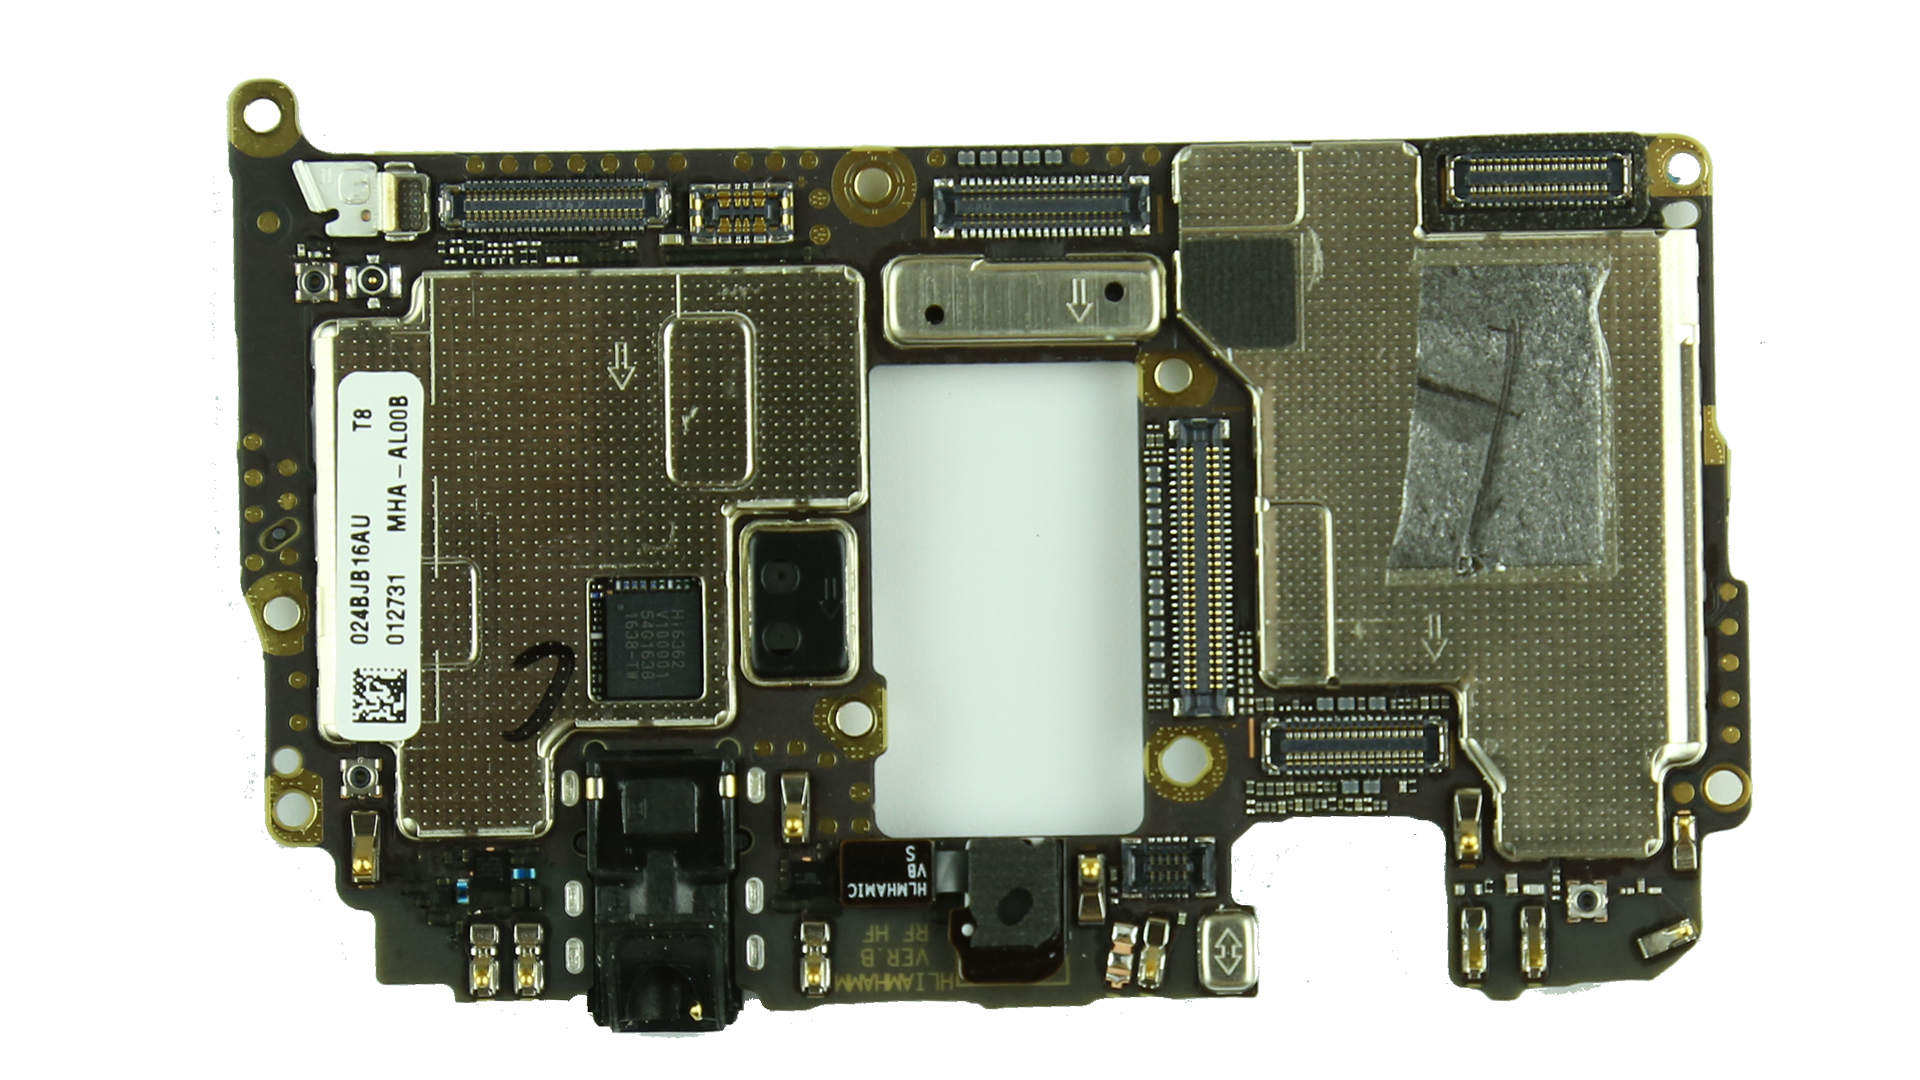
Remove eight screws securing the motherboard and take out the motherboard.
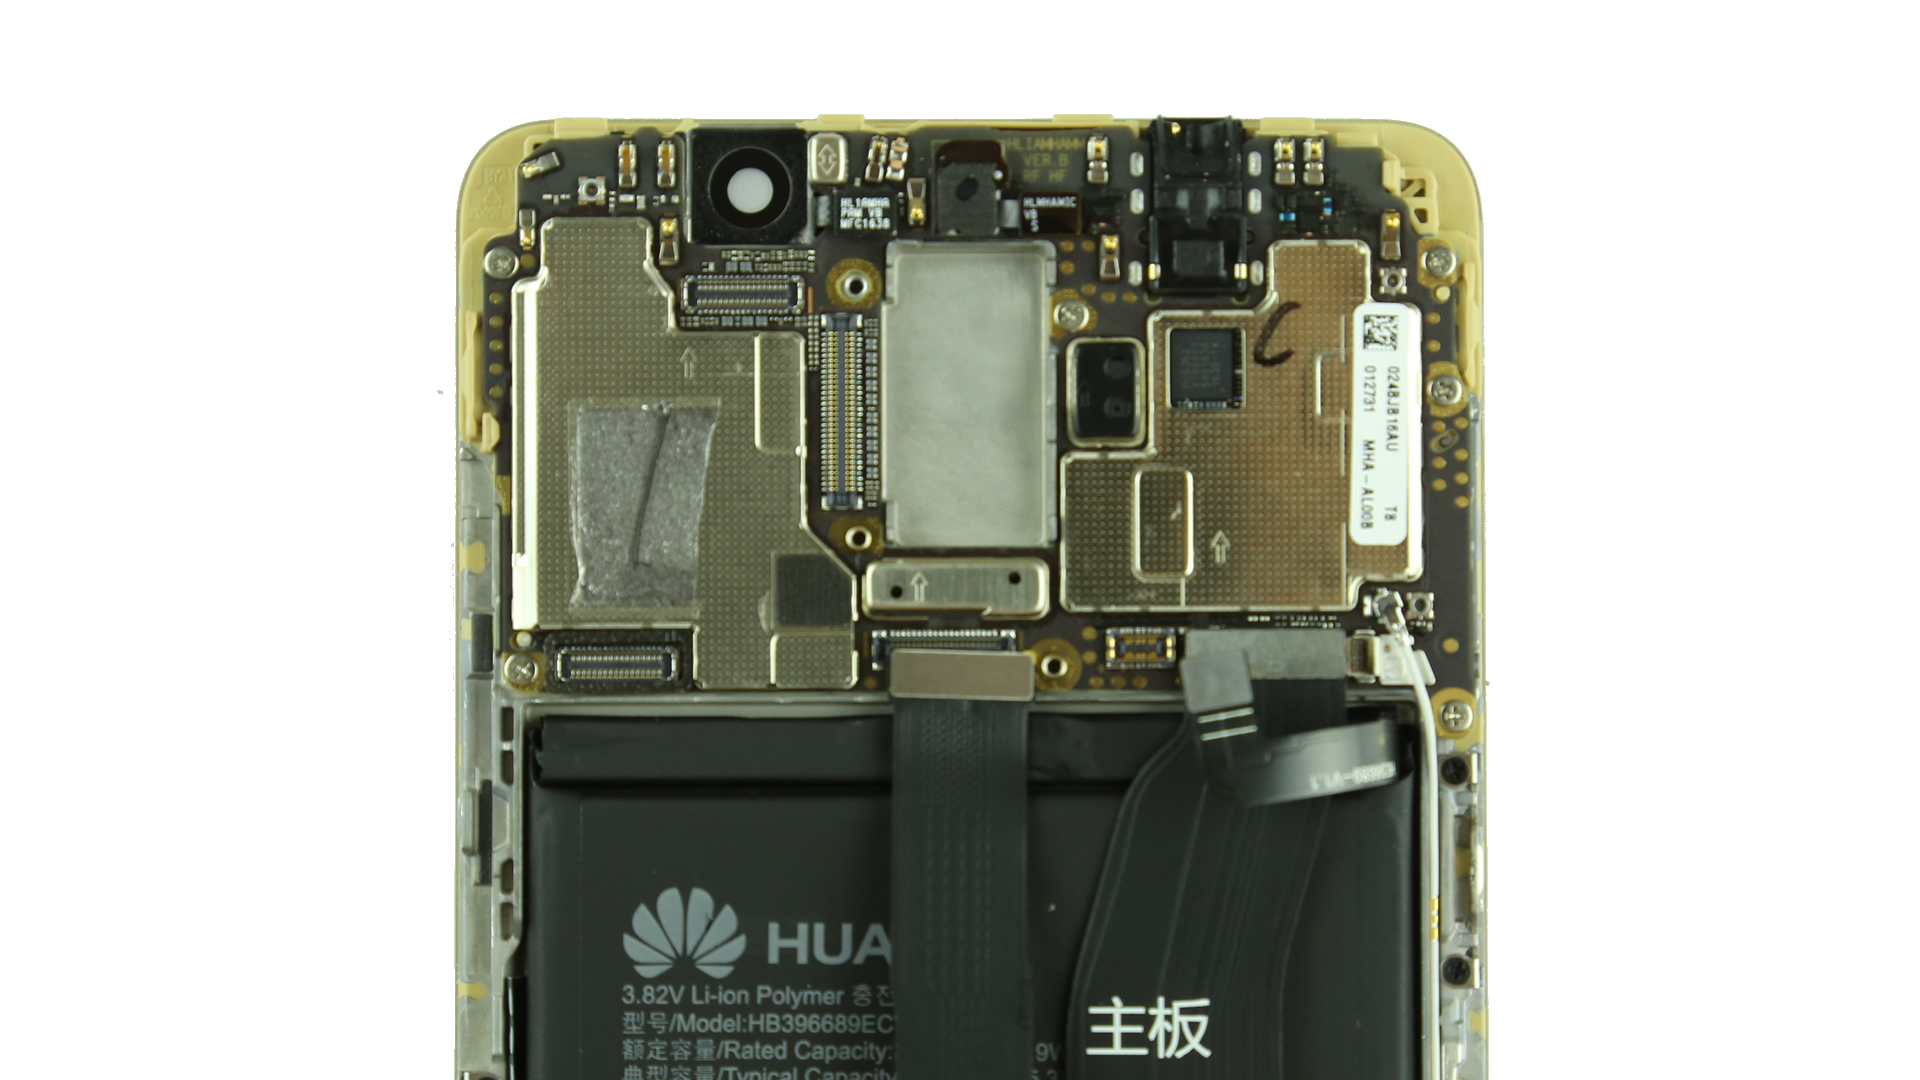
We can see the main chips are covering by metal shields.
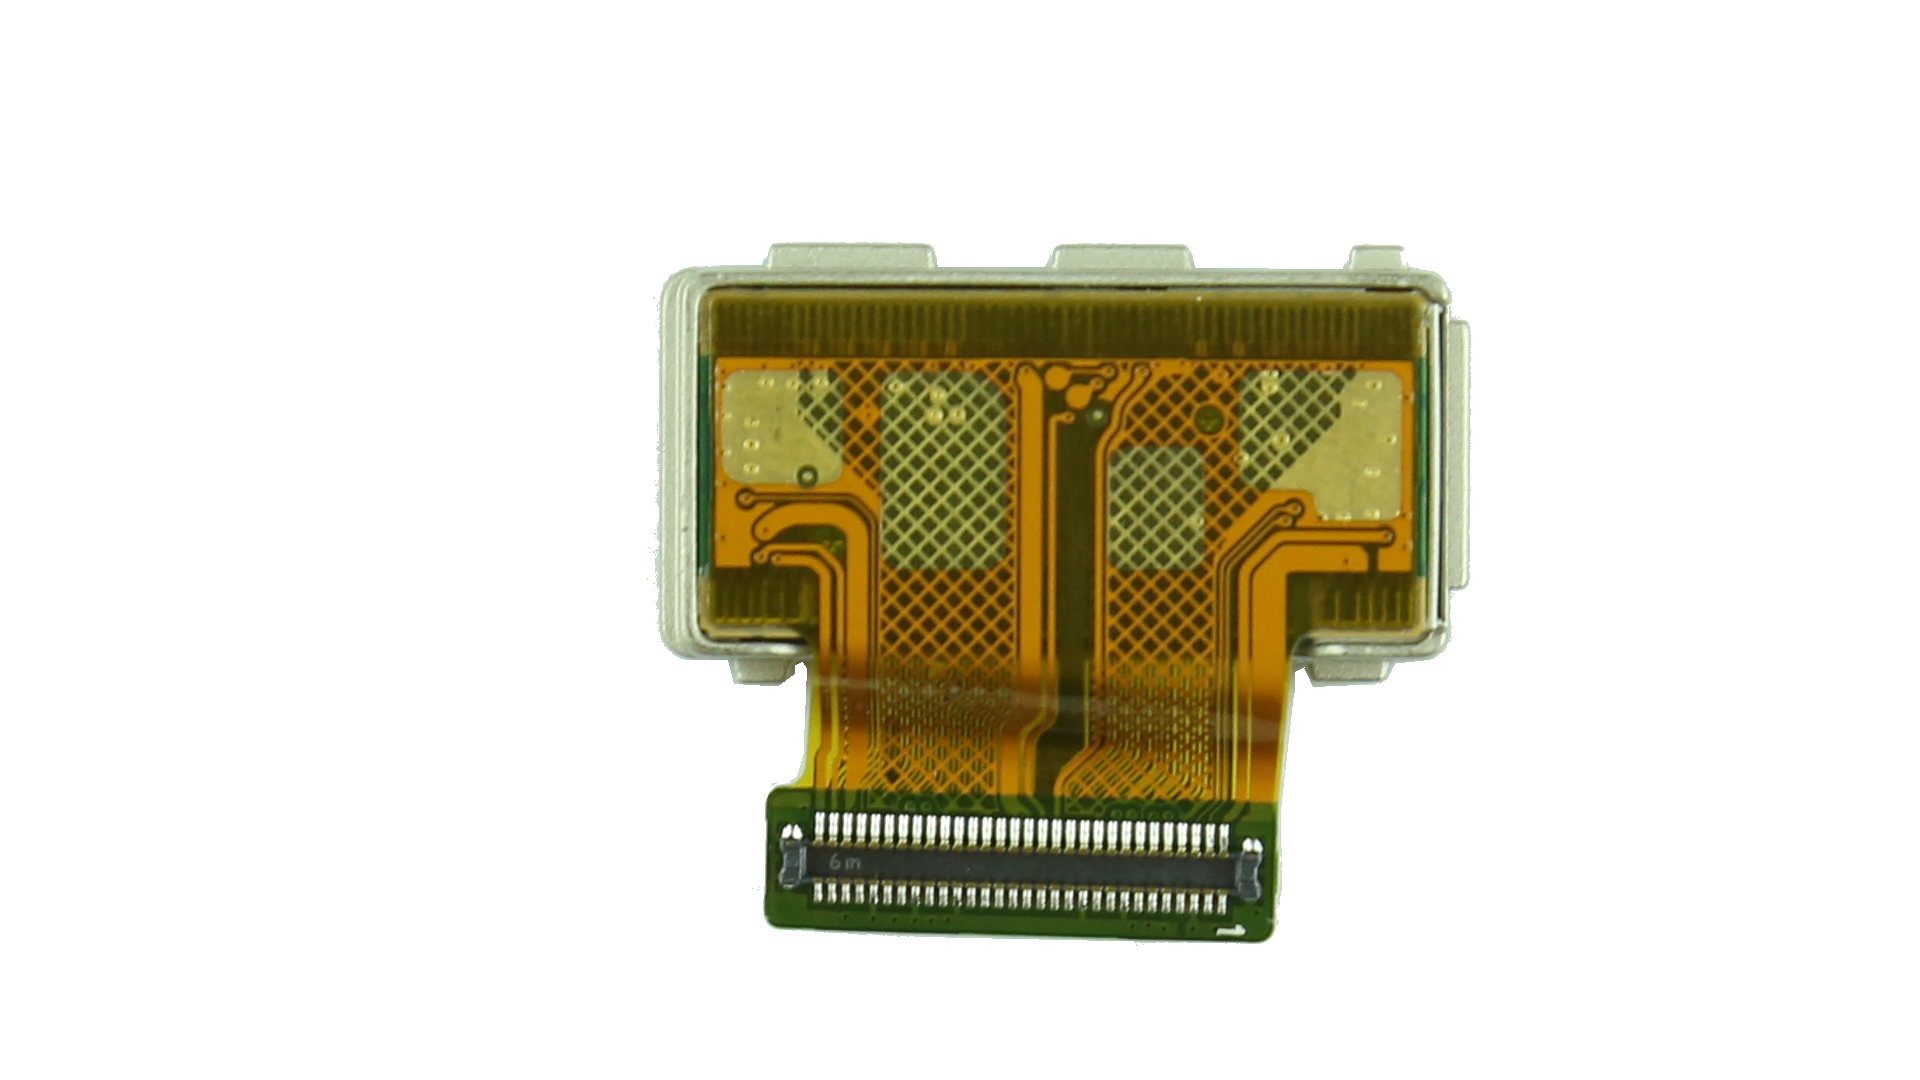
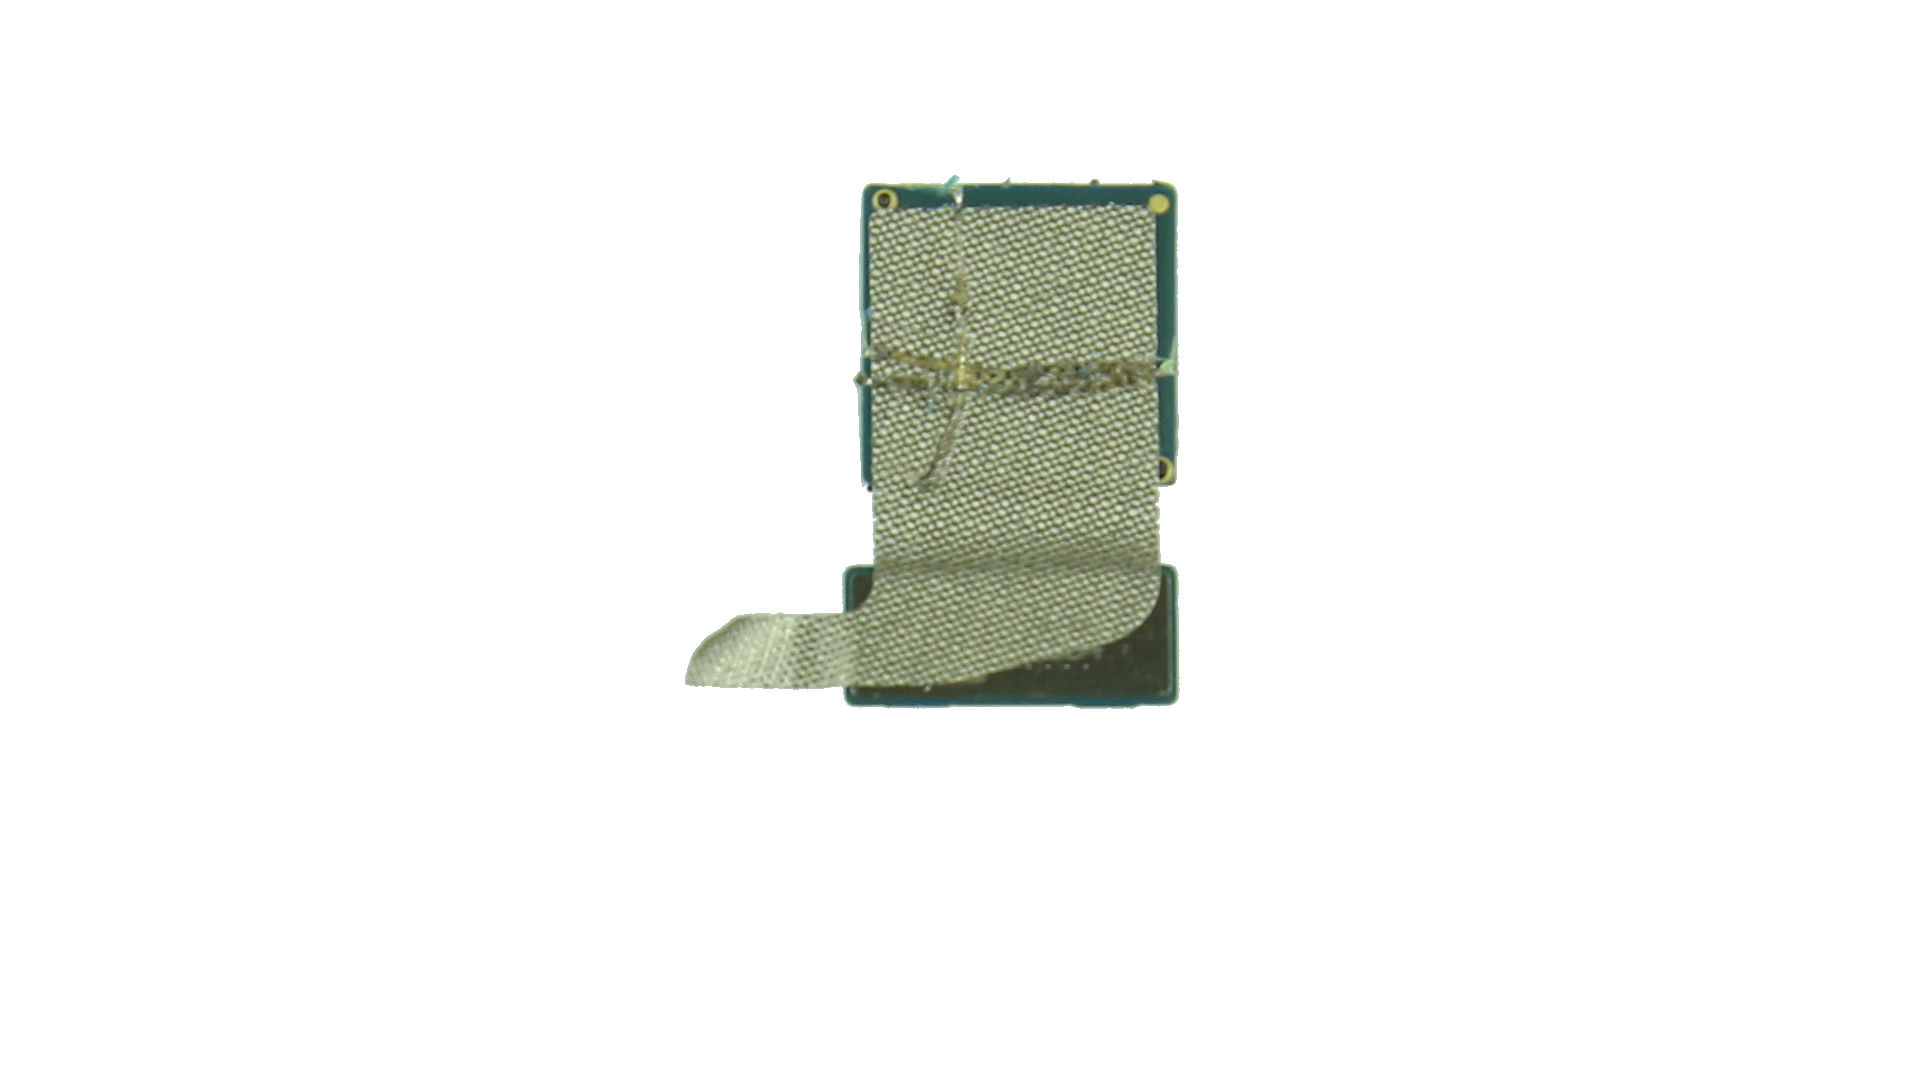
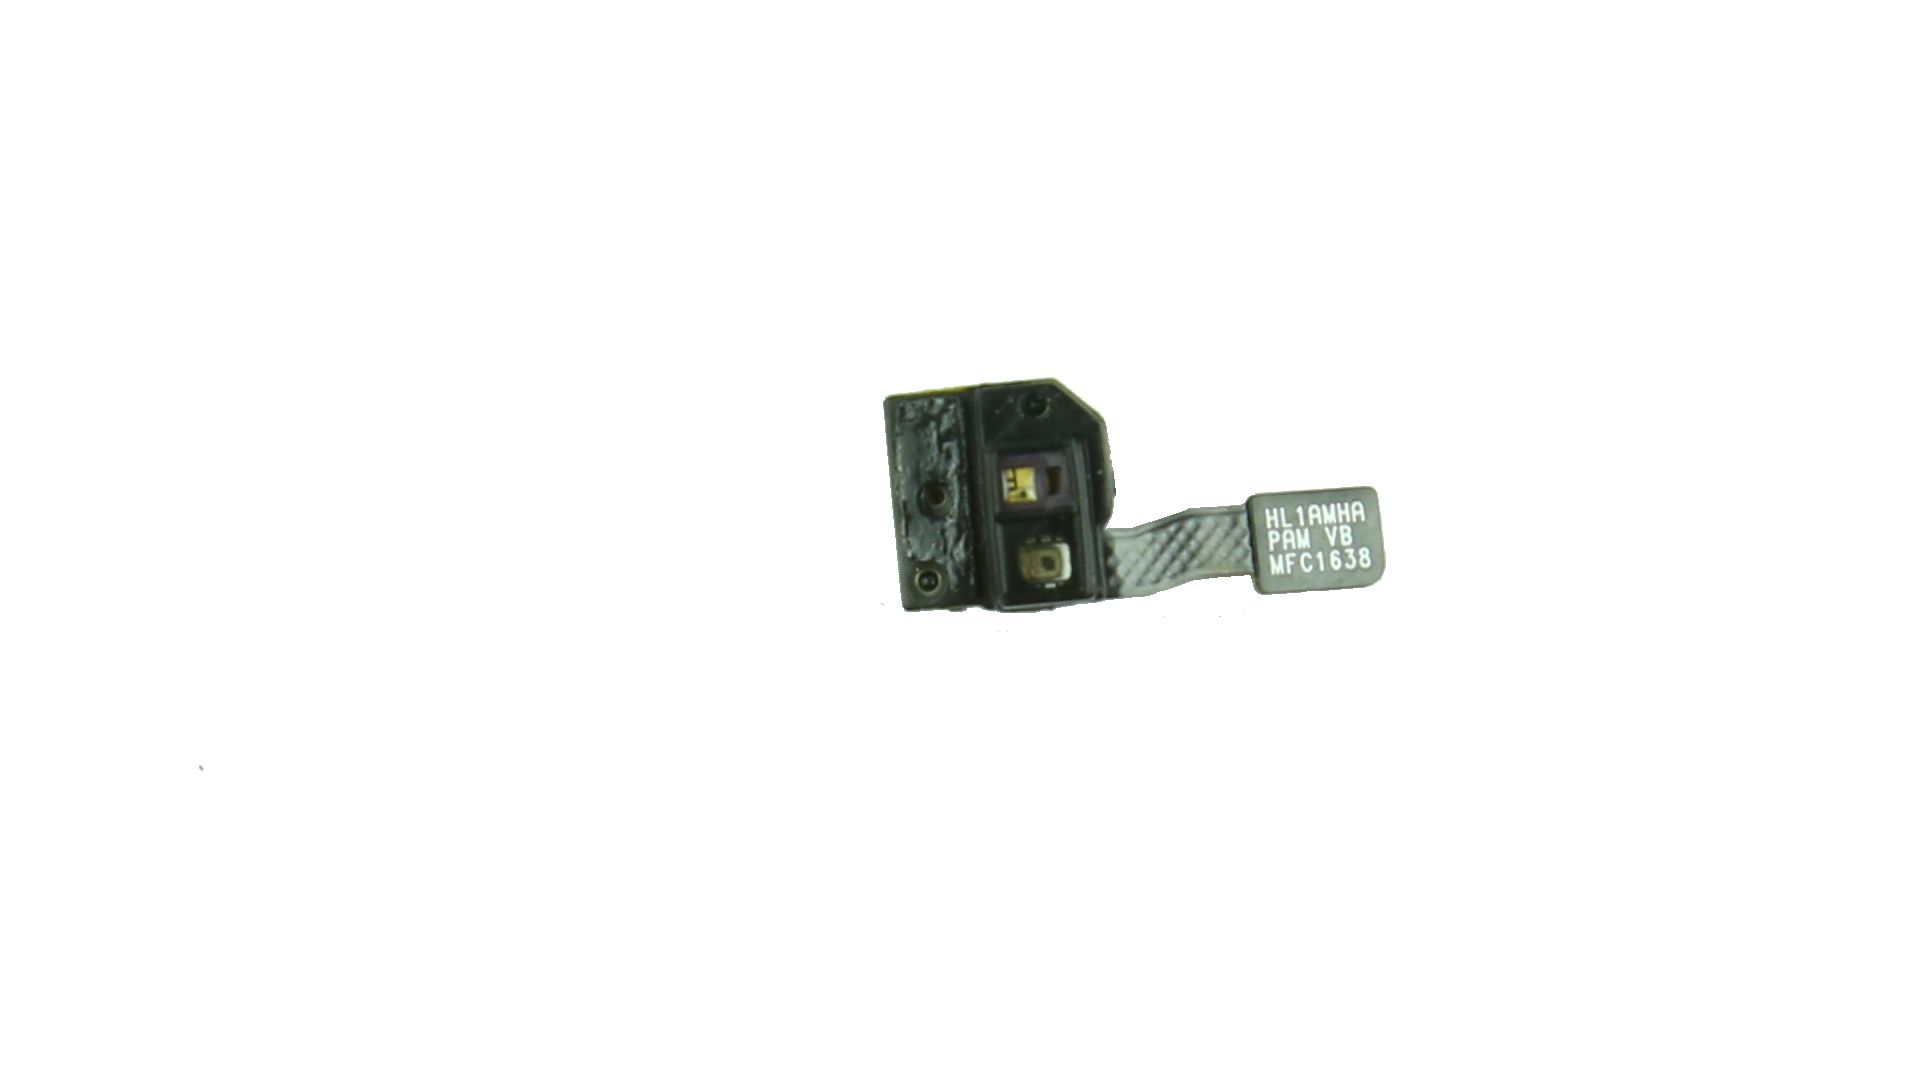
Light Distance Sensor
Now remove one screw securing the stainless steel sheet.
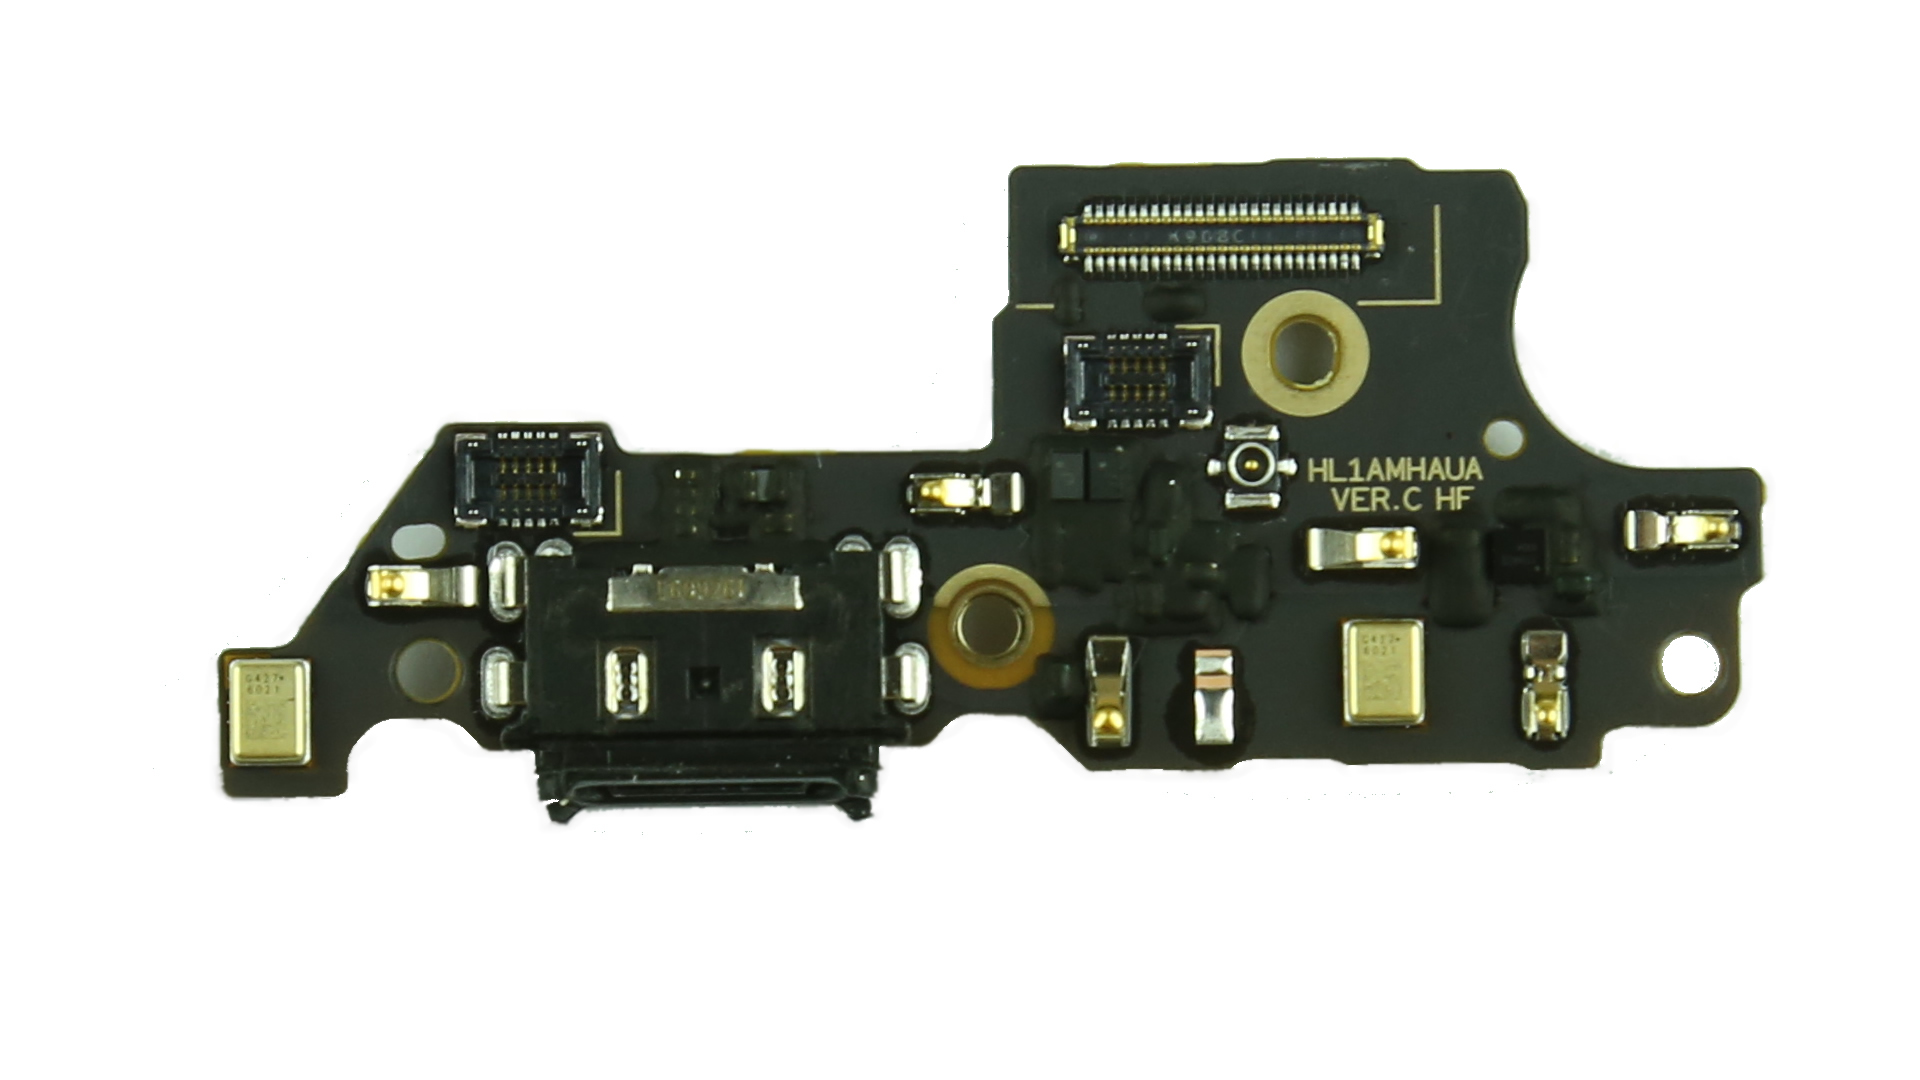
Disconnect the main FPC cable from the bottom board.
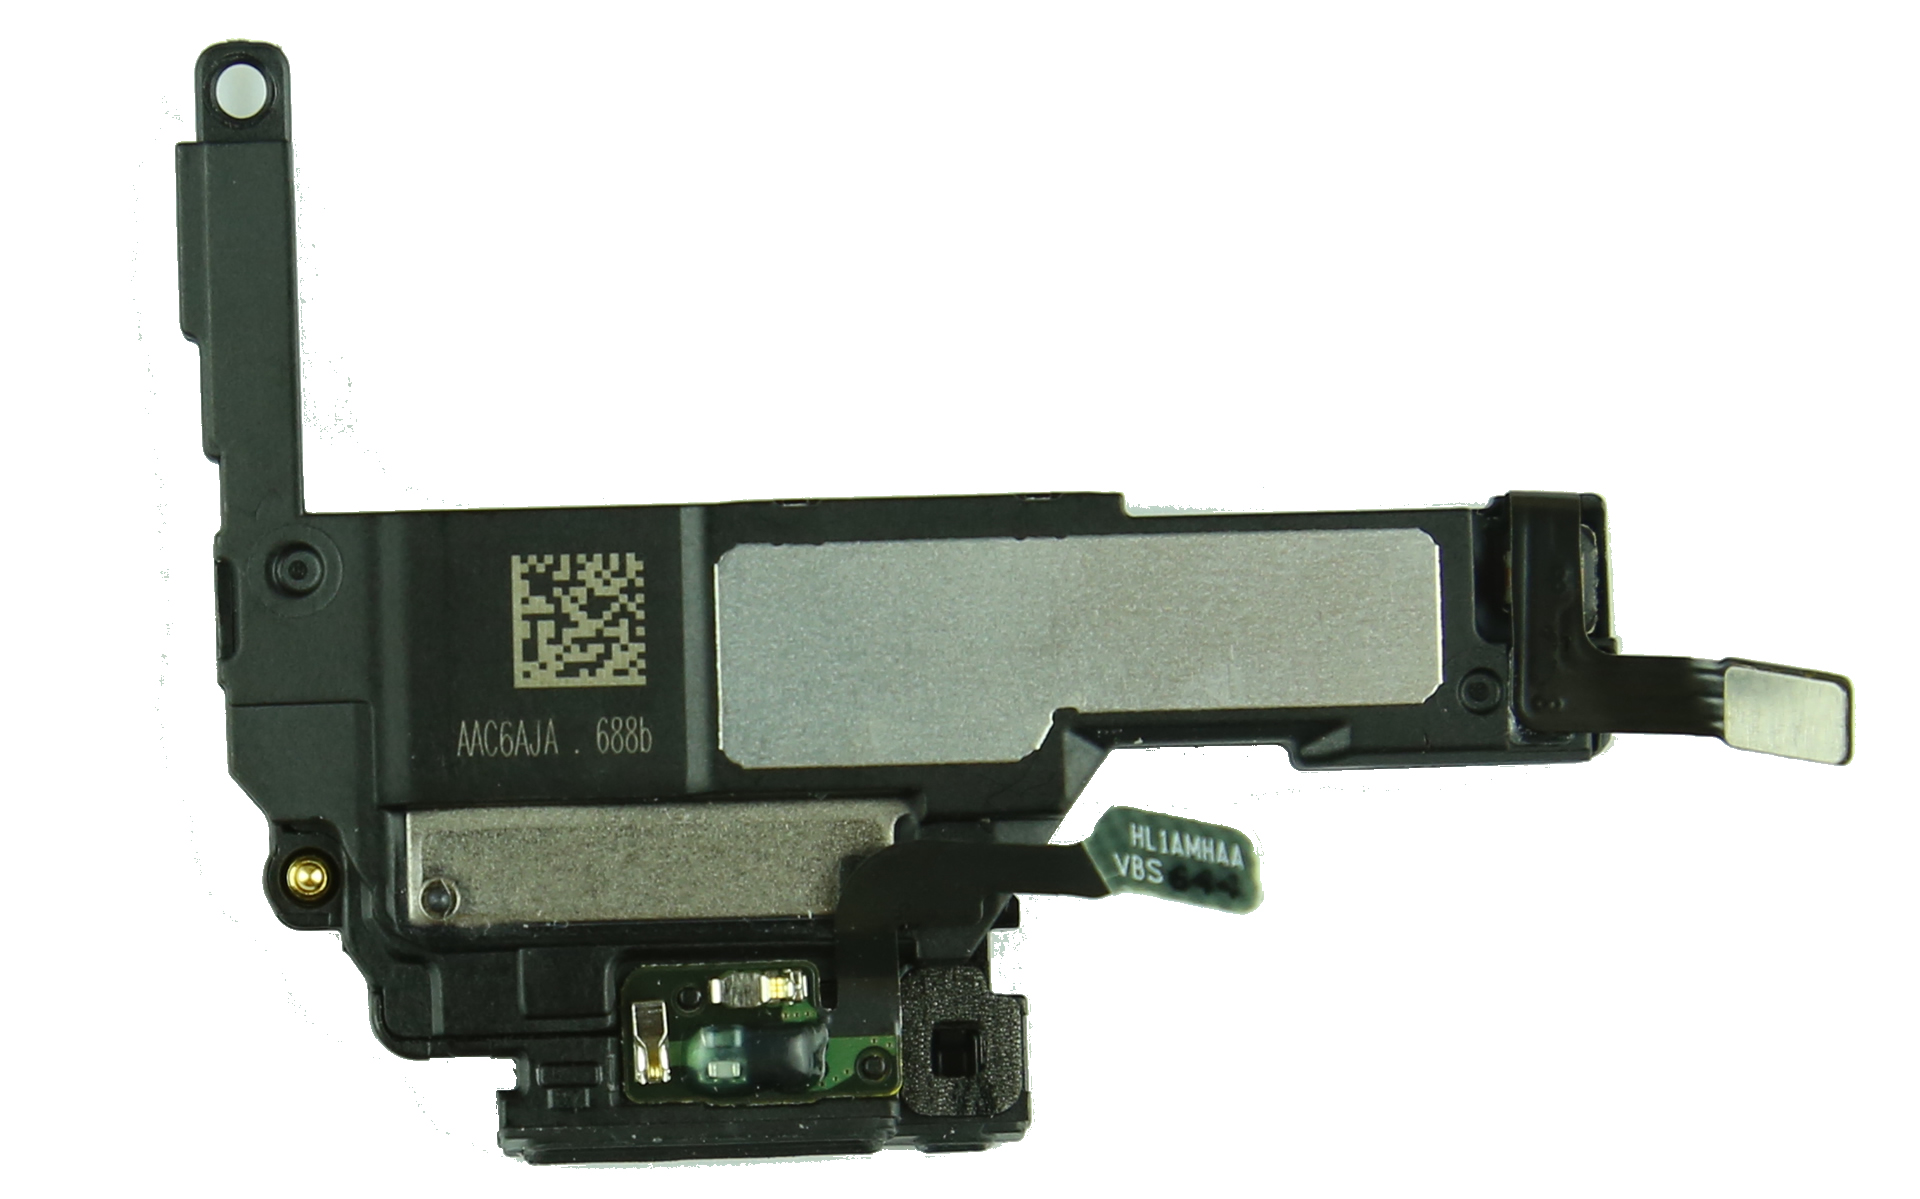
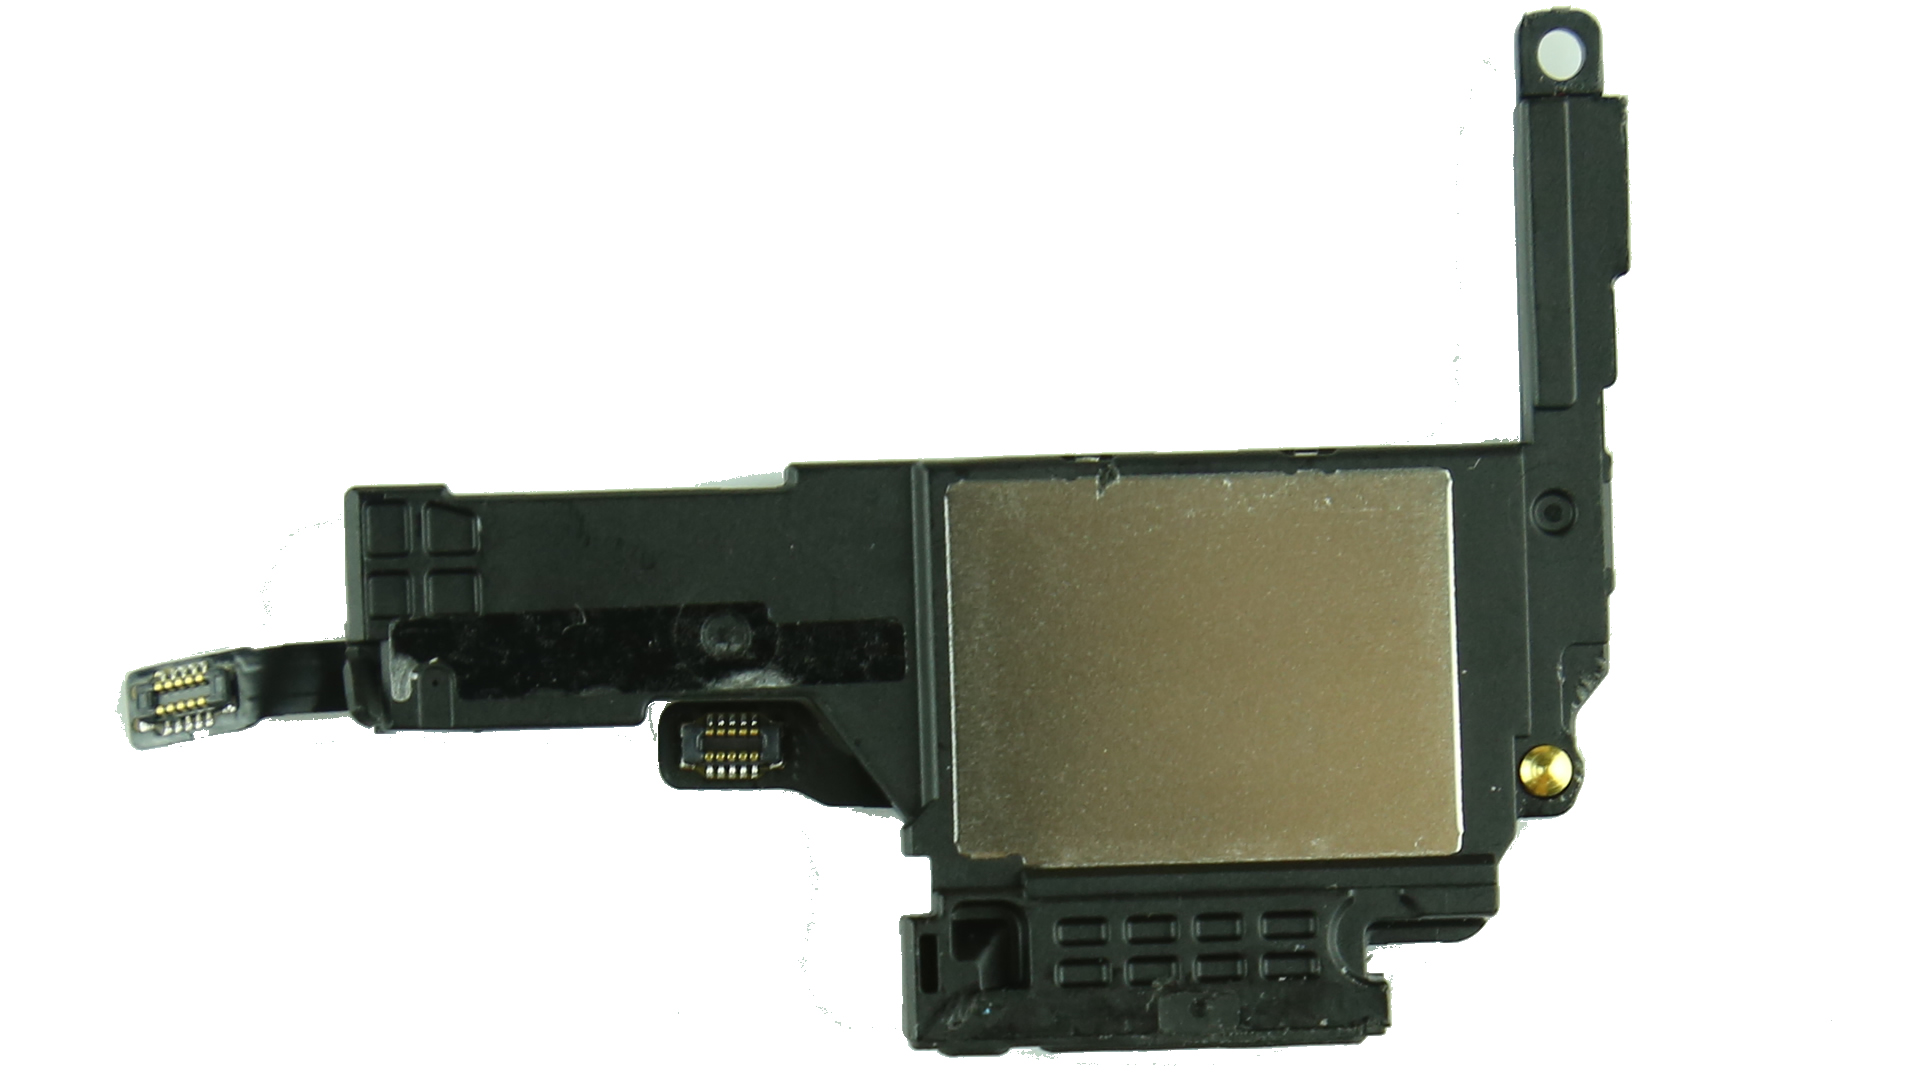
The vibrator, microphone, USB Type-C port, and loudspeaker are distributed at the bottom of the phone.
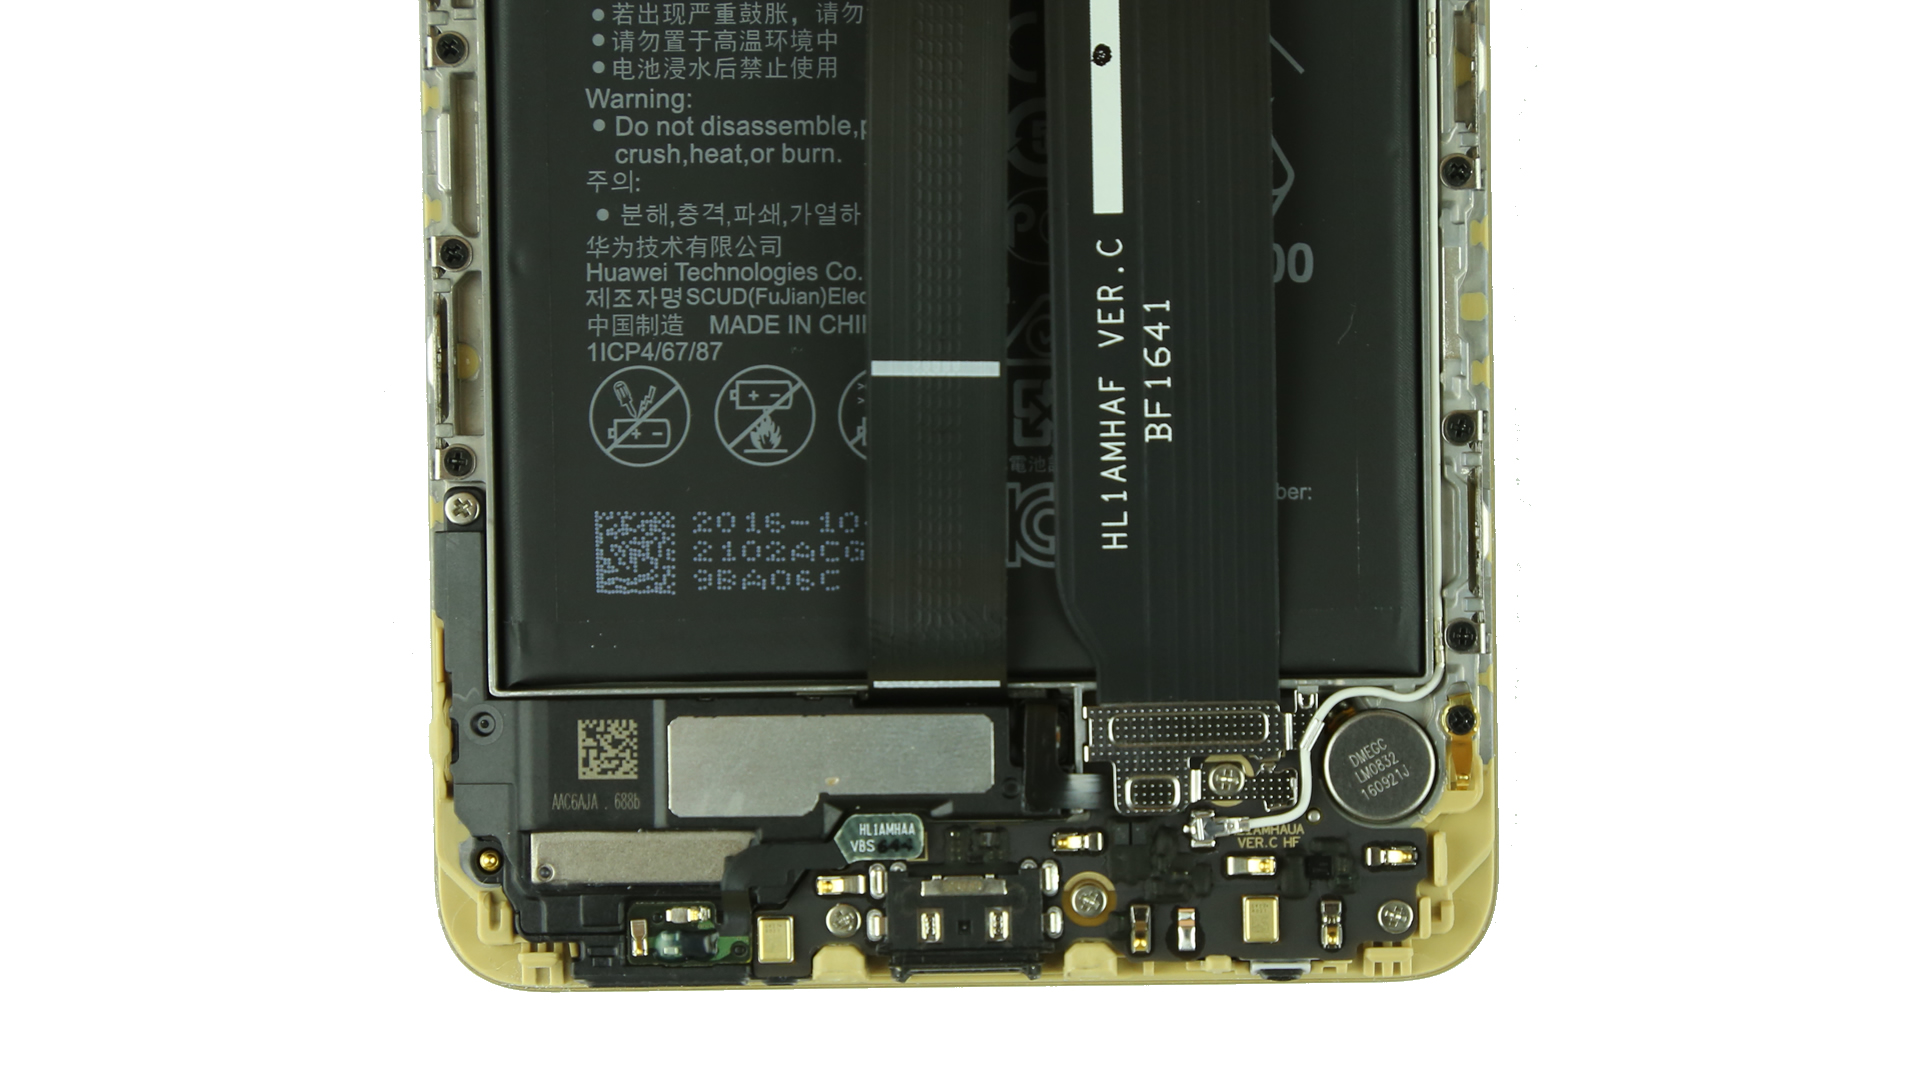
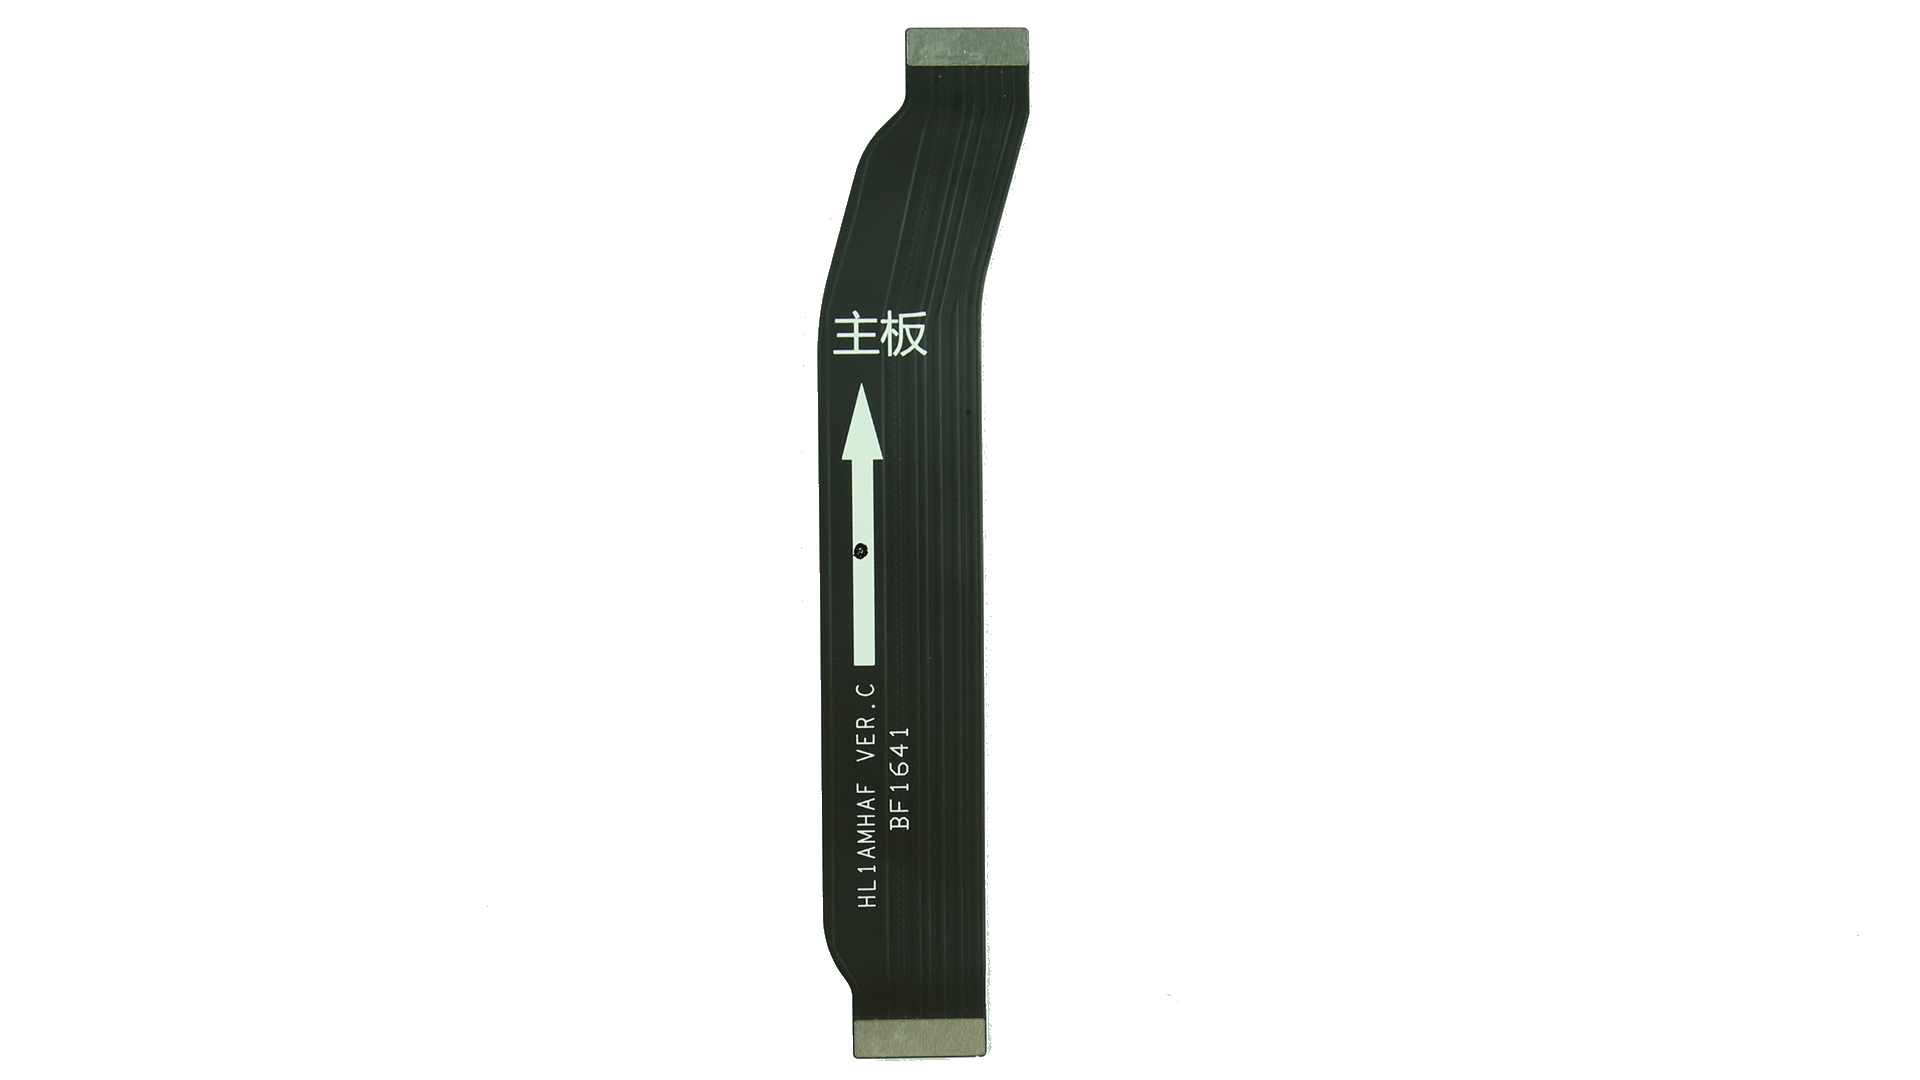
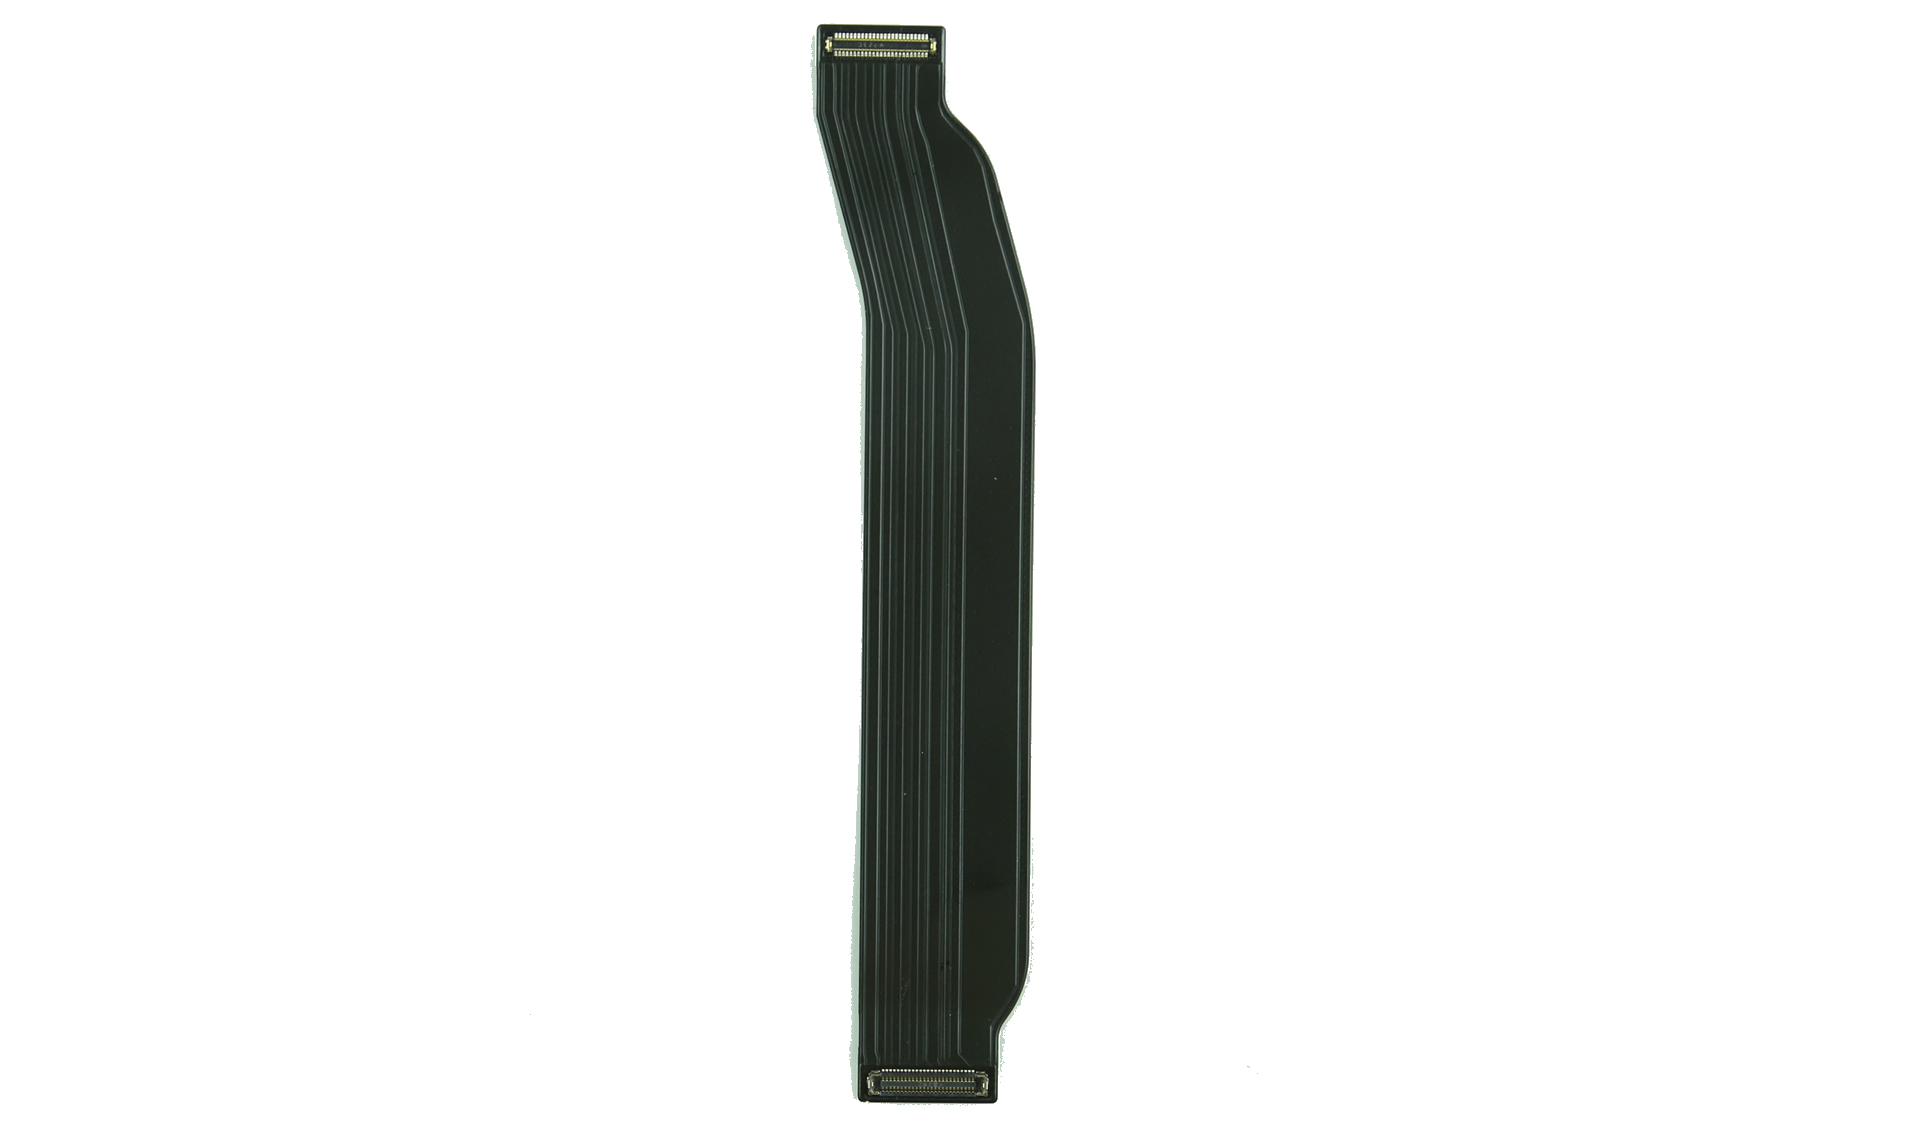
Huawei Mate 9′ main FPC cable
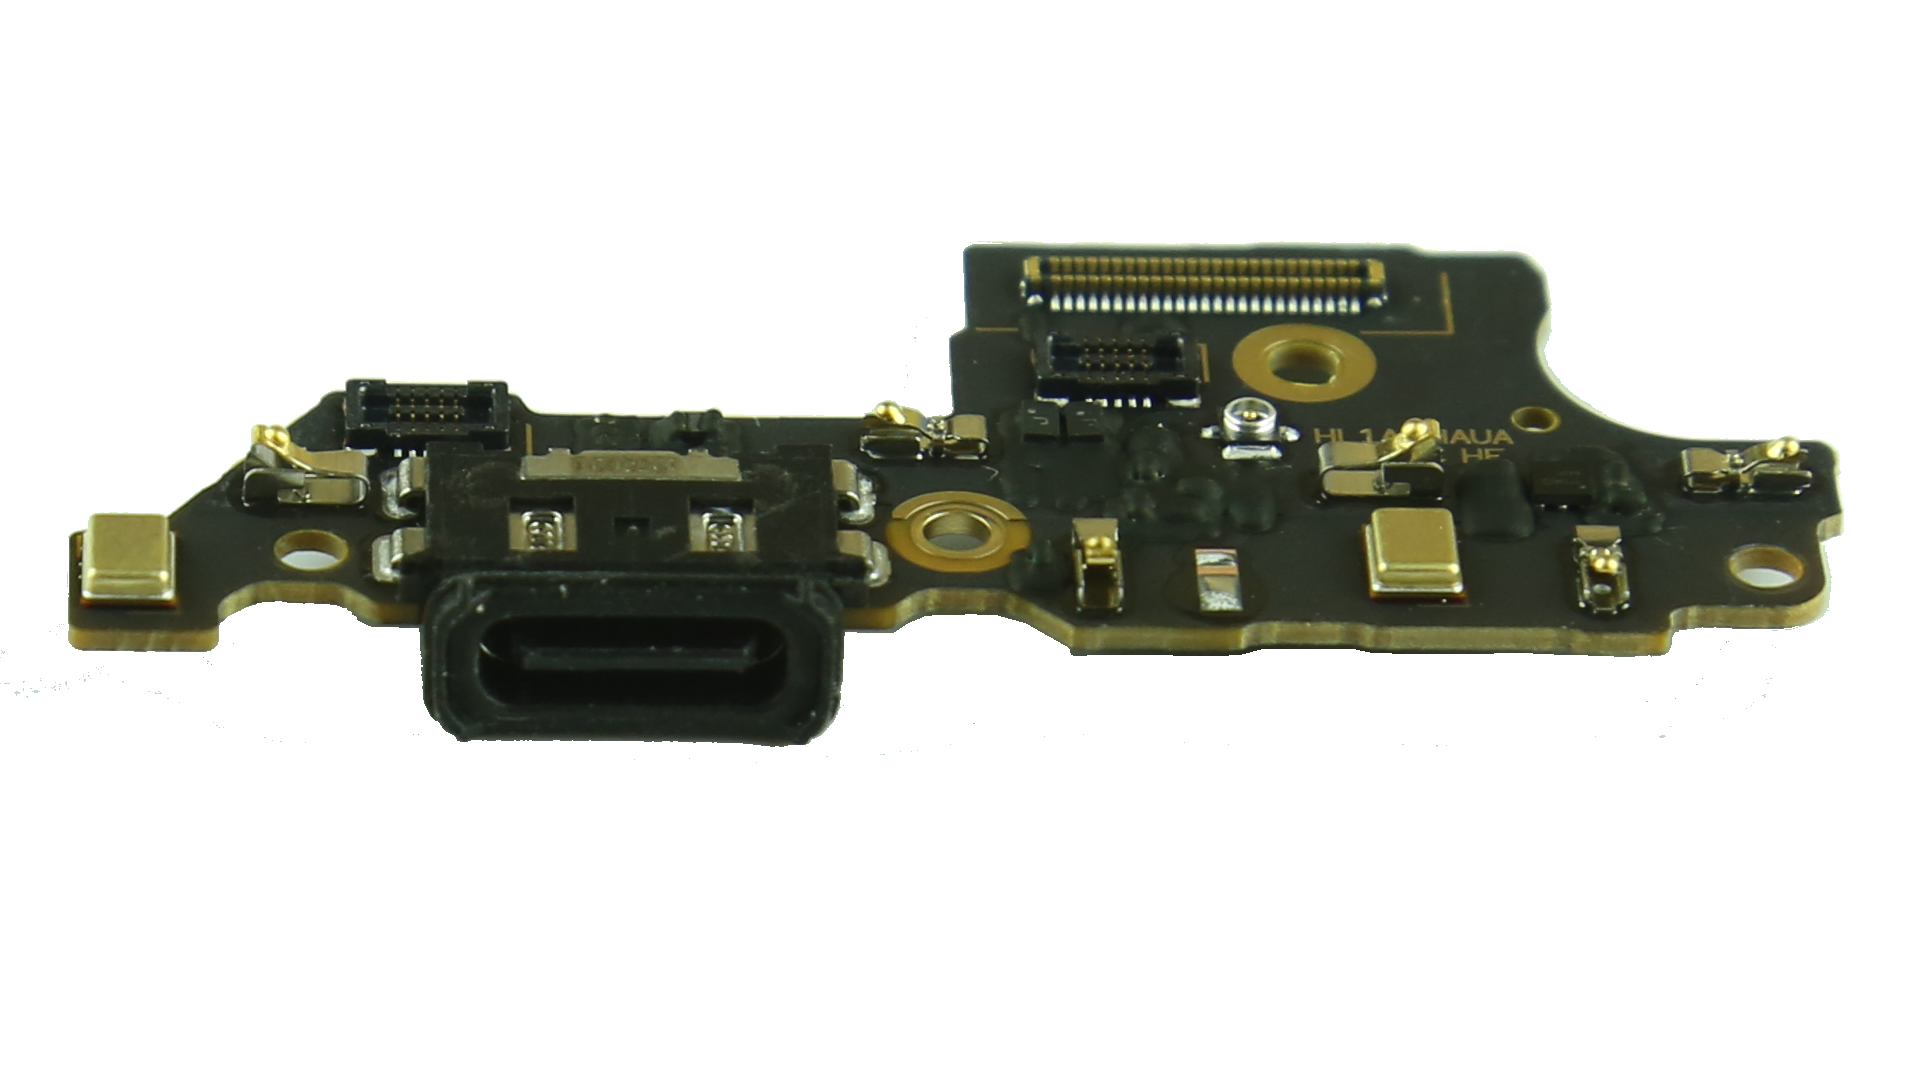
The bottom board is integrated a USB Type-C port and some metal contacts.
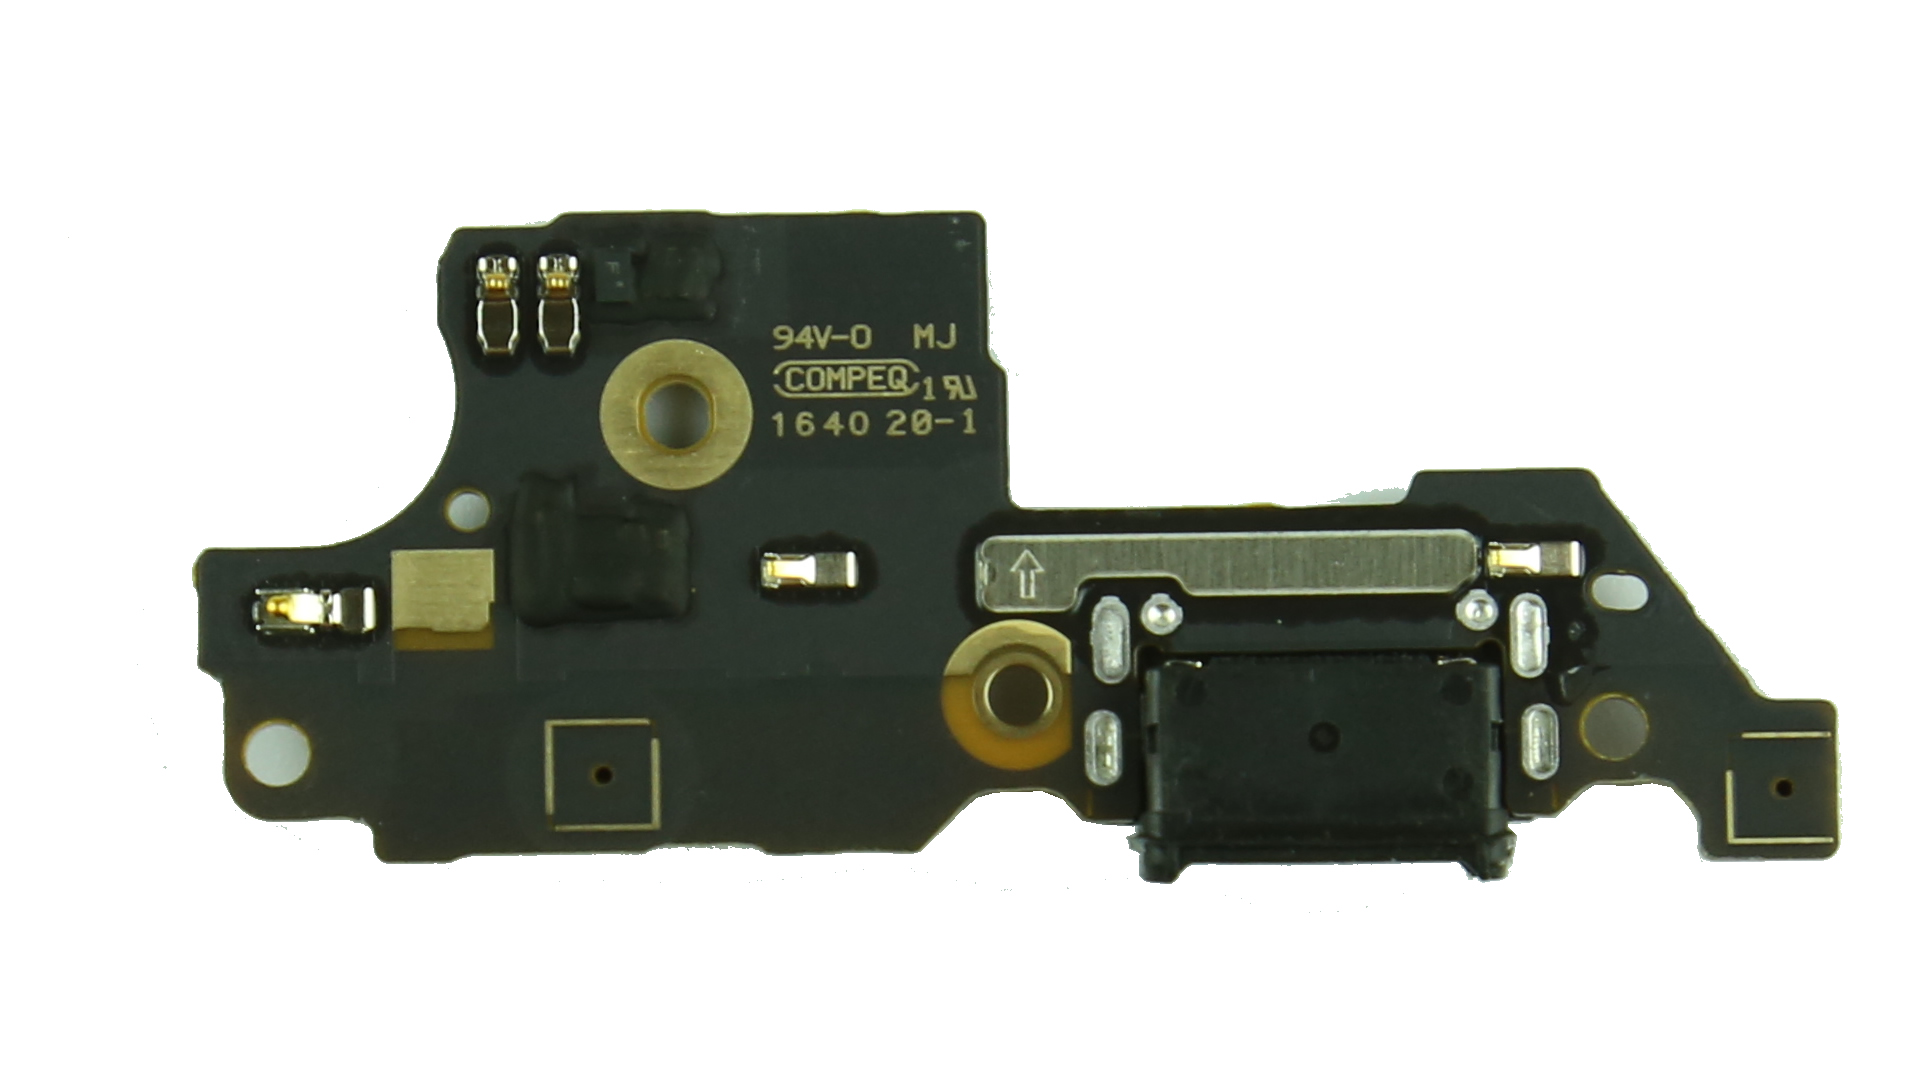
On the interface of microphone and USB Type-C used silicone sealing ring to prevent dust entering the body.
Here’s loudspeaker module.
The battery used non-trace glue to fix on the metal body.
Pull out the white adhesive tape.
Insert a crowbar under the battery to pry up the battery.
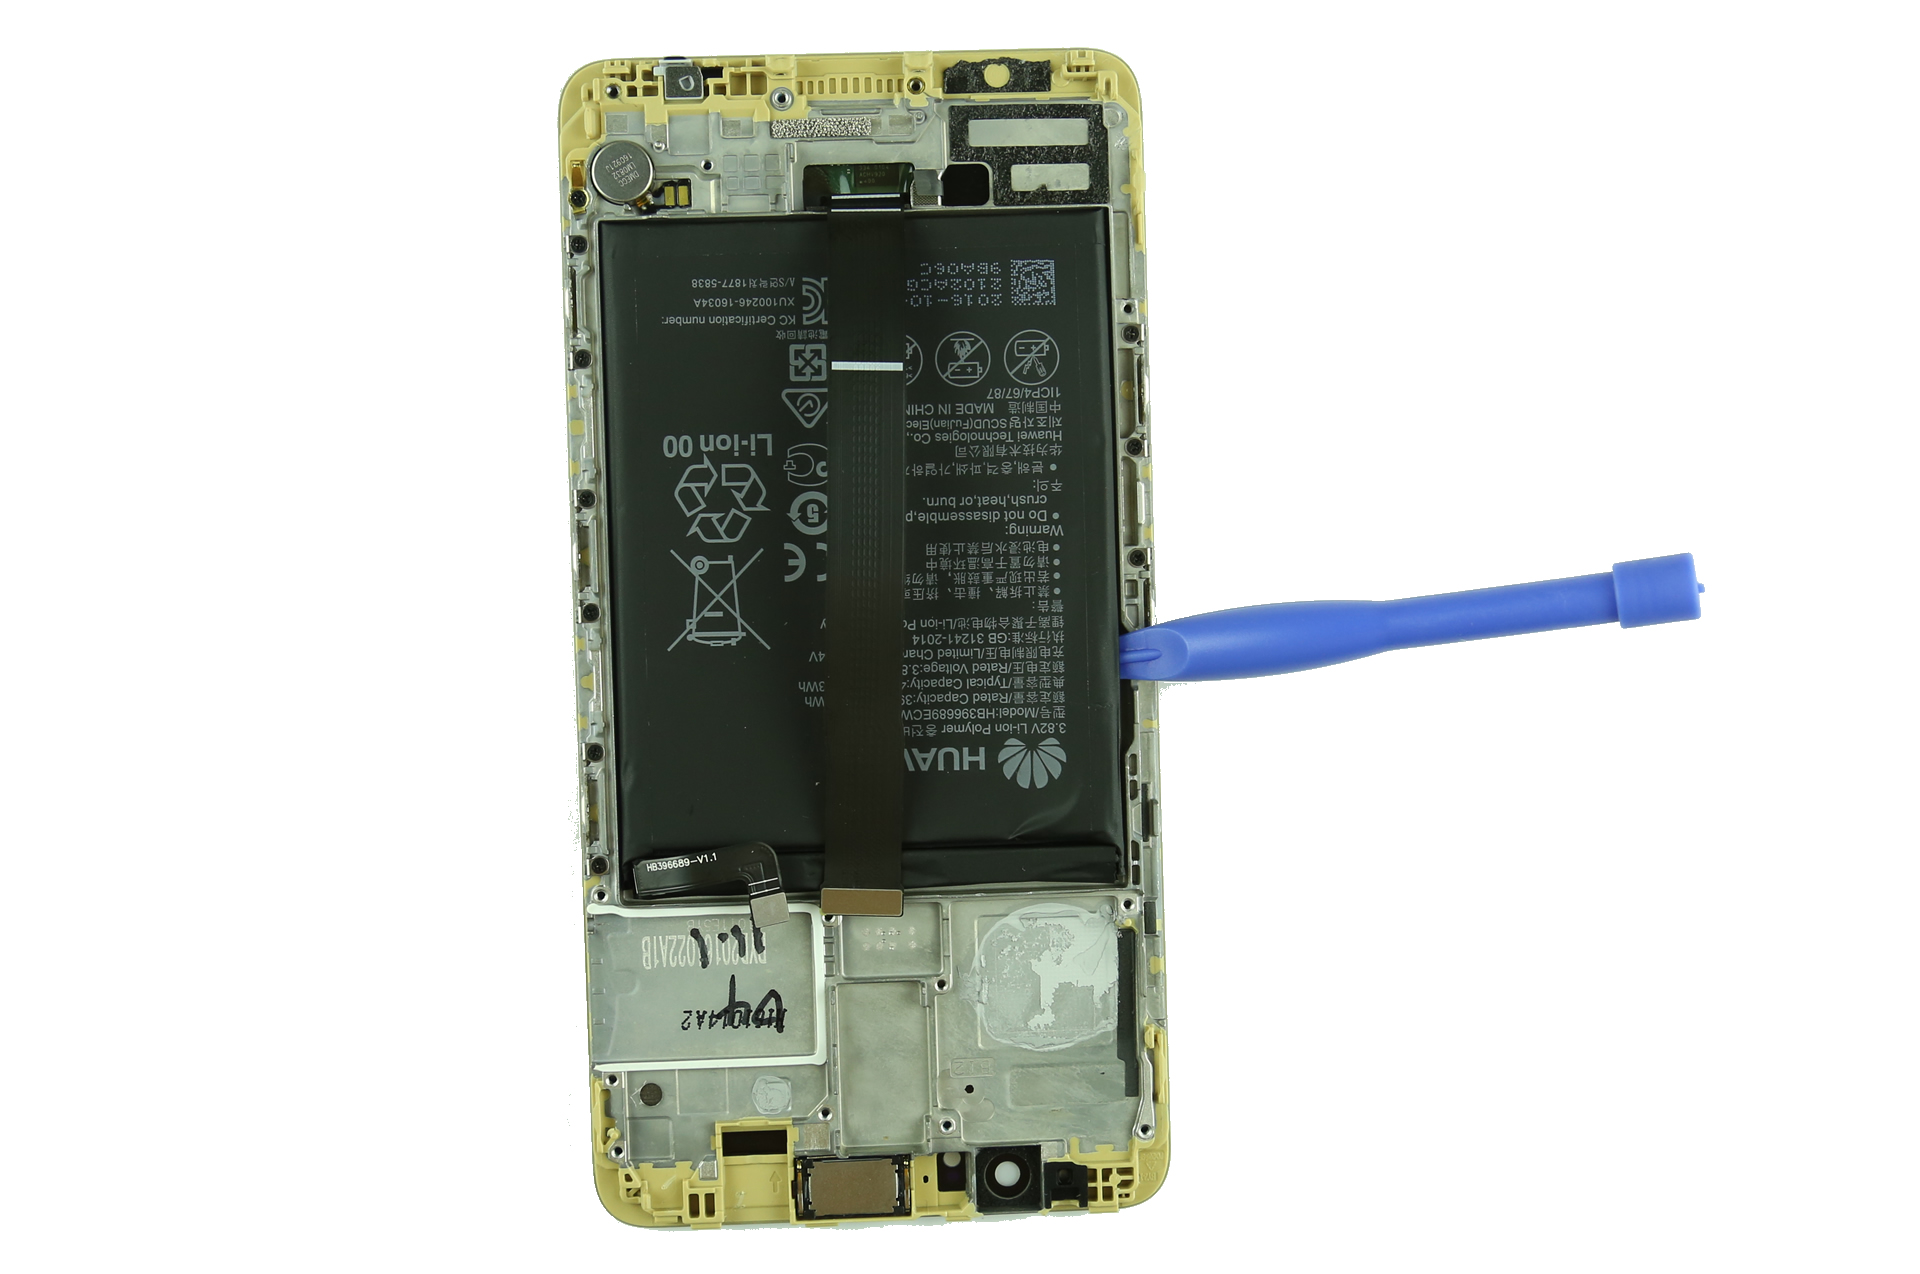
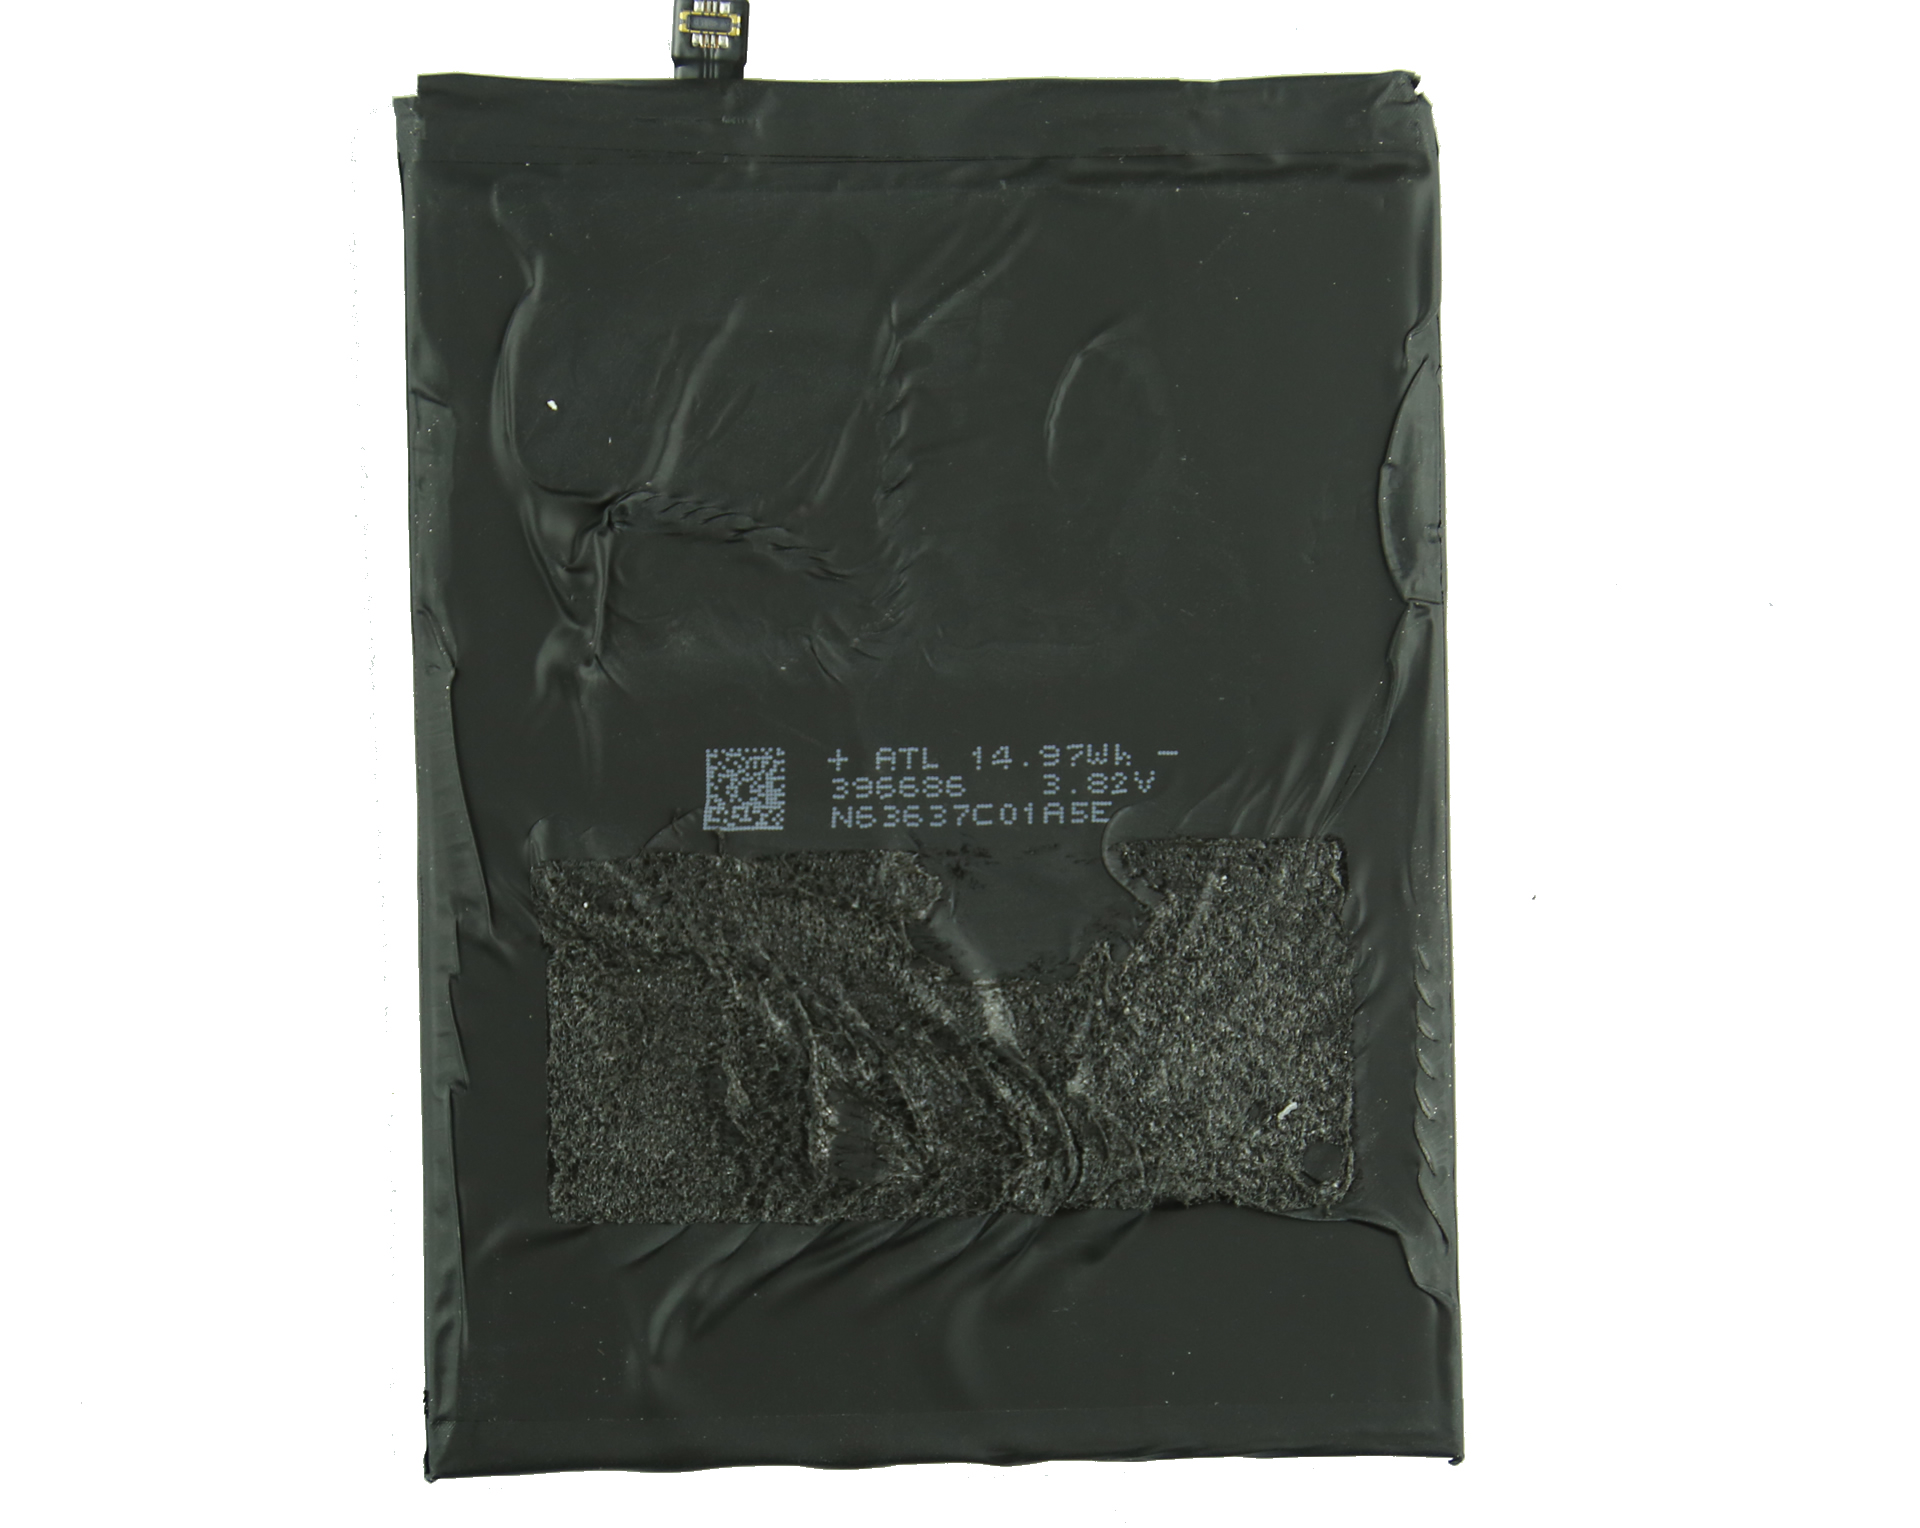
Huawei Mate 9 comes with a 3.82V, 4000mAh, 15.3Wh Li-ion polymer battery, Huawei P/N: HB396689ECW.
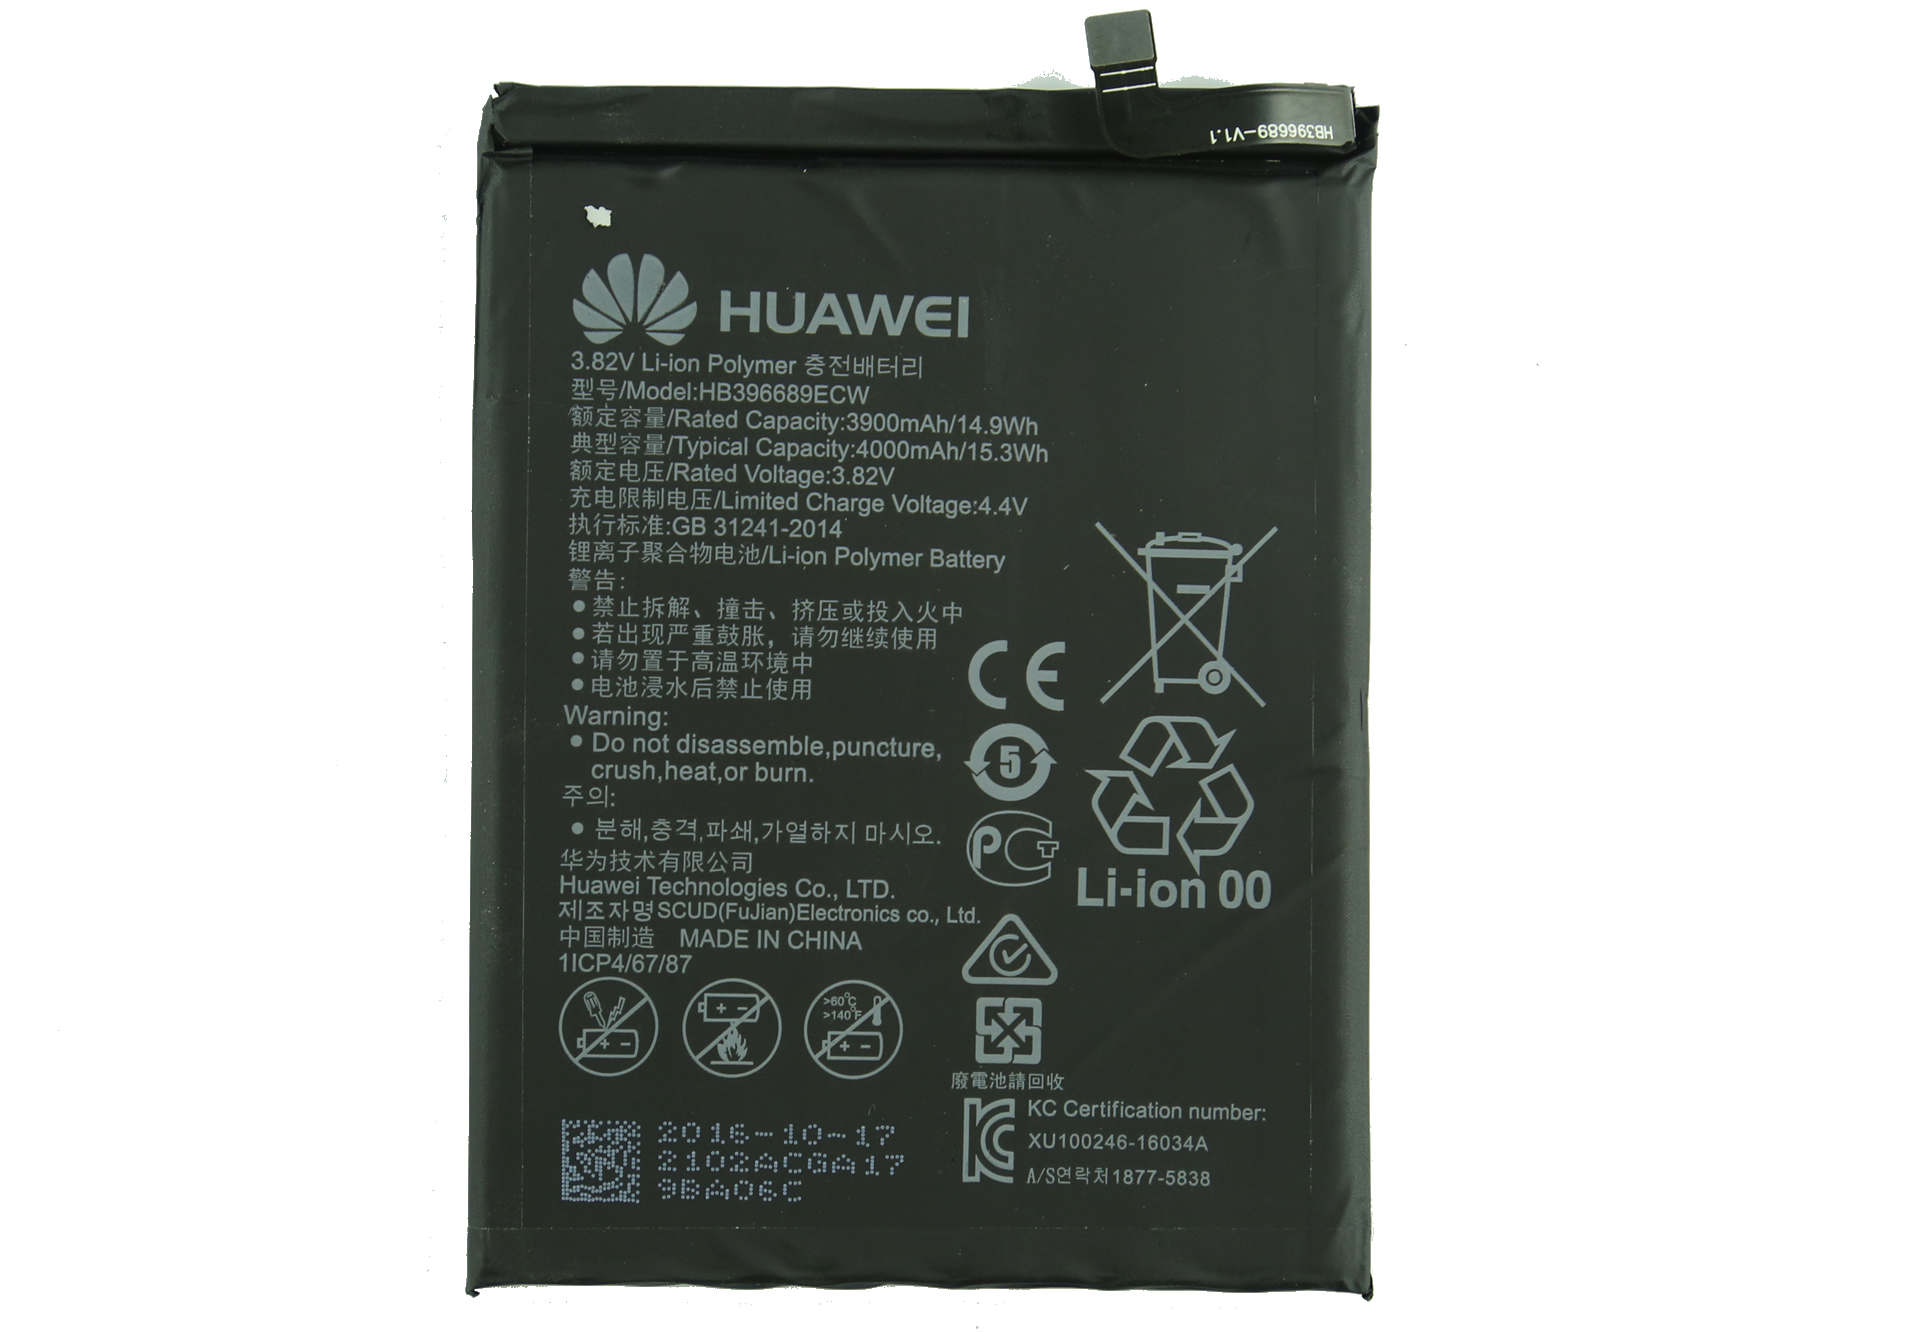
On the back of the battery, we can see the glues.
Note: we will update the chip model later
HiSilicon Kirin 960 processor + 4GB RAM
Hisilicon Hi6403 HiFi chip
64GB ROM
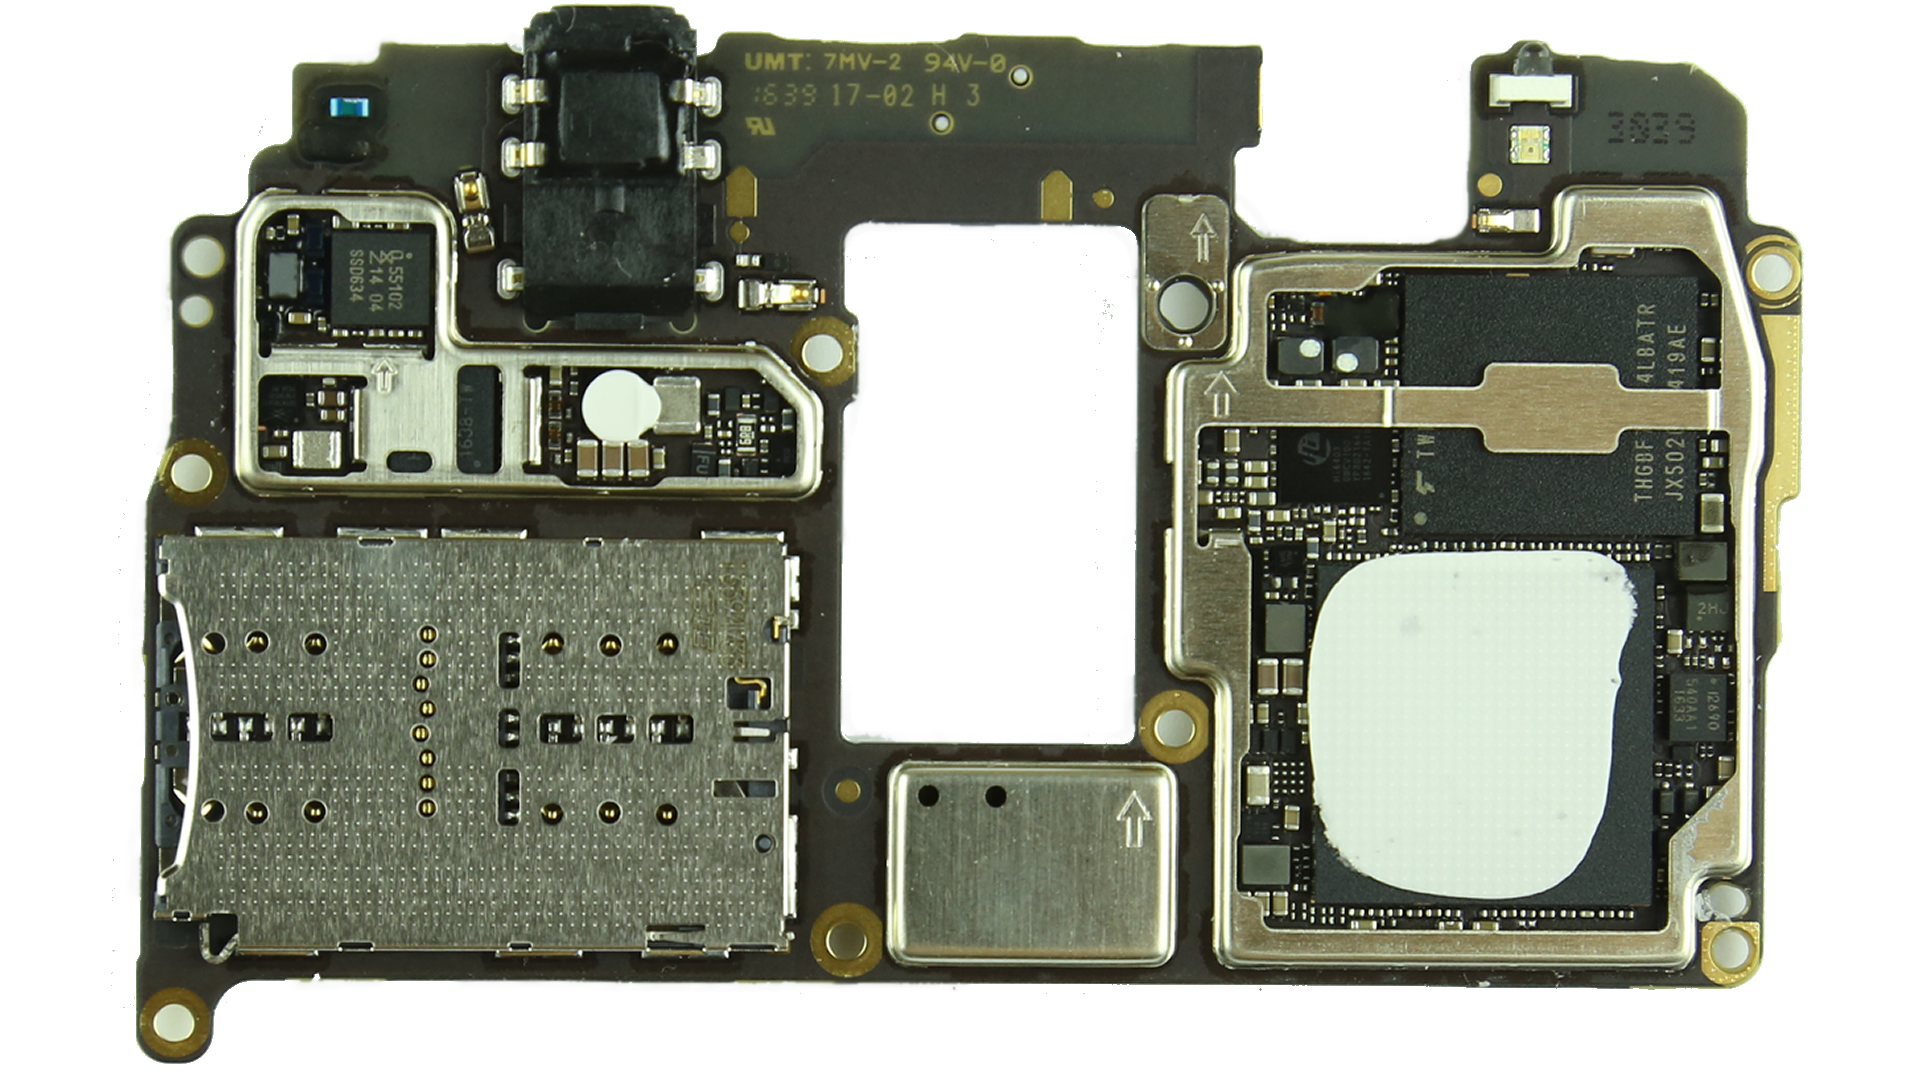
HiSilicon Hi6421 power management chip
HiSilicon Hi6362 RF chip


")
")


