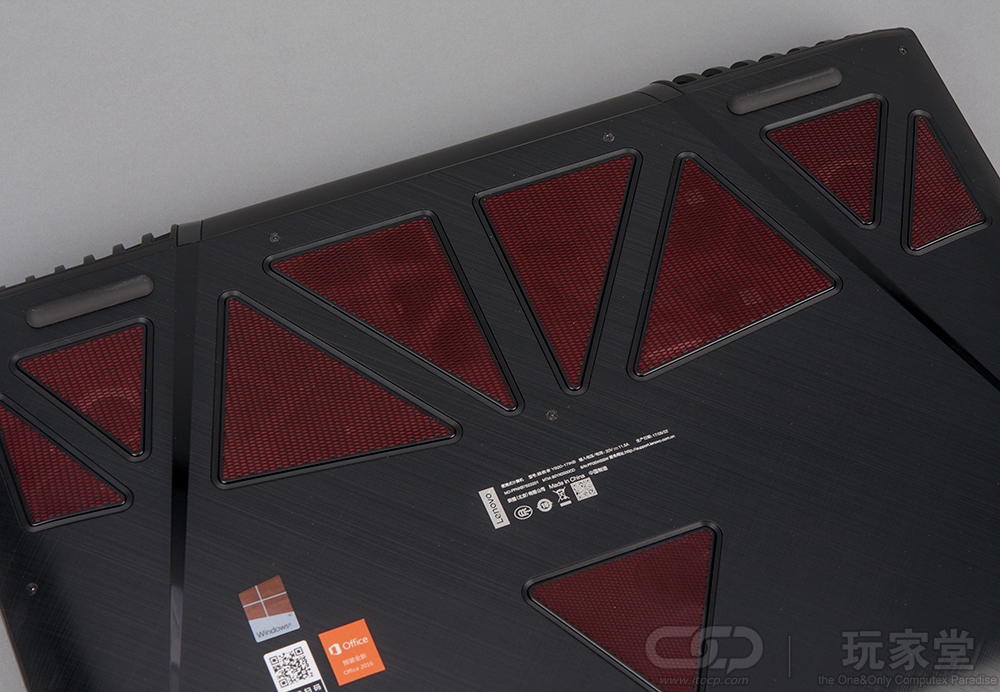
Today we received a new generation of Lenovo flagship game laptop the Legion Y920. Compared with the previous generation of Legion Y910, this generation is mainly to update the processor model. The other parts, such as appearance, internal structure are followed by the classic design of Y910. Let me share with you out of the box and simple disassembly process.
For the freshest produce, find us on Facebook for the latest teardown news.

First of all, remove all screws from the bottom cover.
Pry up and remove the bottom cover.
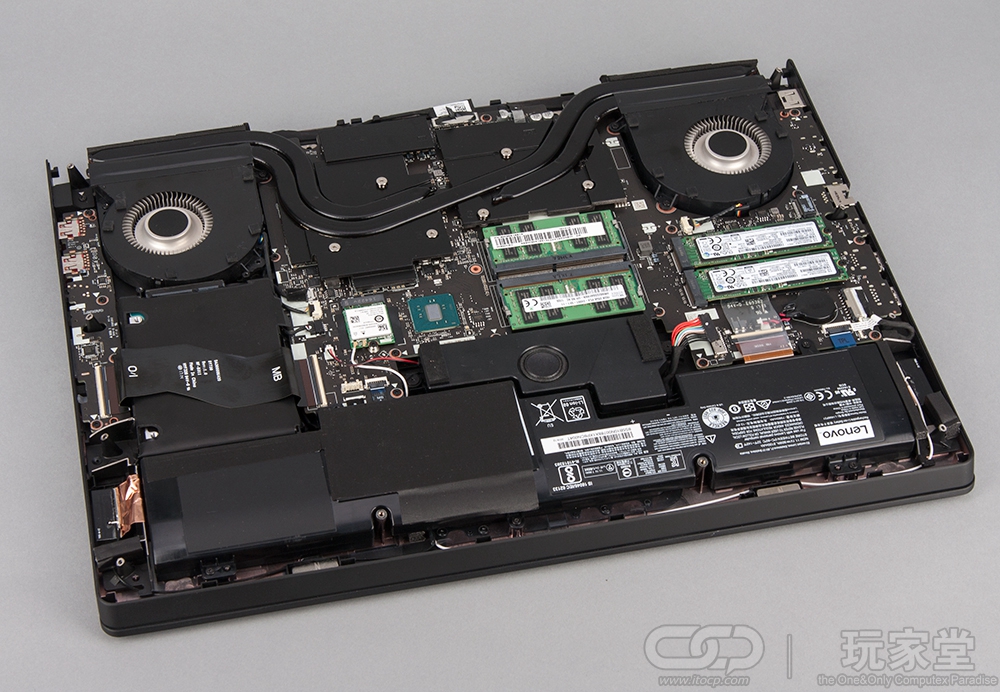
After removing the bottom cover, you can get access to the battery, SSD, RAM, HDD, Wi-Fi, speaker, CMOS battery, heat sink, cooling fan and motherboard.
Both the processor and the graphics card use a dual heat pipe to dissipate heat, which shares one of the heat pipes.
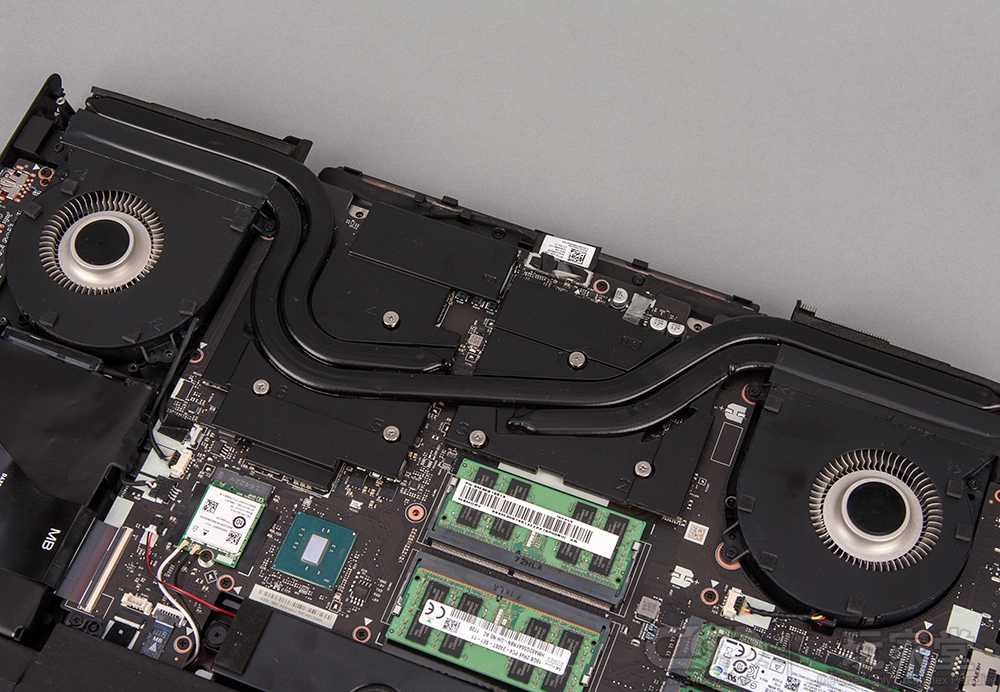
The heat sink has a large area and can cover the power supply circuit of the processor and the graphics card.
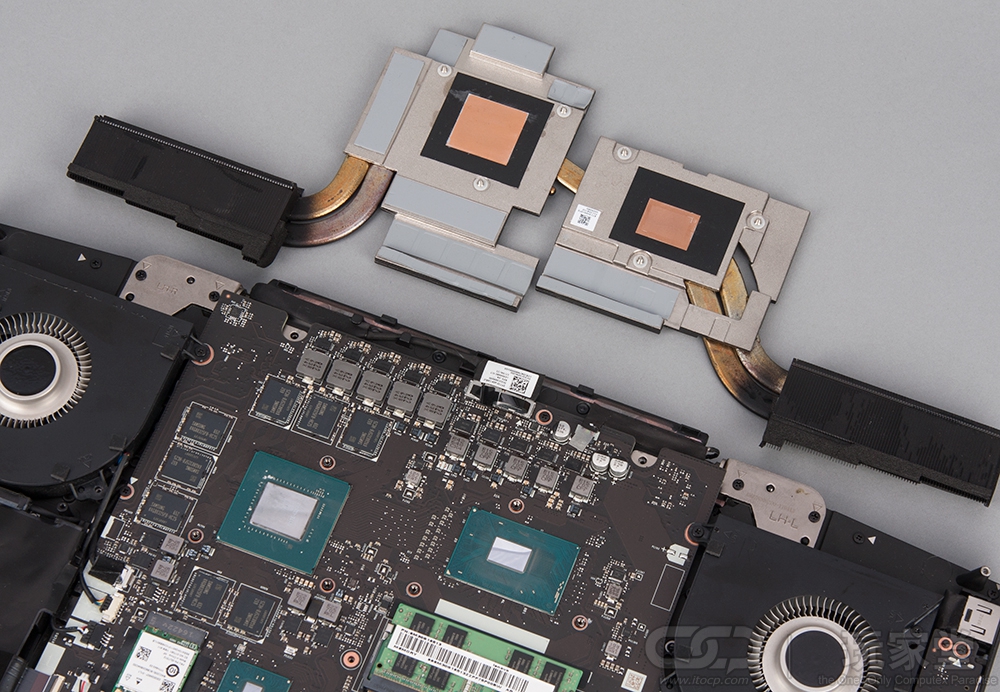
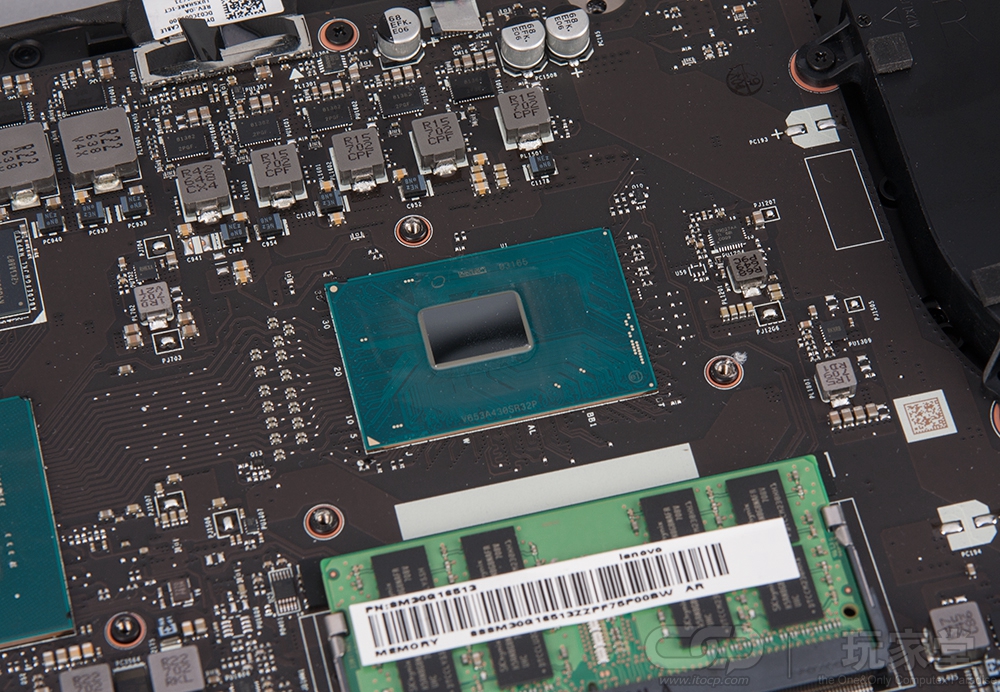
The Y920 upgrades the processor to the 7 generation Intel i7-7820HK and uses the Lenovo Y space software to implement a key overclocking.
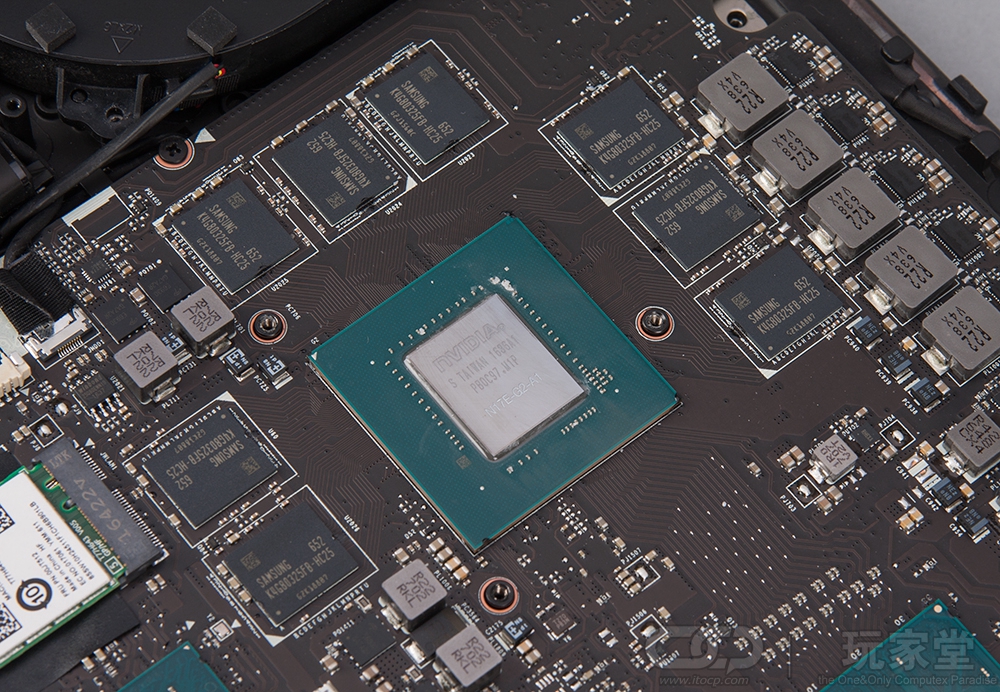
The GTX 1070 graphics card comes standard with 8G memory. When the Y space a key overclocking function is activated, the graphics card frequency will be synchronized to enhance.
Lenovo Legion Y920 have four RAM slots and come with four 16GB RAM. The other two memory slots are on the back of the motherboard.

Two 512GB Samsung SM961 SSD have been built Raid0 array, they use MLC flash and support NVMe protocol, the service life, and reading and writing speed is very outstanding.

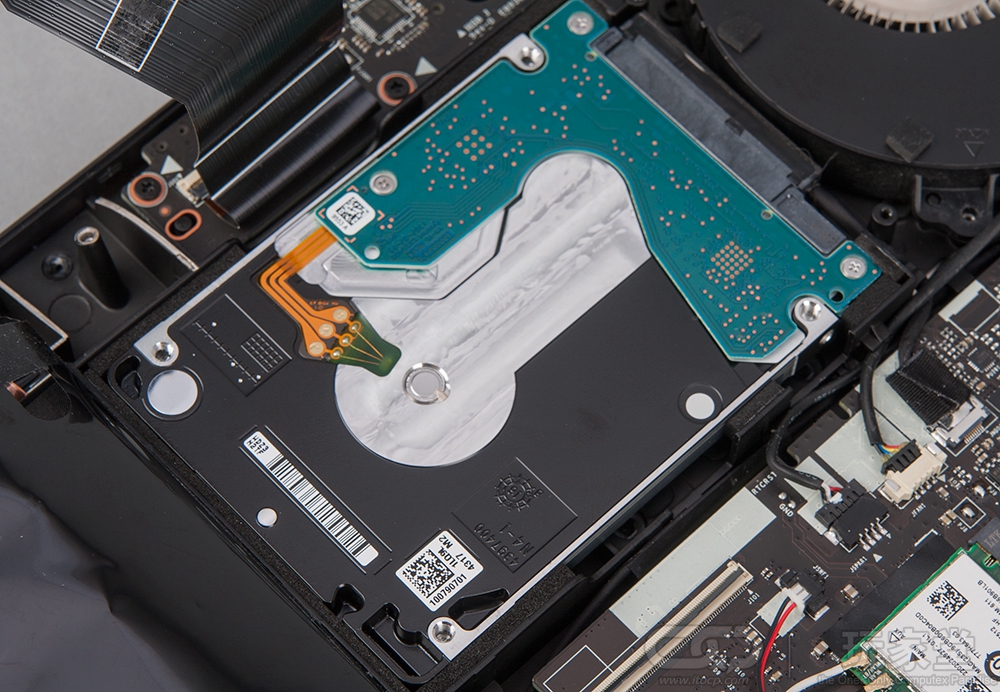
The mechanical hard drive upgraded to Seagate 2TB 7mm thin HDD, with a 128MB large cache.
Source: itocp.com


So the version of the y920 I have had 2x8gb installed. I installed 2x8gb in the available slots. Are the other two on the keyboard side of the motherboard? I haven’t received information of this even on Lenovo forums.
Yes!, the default 2x8Gb are on the back of the motherboard, under the keyboard.