The MSI GP62MVR 6RF I disassembled includes a 2.6-GHz Intel Core i7-6700HQ CPU, 5.6″ Full HD (1920×1080) screen, 8GB of RAM, a 256GB M.2 SSD, a 1TB, 7,200-rpm HDD and a Nvidia GTX 1060 GPU with 3GB of VRAM. In this guide, I will disassemble a GP62MVR 6RF Leopard Pro. I will remove the bottom cover, battery, SSD, hard drive, RAM and motherboard.
Looking for more guides from laptopmain.com? Follow us on Facebook for all the latest teardown news.
1. Removing the bottom cover
Remove all screws securing the bottom cover.
Pry up and remove the bottom cover.
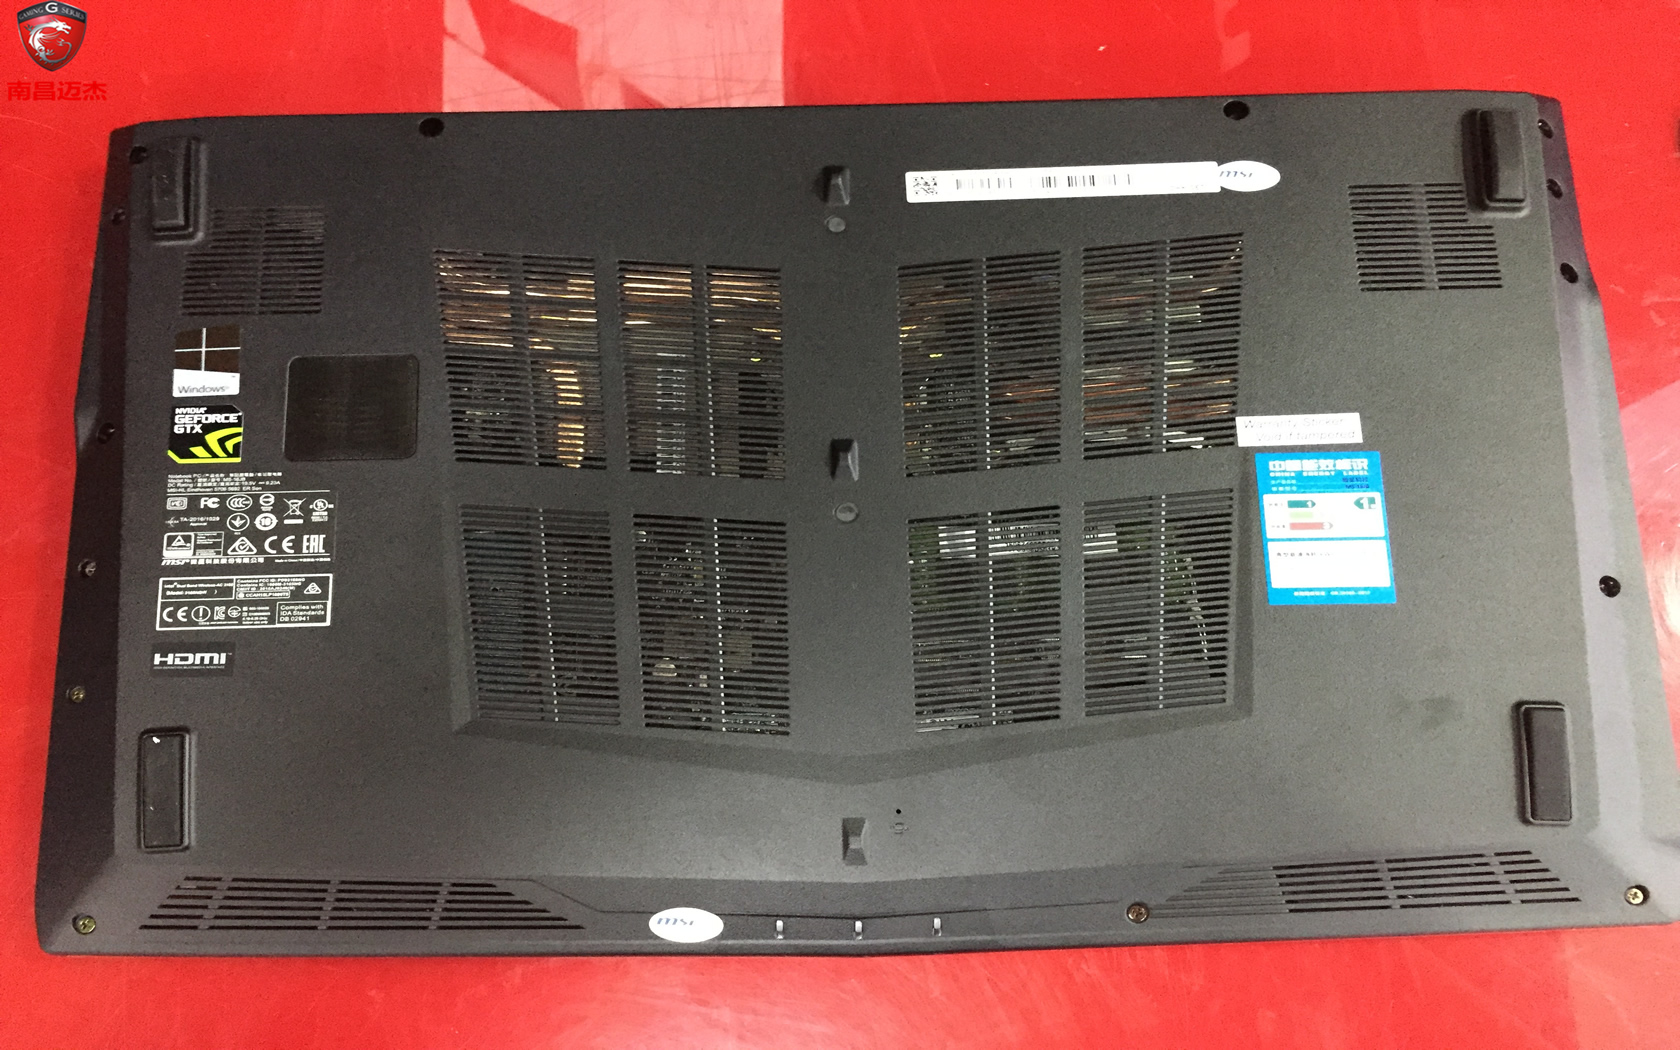
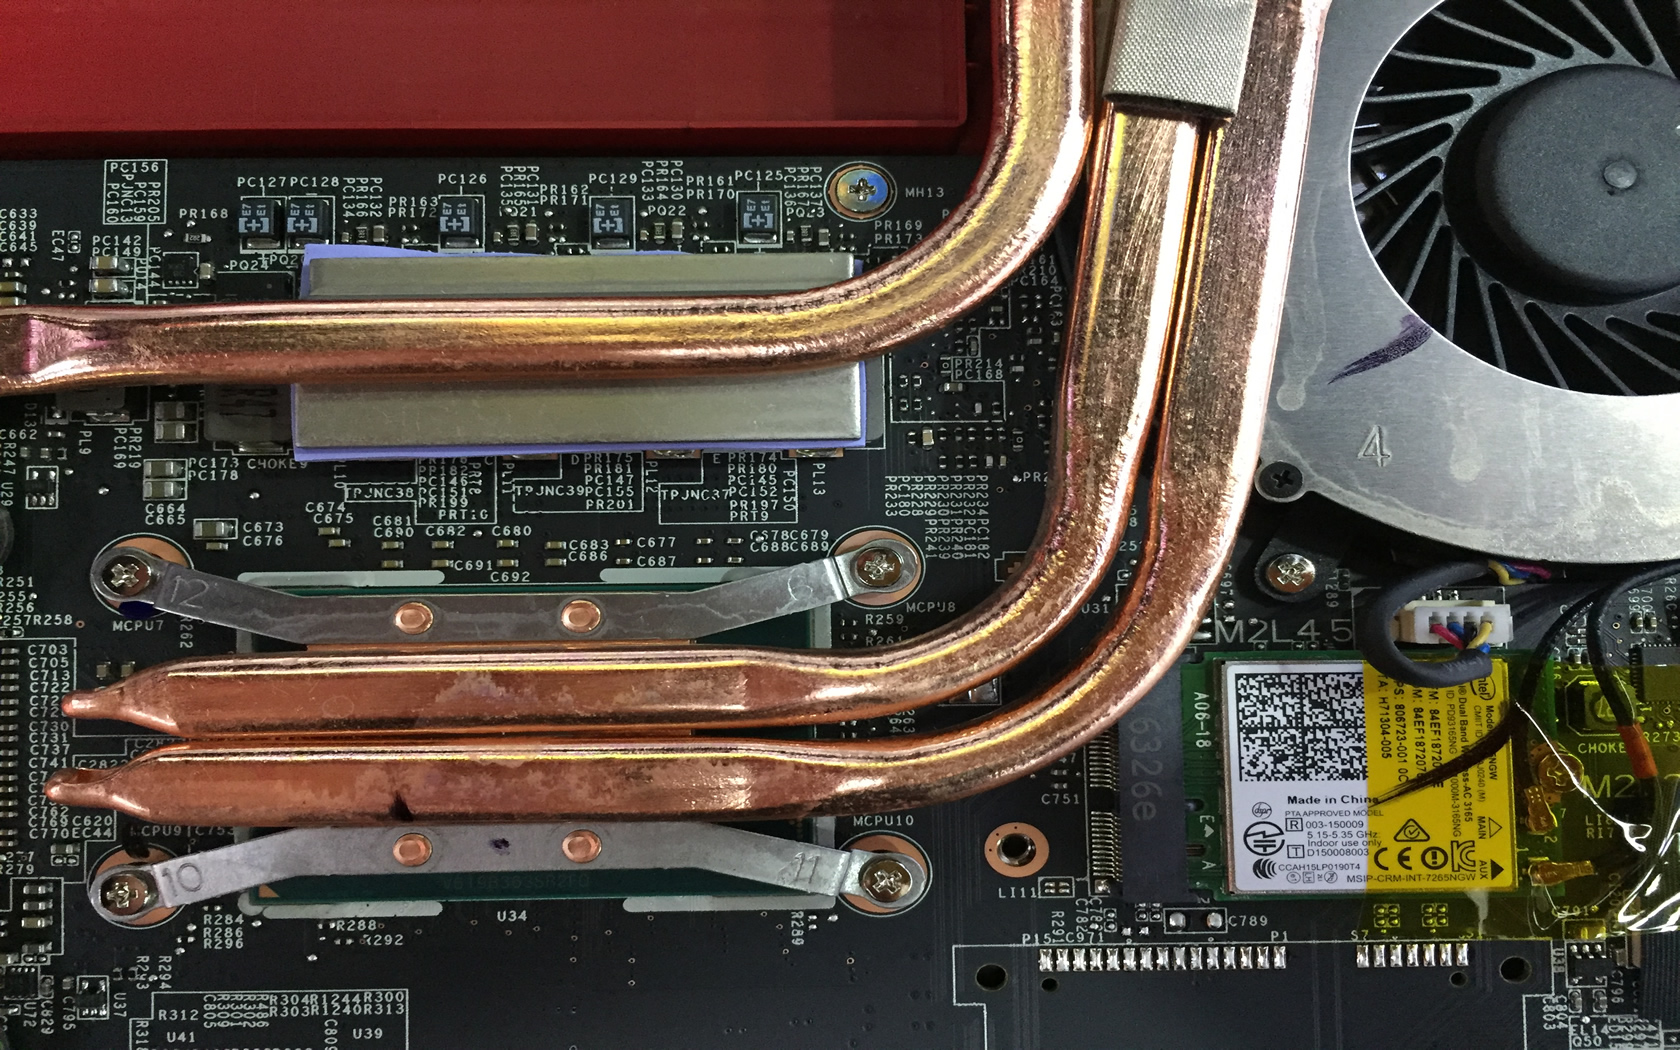
With the bottom cover removed, you can get access to the SSD, HDD, RAM, wireless card, heat sink, and cooling fan.

2. RAM upgrade option
The laptop comes with an 8GB DDR4-2133 RAM, it has two RAM slots and supports up to 32GB RAM.

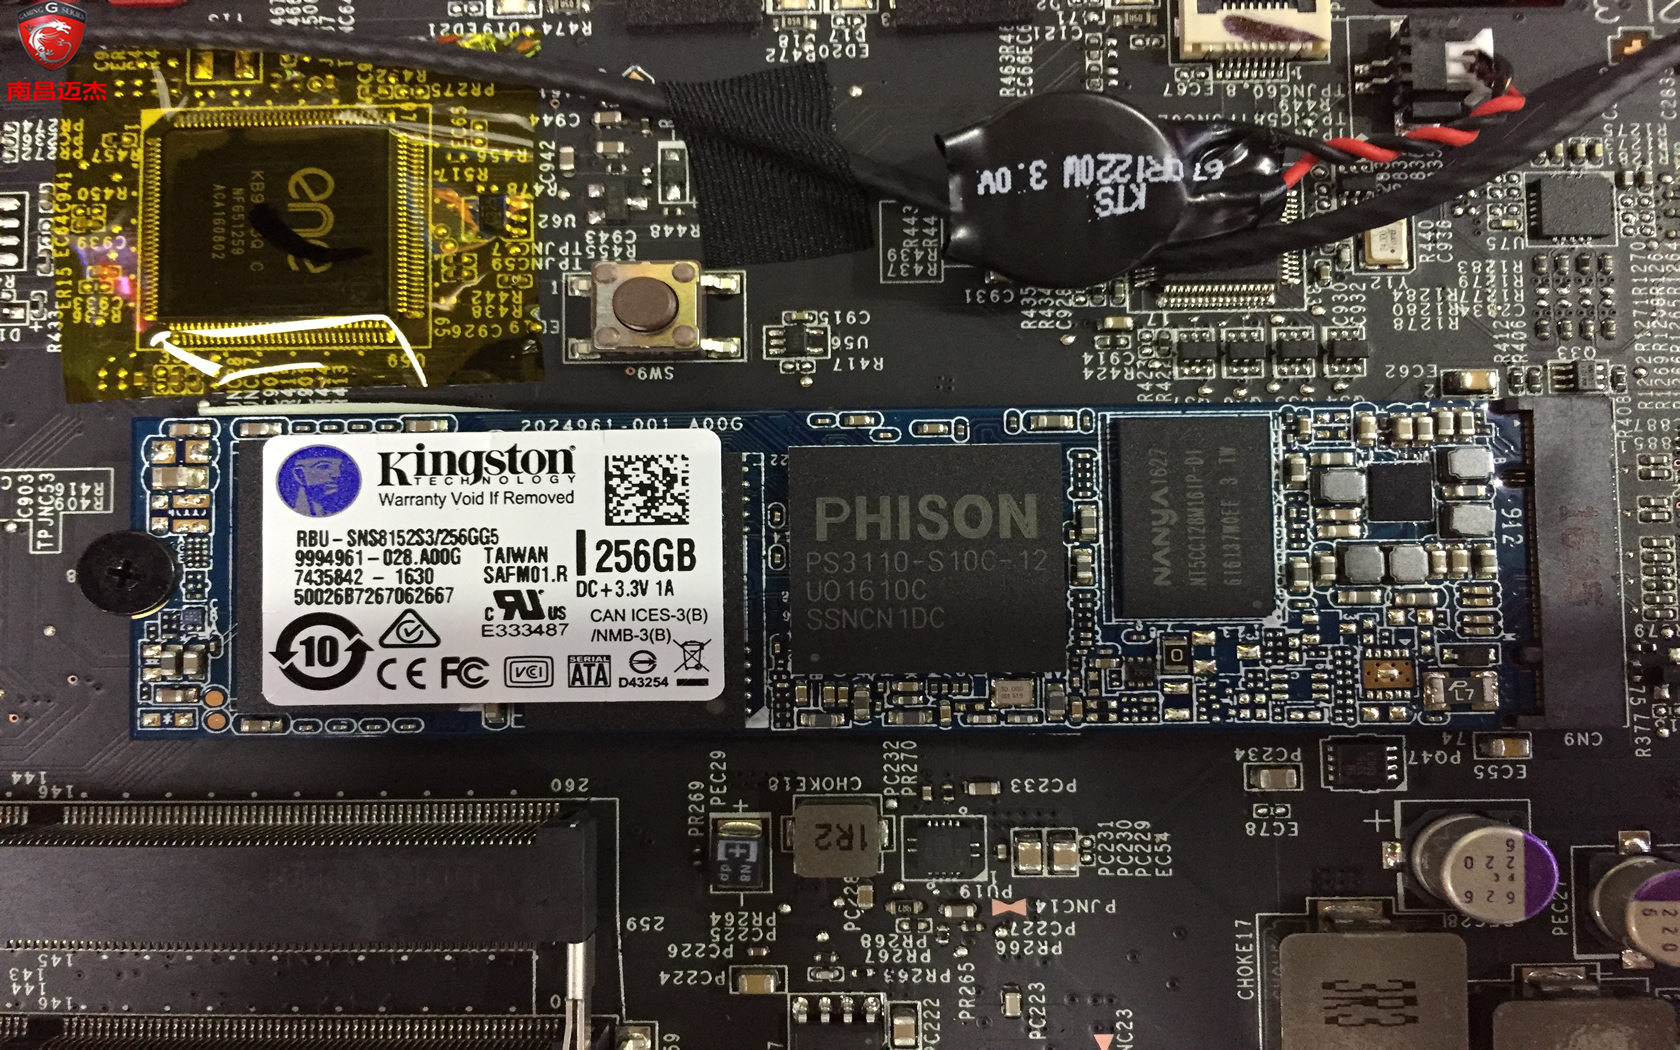
3. SSD upgrade option
The laptop comes with a 256GB M.2 SSD.
If necessary, you can upgrade to a larger capacity SSD.

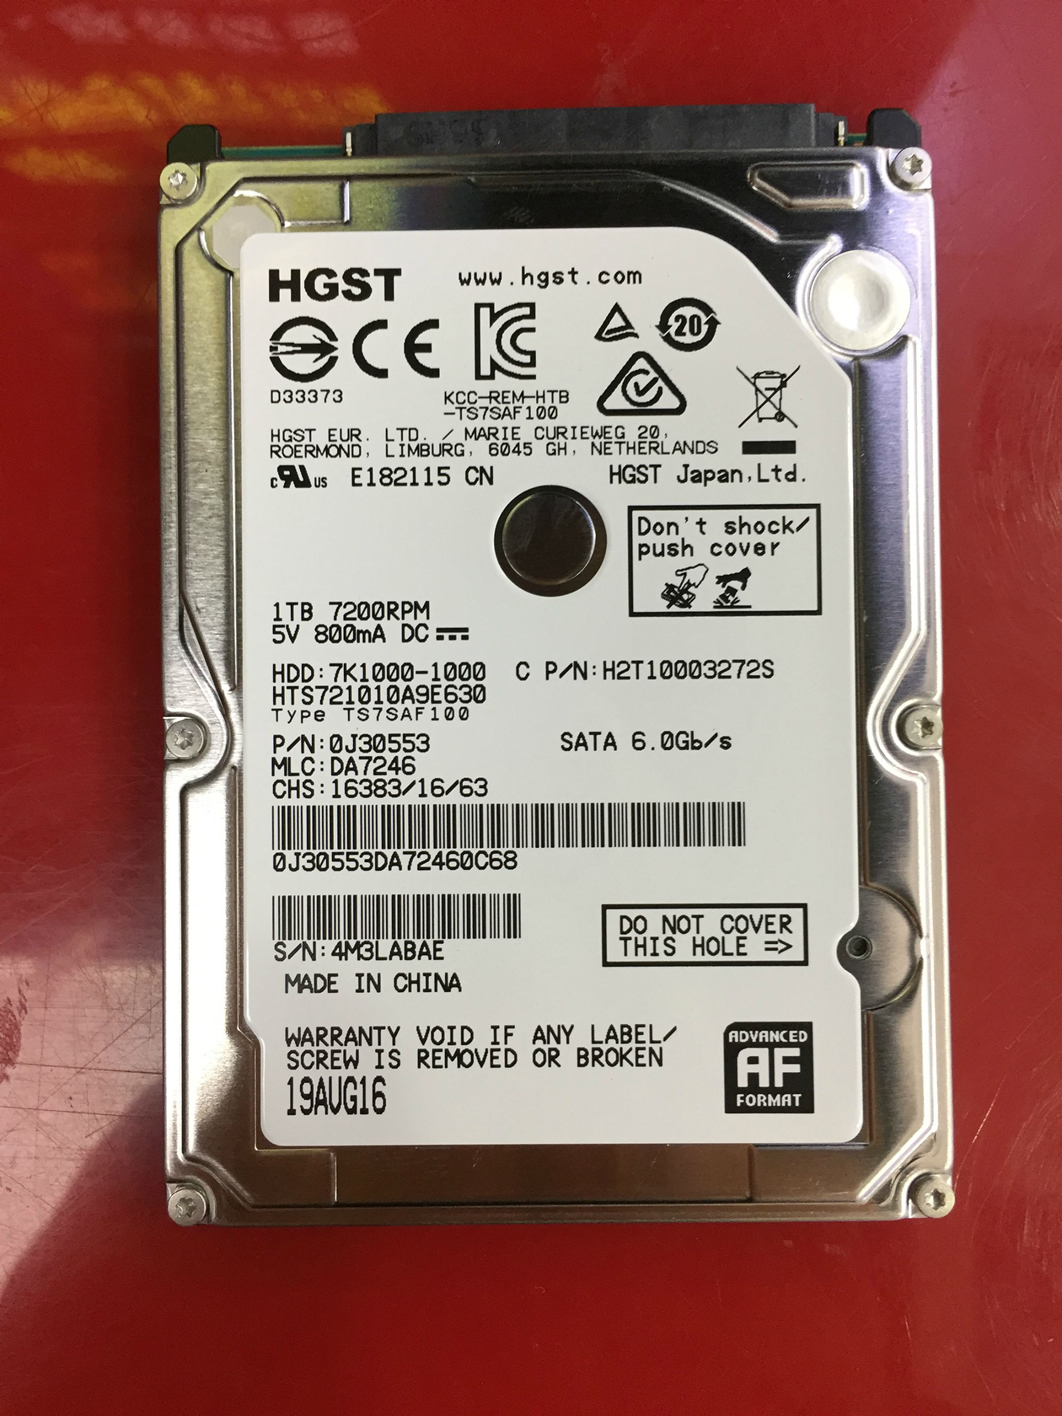
4. HDD upgrade option
HGST 1TB 7200RPM hard drive
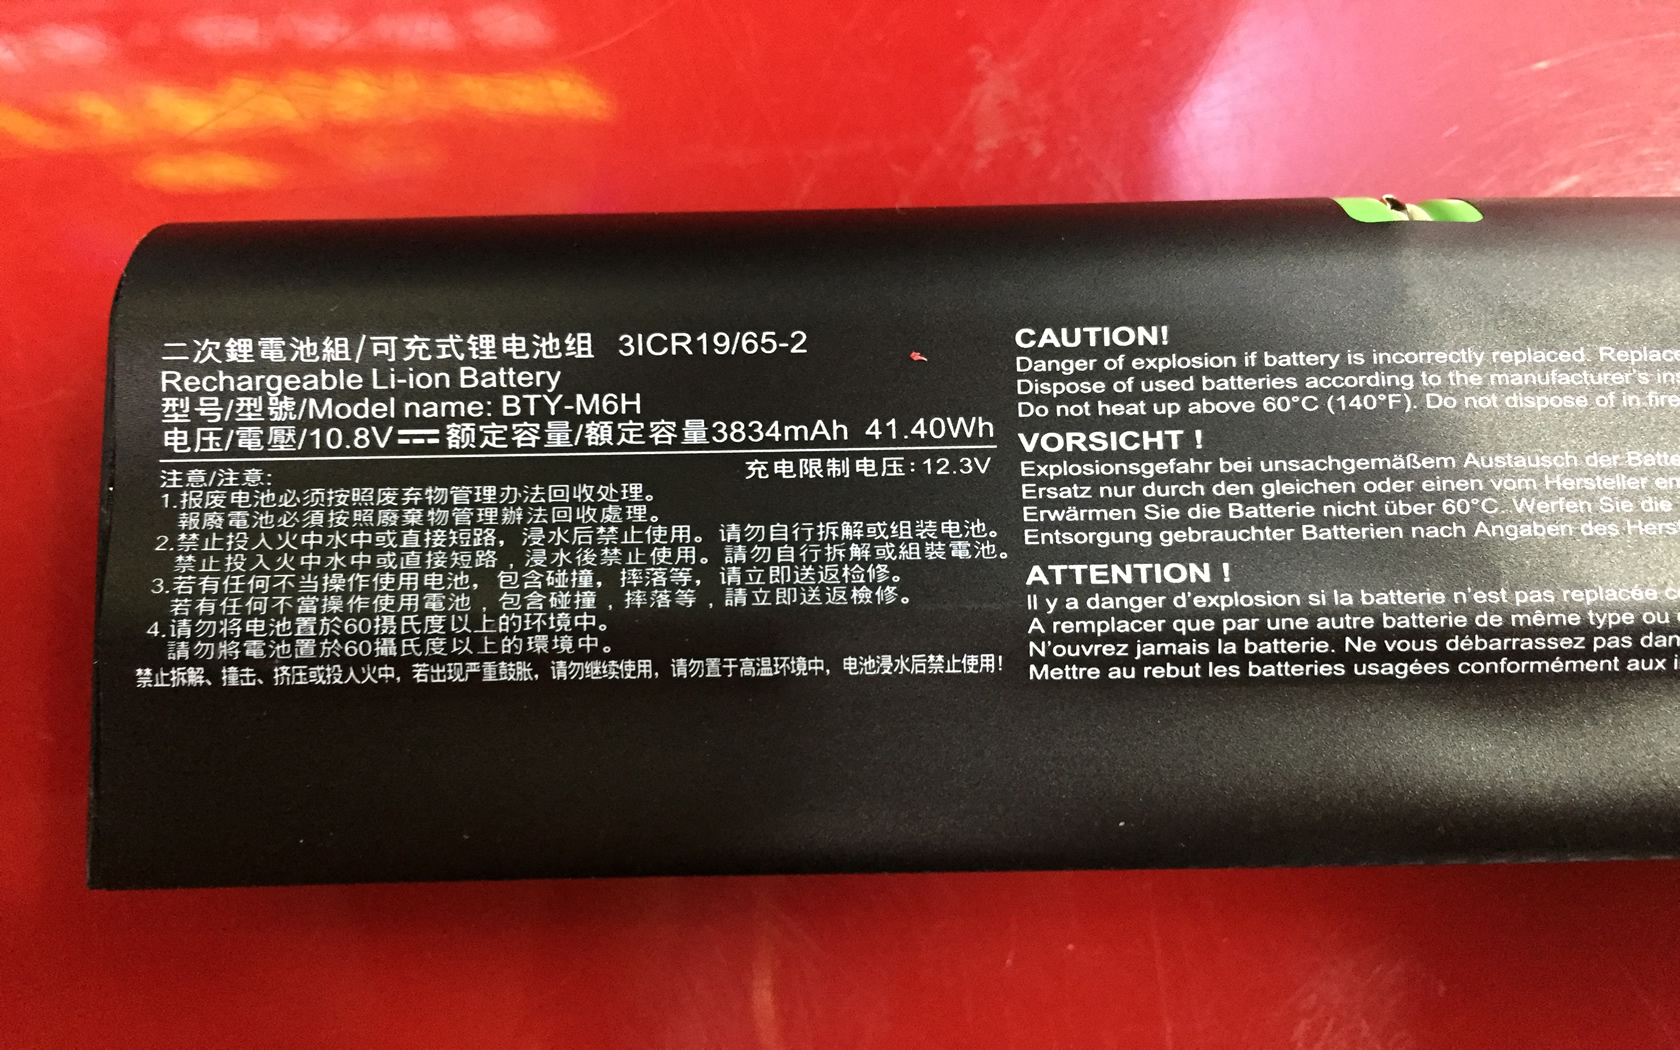
Remove one screw securing the battery and take it out of the laptop.
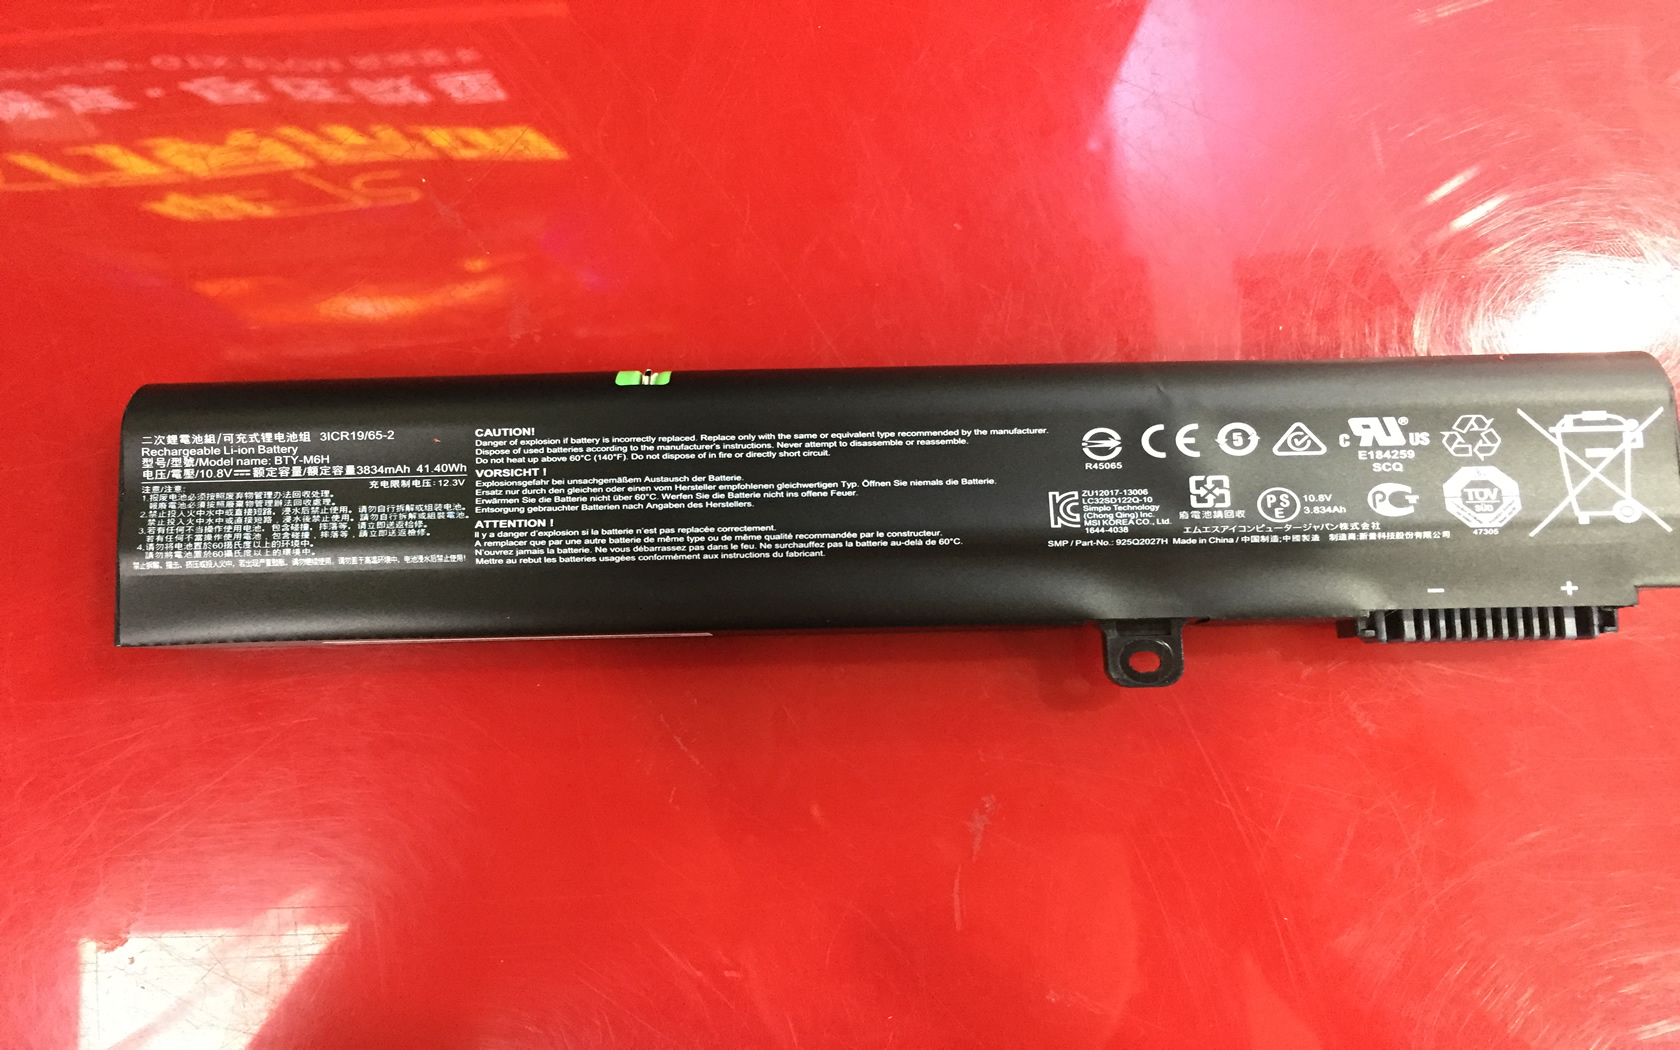
The GP62MVR 6RF comes with a 10.8V, 3834mAh 40Wh Li-ion battery, MSI P/N: BTY-M6H.


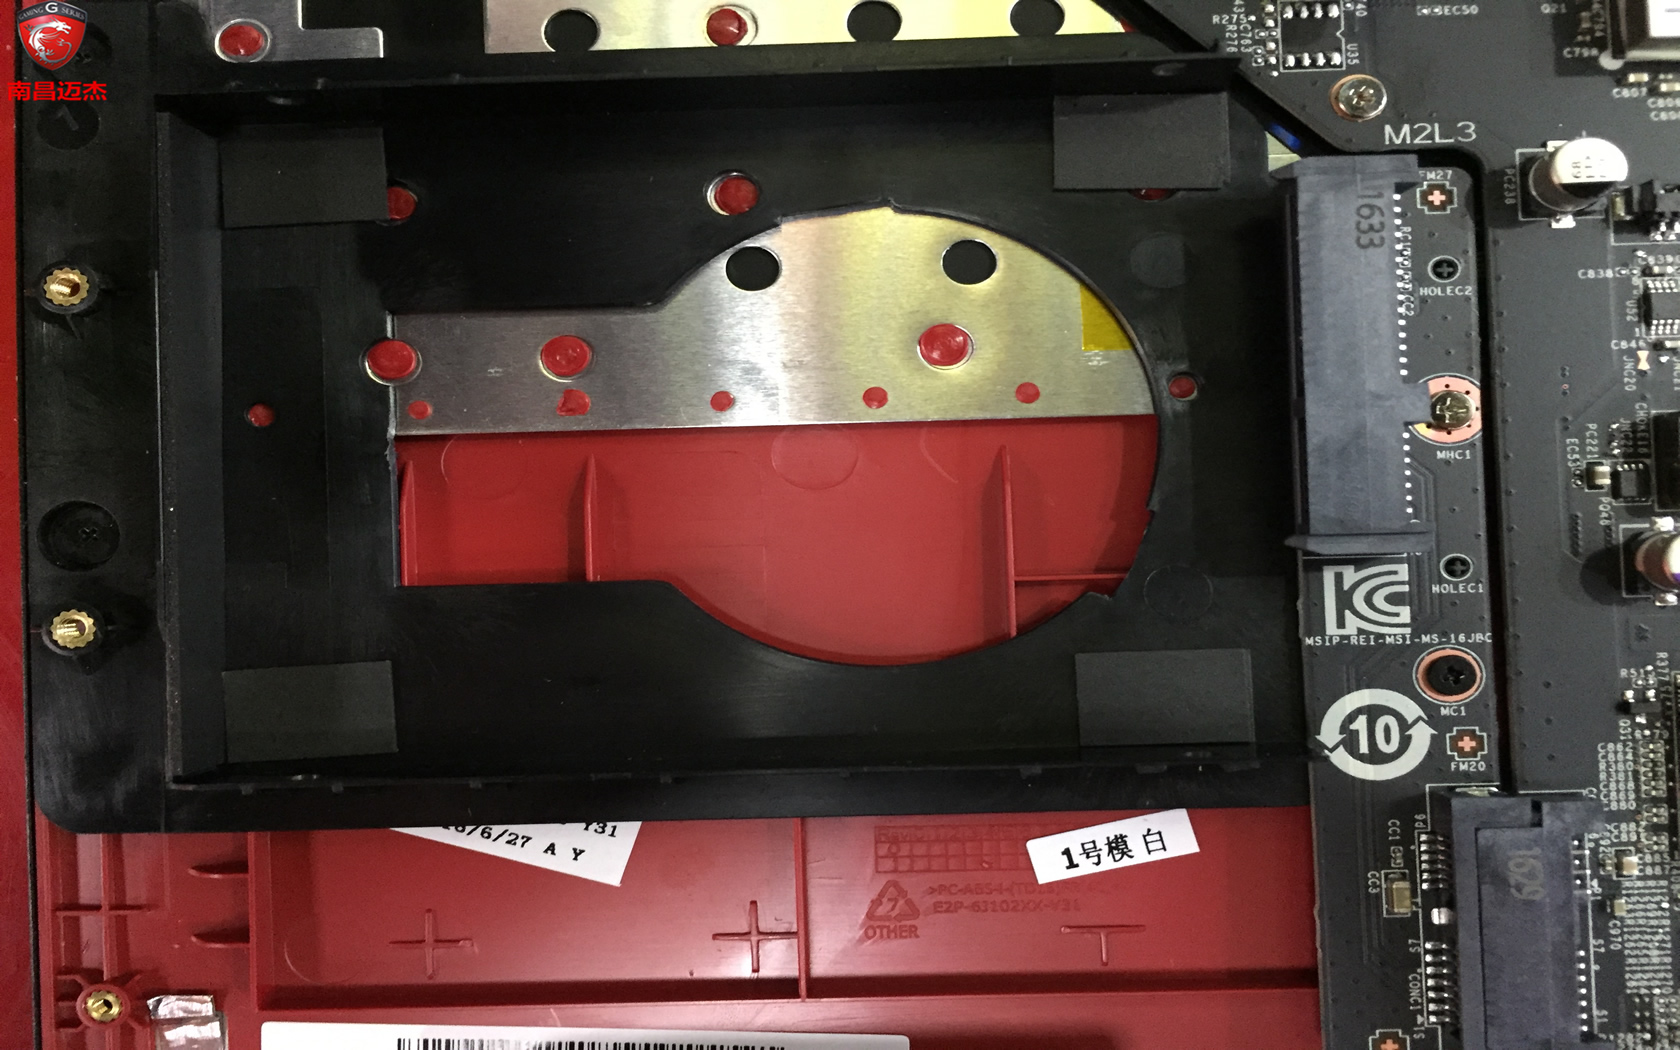
As you can see in the first image there is an extra slot for a 2nd HDD on the left, however there is only the space for and they didn’t weld the SATA connector. Do you think we can do it ourself ? Maybe it doesn’t required any welding thing and we can just screw a SATA connector ?
What do you think ?
Zénome
If you have the experience of repair notebook, you can try to do it.