Vivo X7 Plus comes with a 5.7-inch Full HD (1080p) Super AMOLED display with 2.5D curved glass protection. It paired with 4GB of RAM and 64GB of onboard storage that can be further expandable up to 128GB via MicroSD card. Other connectivity option includes dual-SIM, LTE, Wi-Fi, GPS, Bluetooth, and run Android 5.1 Lollipop, also features a fingerprint scanner on the home button.
Looking for more guides from laptopmain.com? Follow us on Facebook for all the latest teardown news.
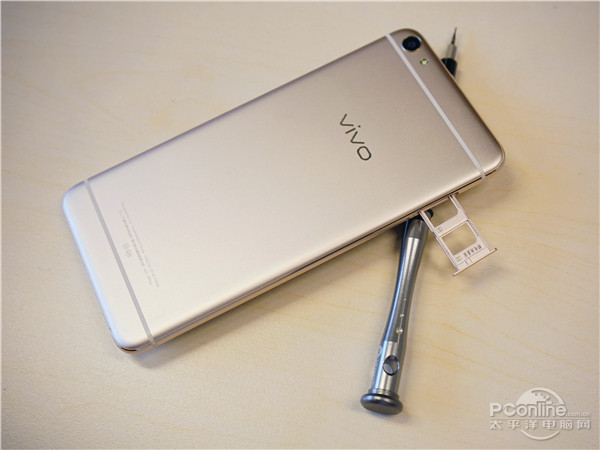
Remove the SIM card tray.
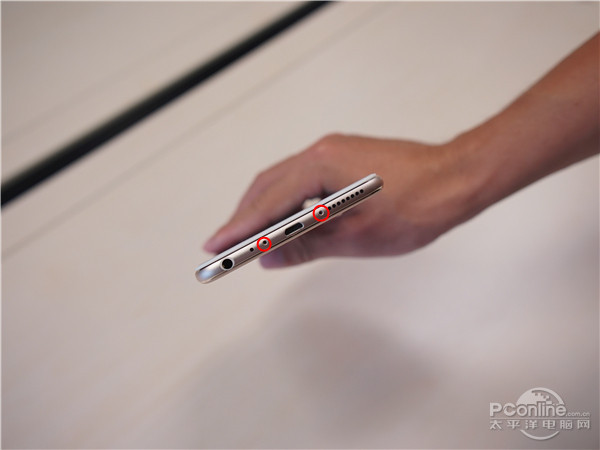
Remove two screws on the bottom of the phone.
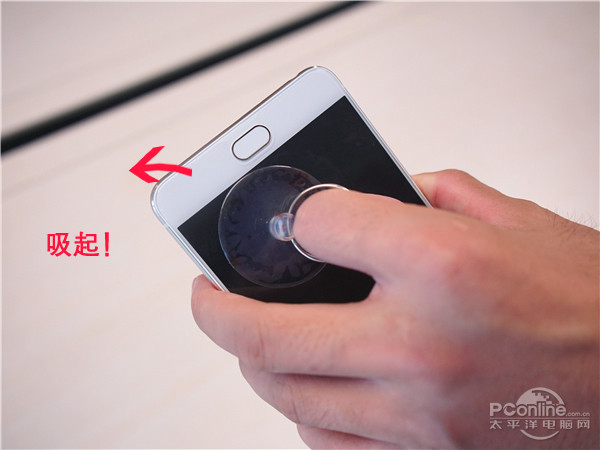
Now pry up the back cover a little bit with a rubber suction cup.
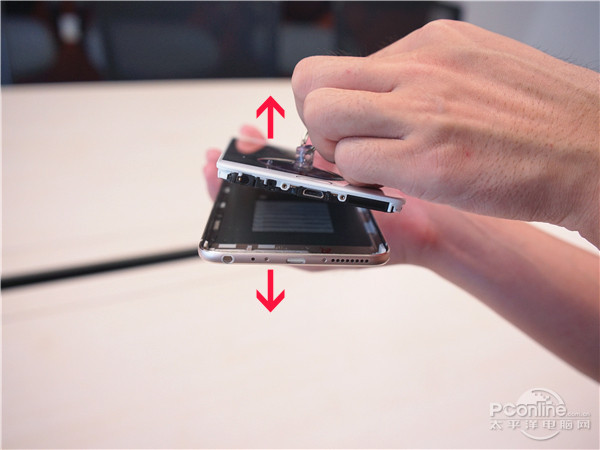
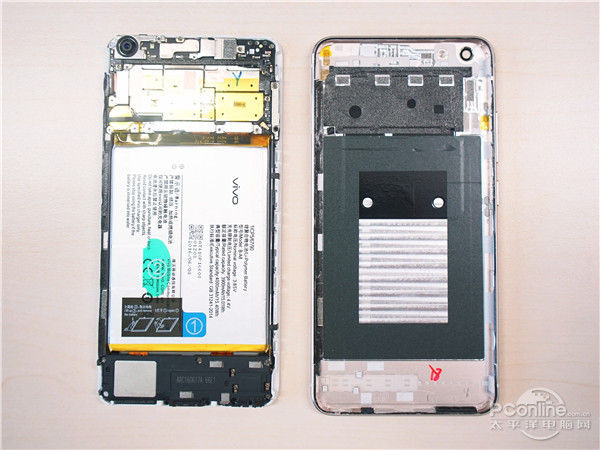
Lift up the display assembly. You can remove the back cover.
Now the back cover was removed, you can get access to the battery, speaker, camera and other components.
Remove three screws that securing the metal bracket.
Under the metal bracket, you can access the battery connector.
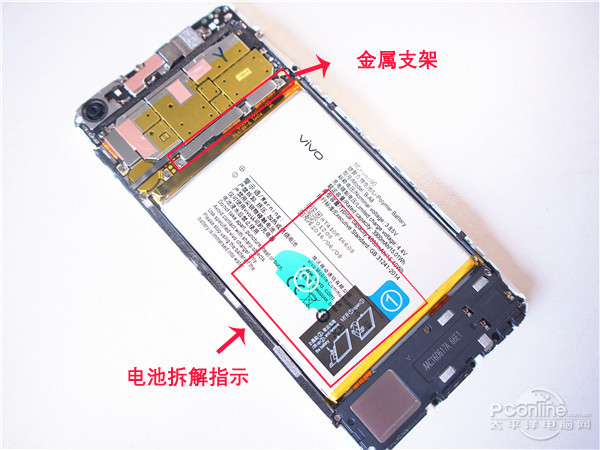
Disconnect the battery connector from the motherboard.

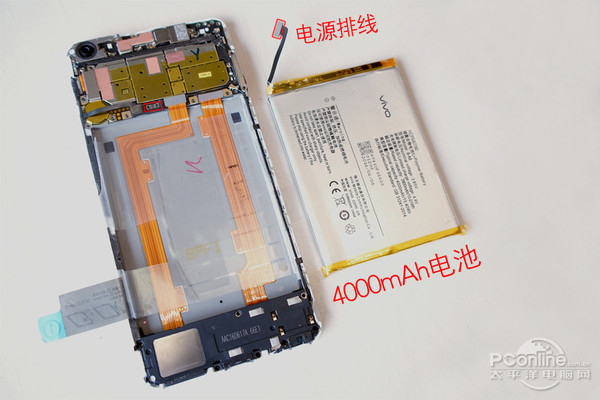
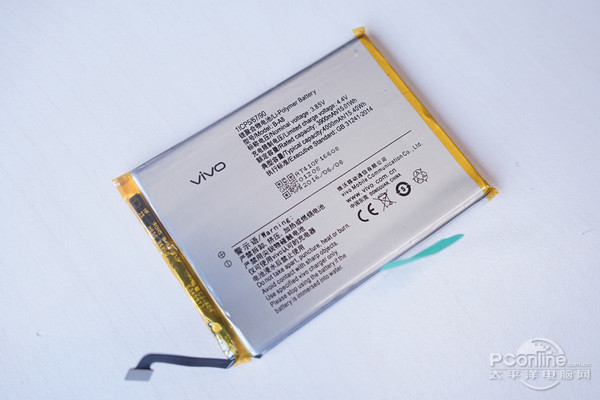
It is equipped with a 4000mAh battery. The battery is fixed to chassis by double-sided tape. Under the battery, you can access the cable of the bottom board.
Disconnect the cables that connect to the bottom board.
Disconnect the vibrator cable from the motherboard.

Remove the metal bracket that securing the vibrator.
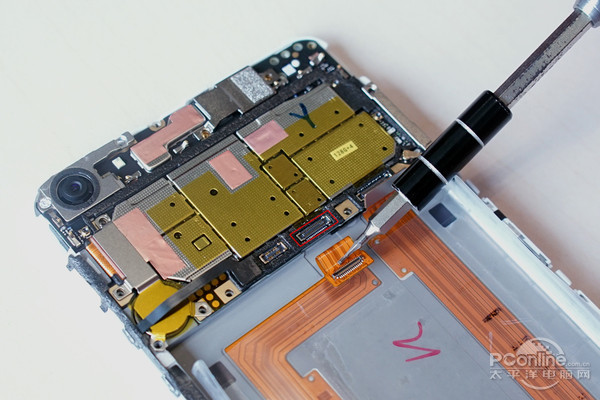
Remove all screws that securing the motherboard.
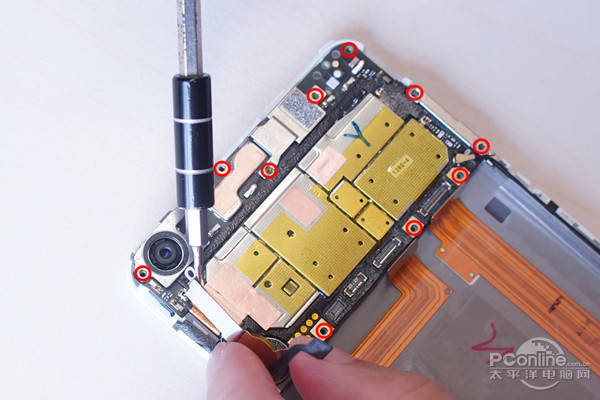
Remove the motherboard and two cameras.
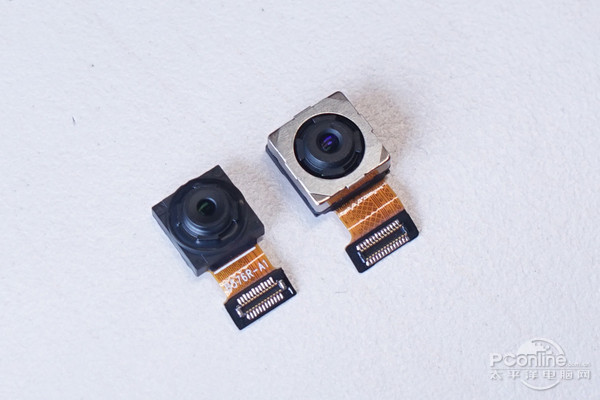
Vivo X7 Plus features a 16MP Sony IMX298 rear camera sensor and a 16MP front camera.
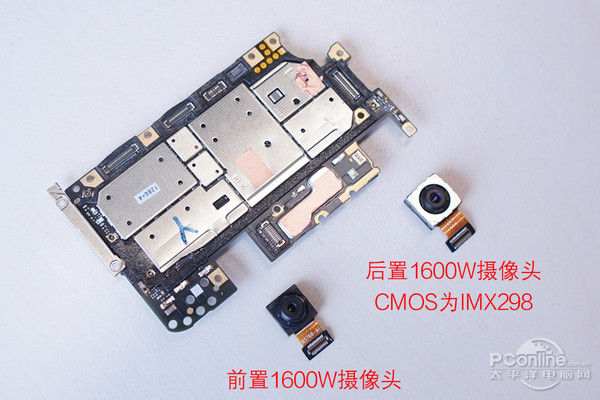
On the other side of the motherboard, you can get access to the card slot, SoC (Snapdragon 652), 4GB RAM + 128GB ROM, light distance sensor, Moonlight flash, and other components. The SoC metal shield is covered with a layer of copper foil.

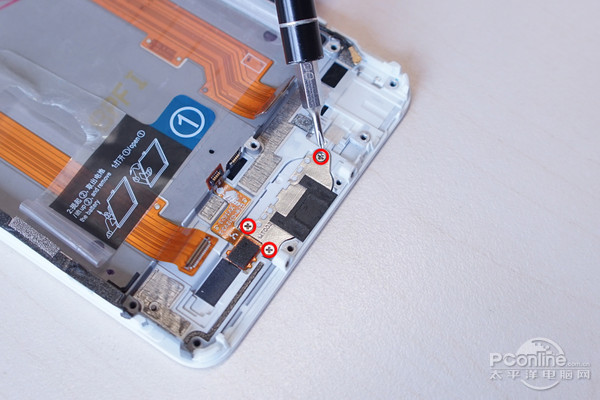
Remove all screws securing the speaker module.
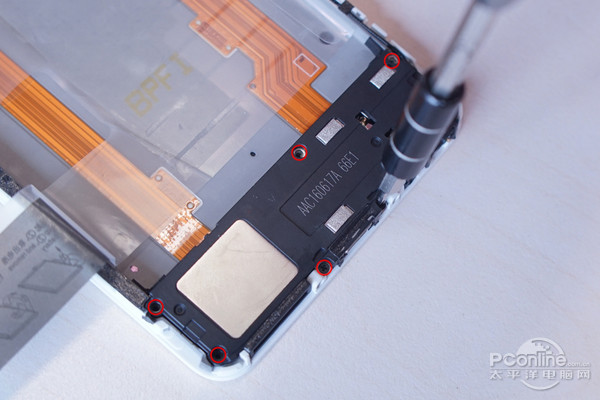
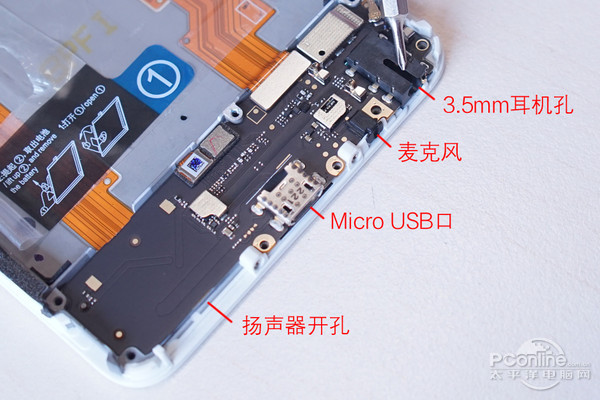
Under the speaker module, you can see the bottom board. There are a Micro USB port, a microphone and a 3.5mm headphone jack on the board.
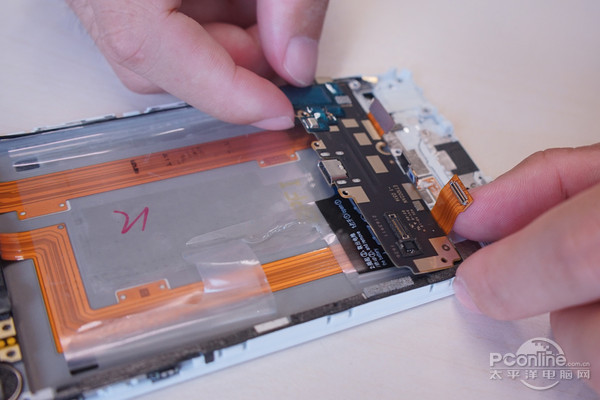
Disconnect two cables and remove the board.
Here’s the speaker module. Vivo X7 Plus uses a waterproof foam to protect the main components.

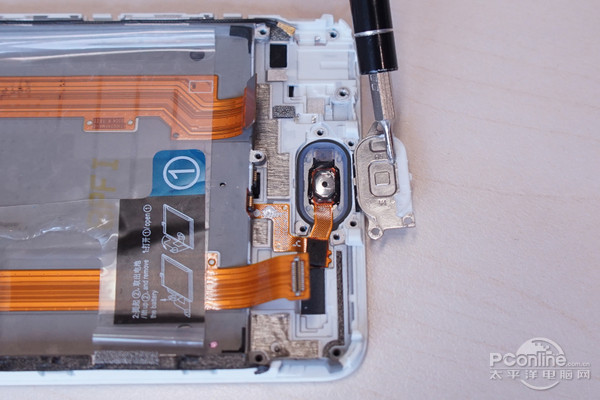
Remove three screws securing the metal bracket that covering the fingerprint identification module.

Source: pconline


