The laptop is prone to become run out of power easily, work less hour or fail to be fully charged if its battery has been used for a long time. What should we do if such case happens? Of course, we need to change the laptop’s battery cell. Today, we will provide a method of laptop battery’s 18650 cell replacement.
Tool: screwdriver, pry bar
Material: 4 18650 cells.
Attention: Disassemble the battery violently may damage its internal cells and the circuit board. The cells short circuit may incur fires. The damage on the circuit board may make the battery fail to work.
How to Replacing 18650 Cells in a Laptop Battery
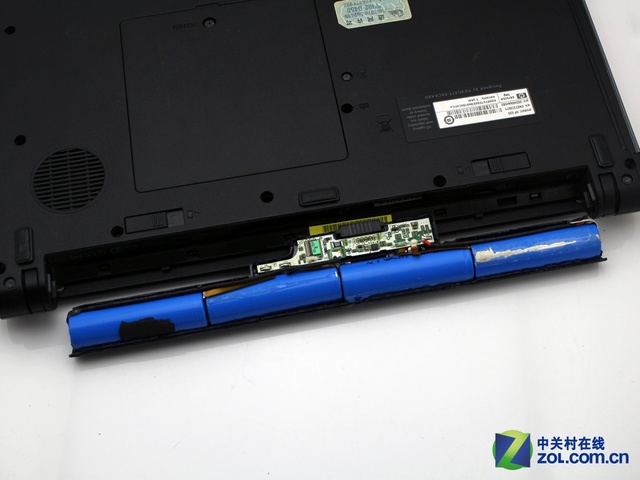
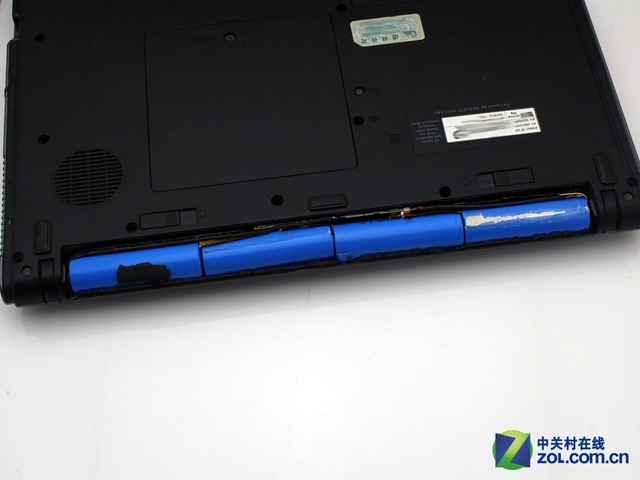
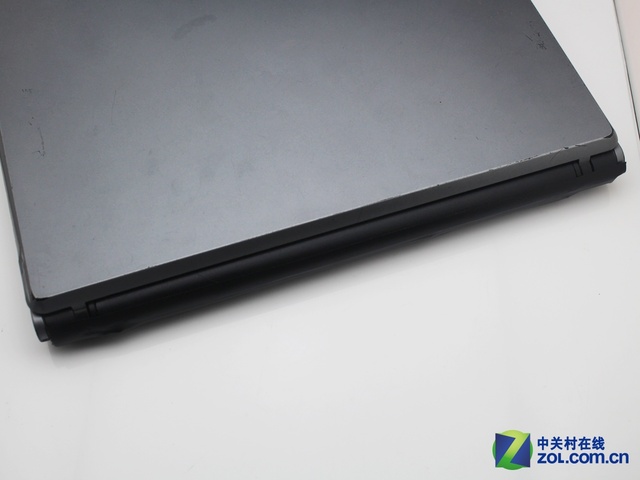
First of all, remove the battery before change the cell. If you have no idea of your laptop battery’s structure, you can search the battery of the same model number with yours to figure out the structure.
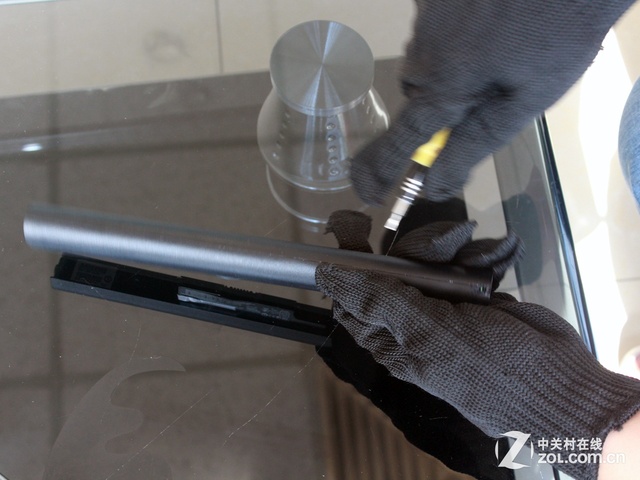
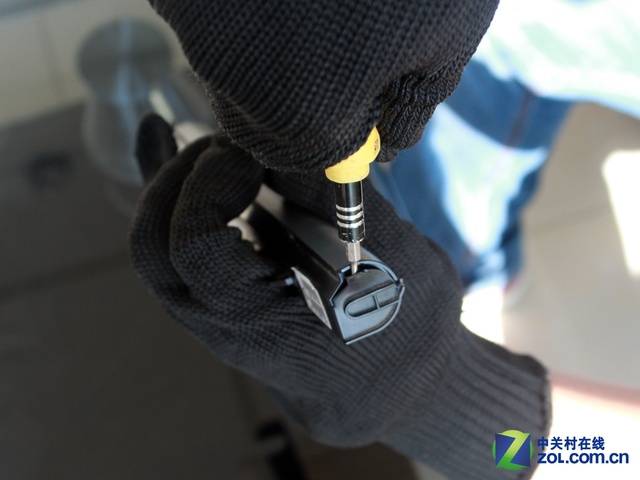
Disassemble the cover violently
The laptop battery that we are going to disassemble hasn’t used the screw. Besides, we don’t know its seal method. Therefore, we have to use the violent method to remove the cover. Use the screwdriver to remove the battery’s cover.
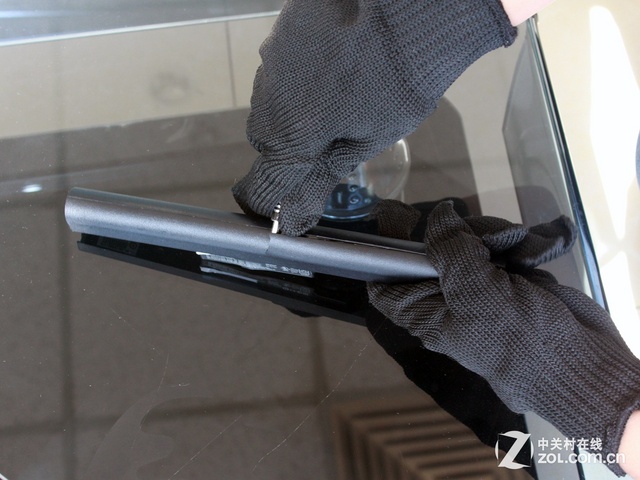
Pry up the cover slowly along the edge.
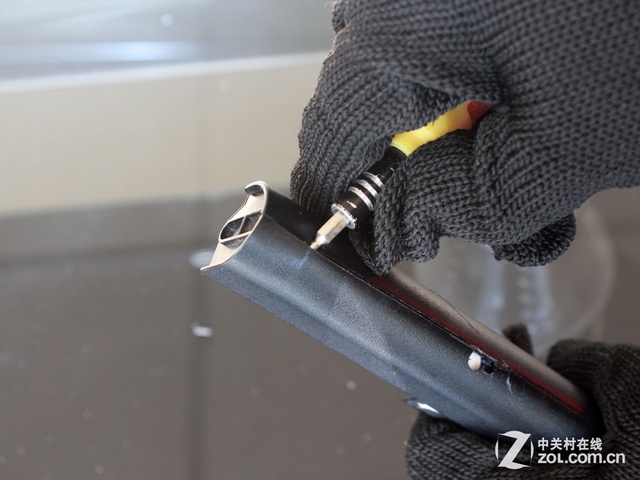
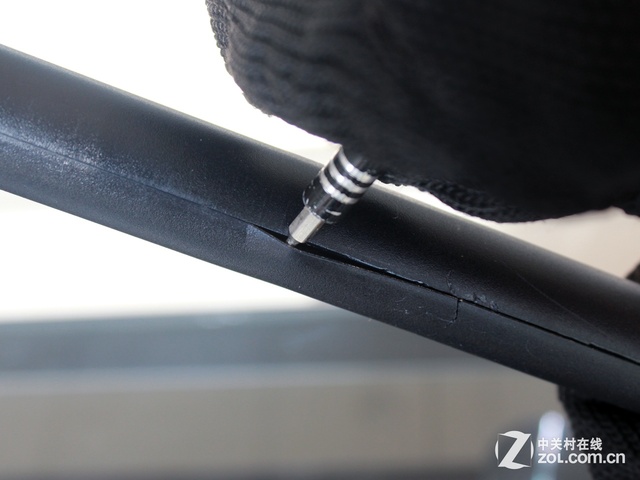
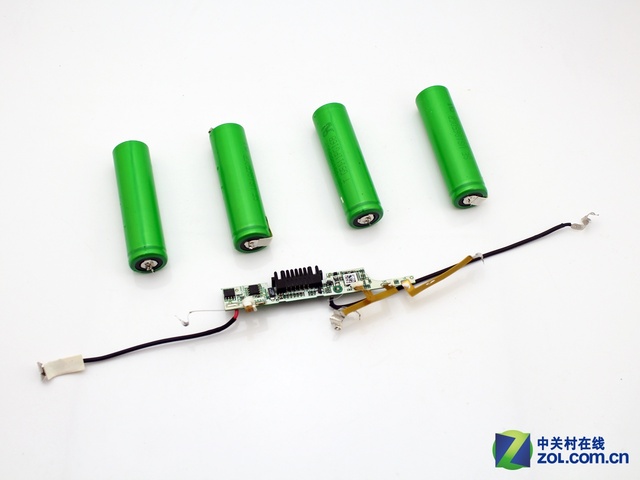
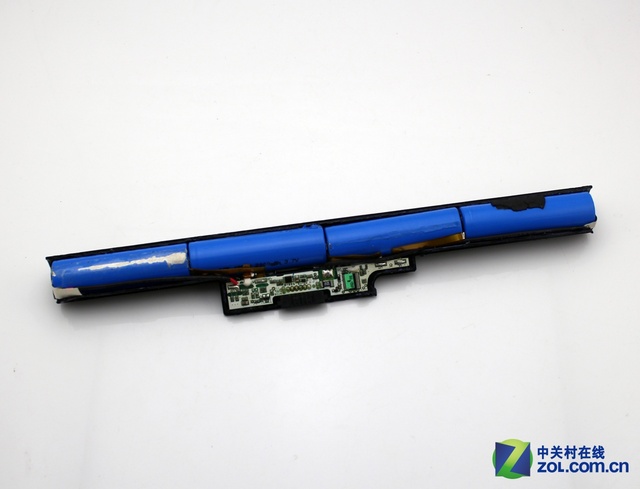
Find the right parts mainly including contact chip and snap joint that connects the battery to the laptop before the disassembly. These parts can’t get damaged during the disassembly process, or they will fail to work well later.
Be aware that the part that the battery gets connected to the laptop is where the circuit board is. Therefore, be more meticulous while disassembling this part because the laptop will be out of work once the circuit board gets damaged. Besides, don’t put sharp tool deep into the battery’s internal structure to avoid short circuit caused by cell scratch.
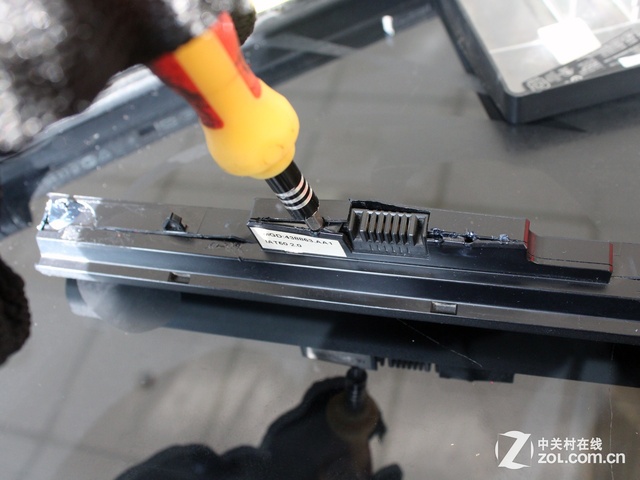
Don’t touch the circuit board during the disassembly process.
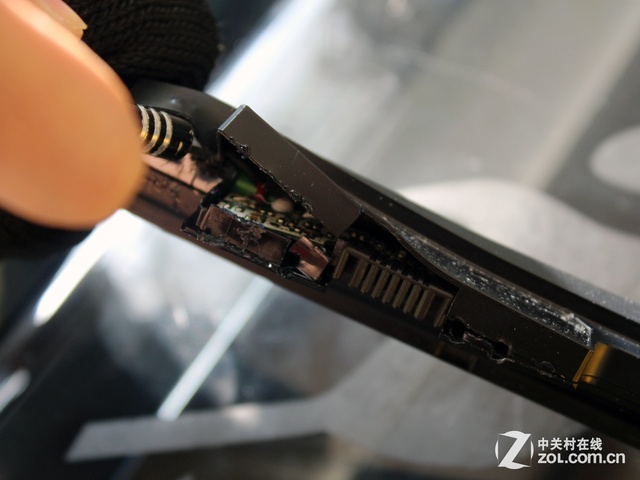
Slowly remove the cover to keep the cover and internal circuit as intact as possible. Pay attention to the battery’s internal structure while removing the cover.
Attention: The cell may incur danger if it is in the high-temperature situation. Therefore, we don’t recommend you using soldering iron to solder the battery. You can utilize the cell’s contact chip to solder. If you buy the cell, you can ask the seller to solder.
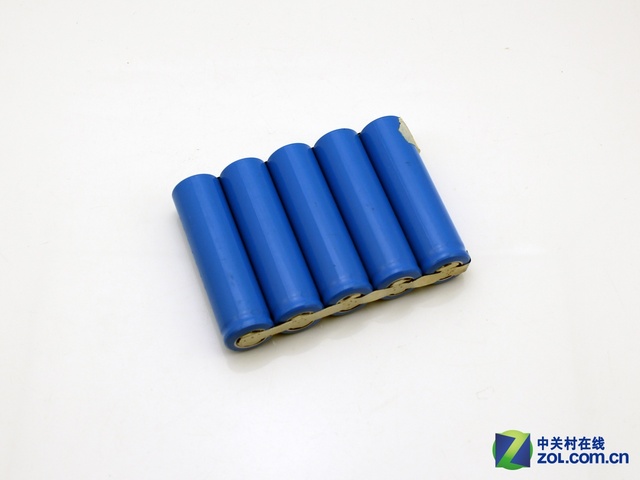
Cell replacement is to replace the old battery with new one, but this process is not easy. We also suggest that you should take the picture or use a pen to record the battery’s series or parallel method before changing the battery since different battery brand has different arrangement method.
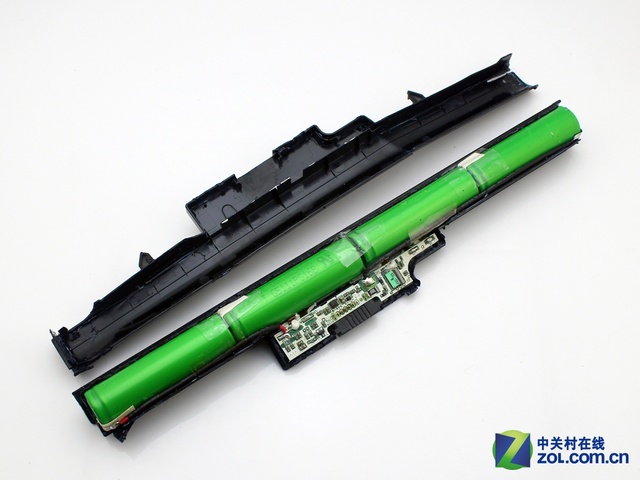
Record the cell’s connection method.
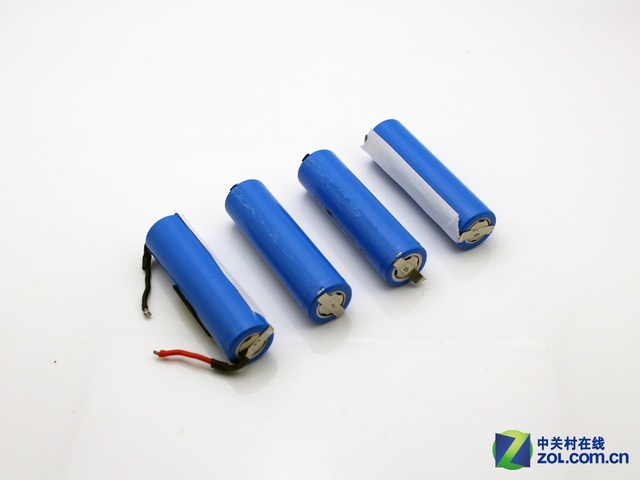
Take out the cell with caution and keep connection chip.
Battery’s contact chip of some laptops is riveted, so the battery’s surface is difficult to be soldered. Separate the contact chip from the old battery. Solder the contact chip with new battery’s contact chip when installing a new battery.
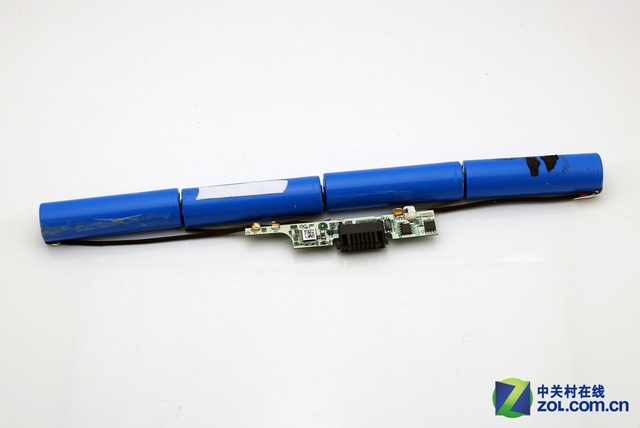
The new cell can utilize connection chip on the cell.
Make sure that each battery is insulation condition when installing a new battery. Follow the cell’s connection mode during the installation.
The 18650 cell that laptop uses is prone to cause the battery out of work or even incur fire and explosion if it is placed in a high-temperature situation for a long time. Therefore, the cell can’t contact soldering iron when soldered for a long time.
Attention: Don’t get the cell-sealed immediately after the installation is finished. You can start up the laptop to see if it works well.
After changing all the cells, check the battery’s temperature in time, circuit board’s temperature in particular. You can check whether the connection condition is well from temperature.
After making sure that each component is in right connection, connect the battery to the laptop to see if the laptop works well before sealing the battery. If everything goes well, then you can continue the following steps.
Next, get the laptop’s battery case well connected. You can also use glue to get the cover well connected if necessary. As for the damaged part on the cover, you can use insulating tape to stick.
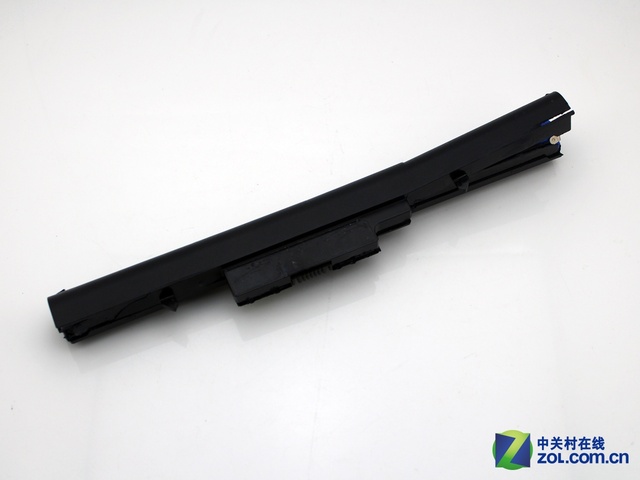
Install the battery cover and get it fixed.
Install the battery with the new cell into the laptop.

After finishing battery installation, you can install the battery to the laptop. Start up the laptop and use battery management software to adjust battery setting. After this step, we have finished the 18650 cell replacement.
Source:zol.com.cn


