With the introduction of Intel’s eight generations Core processor, many manufacturers have come up with their products equipped with the latest Intel 8th CPU. Dell has launched an Inspiron 13 7373 2-in-1 ultrabook, and it is equipped with Intel’s latest 8th i5-8250U processor, today, we will disassemble the laptop to understand how it’s internal work.
For the freshest produce, find us on Facebook for the latest teardown news.
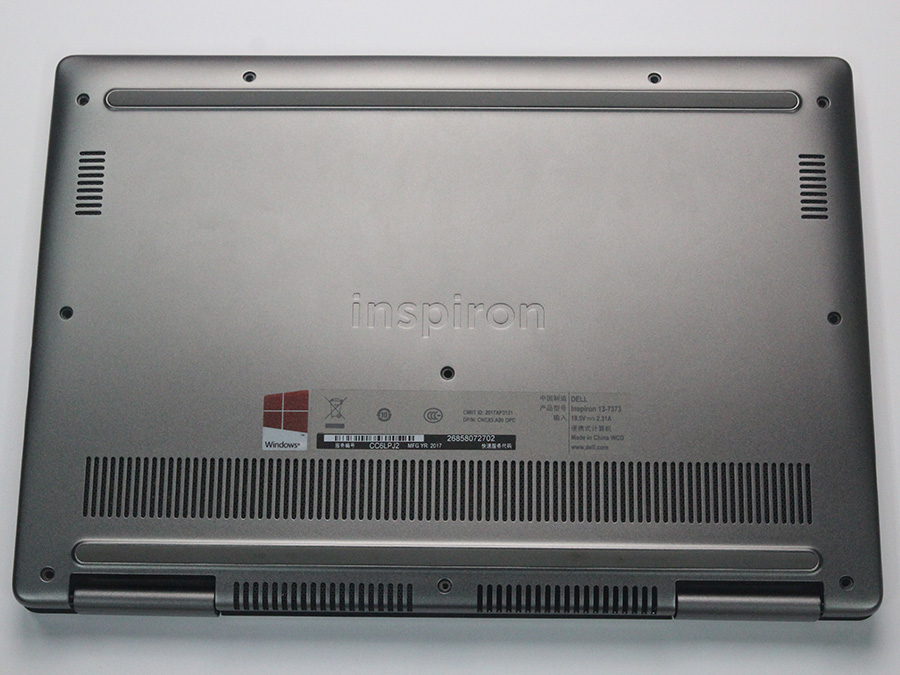
There are ten screws securing the back cover to the laptop, and you can remove the back cover by removing ten screws. The radiator is very close to the edge, so don’t touch the radiator when disassembling.
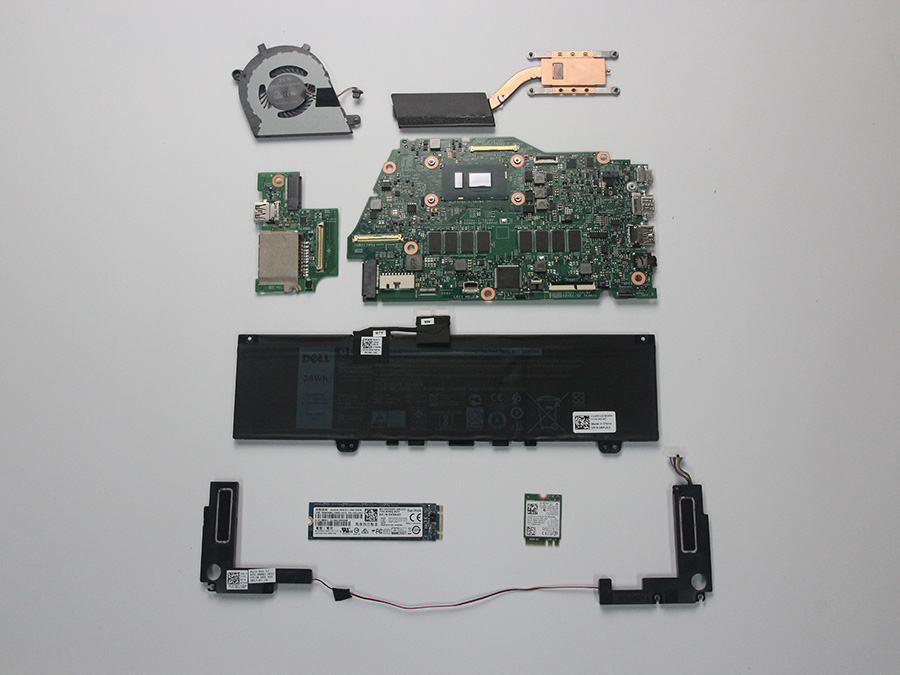
After removing the back cover, the structure of the notebook to show in front of us, the internal workmanship is neater, the layout is also very reasonable. The processor and the heat sink are designed in the middle of the location, the right side of the laptop has some parts, cables more Onboard RAM, the left side of the laptop has the wireless network card and SSD.
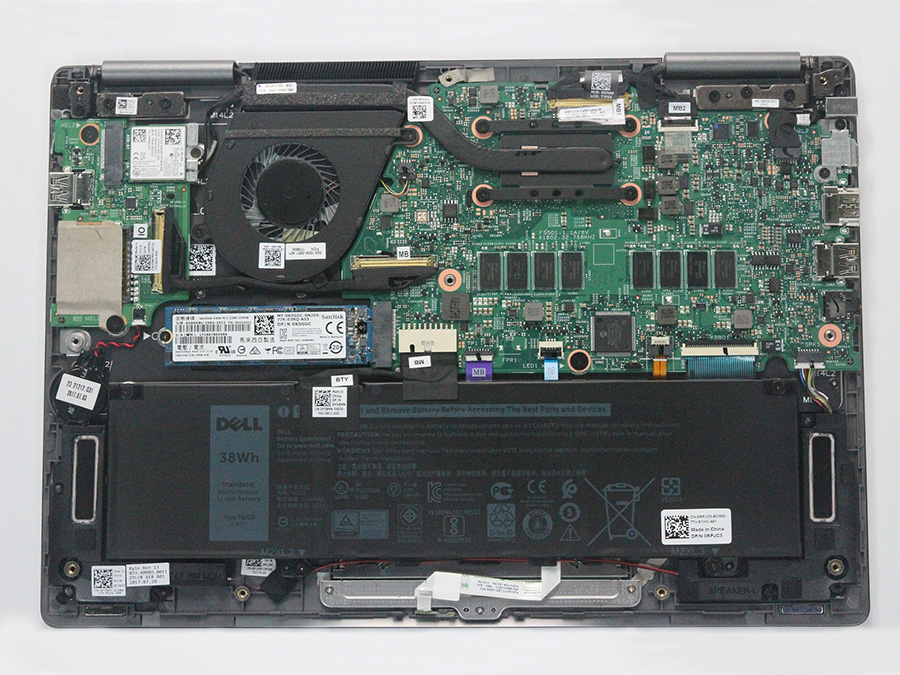
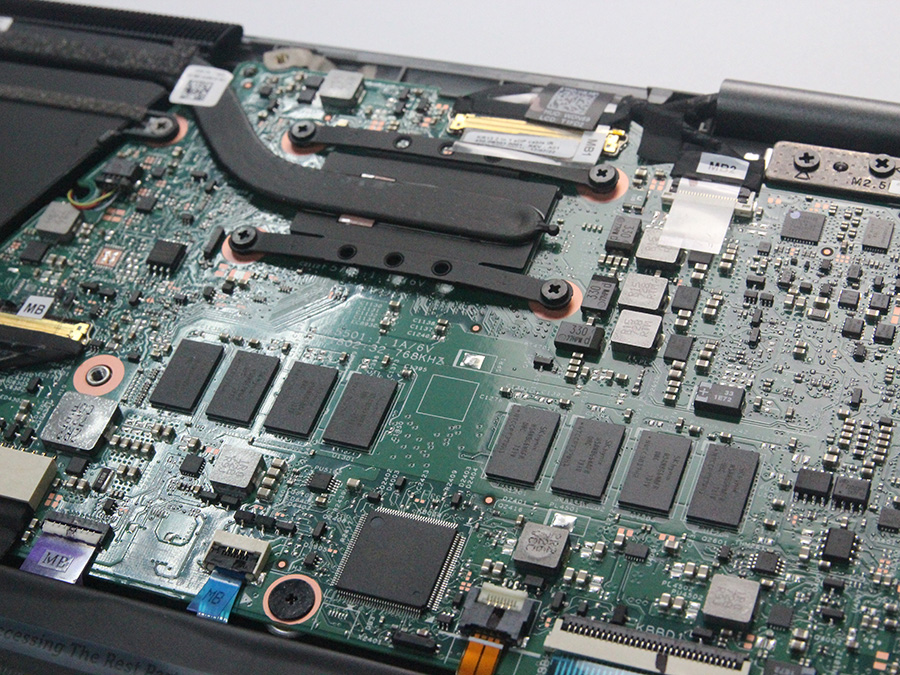
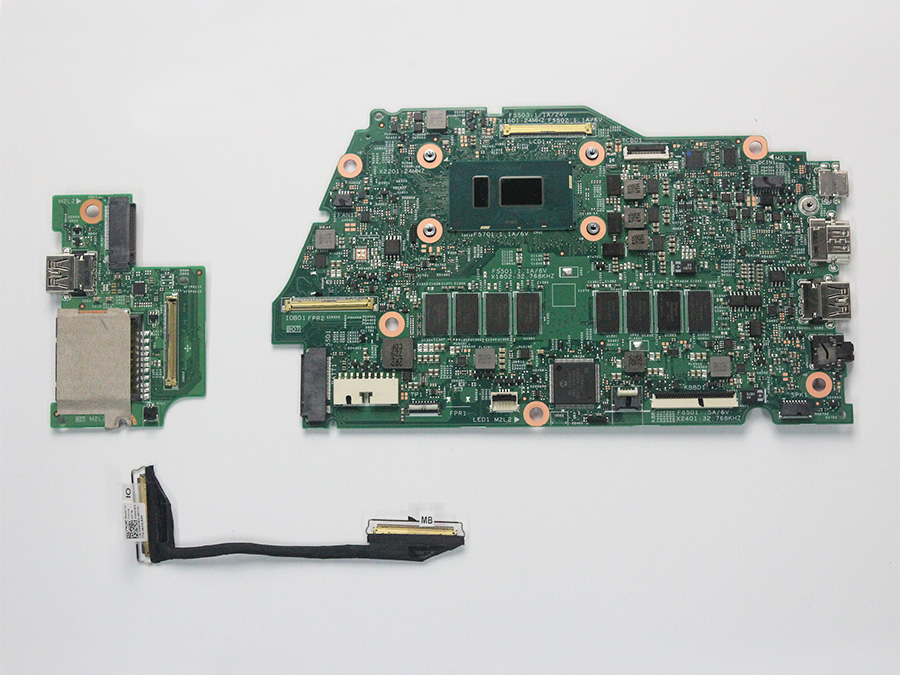
The Dell Inspiron 13 7373 comes with 8GB RAM, and it is soldered directly on the motherboard.
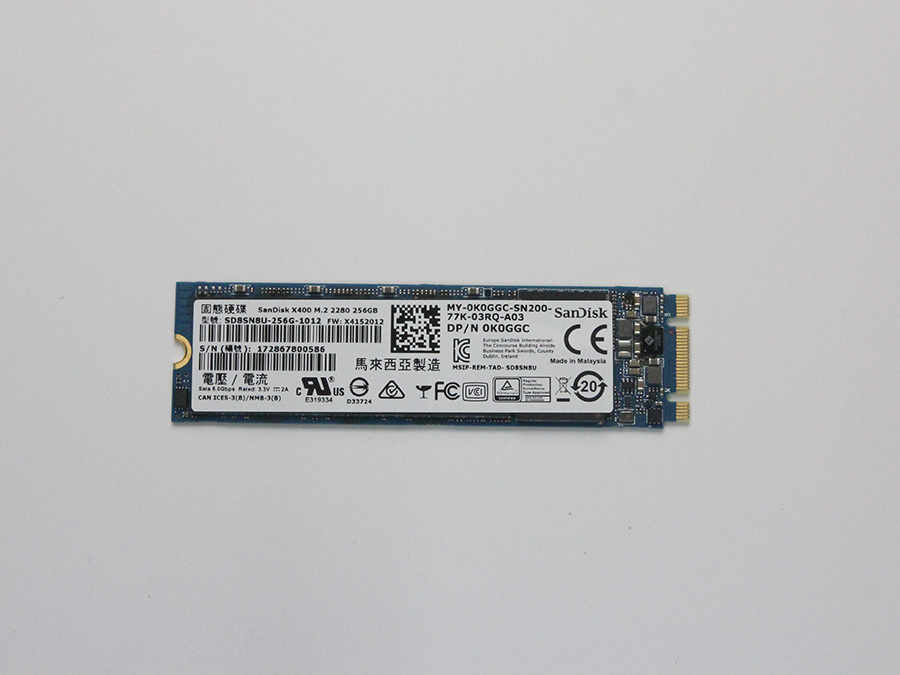
The laptop comes with a SanDisk X400 M.2 SATA3 256GB SSD; I do not know if it supports PCIe NVMe SSD, if you know, please leave a message in the comment area.
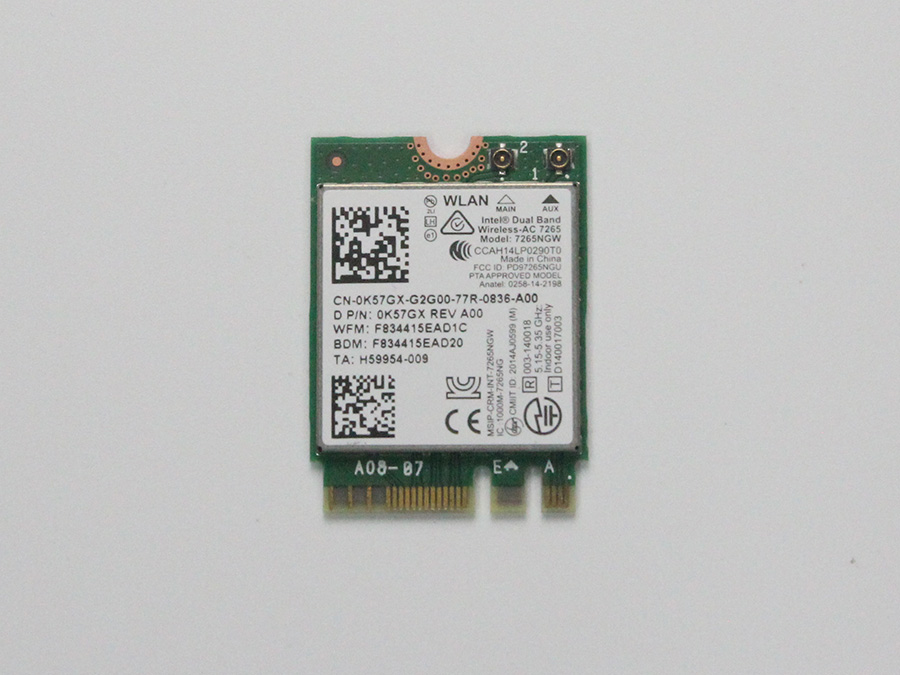
Intel Dual Band Wireless-AC 7265NGW 802.11ac, Dual Band, 2×2 Wi-Fi + Bluetooth 4.0
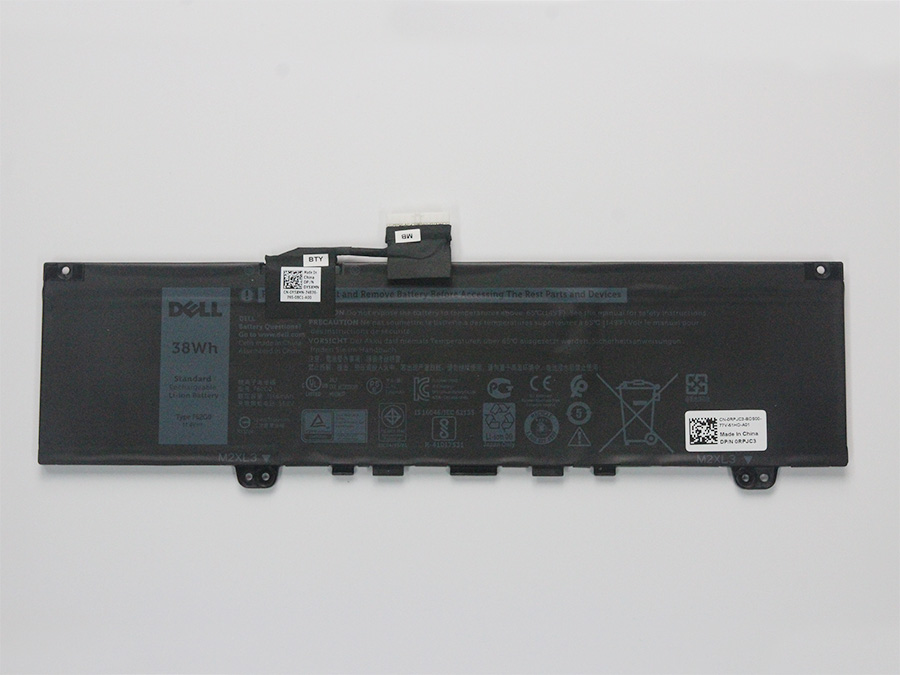
The battery capacity of 3166mAh, 38Wh, for 13.3-inch ultrabook the capacity is enough to ensure the battery life.
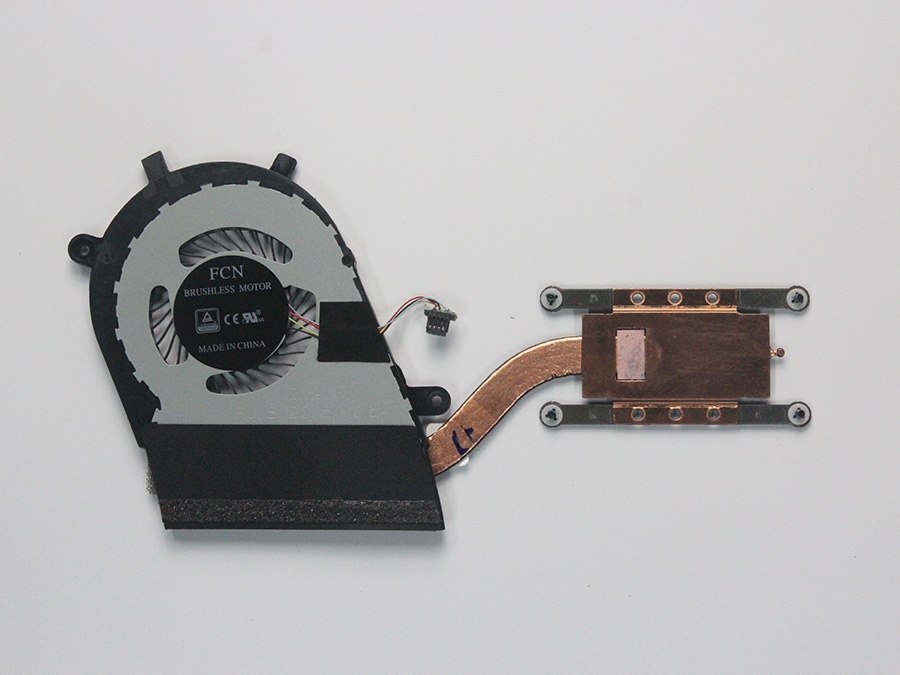
The disassembly of the heat sink/cooling fan module is very simple. It can be removed by unscrewing the screw, the fan and the heat sink can be separated, and the cleaning the fan is also very convenient. The thickness of the cooling fan is very thin, which is one of the reasons why the 2-in-1 Ultrabook is very lightweight.
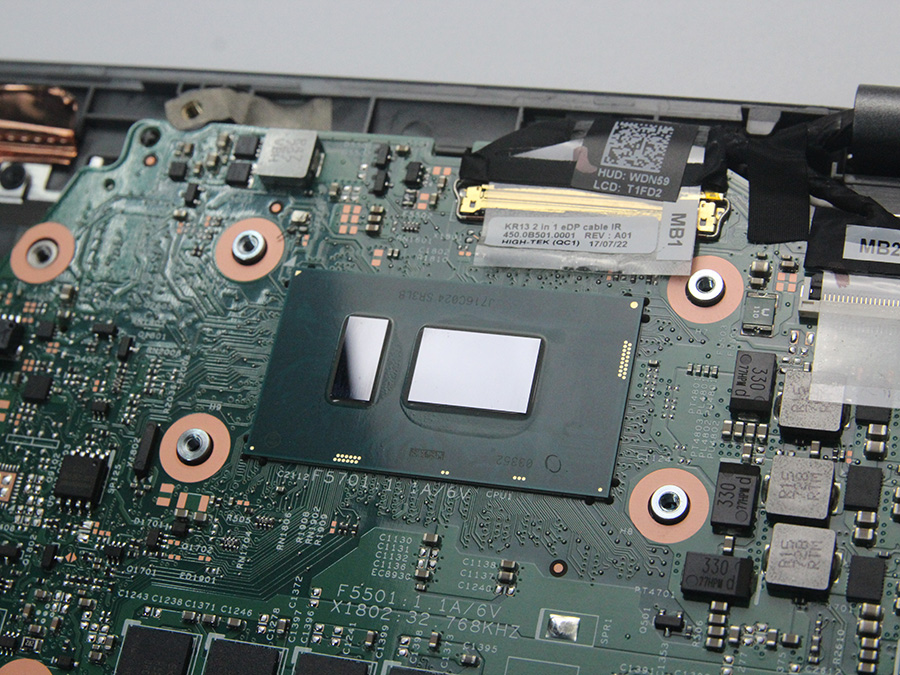
Remove the cooling fan module. We see its eighth generation core processor, the performance of the previous generation has greatly improved.
Next, we will remove the motherboard, the left side of the motherboard integrated USB port, SD card slot and wireless network adapter board, the cable connector base on the motherboard has a flip buckle design, disconnect the cable is very easy.
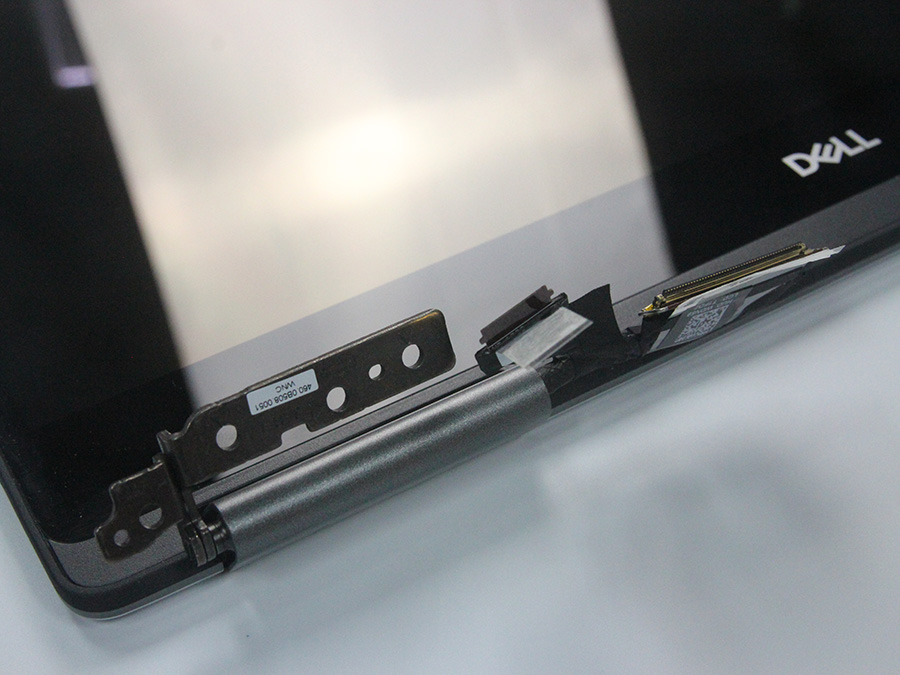
Remove the LCD hinges is also very simple, the 2-in-1 ultrabook’s biggest feature is that you can rotate 360 degrees, thanks to the perfect design of the LCD hinges.
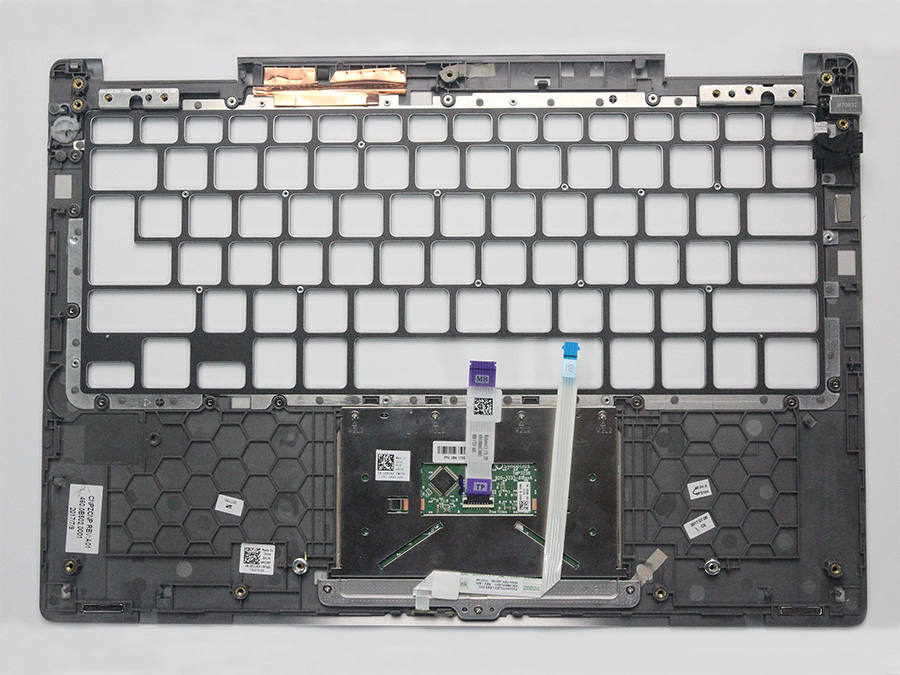
After removing the screen module and the motherboard, we remove the keyboard, and we need some patience because the number of screws is very large, and the specifications are different.
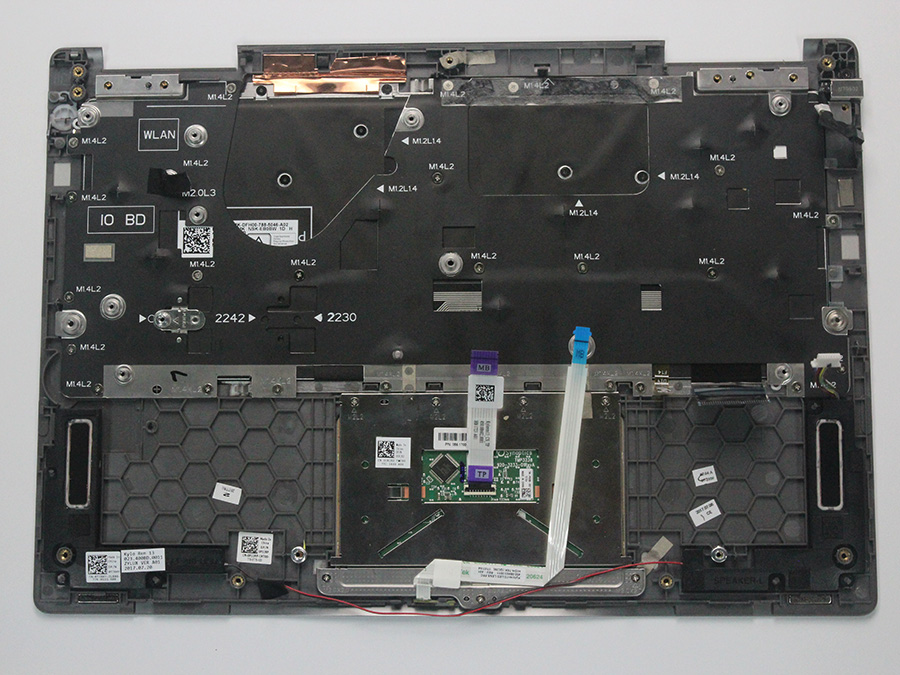
After removing the keyboard, you can see a lot of screw holes on the palm rest.
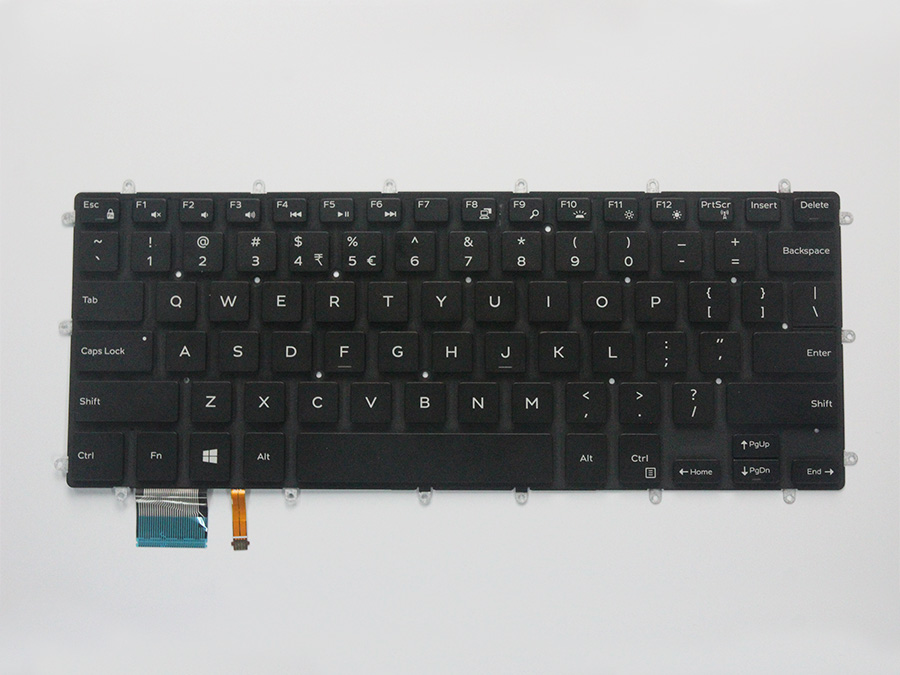
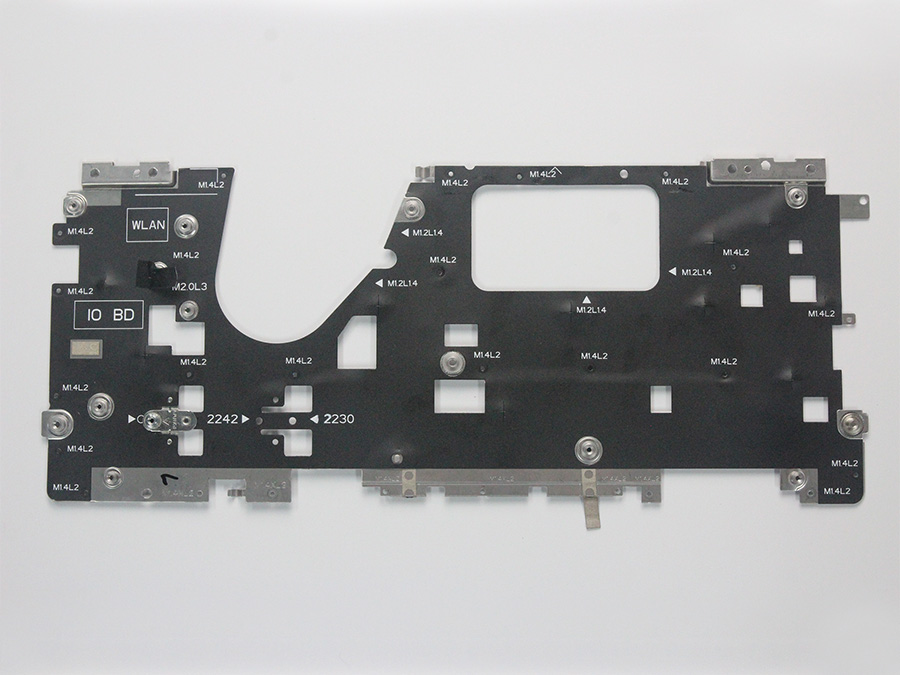
In the middle of the keyboard and motherboard, there is a layer of aluminum plate, played a role in strengthening the whole palm rest, the above also identifies the position of the screw specifications, it’s a great help when installing keyboards.
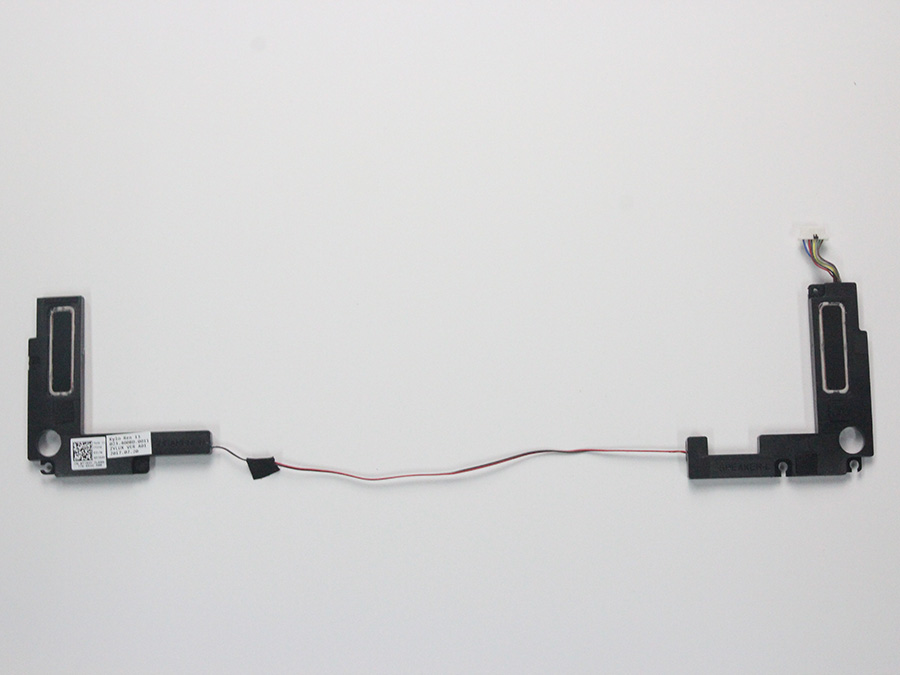
Speaker module
From the dismantling point of view, Dell Inspiron 13 7373 2-in-1 ultrabook’s internal workmanship has a high standard, ultra-thin fan and reinforcement design, so that the whole is both light and stable. The disassembly process is not very easy, if you want to disassemble it, please pay attention to the screw position and cable connection.
")


Thank you such an informative post! Will be receiving my Inspiron 7373 shortly.
Looking at the pictures, I seem to see 2 soldered on RAMs. I would assume that the 8GB comes as 2 x 4GB, therefore being a Dual Channel RAM?
You can check your laptop specification sheet, if it is dual channel, your configuration sheet should be marked.
Thanks Michael. In your system above, am I right that they are 2 separate memory modules? Therefore dual channel in yours?
I also think so, but I’m not sure.
Can you check on CPUZ on the ram tab if it’s dual channel or single please.
Also it supports NVMe as Dell 512GB is a NVME not Sata
No guarantee of PCI-E NVME drive at 512GB I’m afraid.
I ordered a 7373 for Christmas in 16GB/512GB configuration.
It came with an SK Hynix SC311…an M.2 SATA drive.
Line item from Dell order shows as :
1 400-ASRN 512GB Solid State Drive
Oh well, gives me an upgrade path for daughter.
http://accessories.ap.dell.com/sna/productdetail.aspx?c=hk&l=en&s=bsd&cs=hkbsd1&sku=400-AOKJ&mfgpid=6153523
On Dell site as upgrade and its a PCI-E SSD
In BIOS , NVME is listed as a bus type. The original shipped drive from DELL runs on the SATA bus.
It separately and clearly in shows this information in the BIOS.