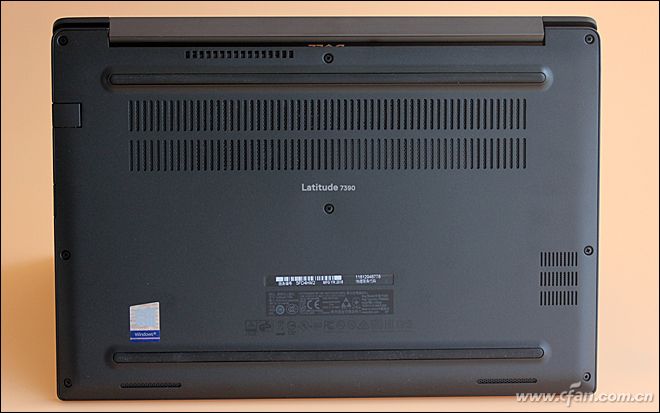
At the CES show earlier this year, Dell updated its range of Latitude Business PCs with the latest Intel Core I vPro processor. And the experience we’ve brought to you today, Latitude 7390, is a lightweight 13.3-inch enterprise-class notebook. The Dell Latitude 7390 we disassemble features an Intel i7-8650U, 16GB RAM and 1TB M.2 SSD.
1. Removing the bottom plate
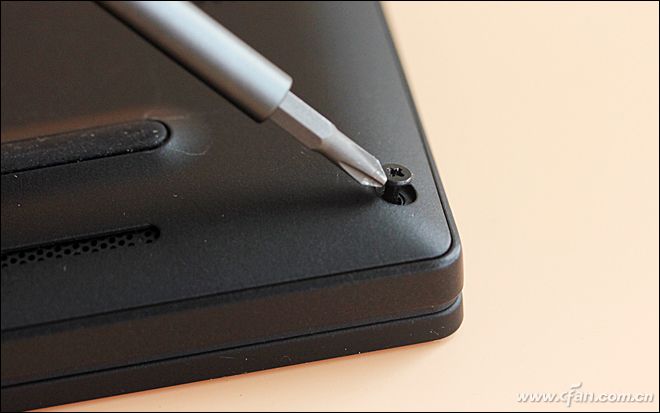
Dell Latitude 7390 disassemble without any difficulty, remove all the screws on the bottom cover side will be able to remove the cover. It is worth mentioning that the screw of the laptop cannot be completely removed from the bottom cover, so it is not afraid of the loss.
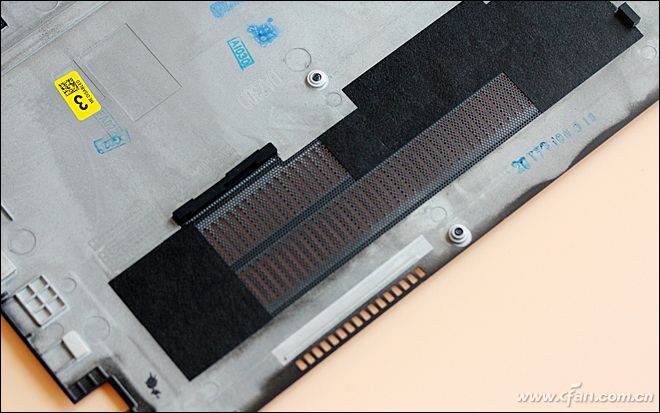
The vent hole on the Latitude 7390 bottom cover with dust-proof net and sponge pad, the protection of the laptop is very considerate.
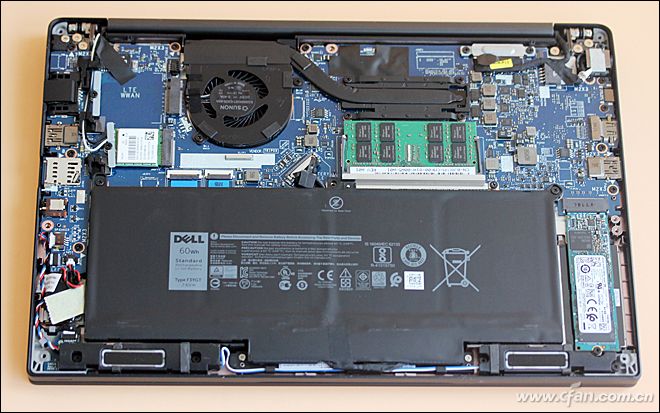
With the bottom cover removed, you can get access to the battery, RAM, SSD, Wi-Fi card, heat sink, cooling fan, and motherboard.
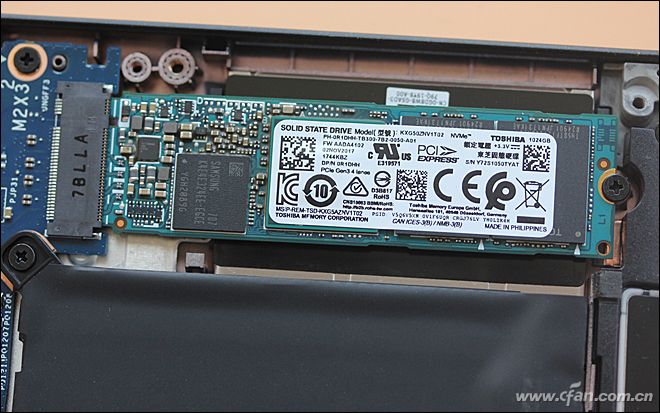
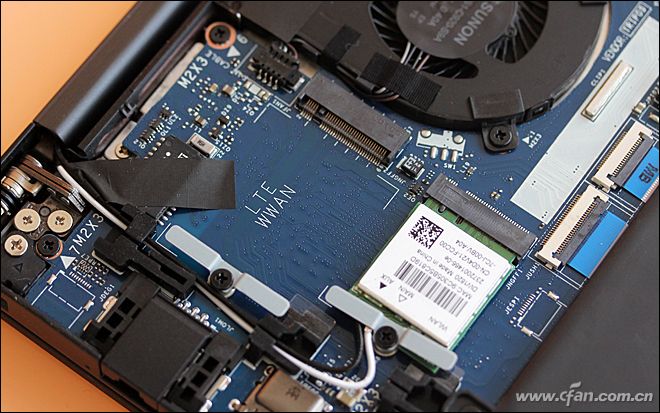
2. M.2 SSD upgrade option
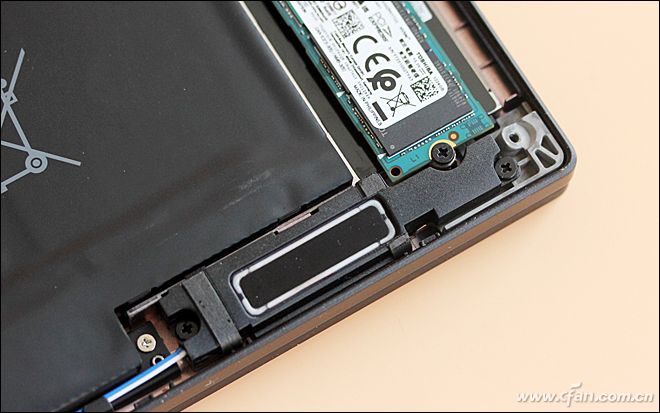
The laptop only has one M.2 SSD slot and support PCIe NVMe protocol, and our unit arrived with a Toshiba M.2 PCIe NVMe SSD with 1TB capacity.
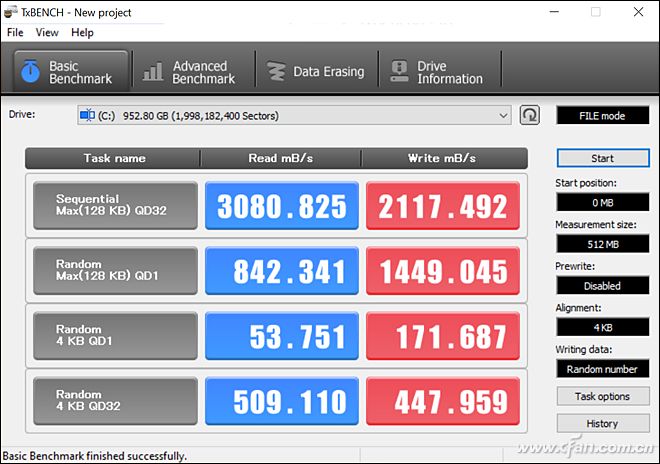
We tested it with software, and the speed of reading and writing was up to 3080MB/s and 2117MB/s, respectively.
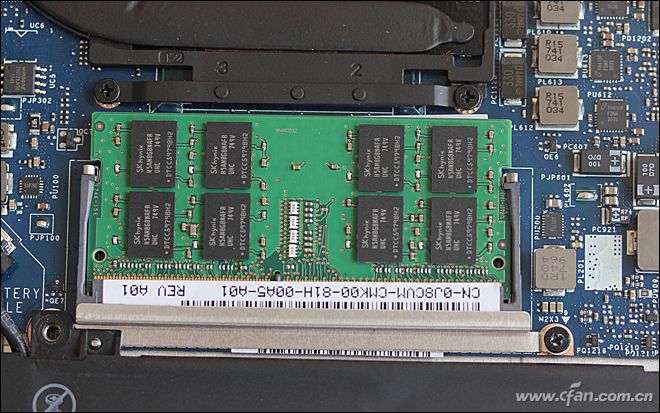
3. RAM upgrade option
The motherboard only has one RAM chip slot and comes with a 16GB RAM chip.
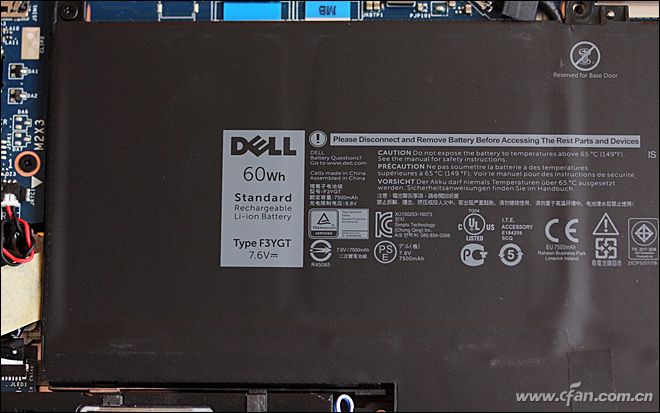
4. Battery, Wi-Fi, and Cooling system
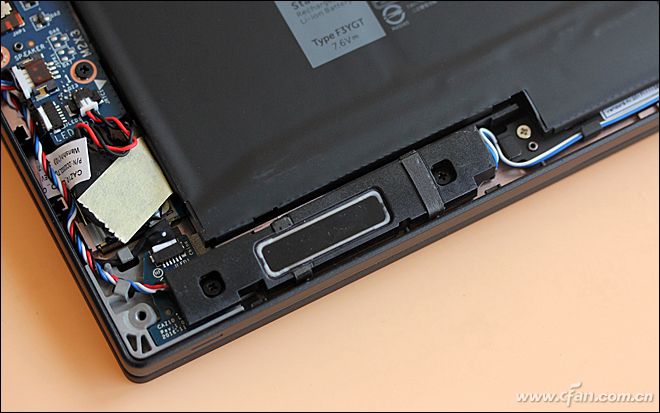
It comes with a 7.6V, 60Wh Li-ion battery with a part number of F3YGT.
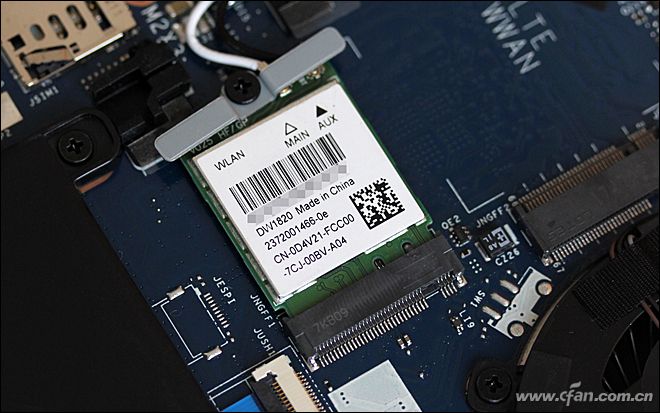
Here’s Intel Dual-Band Wireless-AC 8265 Wi-Fi + BT 4.2 wireless Card (2×2) with Dell a part number of DW1820 and 0D4V21.
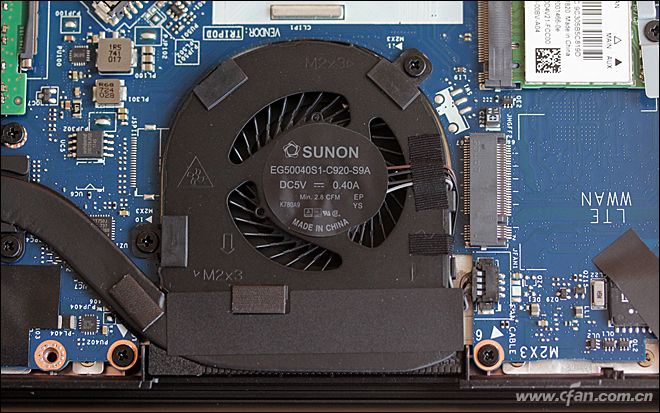
The cooling fan and heatsink design are very simple. It just has one heat pipe connecting the cooling fan and the heat sink.
Here’s spare WWAN M.2 slot.
Source: cfan.com.cn
")


