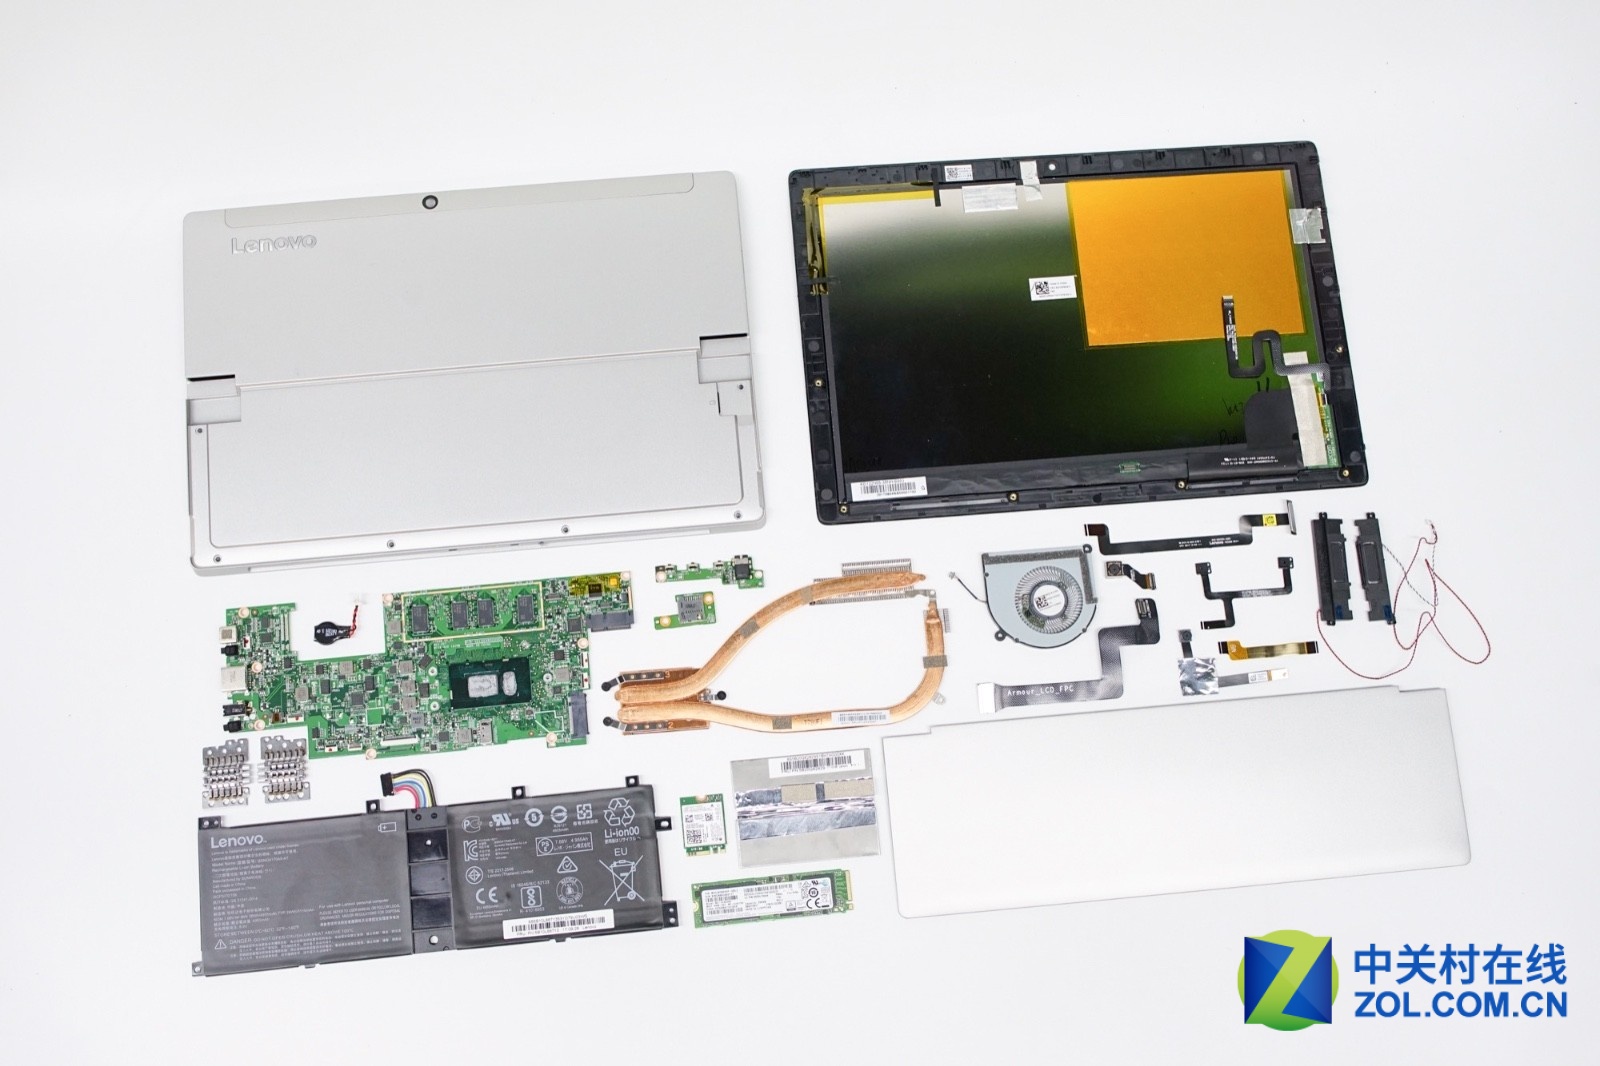
In this guide, I will disassemble a Lenovo Lenovo Miix 520 tablet. I will remove the display assembly to access the internal battery, RAM, SSD, Wi-Fi card, speaker, cooling fan, heat sink, and motherboard.
The Lenovo Miix 520 2-in-1 laptop is designed to meet the needs of the mobile workforce. They hope that while ensuring the product light and portability, but also able to have high performance to meet the needs of the high-load office. The Miix 520 equipped with the latest eighth-generation Intel Core processors. It comes with up to 16GB DDR4 memory, maximum support 1TB SSD, these powerful configuration options have surpassed many of today’s thin and light notebooks. The Lenovo Miix 520 review, please click here.

Open the bracket you can see the screws, and this disassembly will start from here.
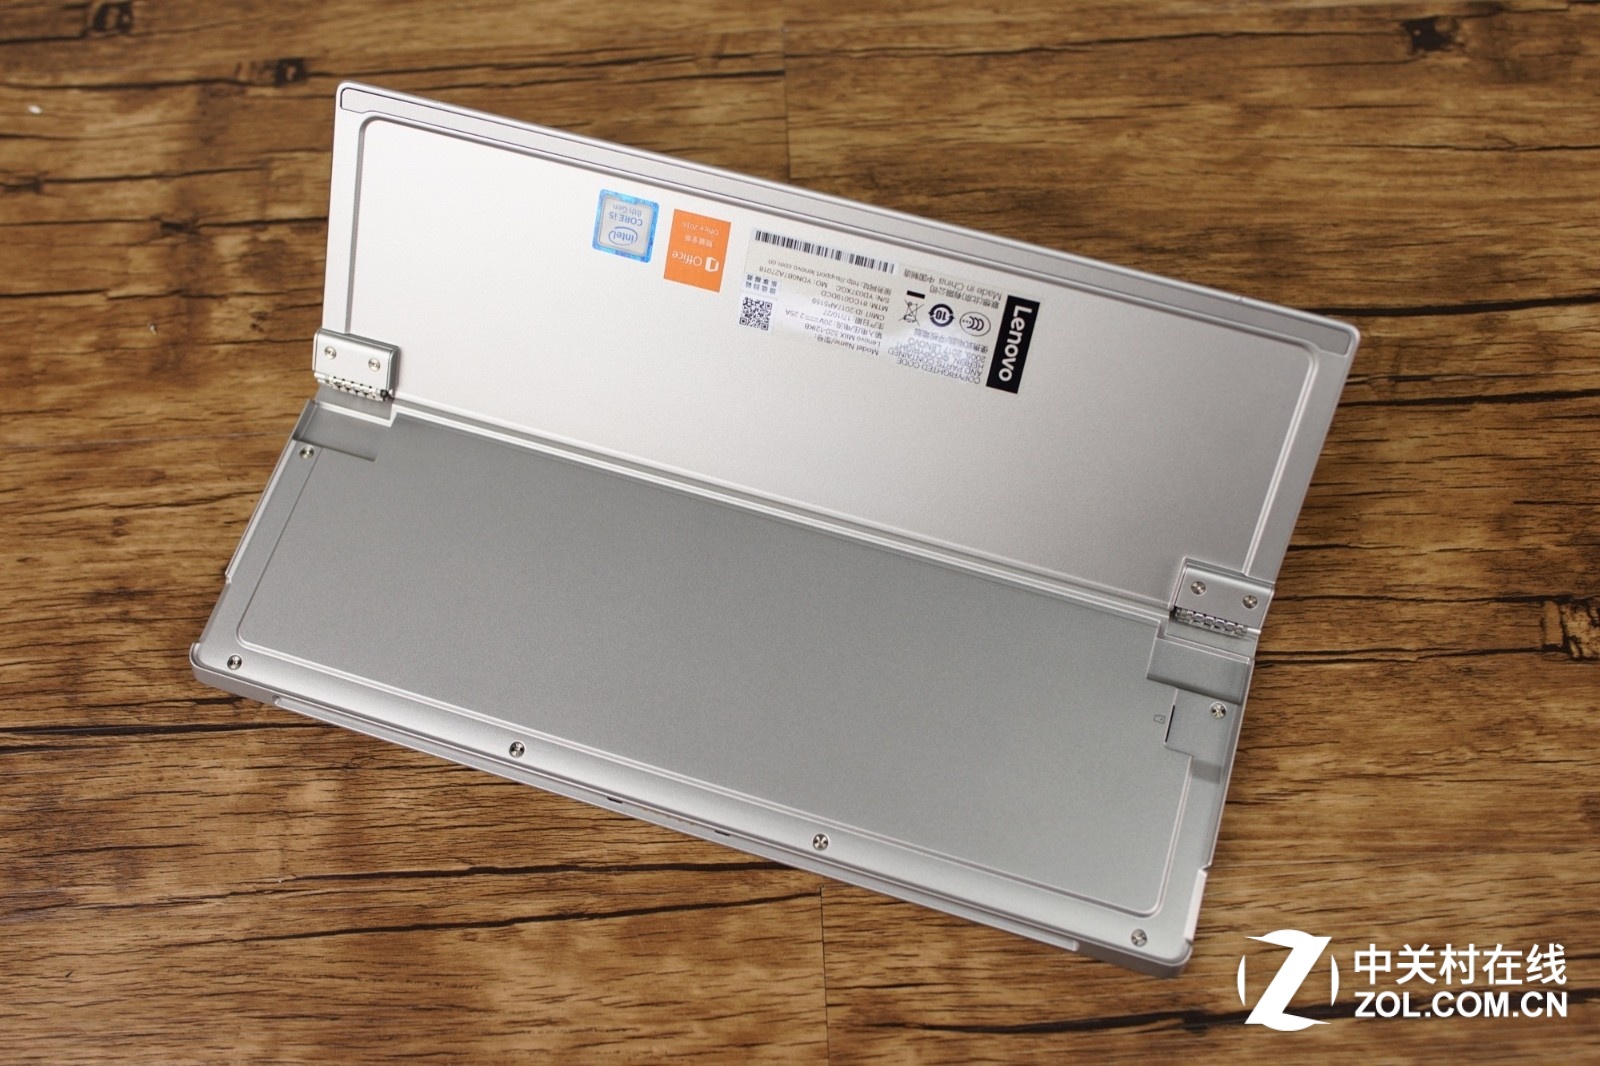
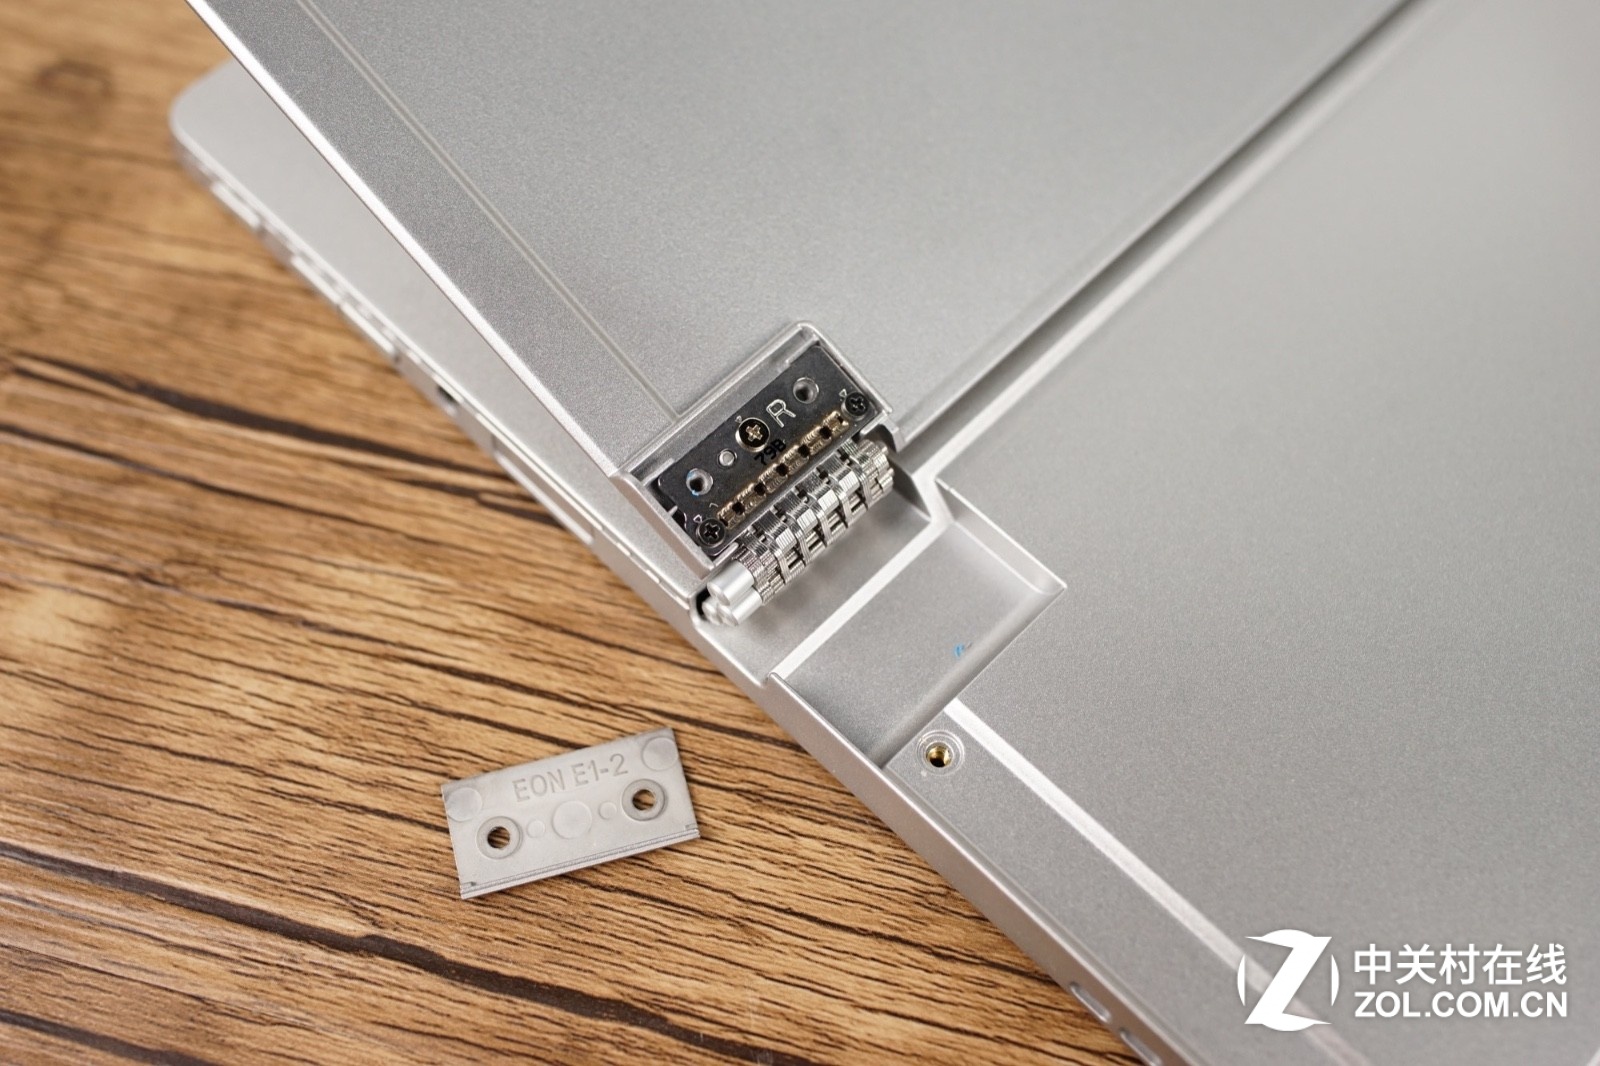
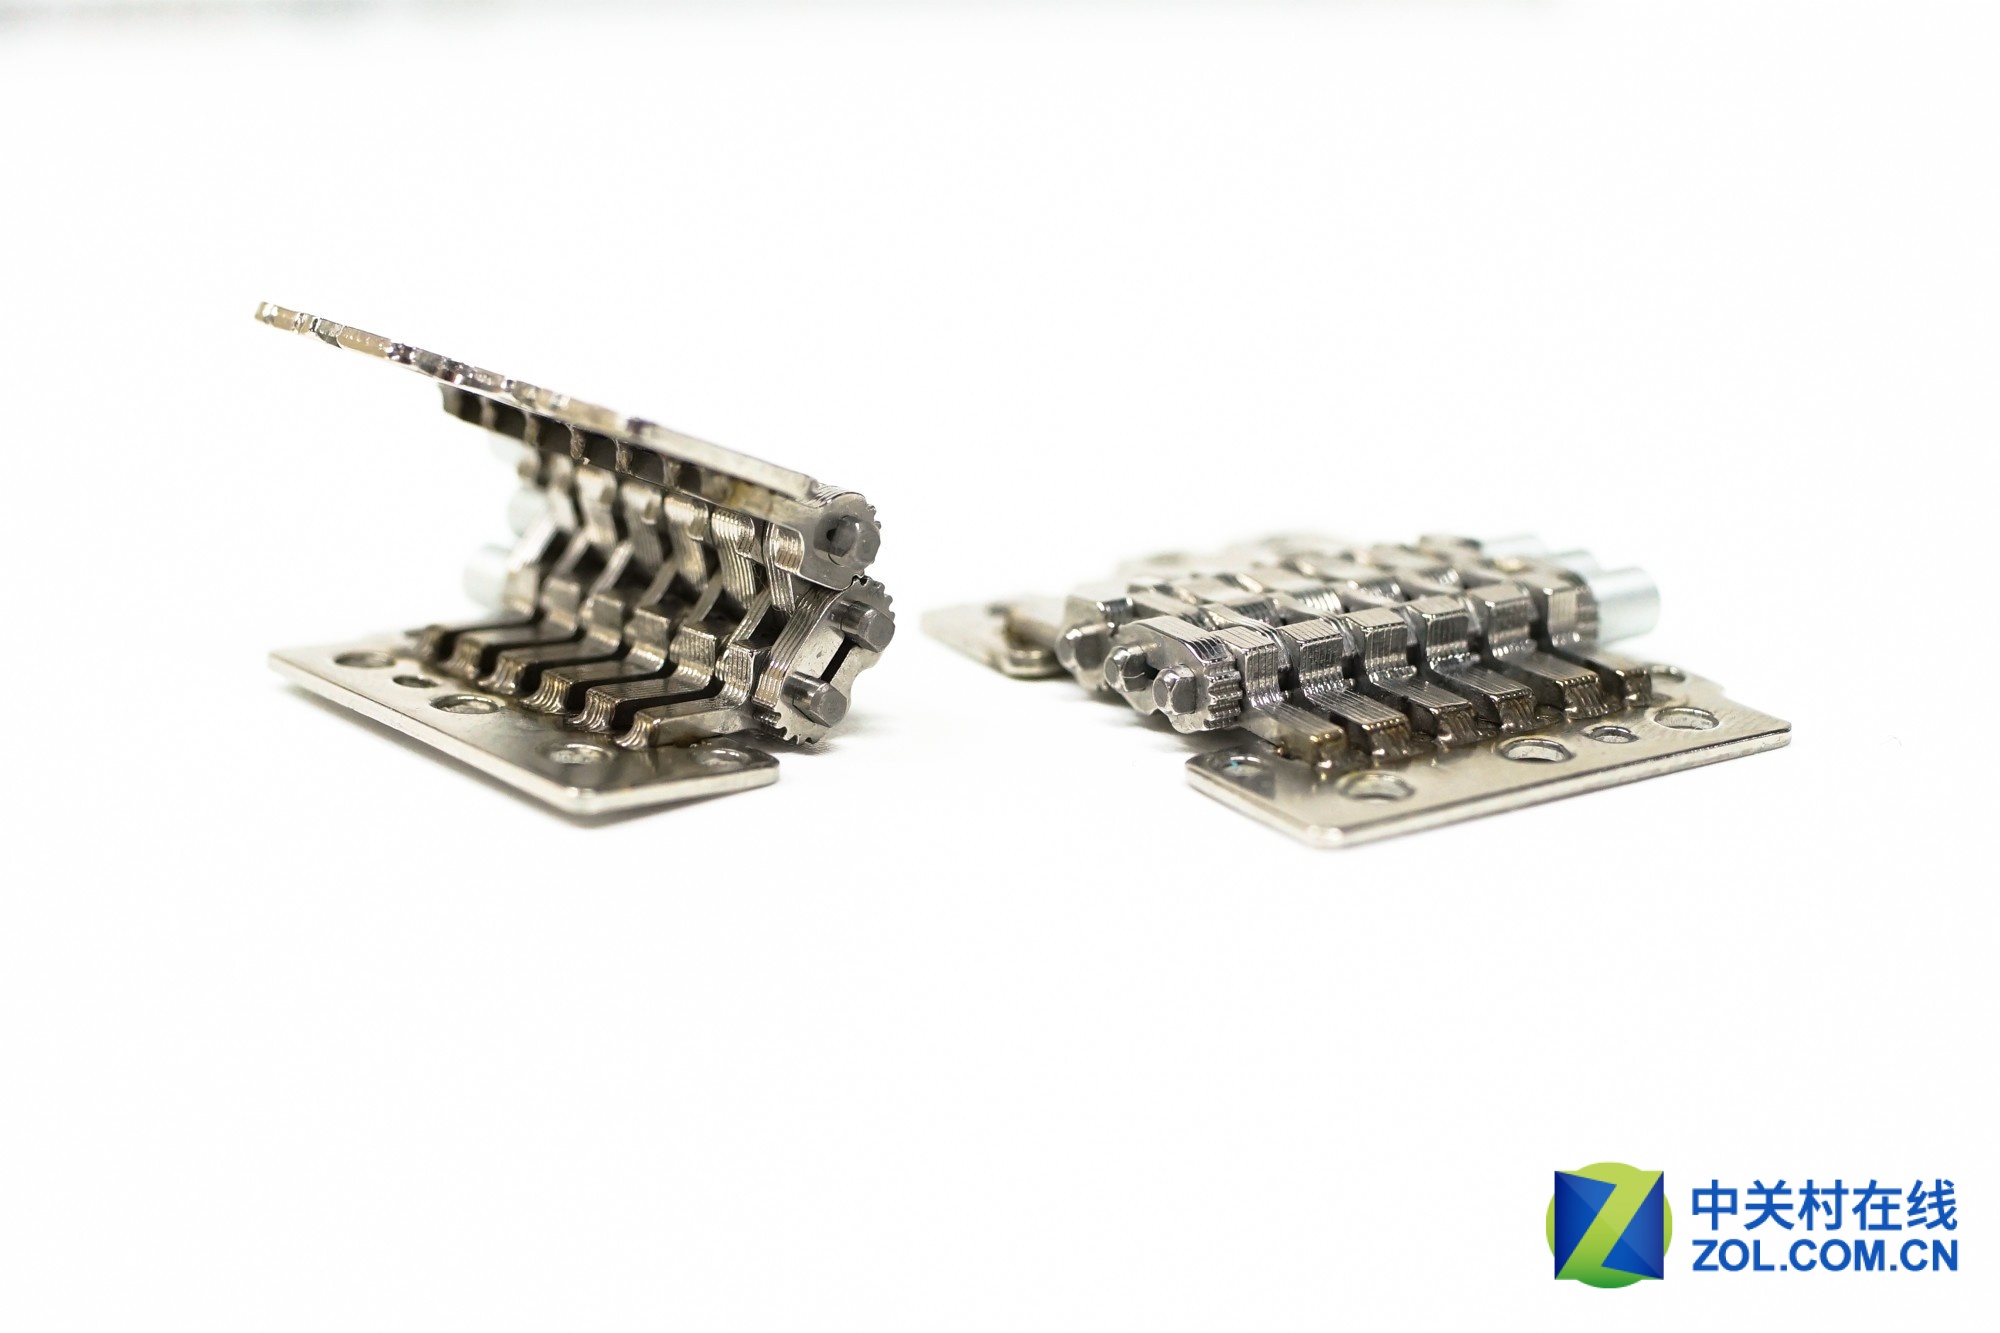
Unscrew the screw on the LCD hinges, remove the cover, you can see there are three screws inside, a total of five screws to ensure that the LCD hinges and the metal bracket fixed firmly.
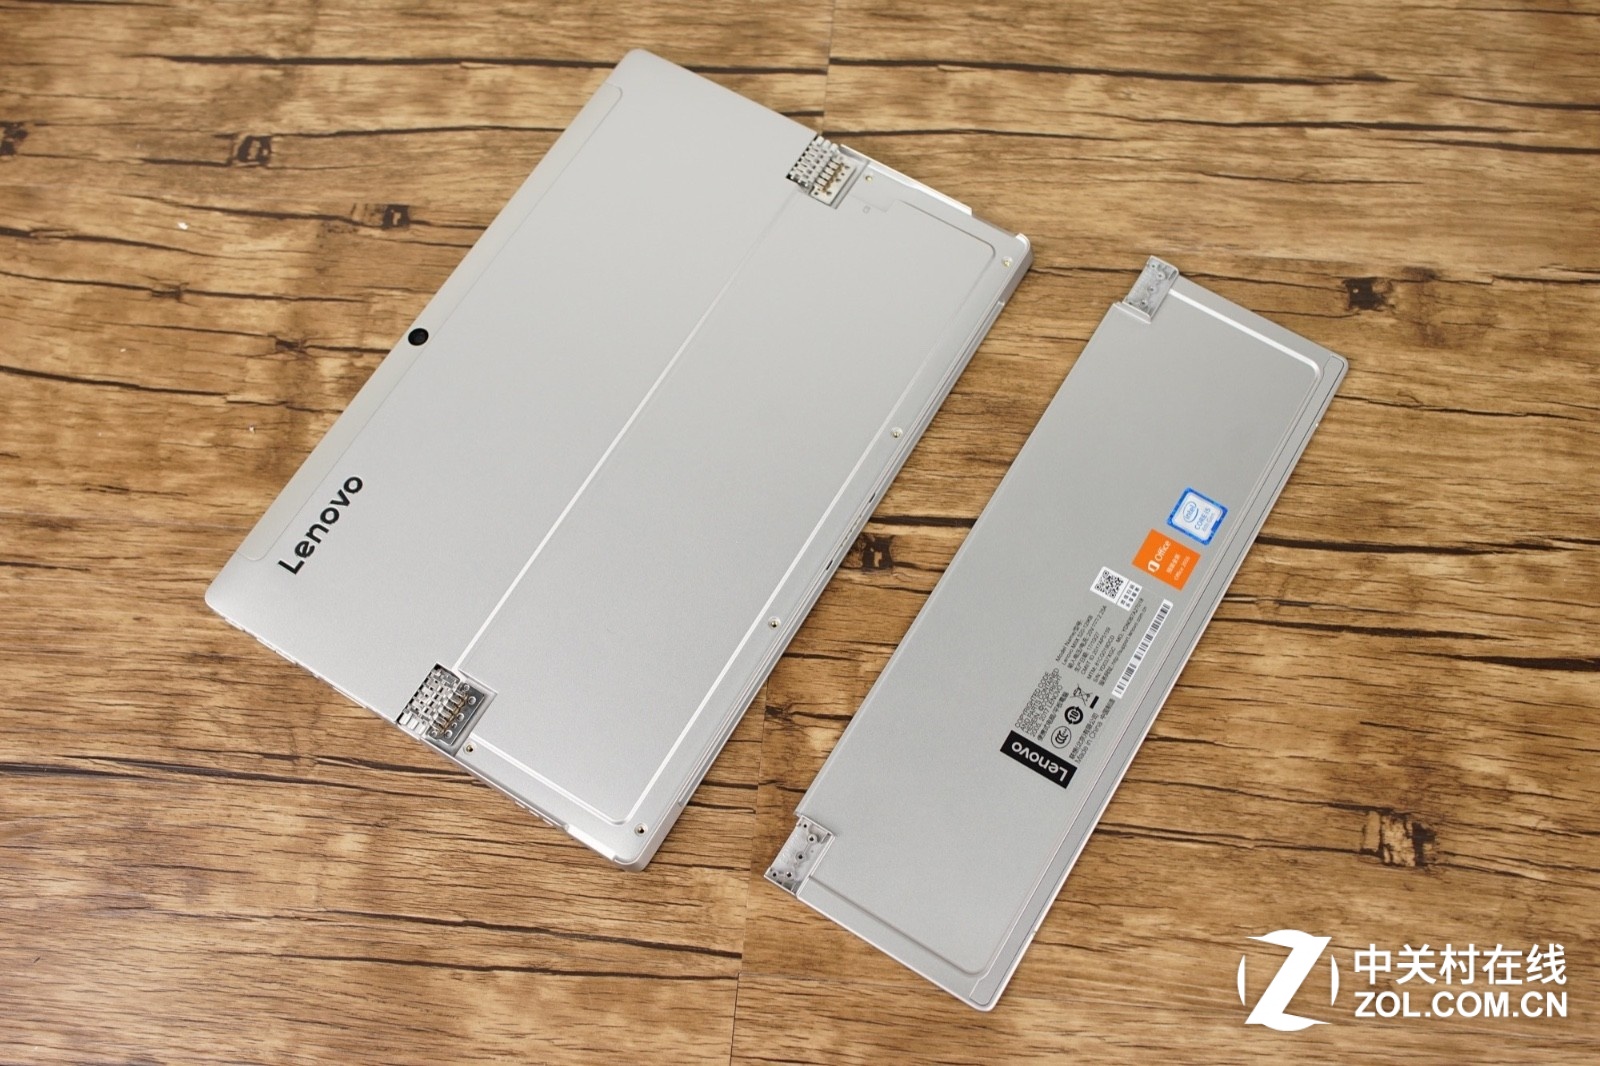
Remove the screws on both sides to remove the metal bracket, the bracket made of aluminum-magnesium alloy, while ensuring the lightweight but also take into account the strength.
After removing the screws that secure the back cover, carefully release all the snaps along the edge of the screen to separate the screen from the housing. Before removing the screen, you need to disconnect two cables first.
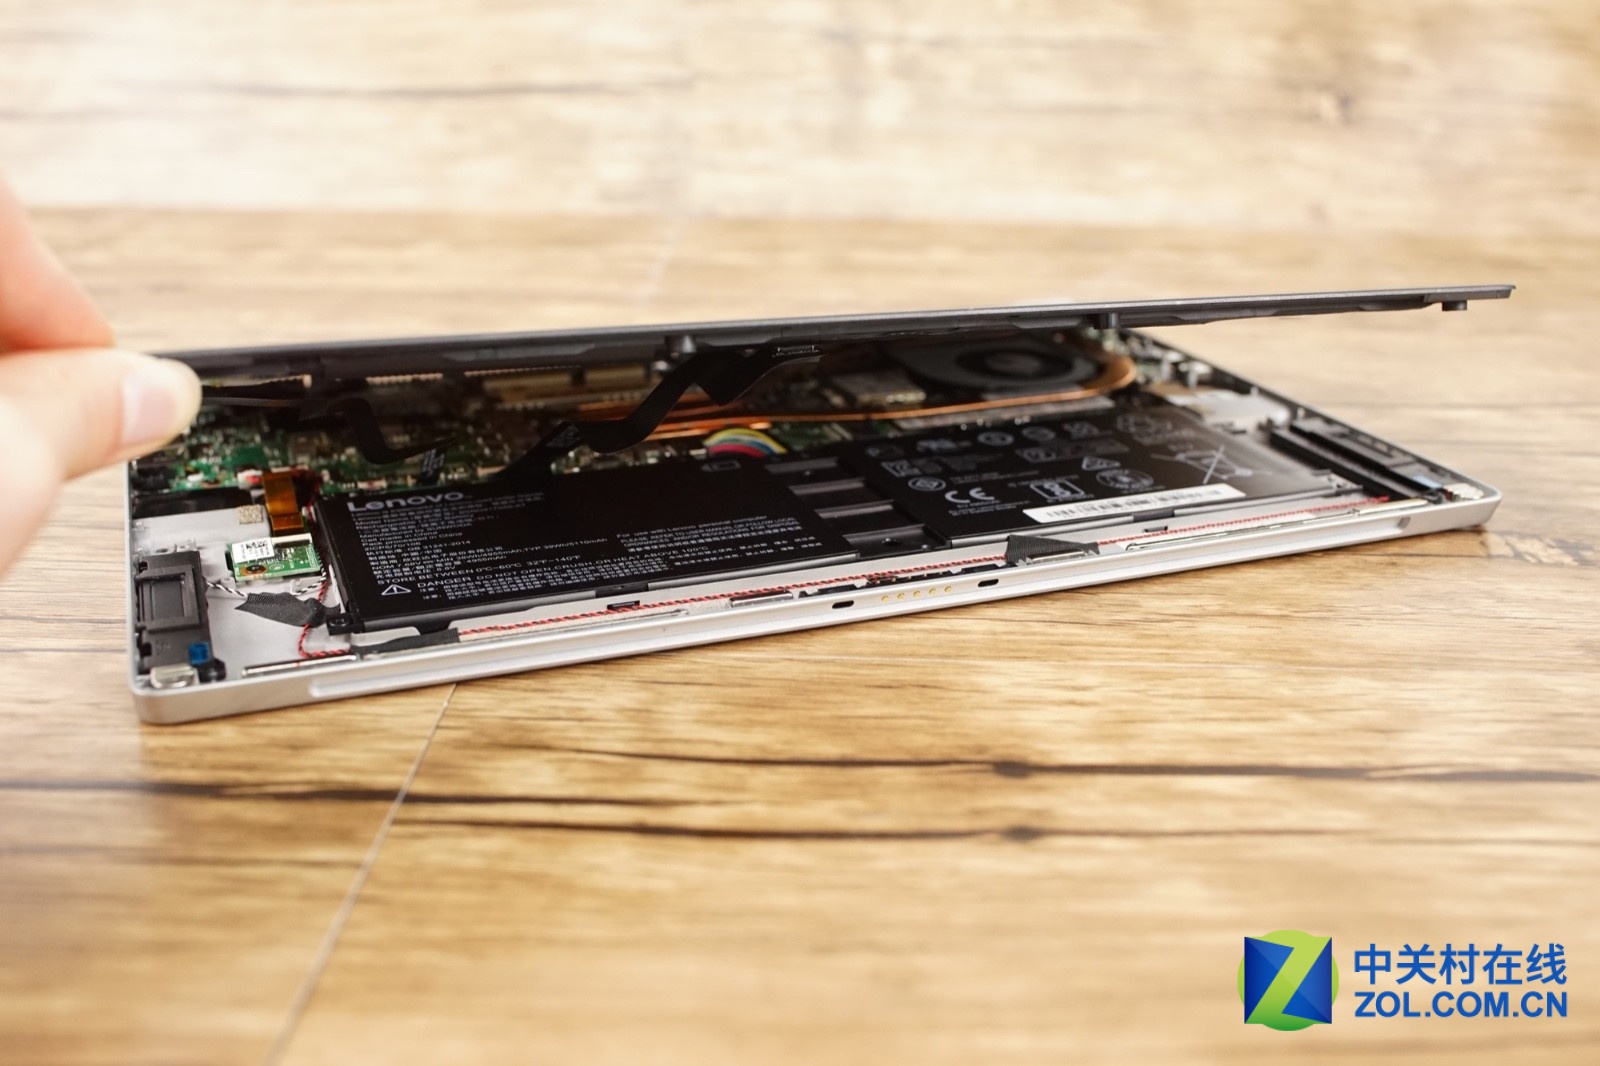
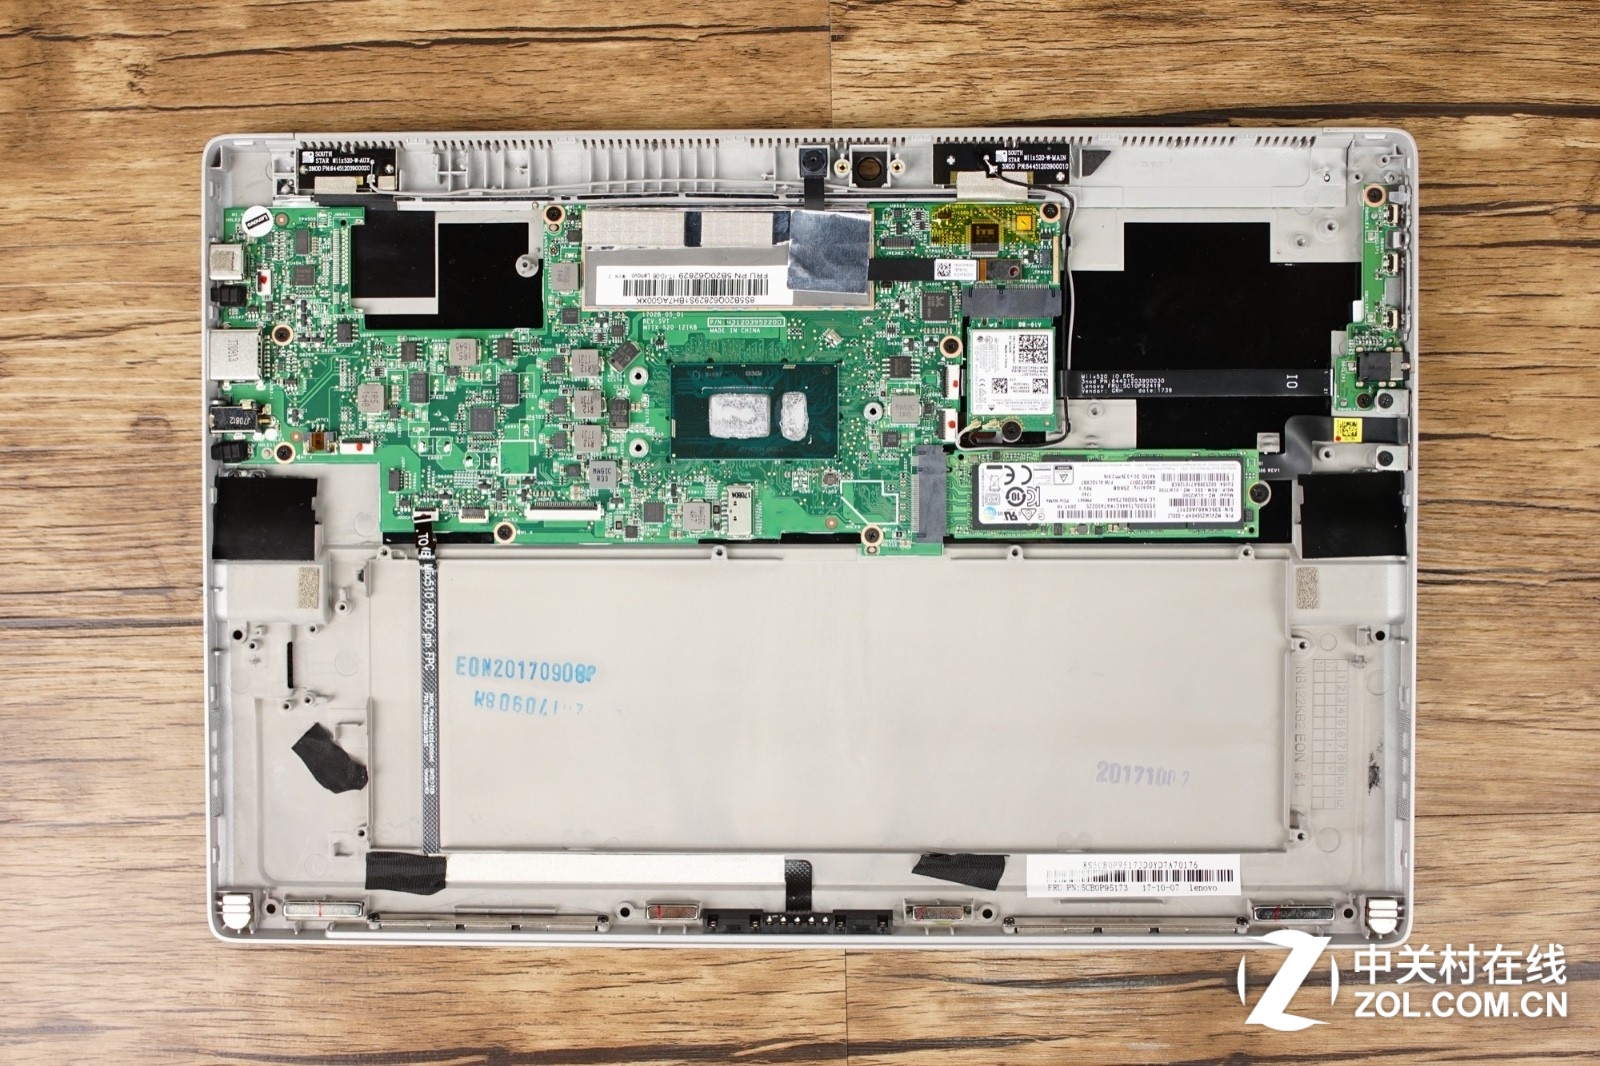
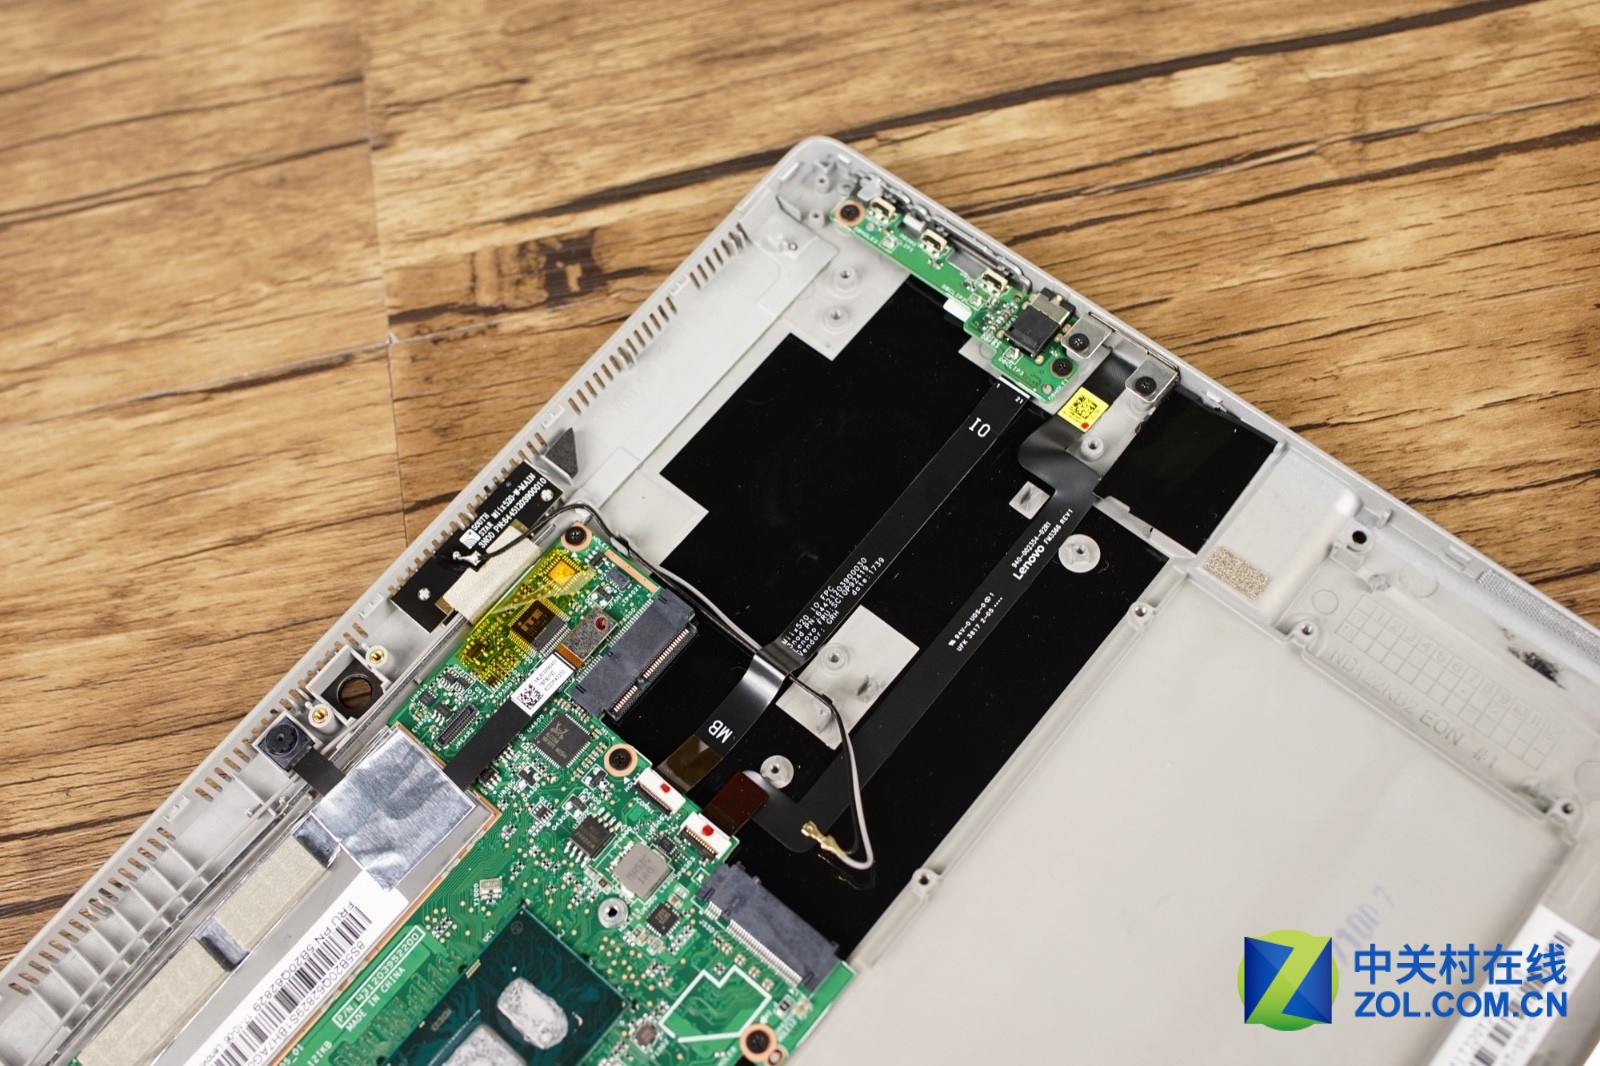
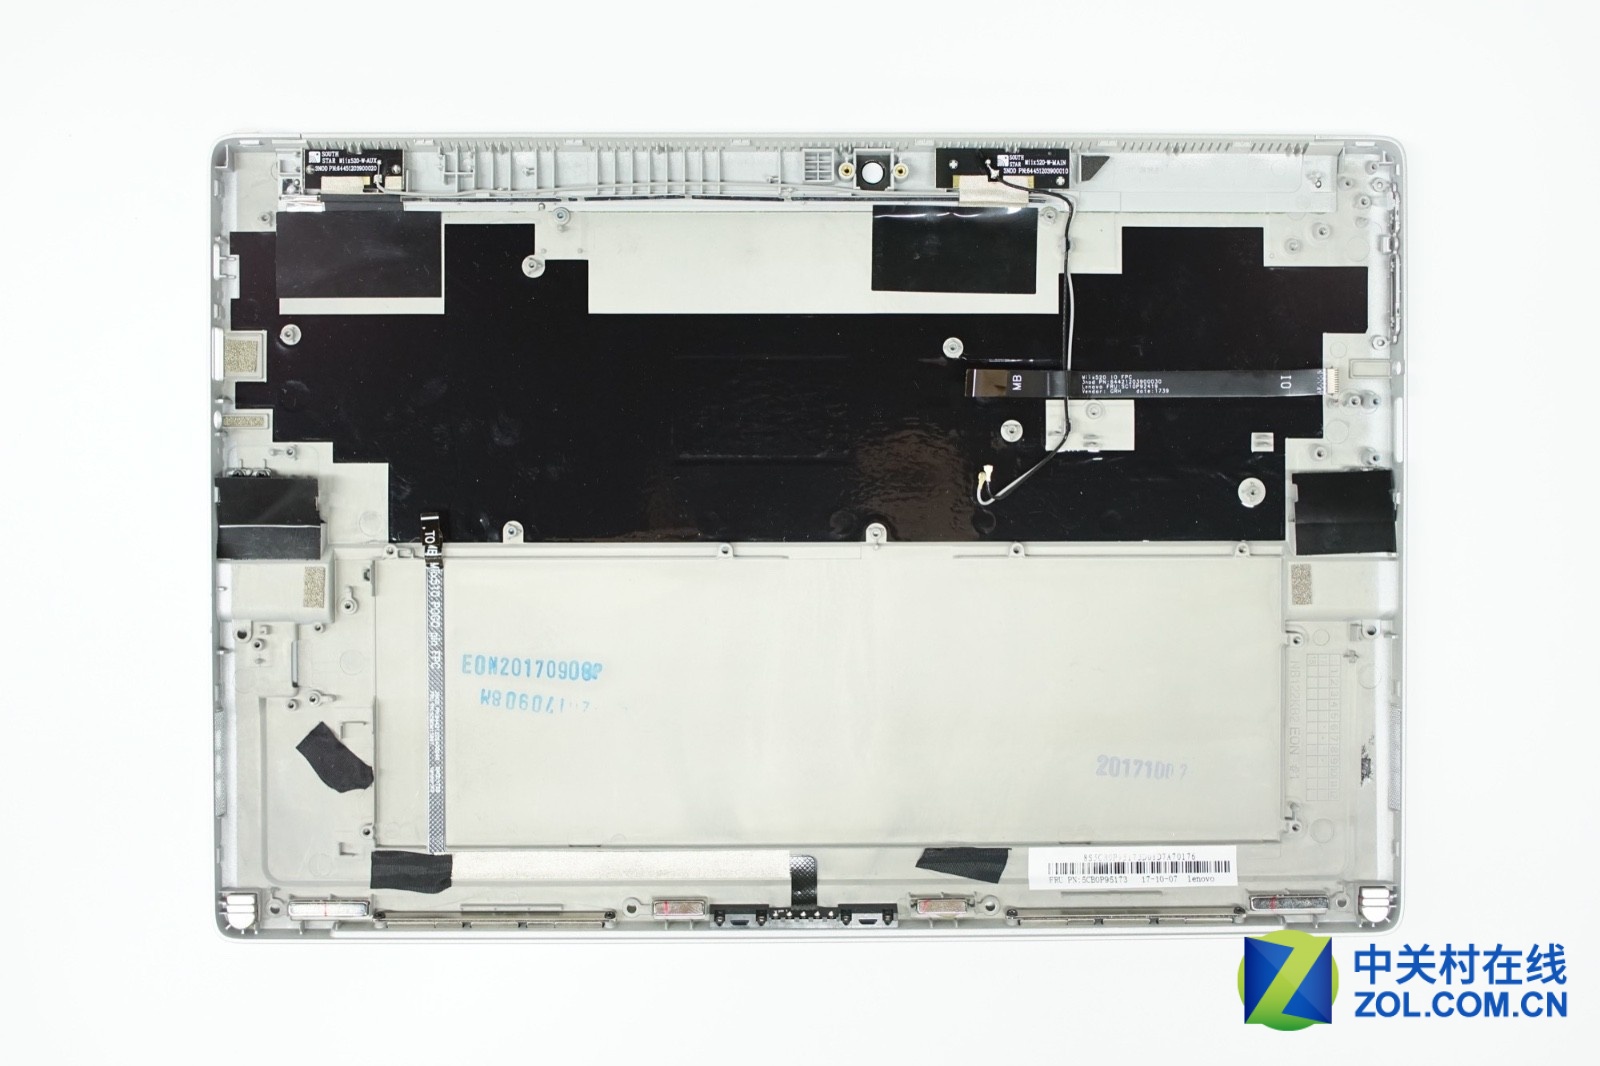
When you split the screen assembly, the internal structure of the Miix 520 is unobstructed.
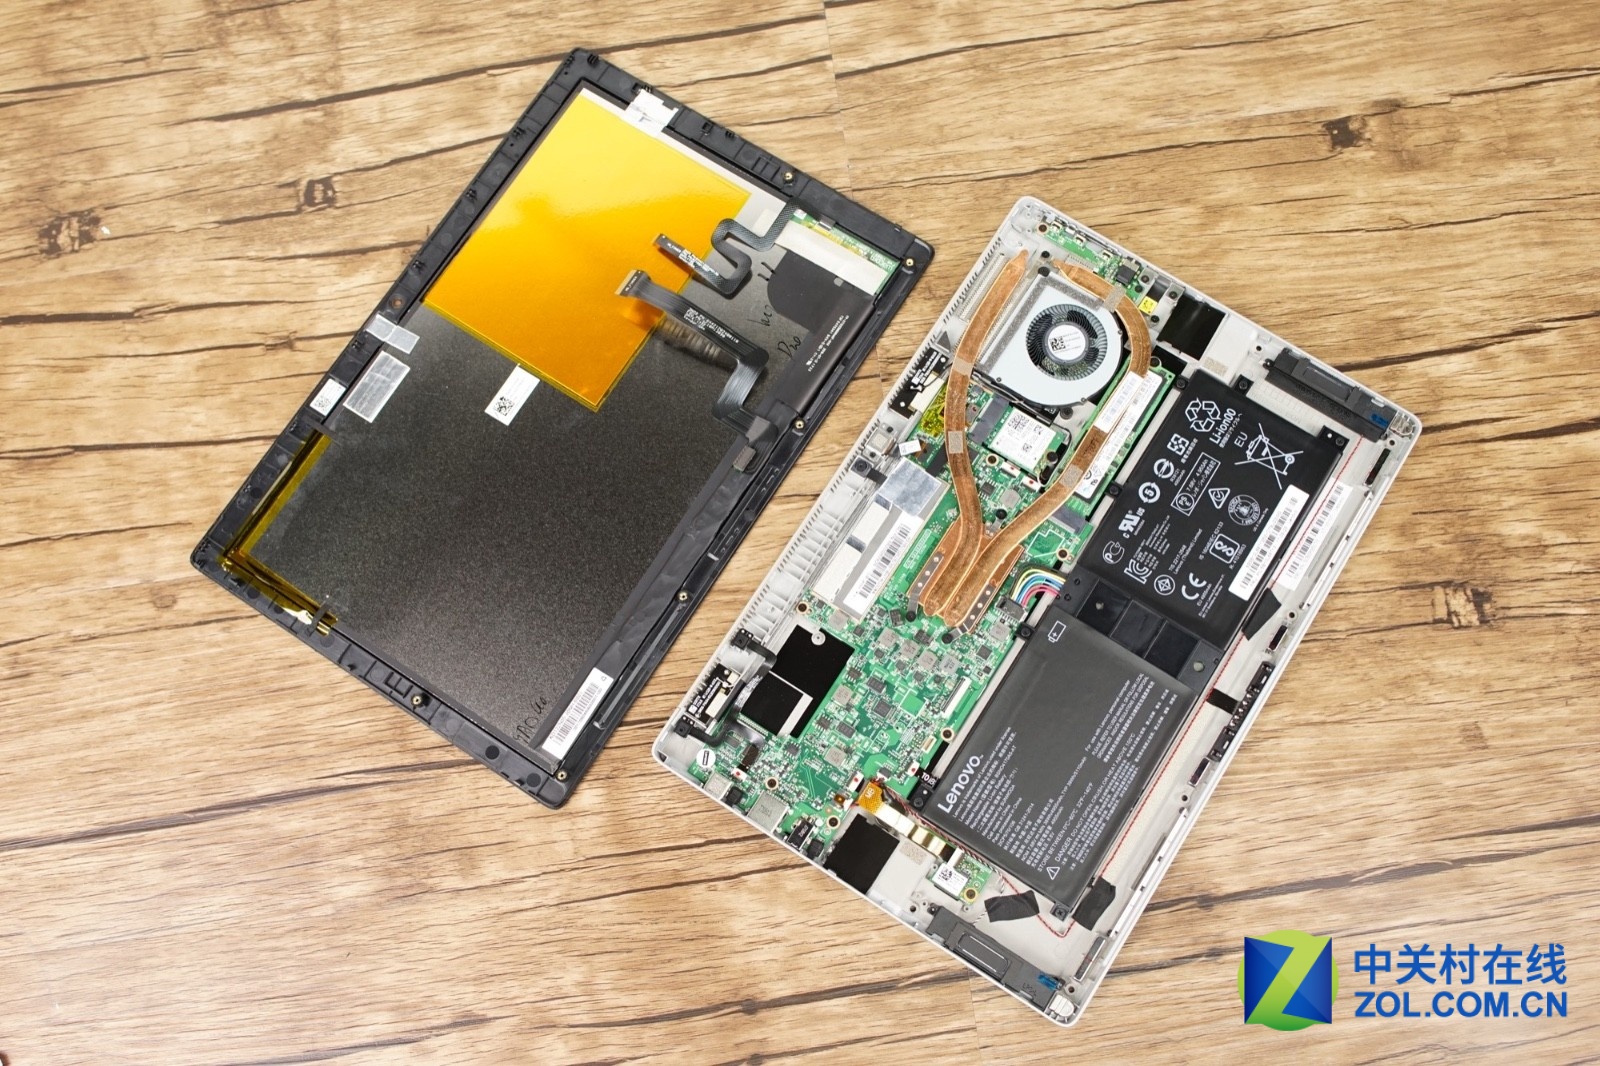
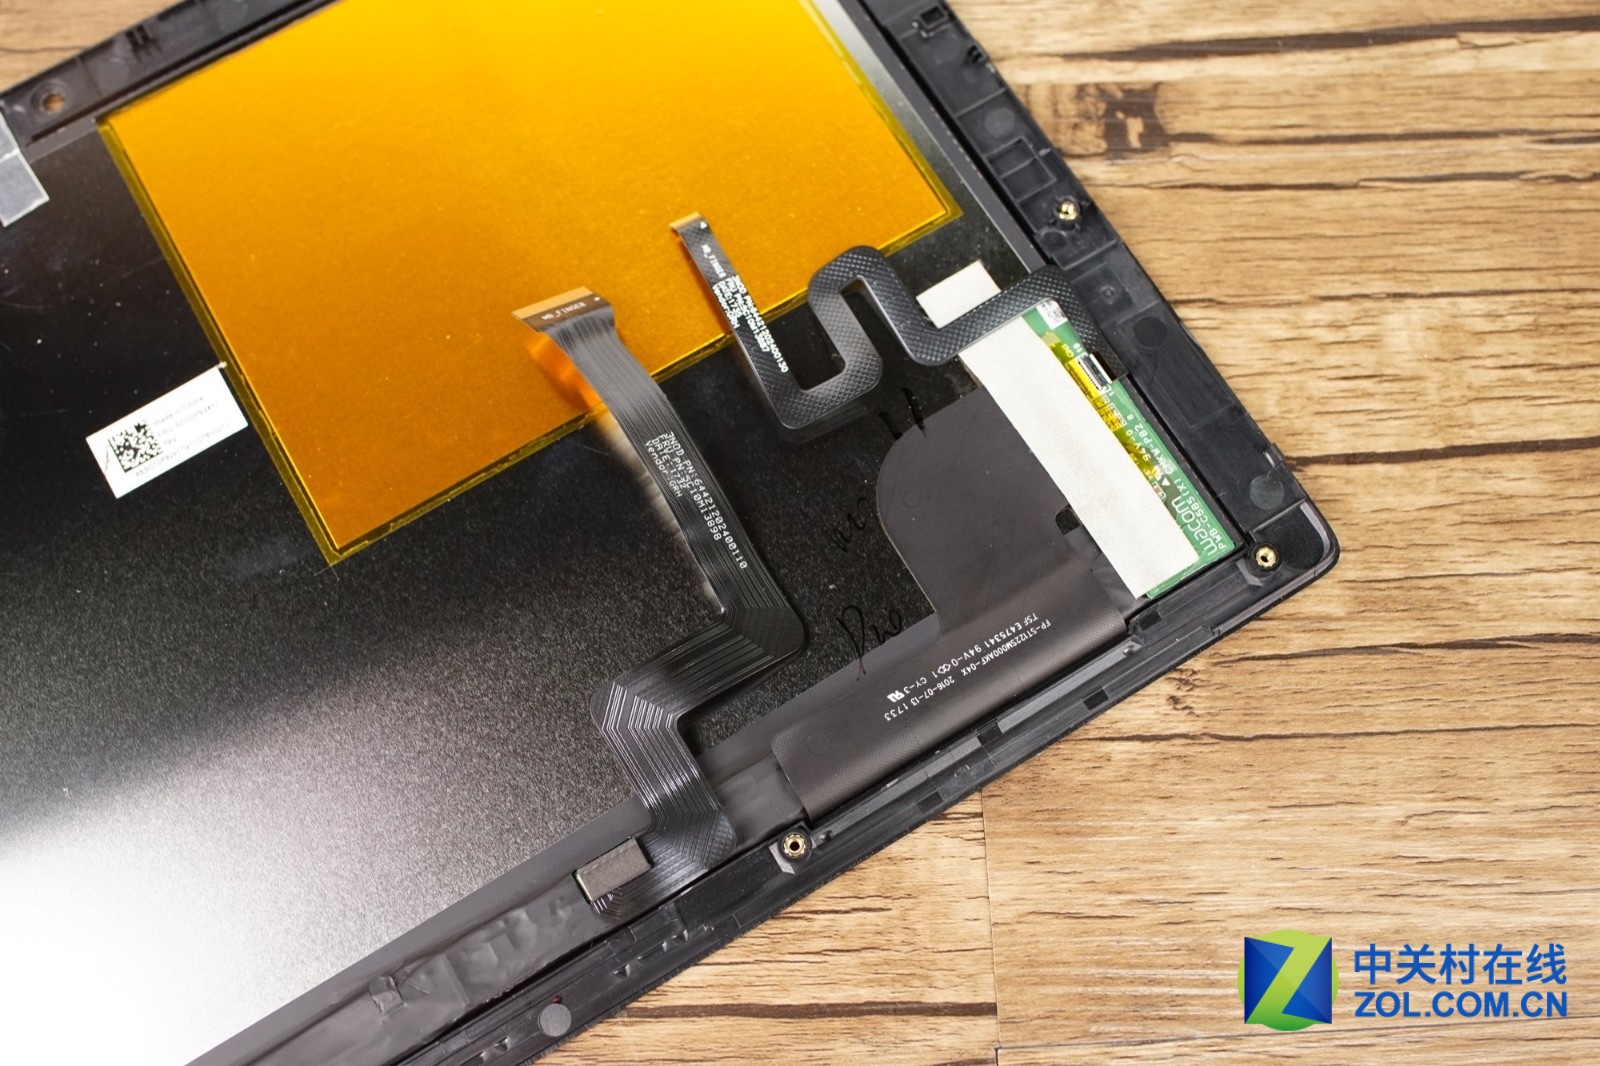
The two cables on the back of the screen are the display cable and the touch cable, and their circuit board is located in the lower right corner of the screen.
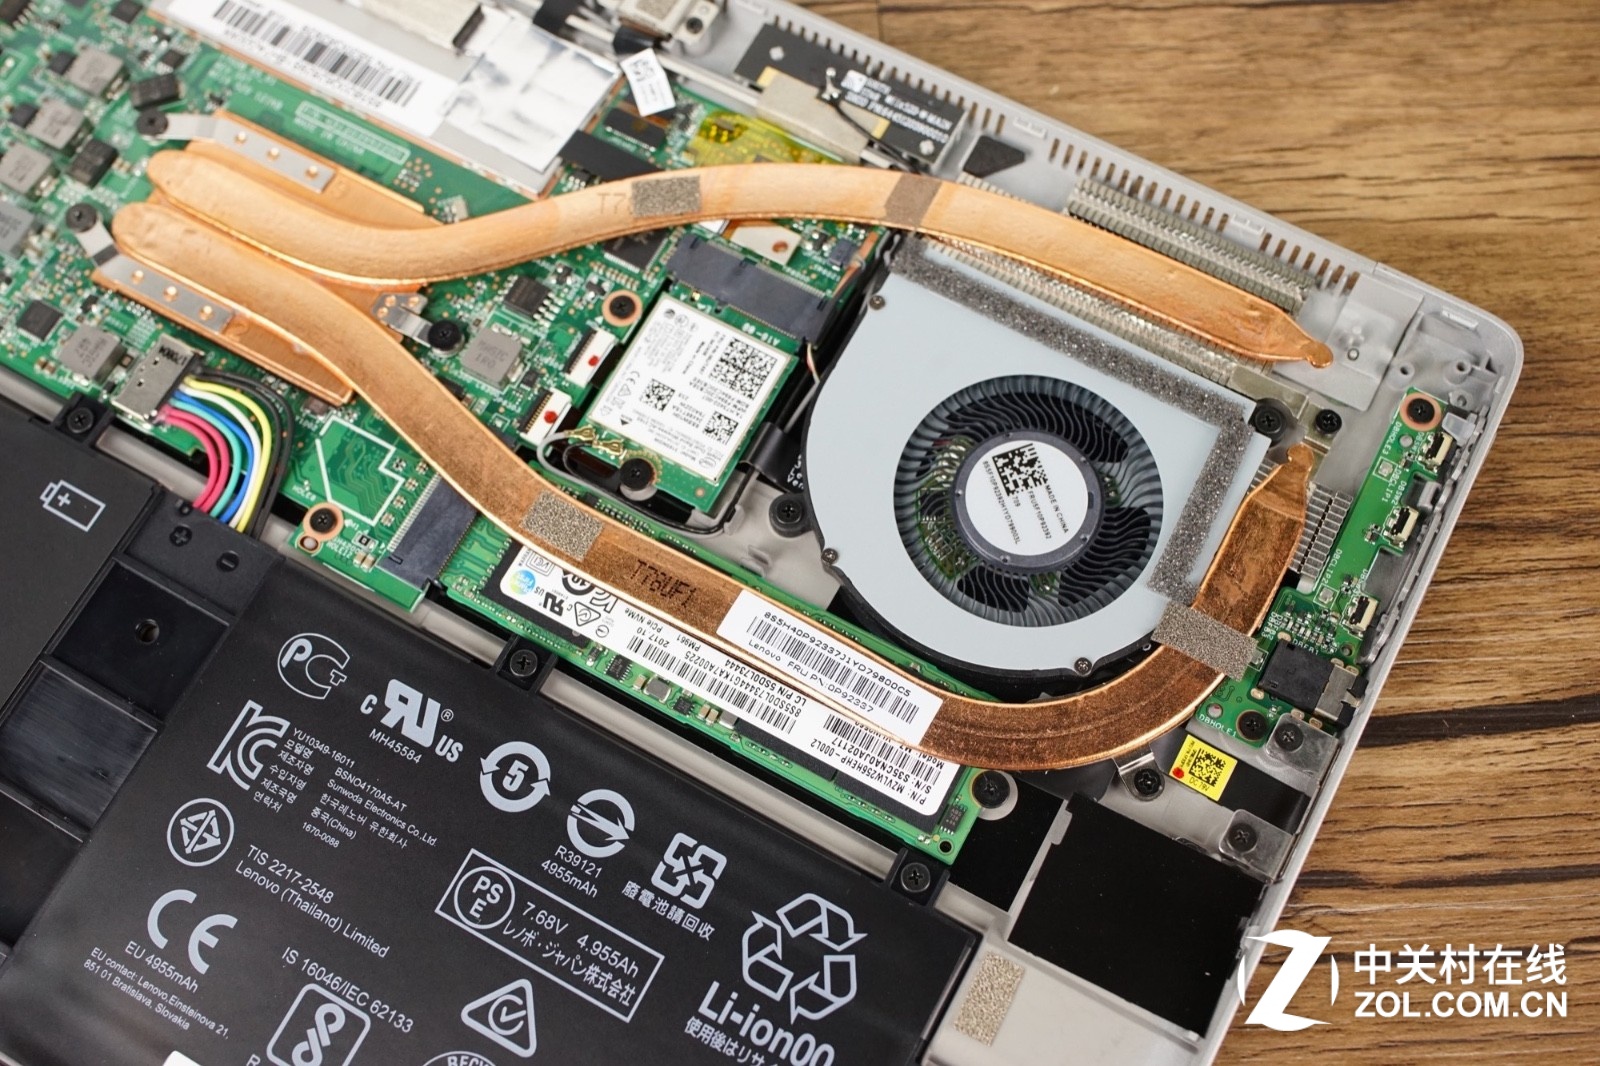
The layout of the cooling modules is quite satisfactory, but there is a considerable spatial surplus around the battery. The volume of the loudspeaker is also not large, which is the most obvious problem of the internal structure of Miix 520.

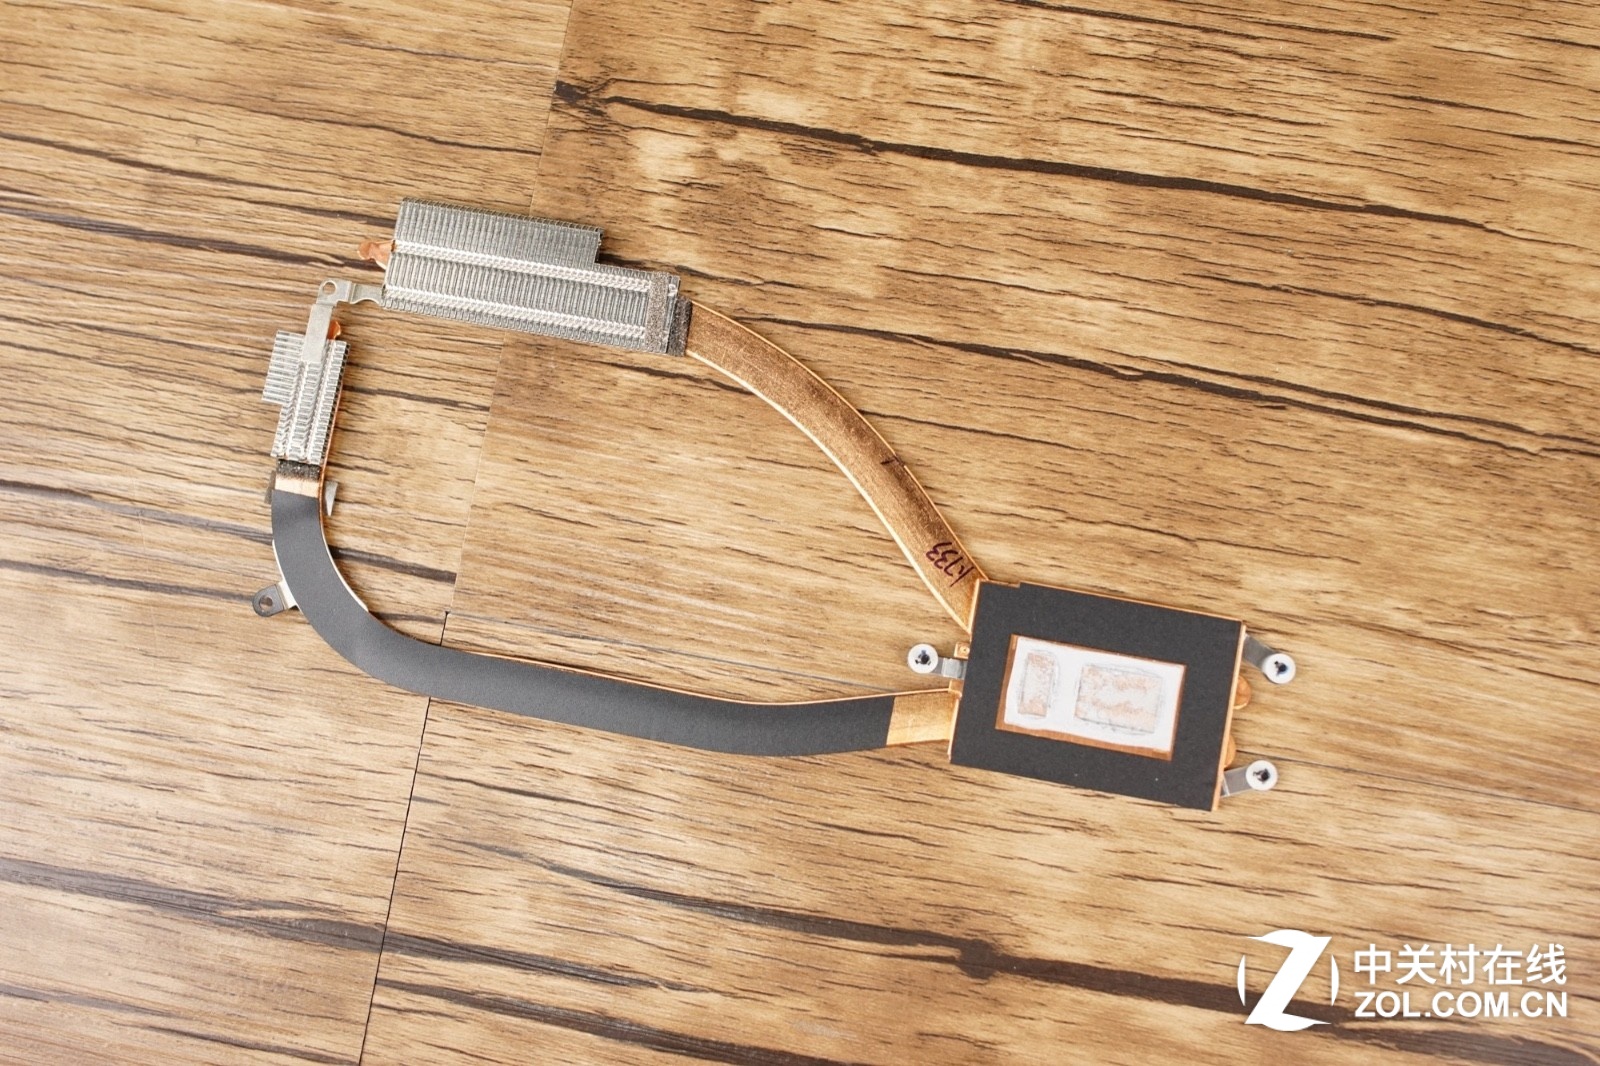
Also, the two copper tubes used only a fan to be responsible for the heat dissipation. And a copper tube is passed directly above the SSD, so that the temperature of the copper tube is bound to raise the temperature of the SSD.
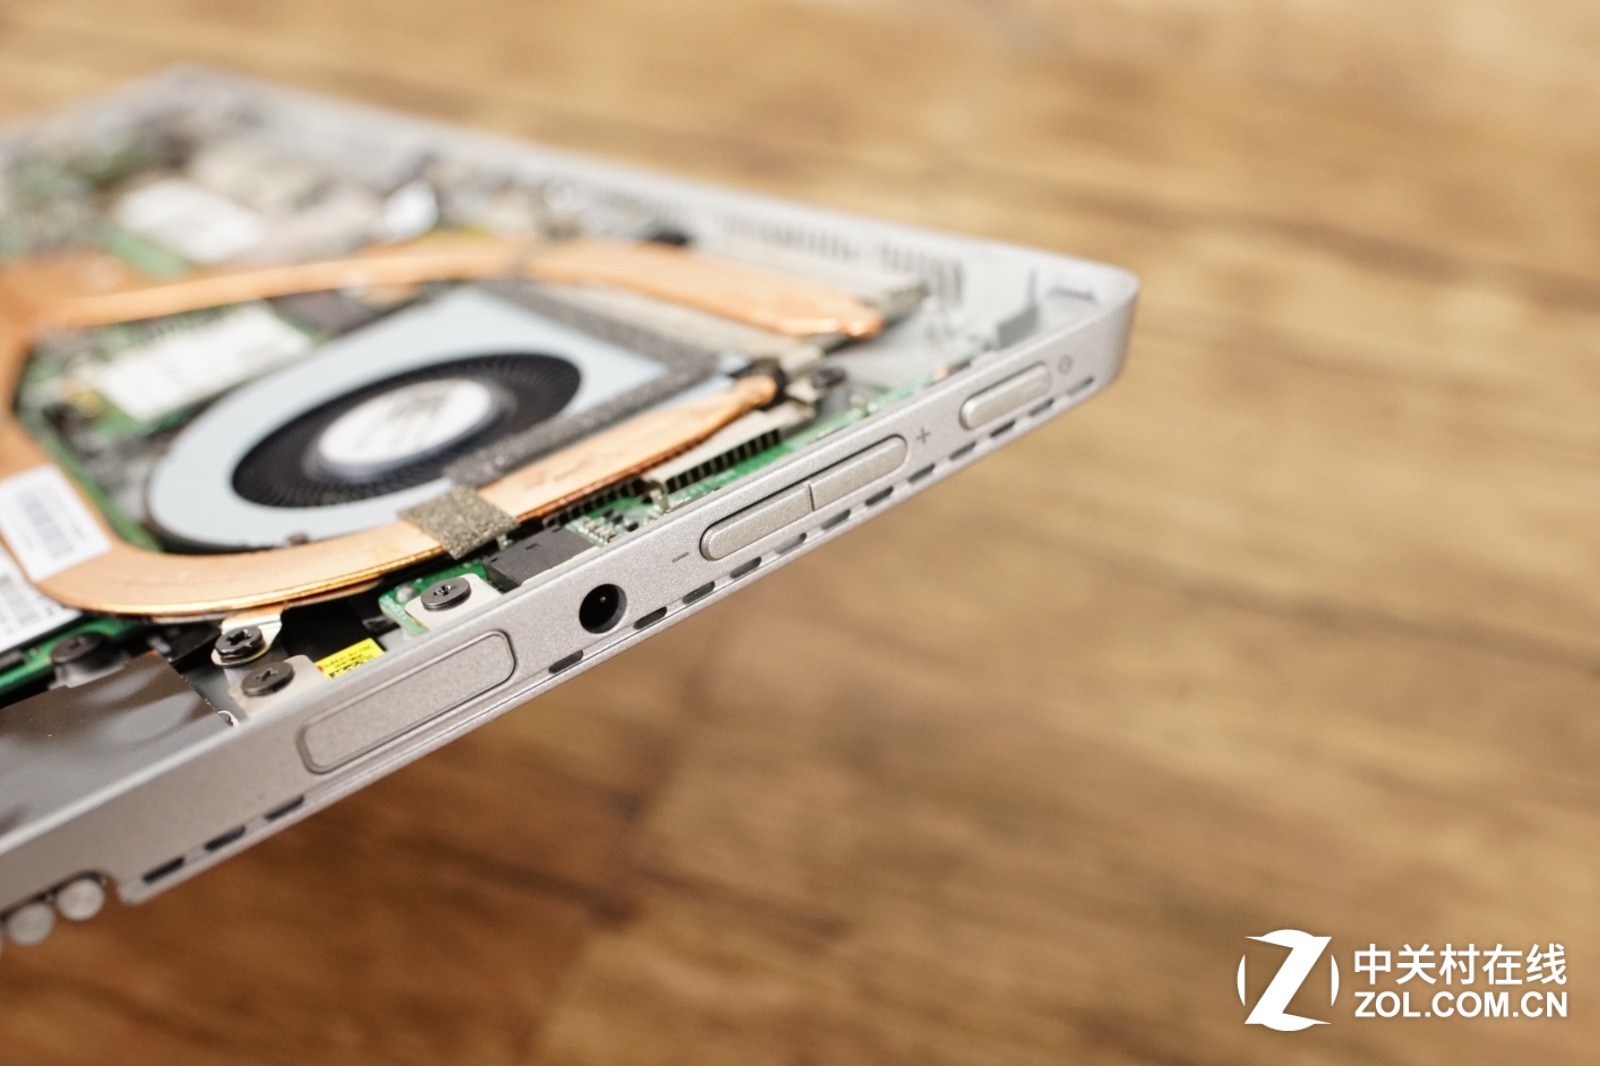
A row of small holes below the volume buttons is actually the cooling vents on the other side.
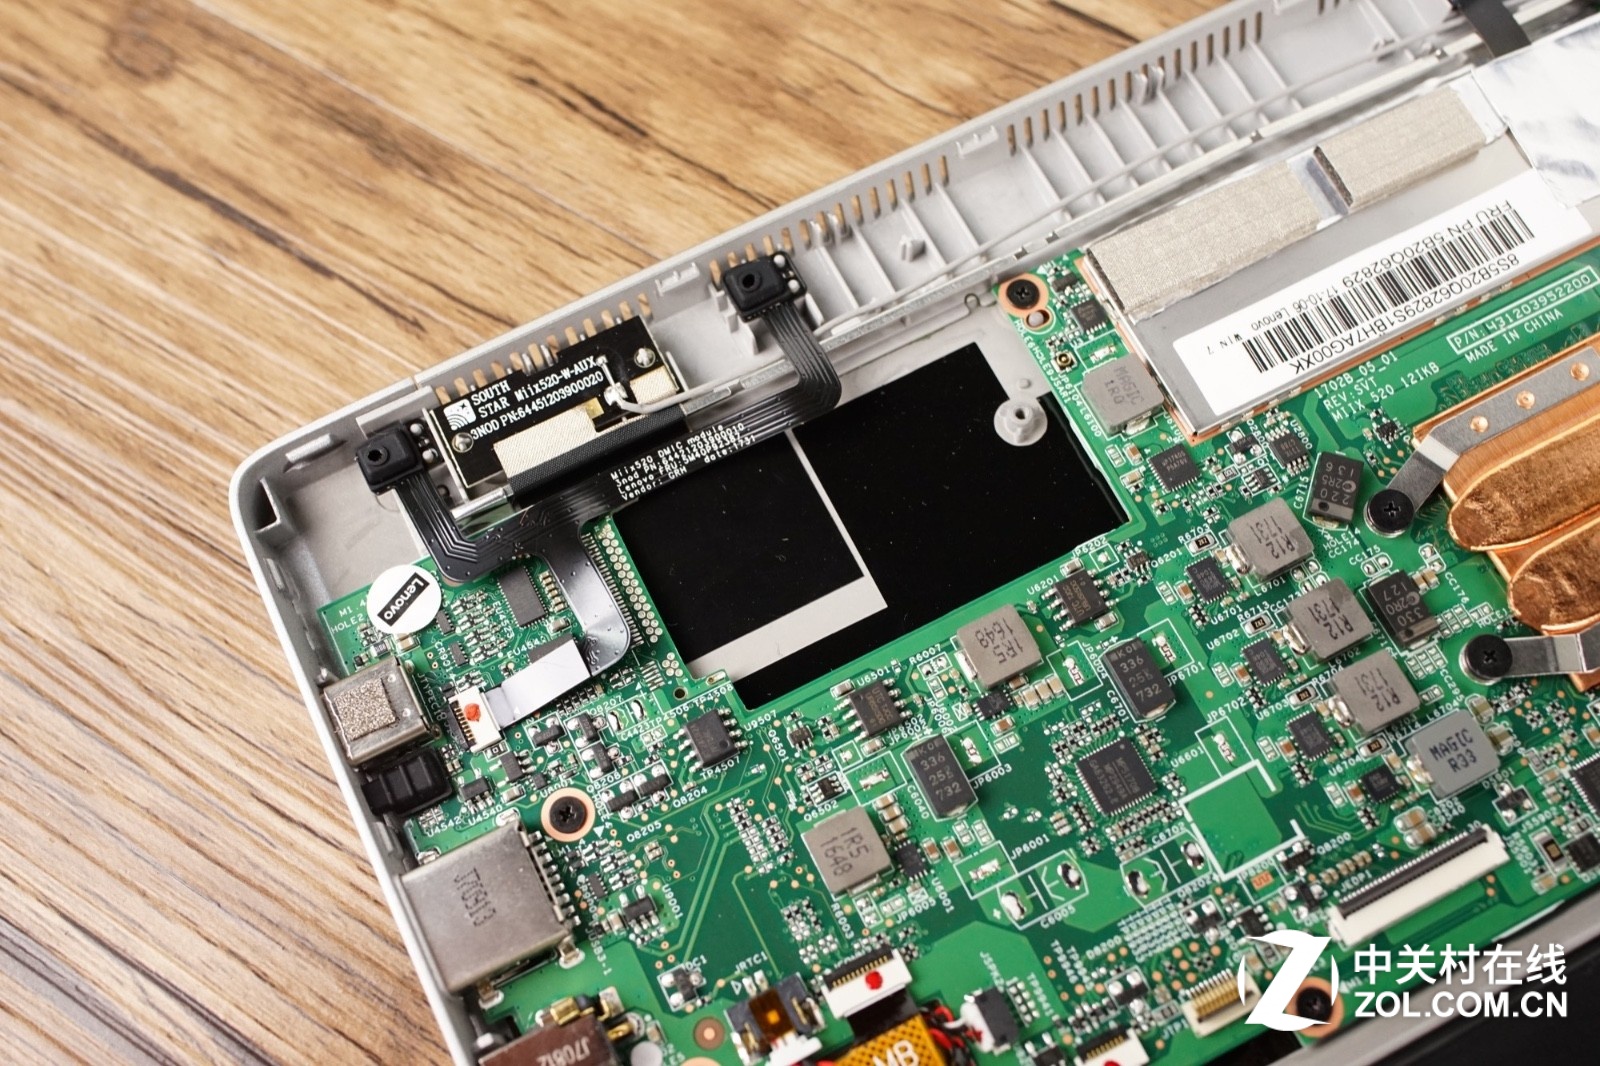
There is a spare part on the top left corner of the machine, which is supposed to be the 4G module, that is, the Miix 520 will also have a 4G version.
Before continuing to disassemble, we need to disconnect the battery connector.
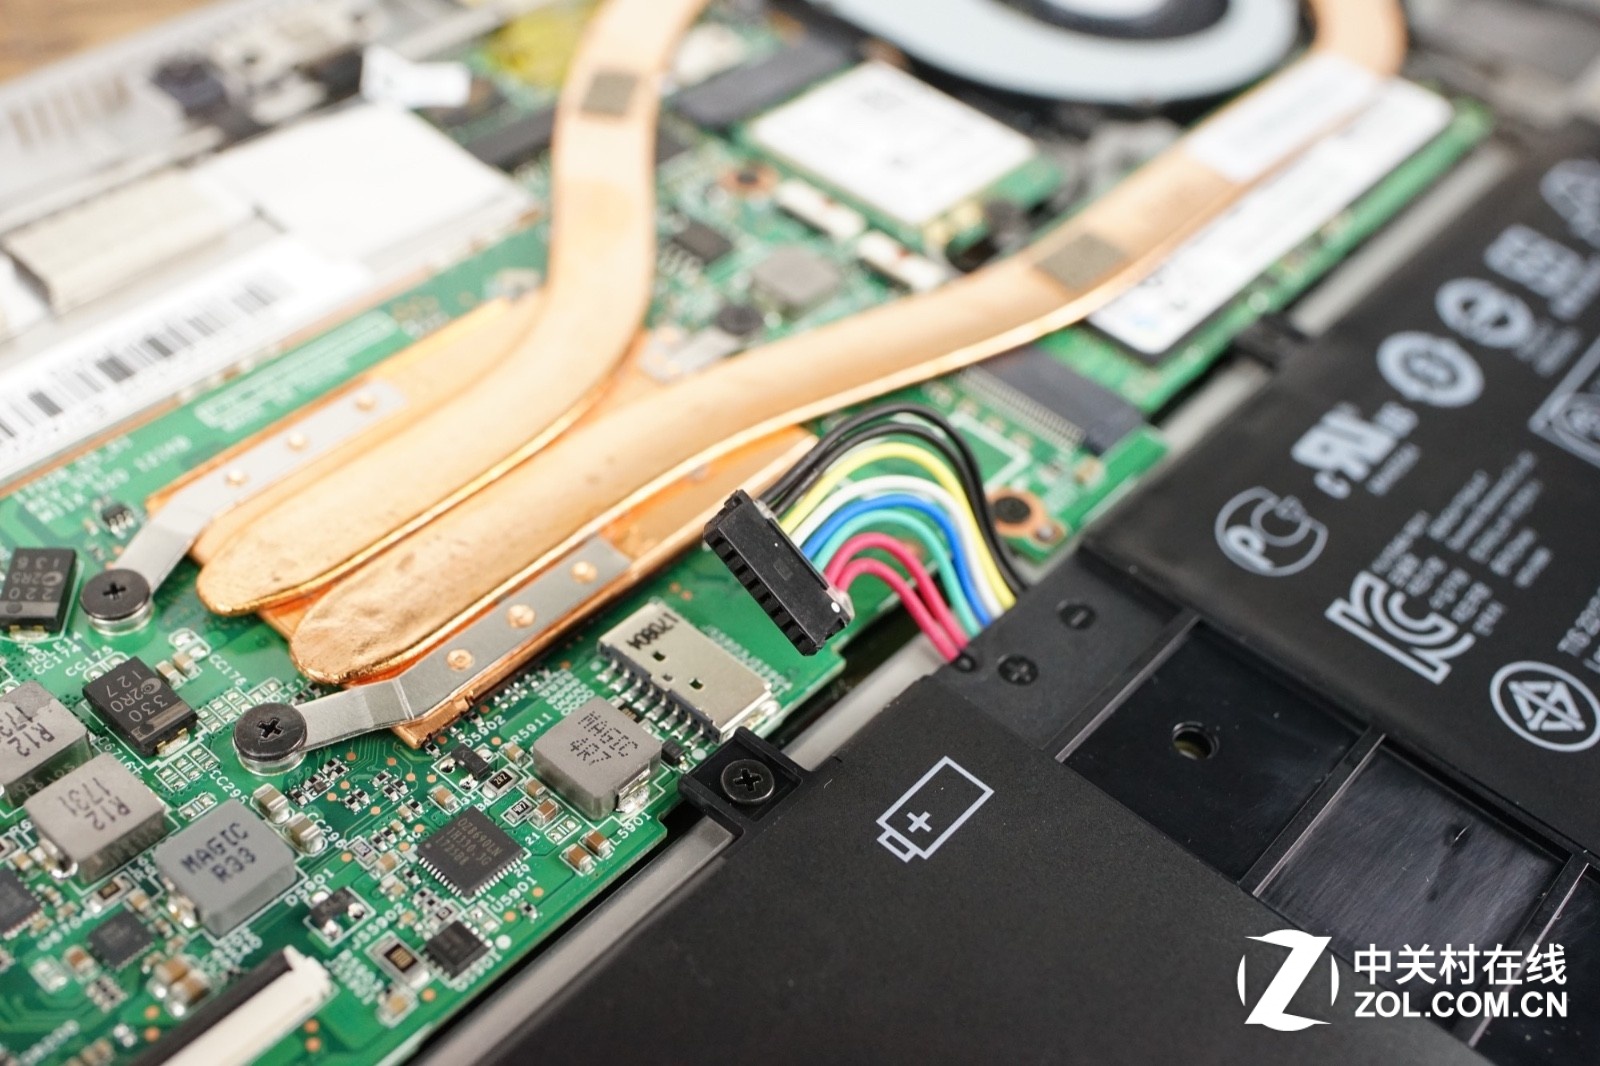
Remove all screws securing the battery and take out the battery.
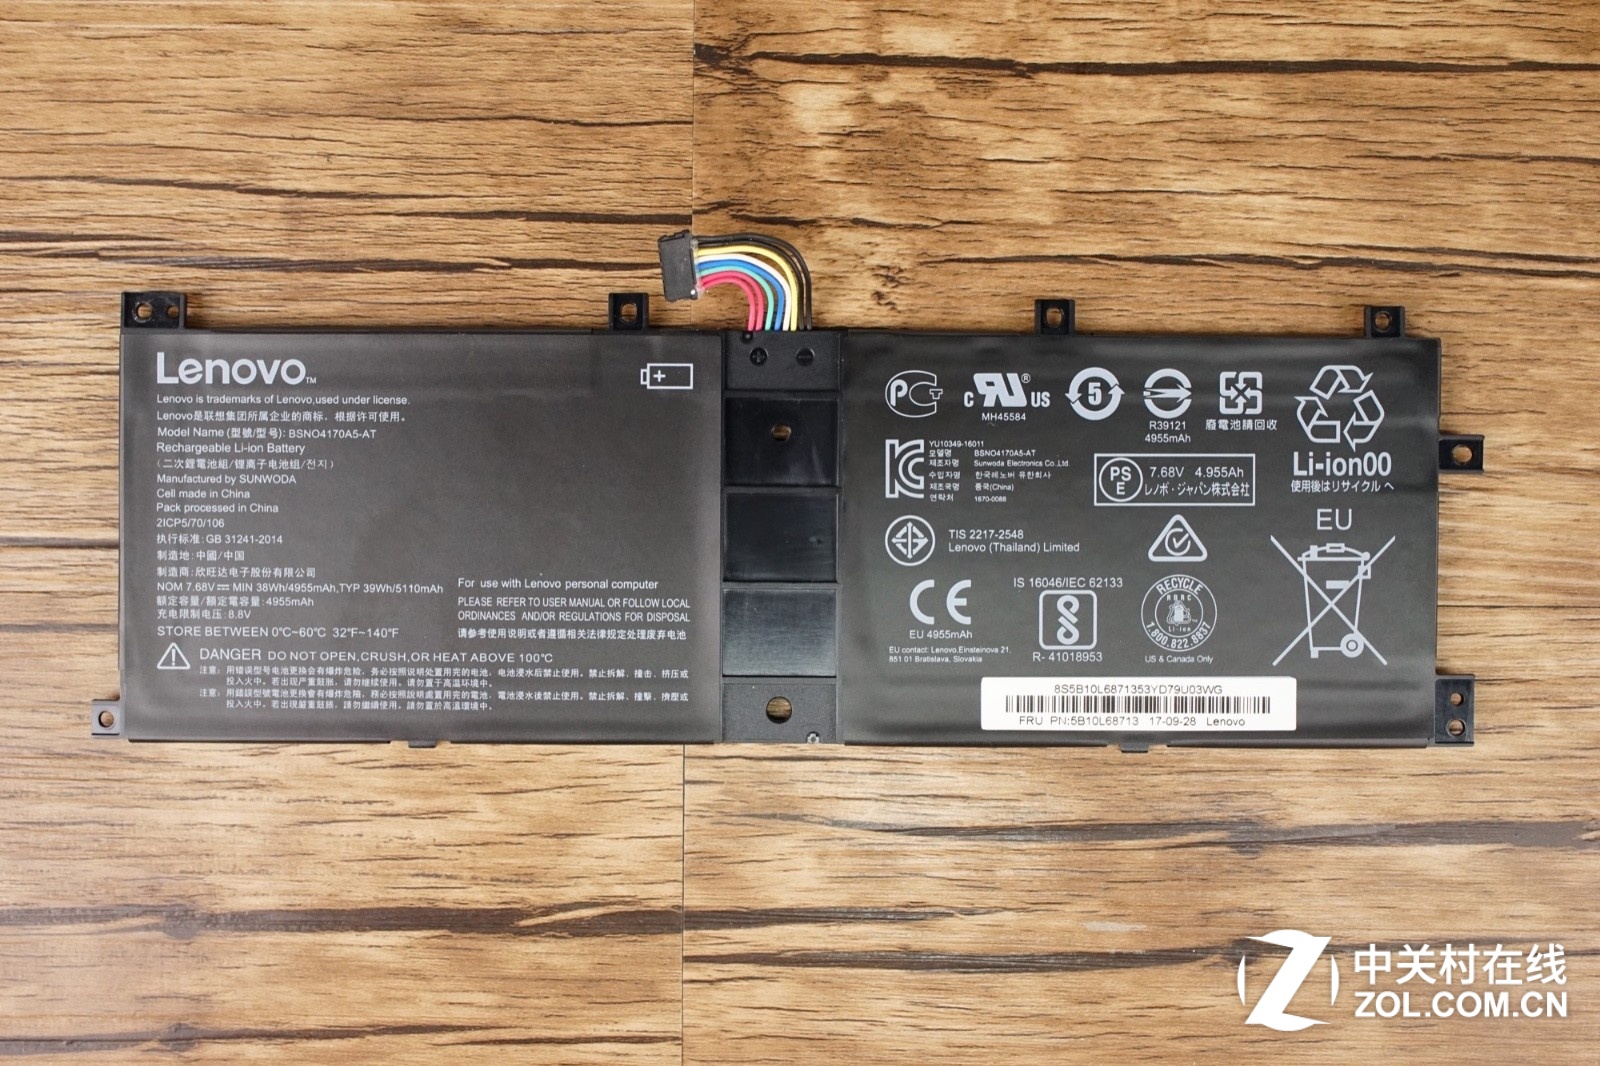
It comes with a 7.68V, 38Wh, 4955mAh Li-ion battery.
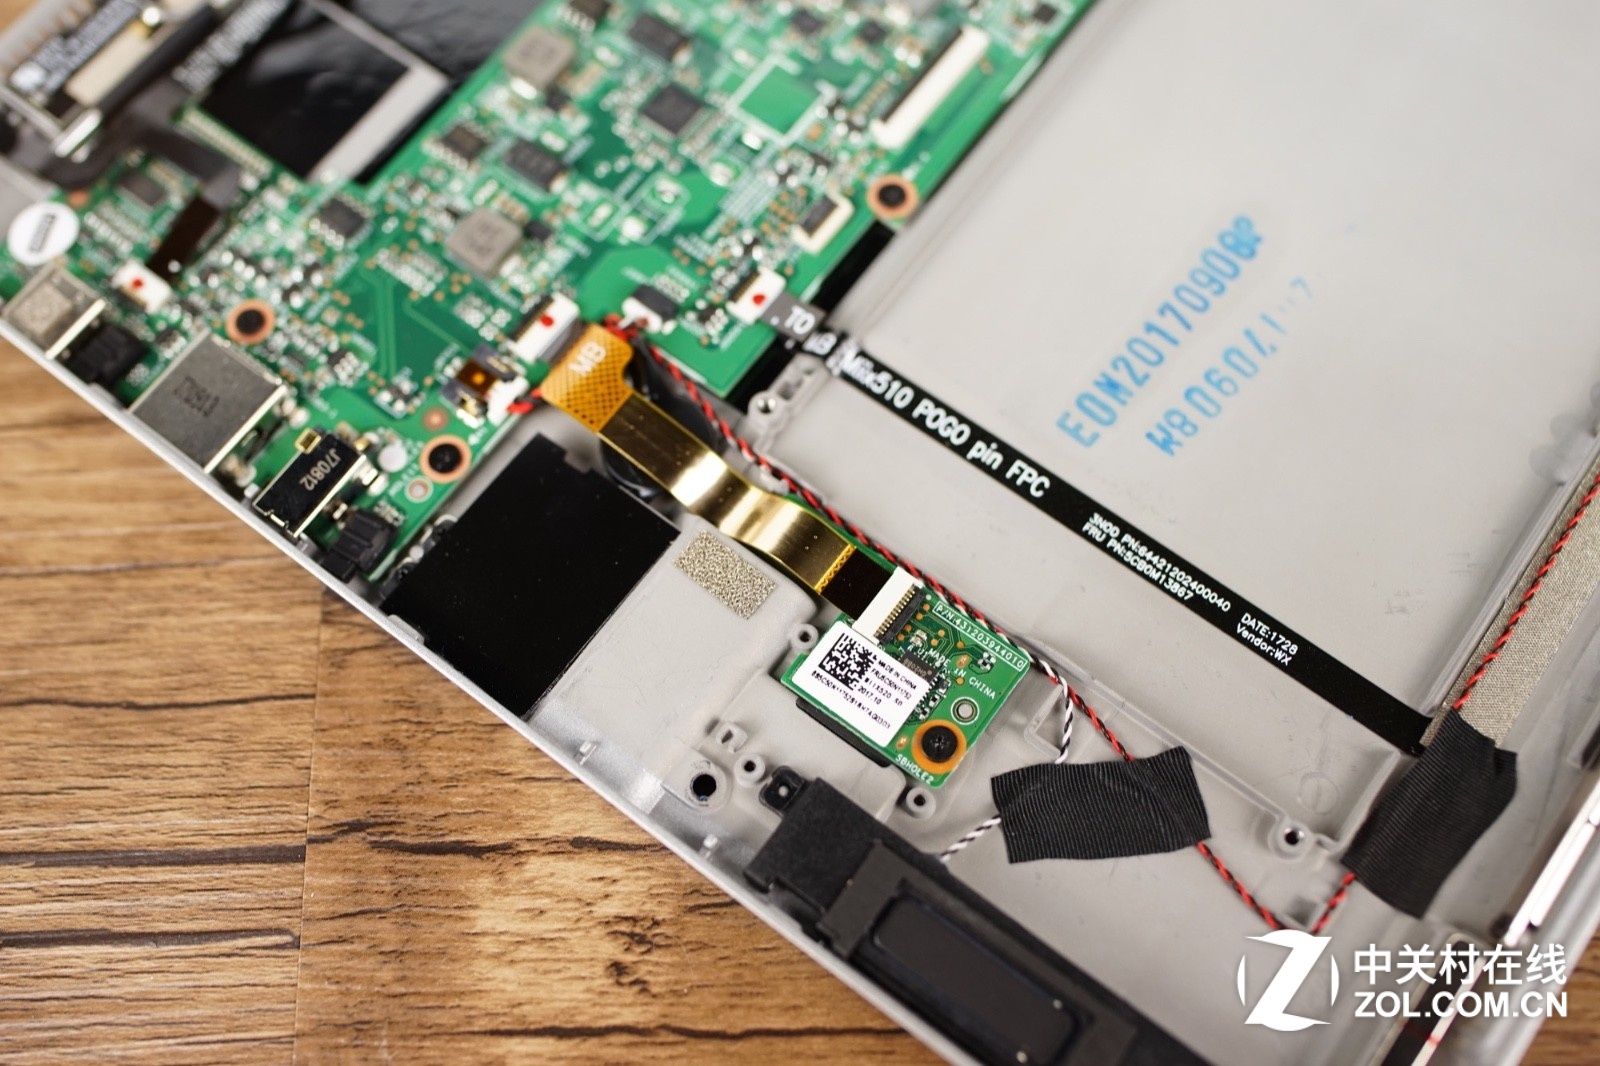
Under the battery we can see the contact of the magnetic keyboard, which is connected to the main board through a cable. Only five contacts can complete the signal transmission of the keyboard and the touch board at the same time. It is still amazing.
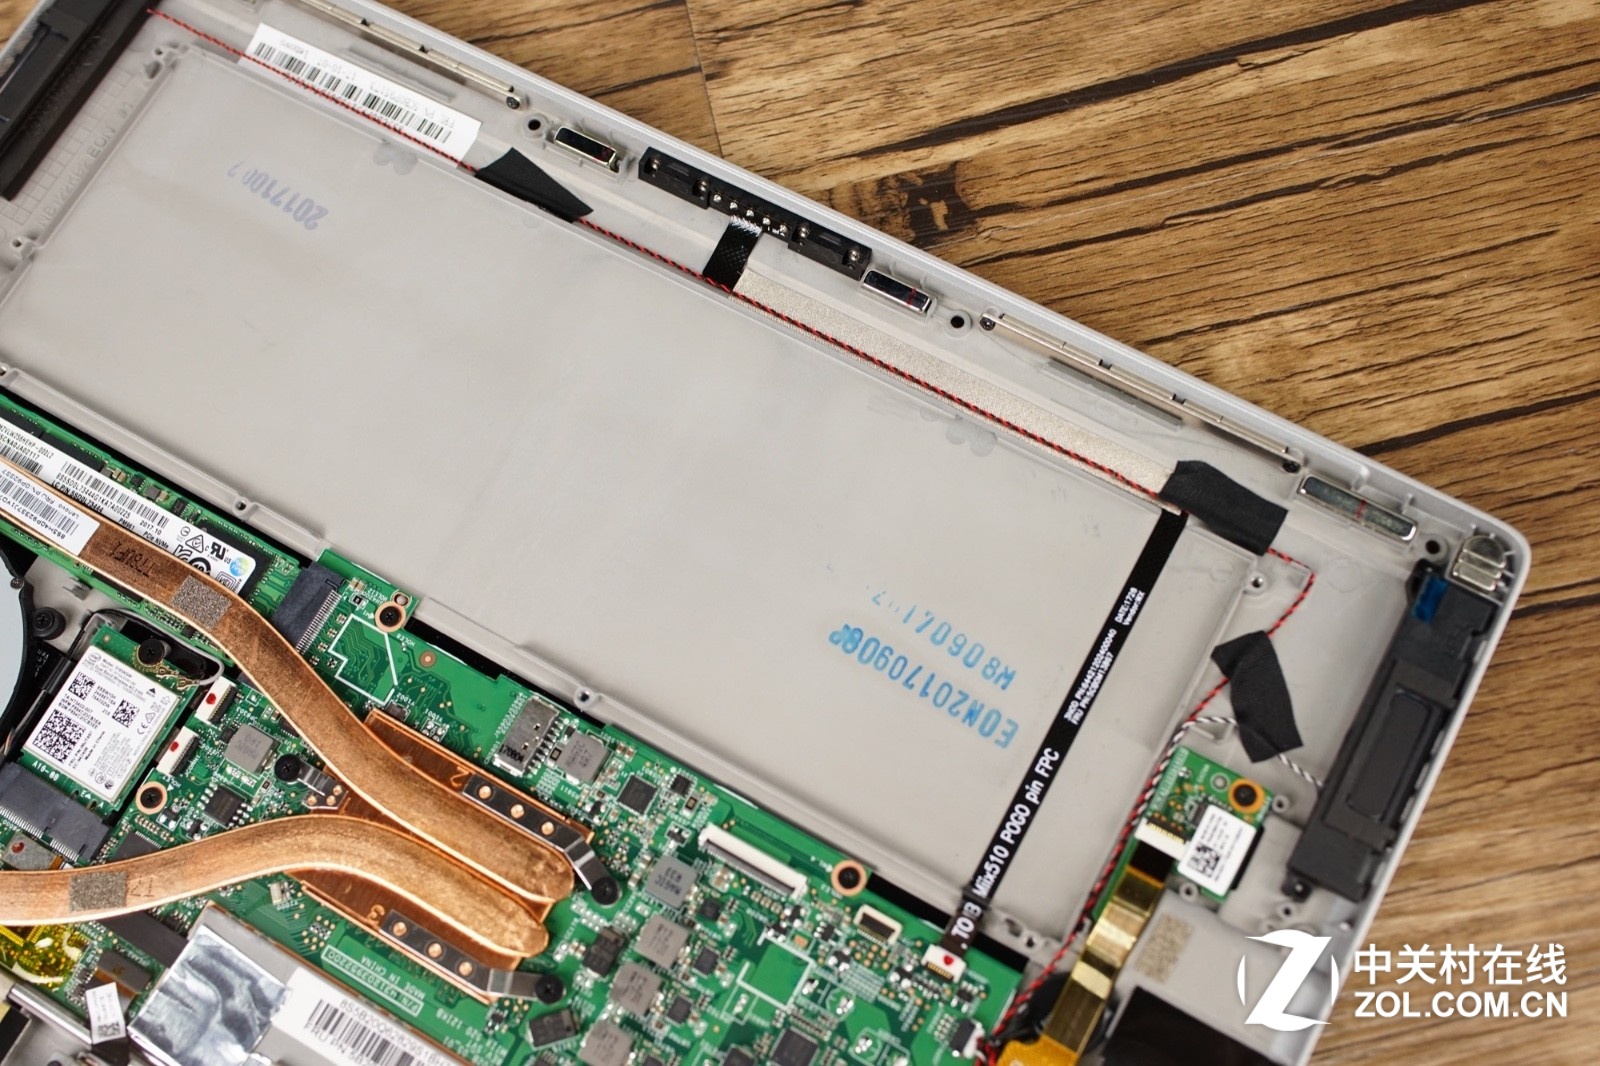
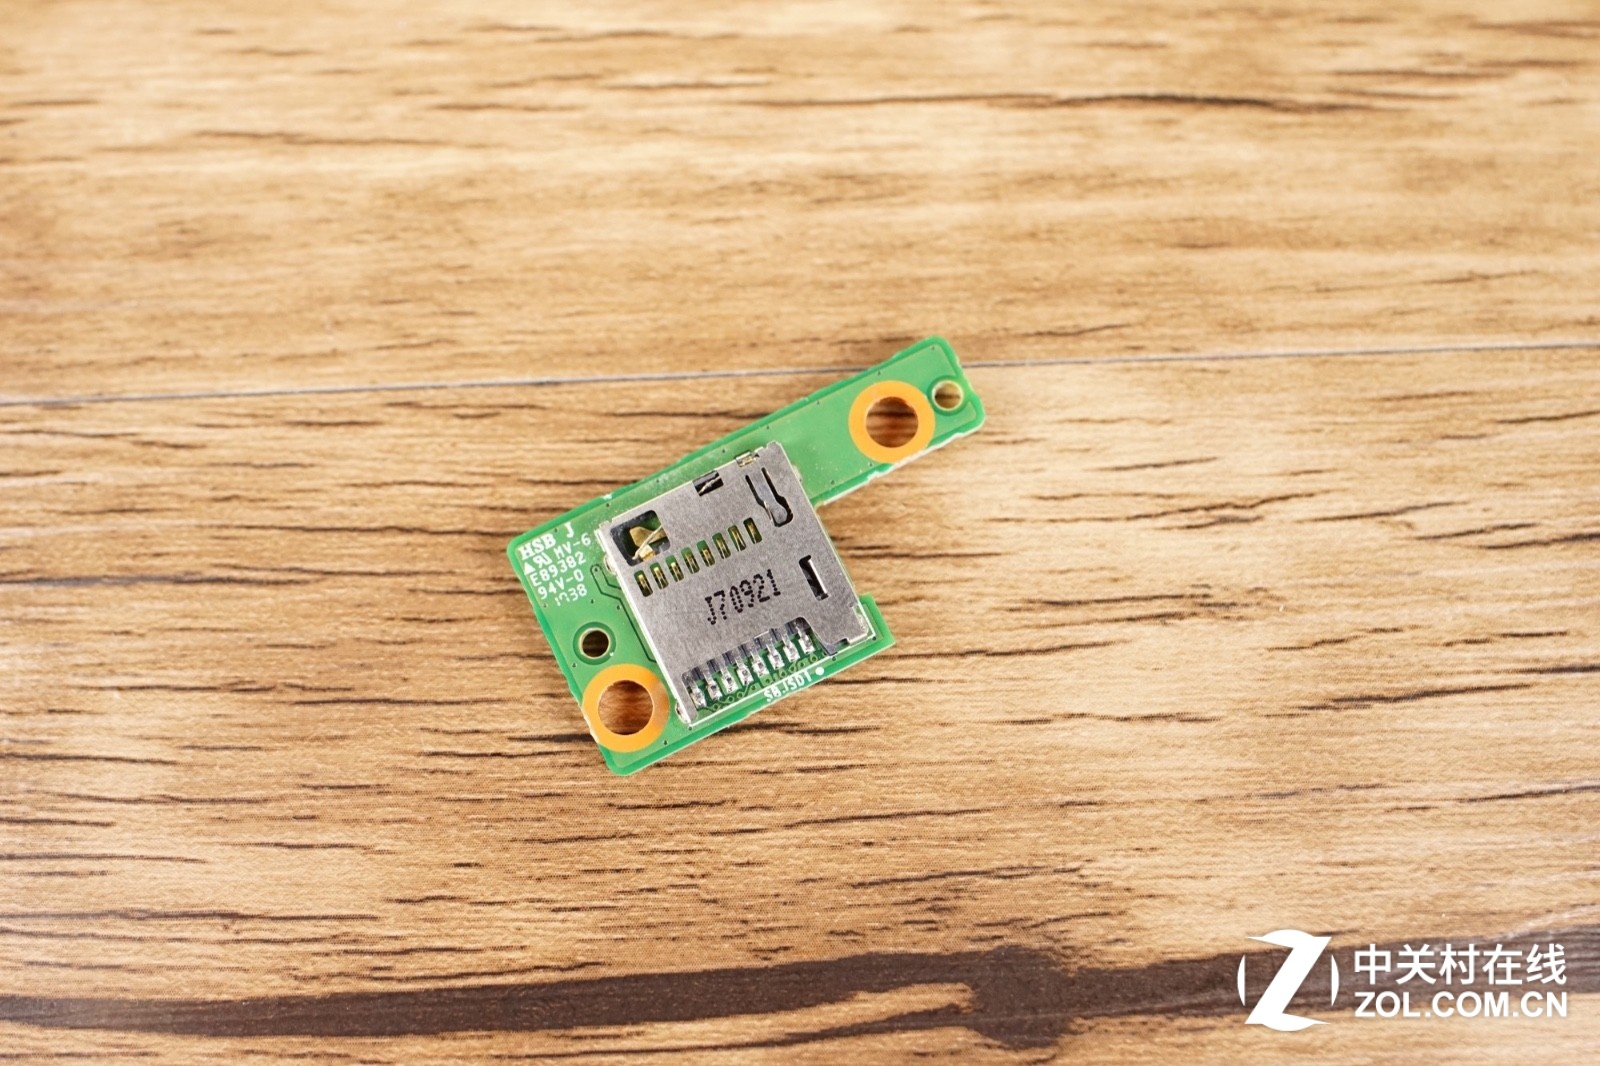
The Micro SD card reader can be seen on the left side of the battery.
Micro SD card reader module
Left and right speaker module

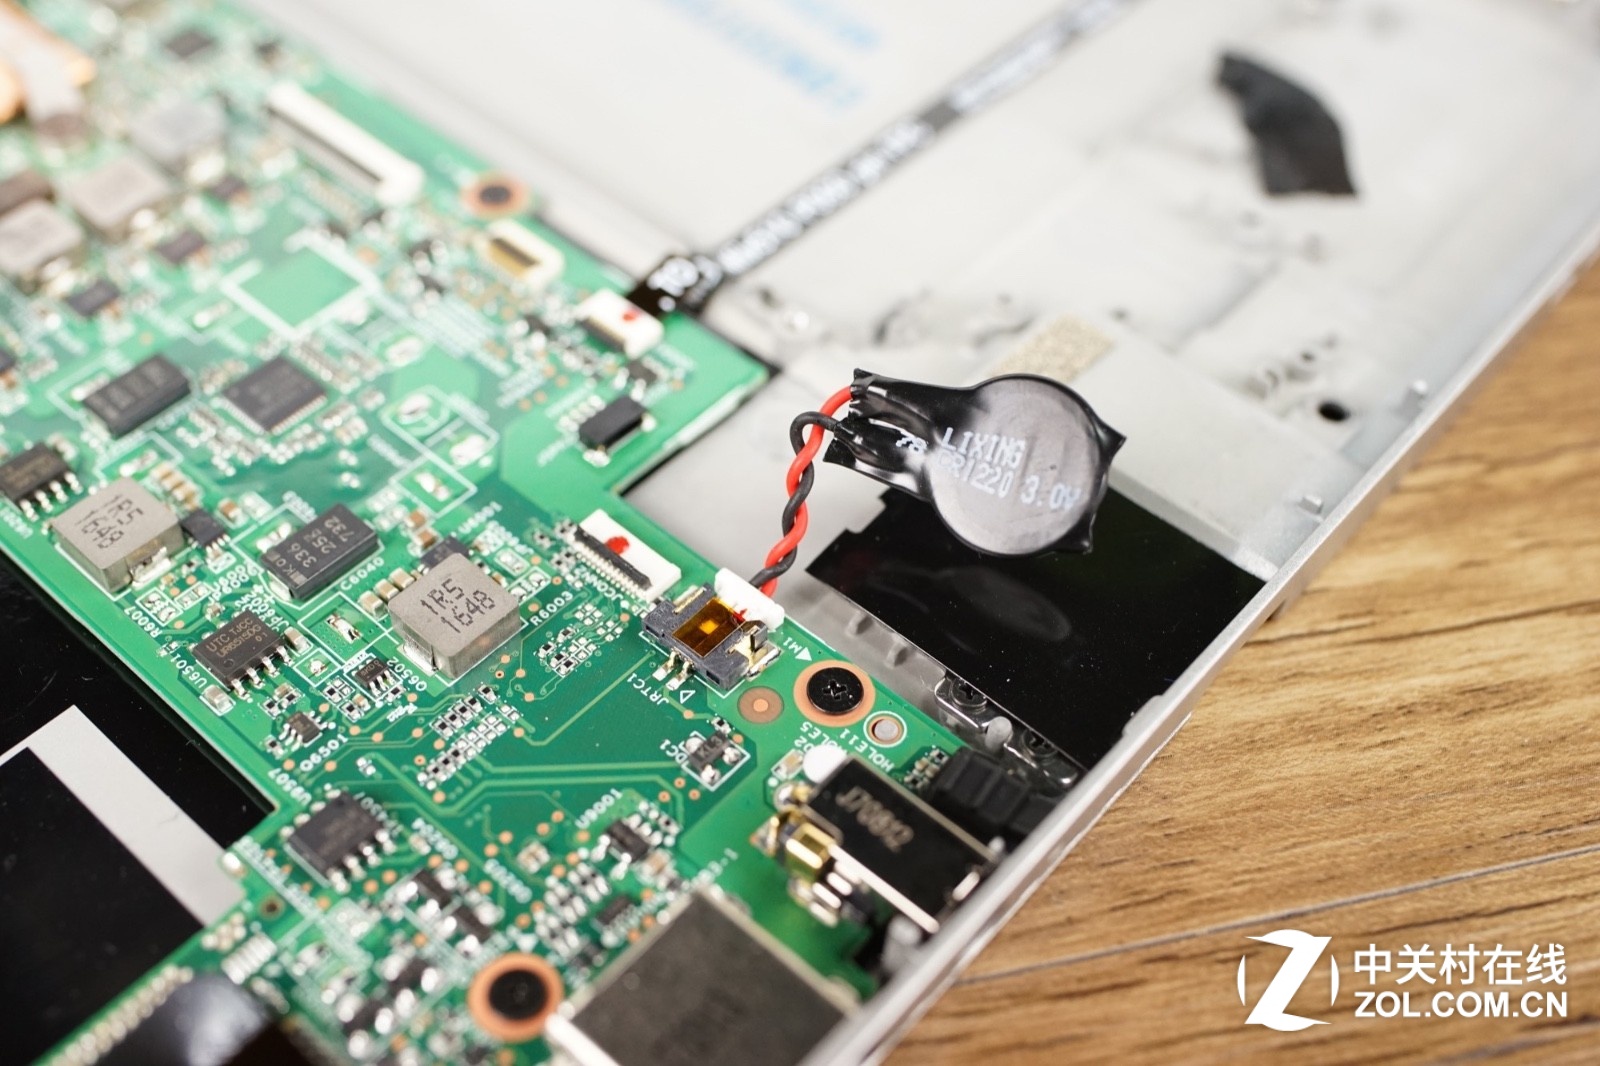
BIOS battery
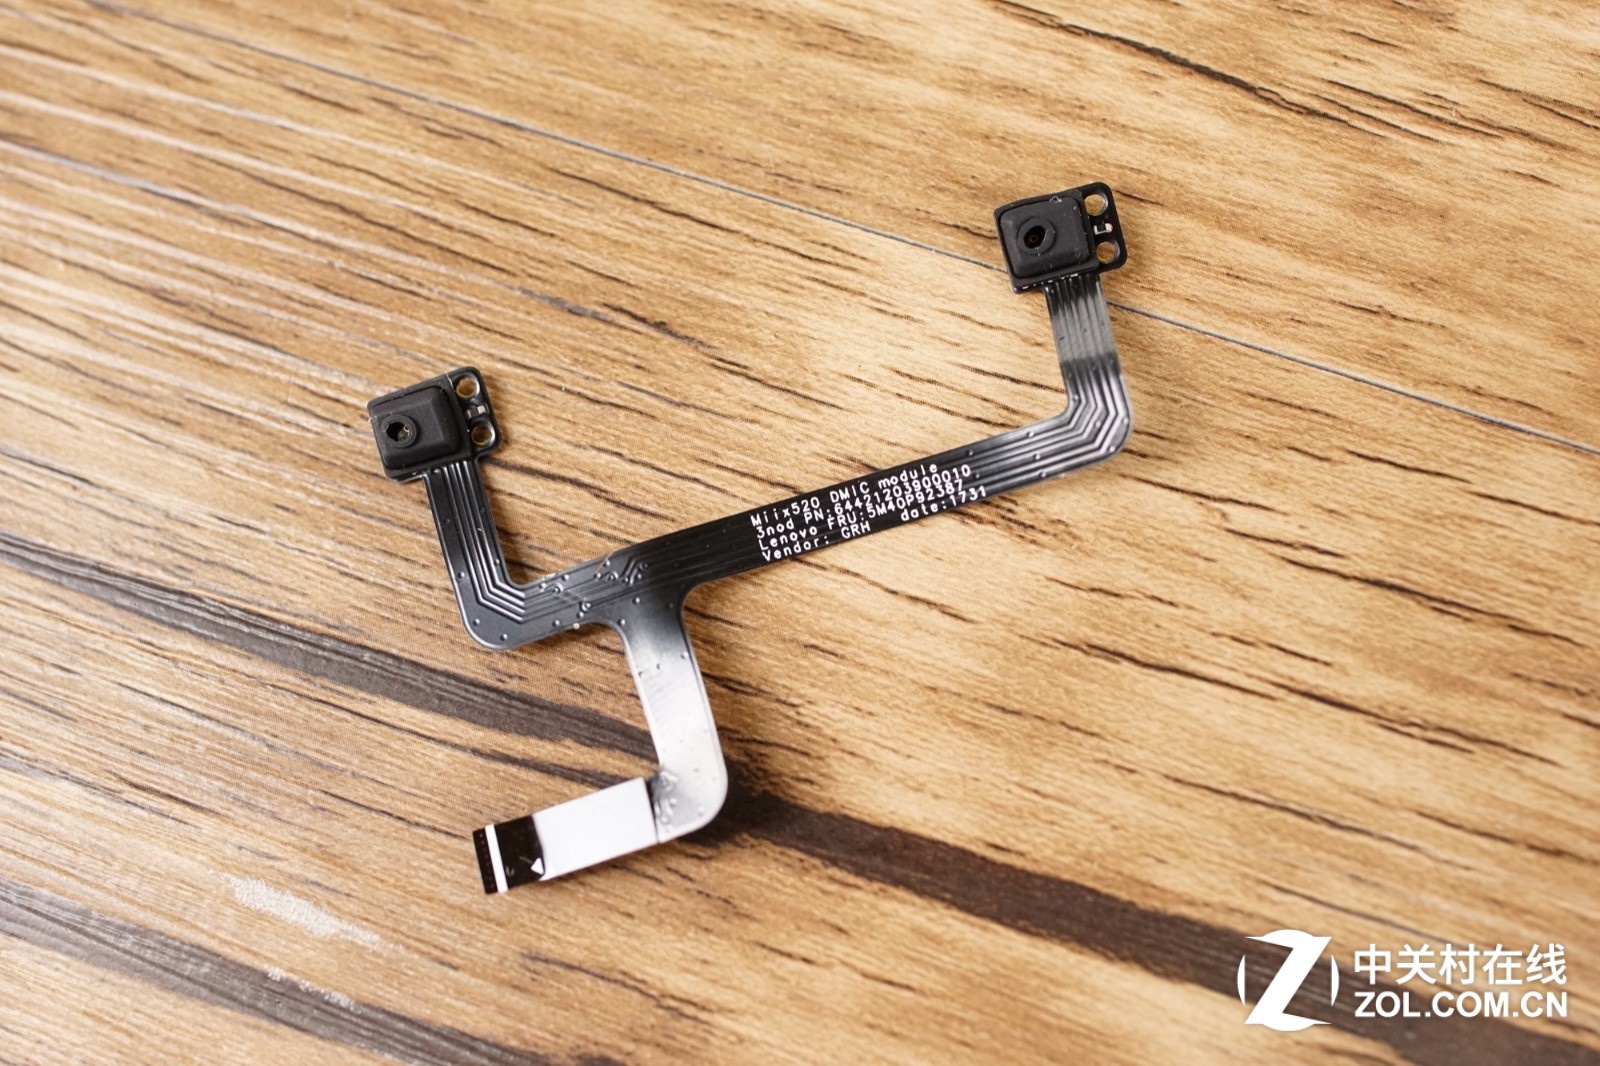
The top left is a pair of noise-canceling microphones
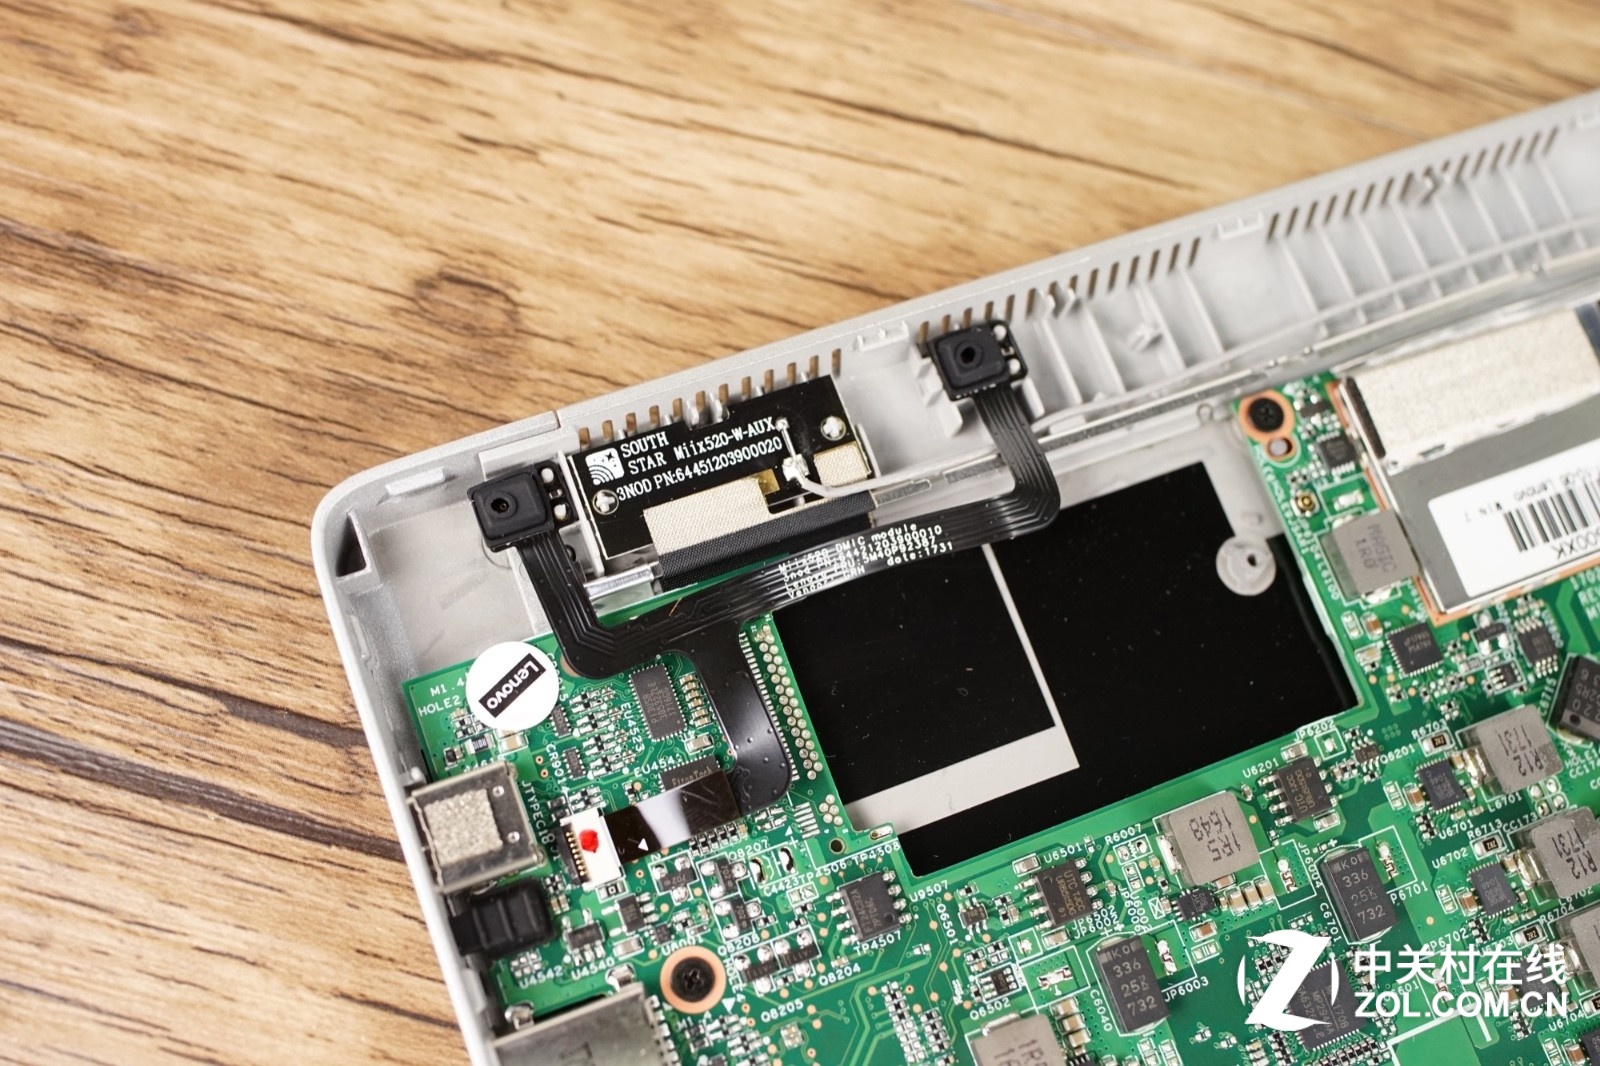
Noise-canceling microphone
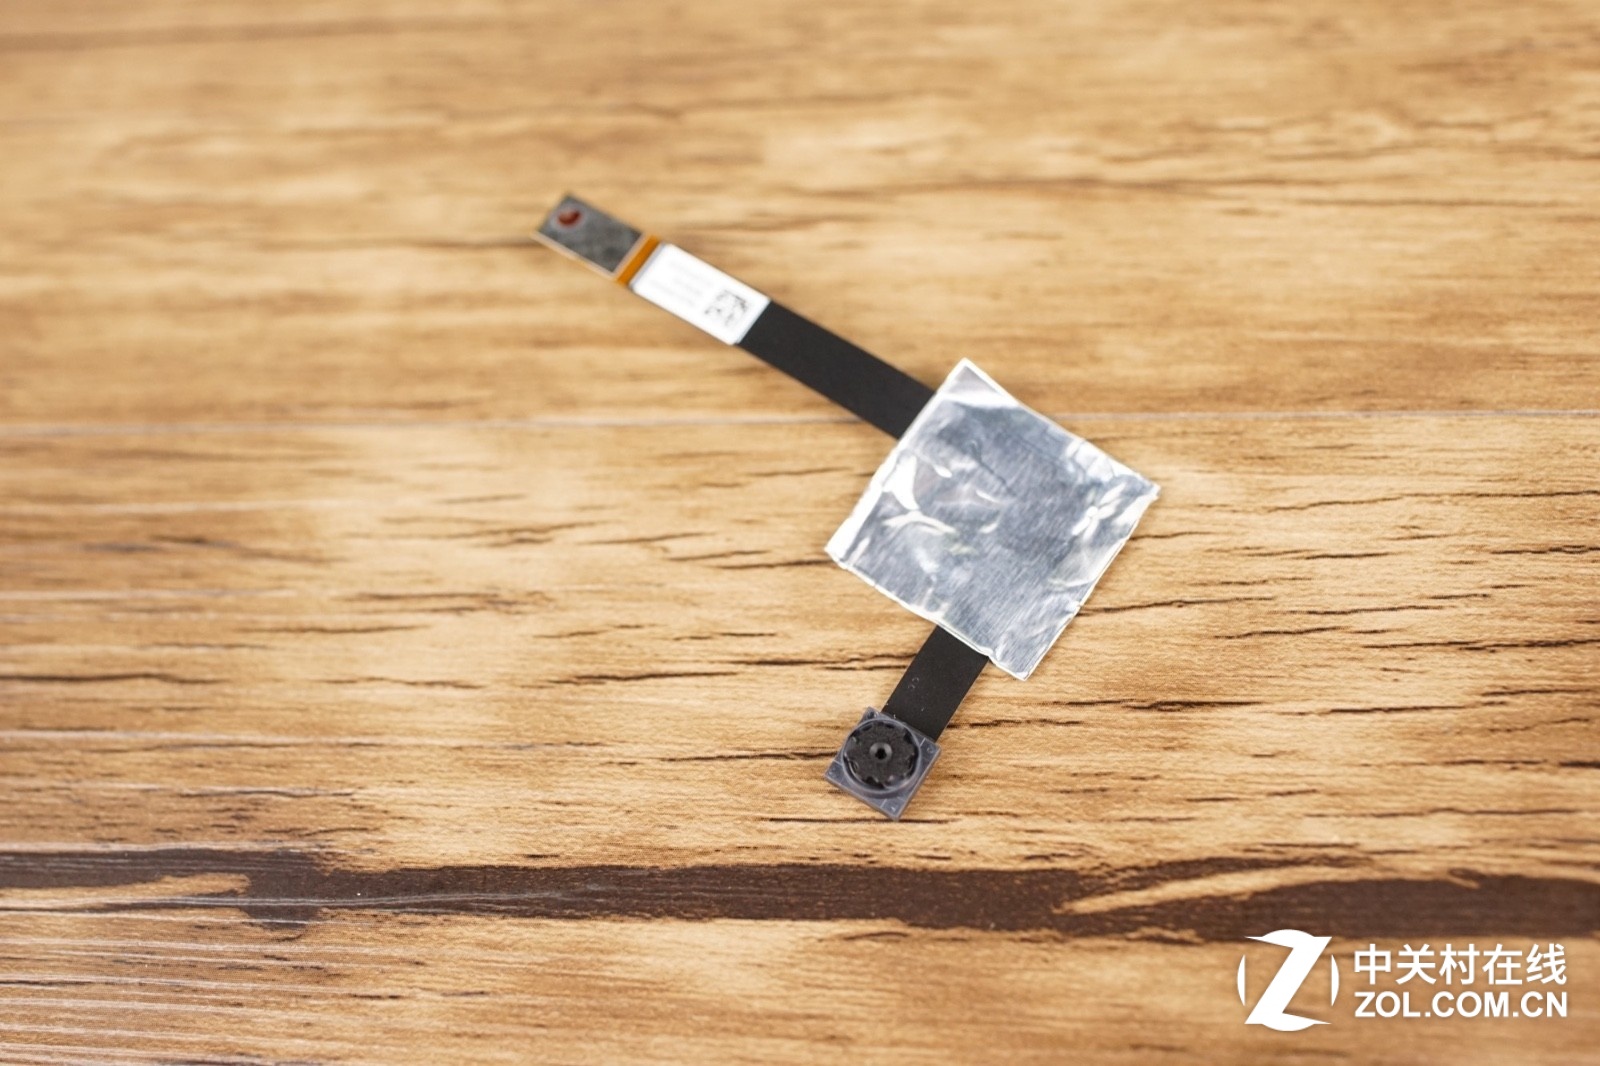
The front and rear camera
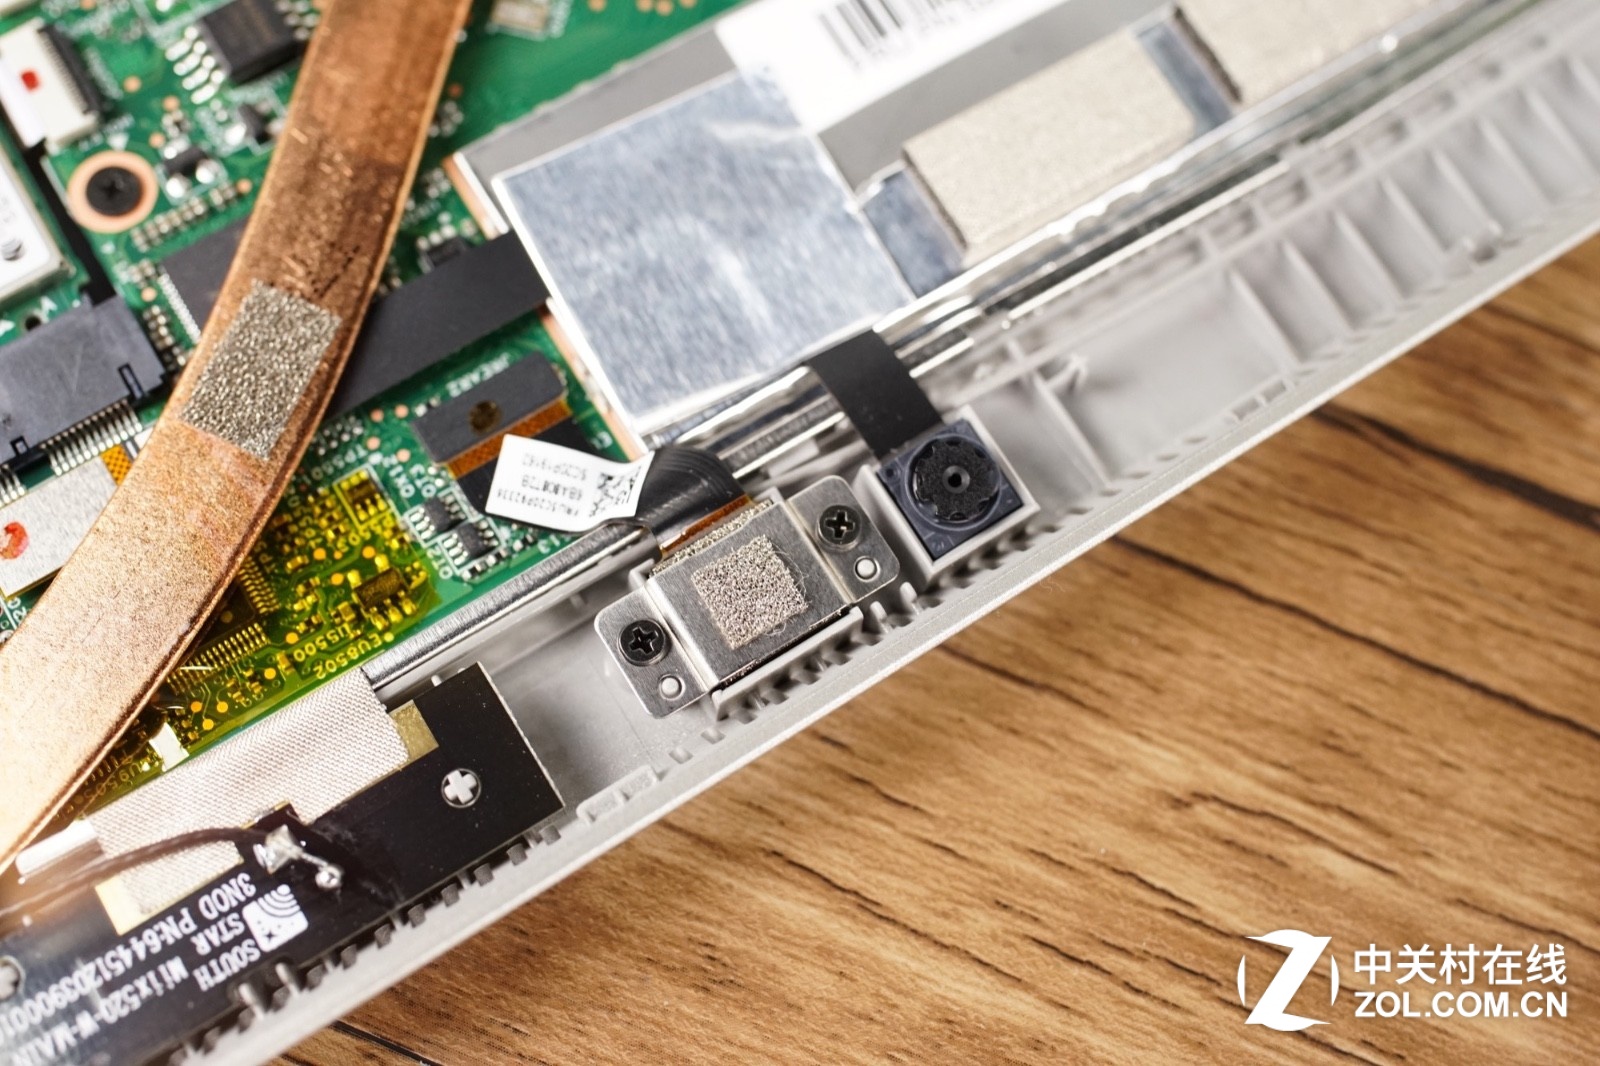
Rear camera

Unscrew the five fixing screws around the cooling module to remove the cooling module.
The back of the heat sink, you can see the bottom of the copper tube is covered with black insulating paper, which can prevent the copper heat conduction to the SSD.
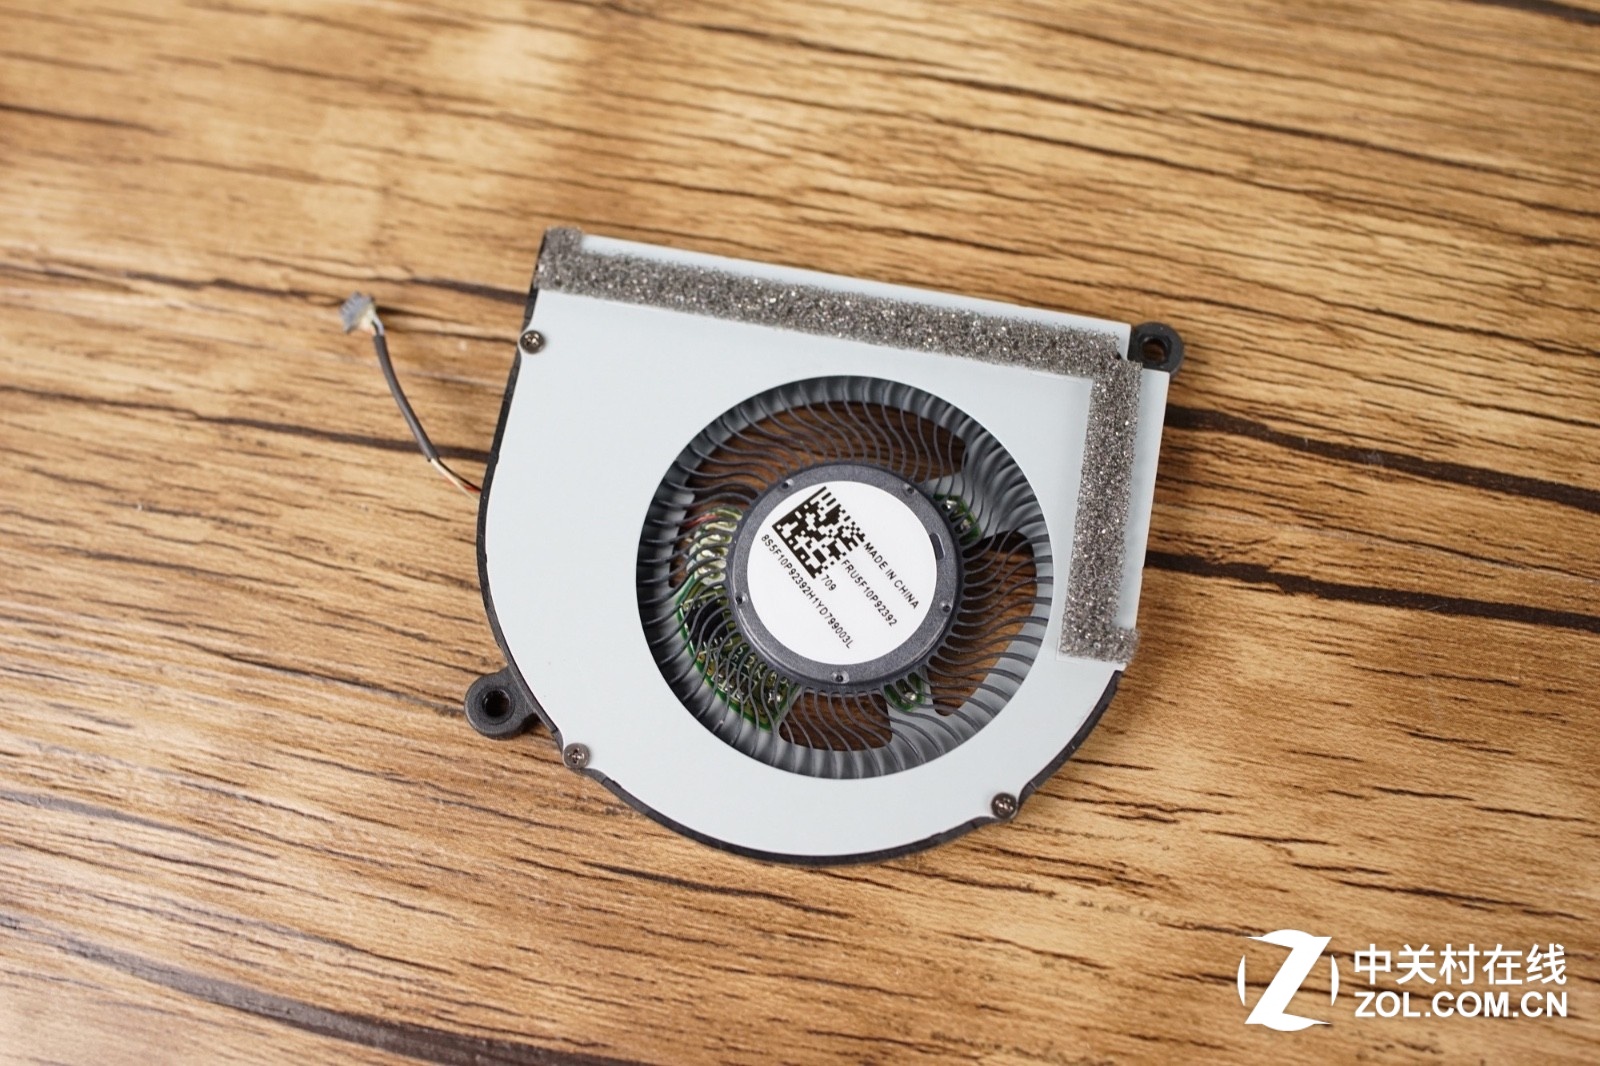
The cooling fan
Next, we will remove the SSD and wireless network card.
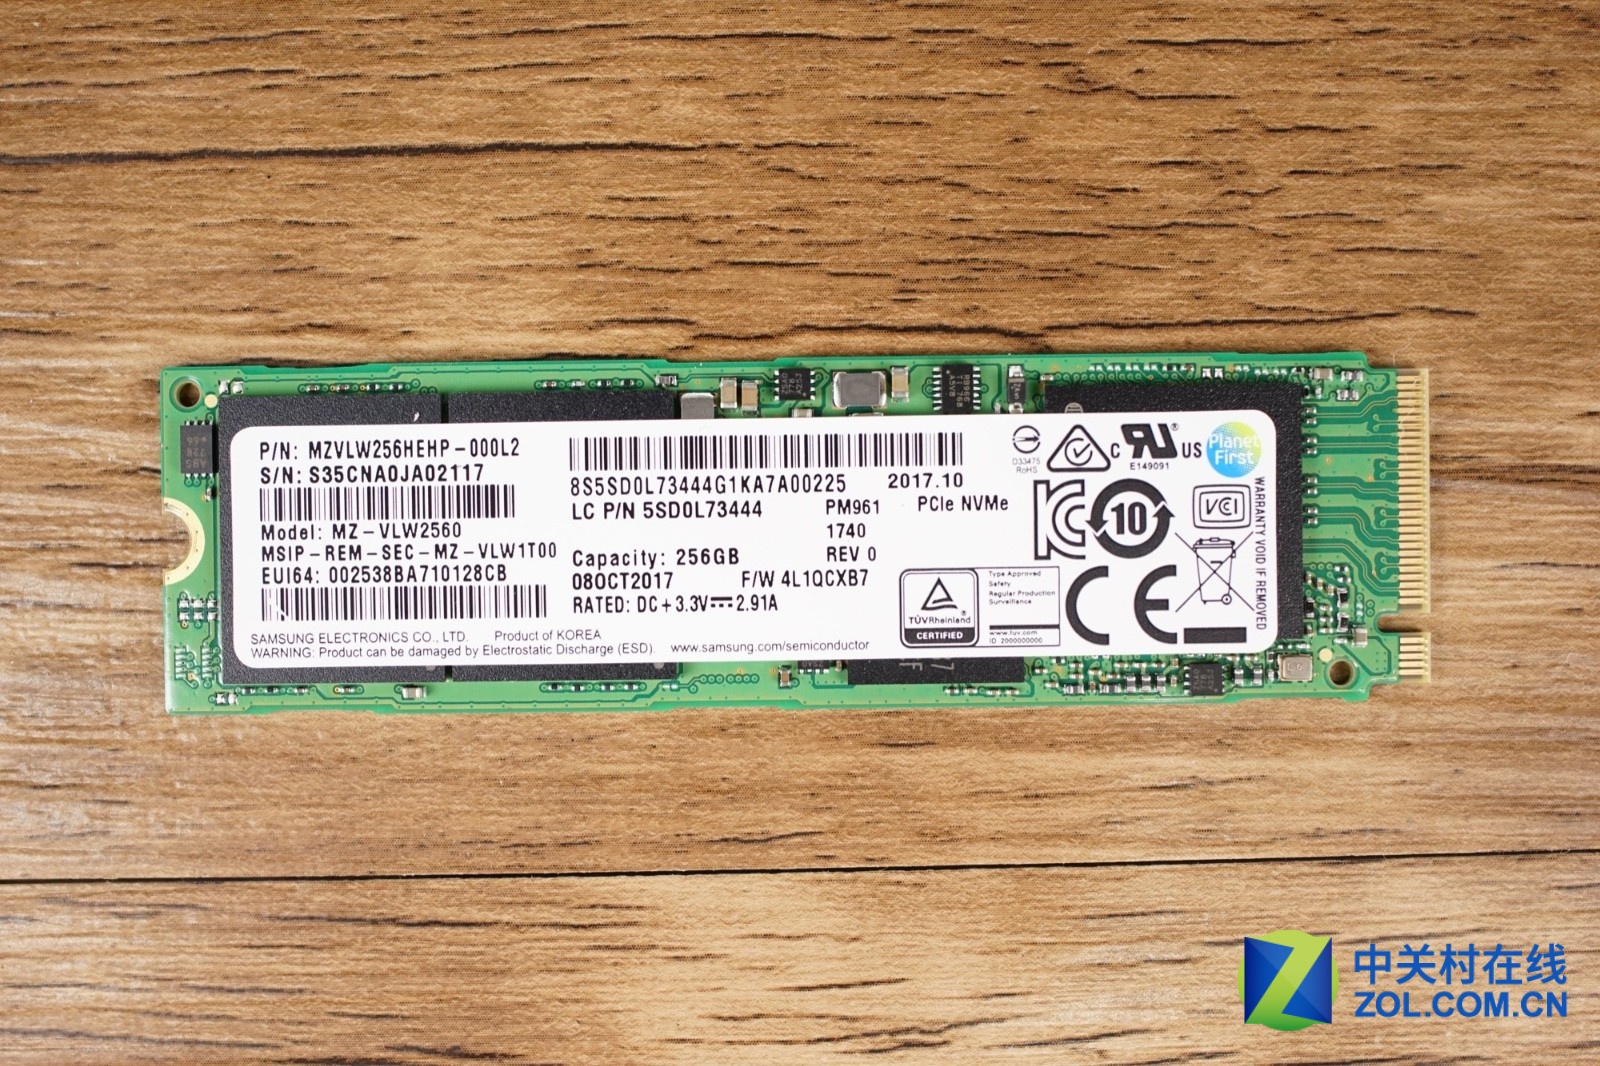
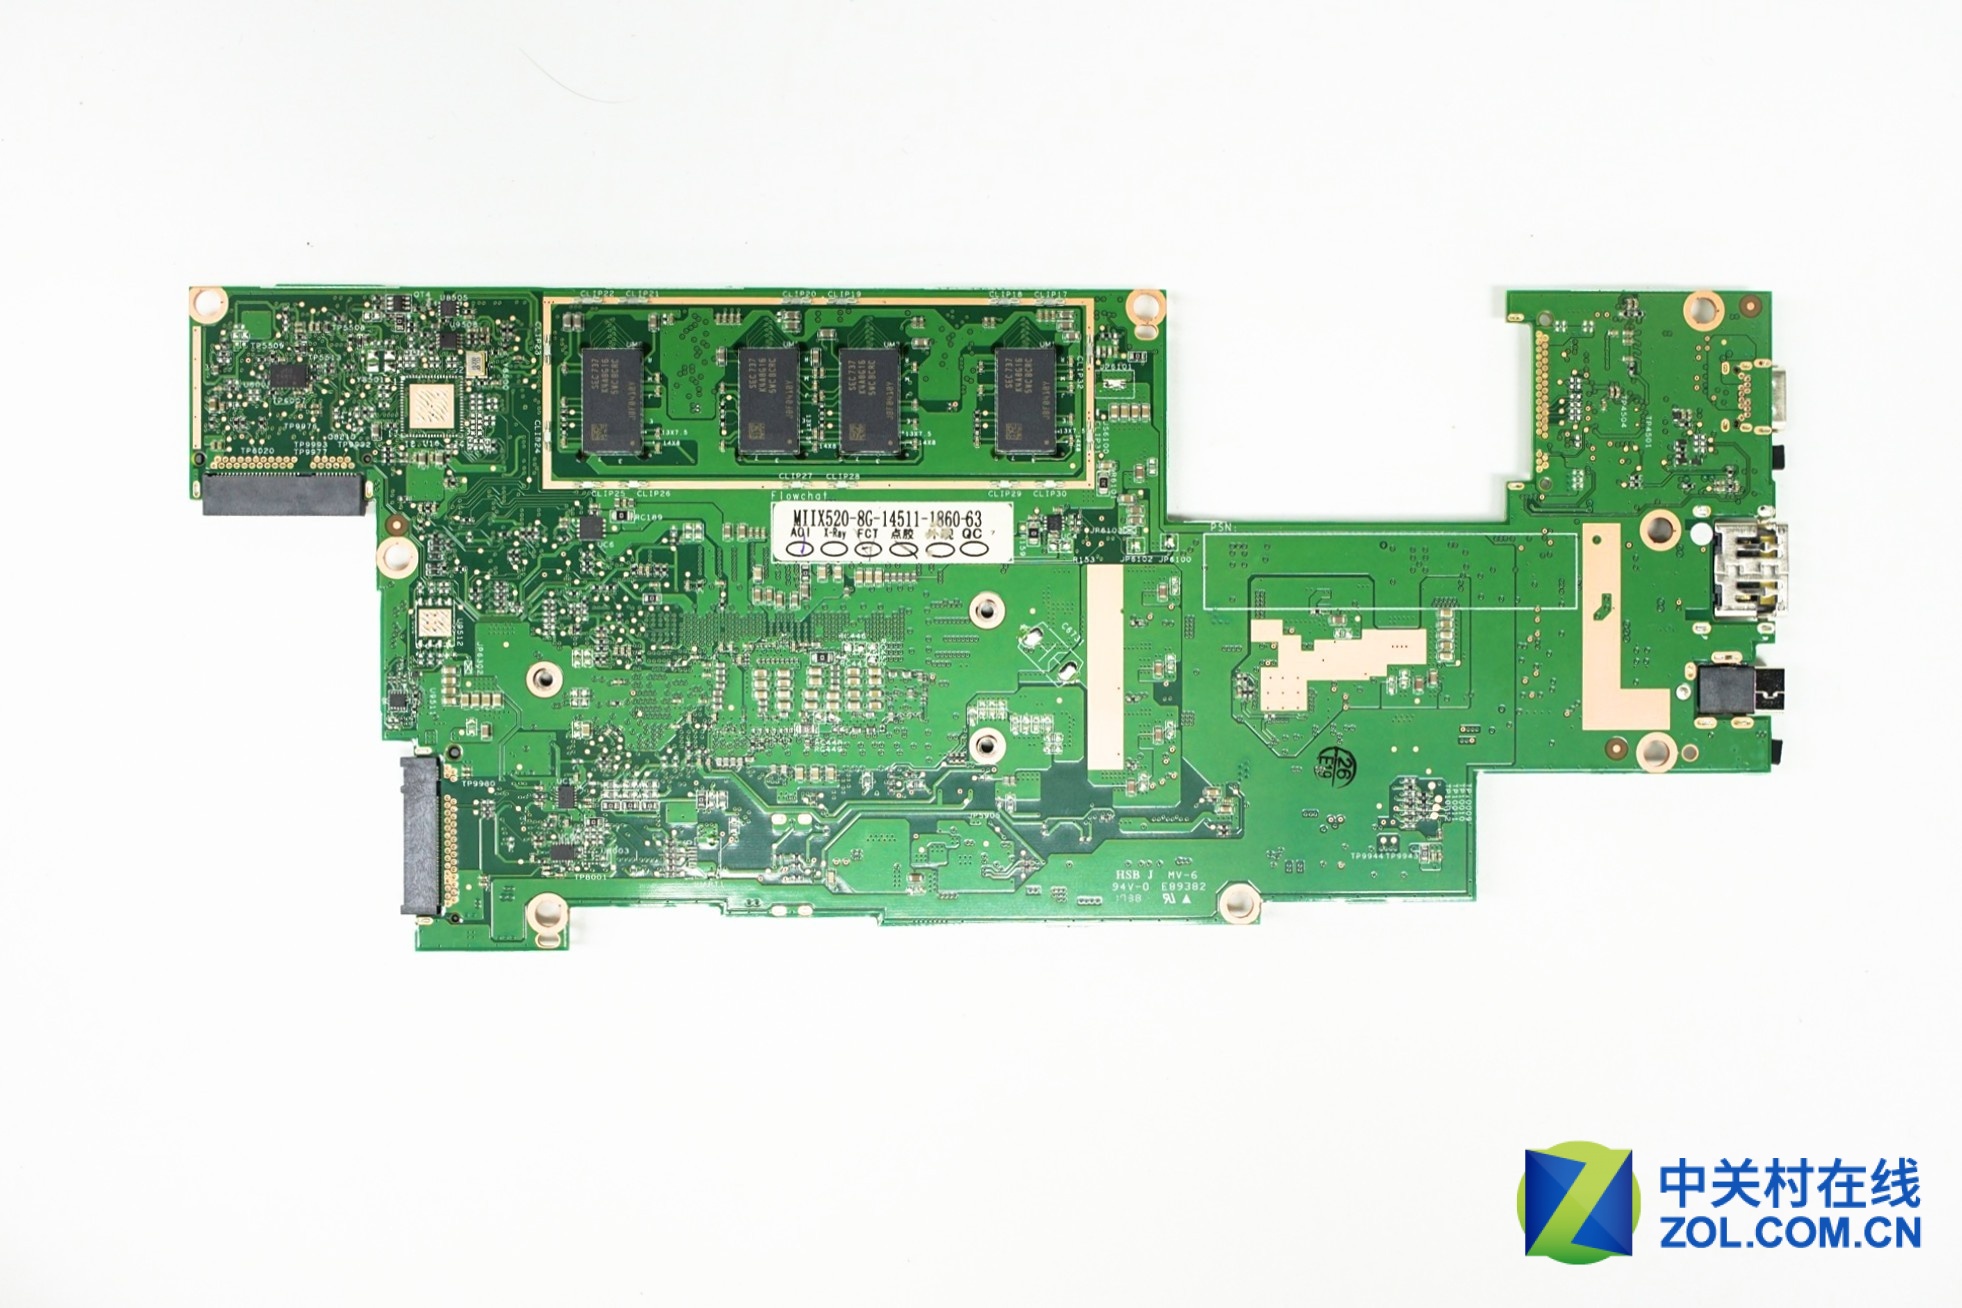
The Lenovo Miix 520 comes with a Samsung 256GB PM961 PCIe NVMe M.2 SSD.
Remove one screw and unplug two antenna cables.
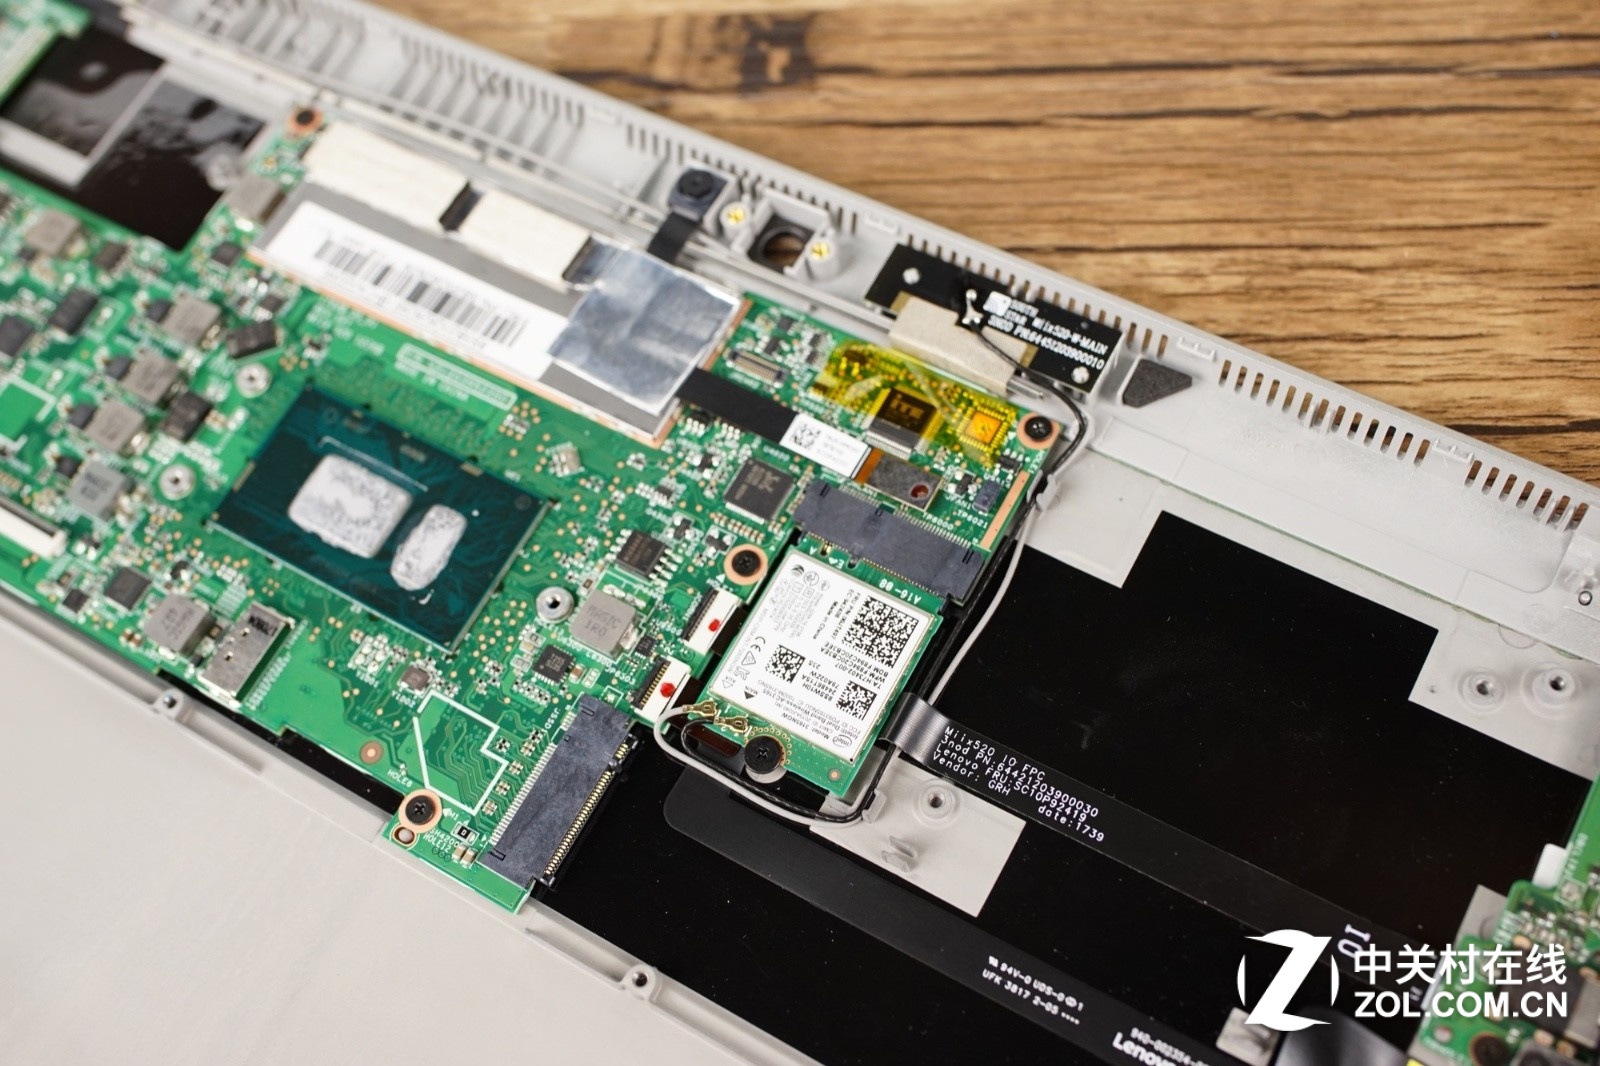
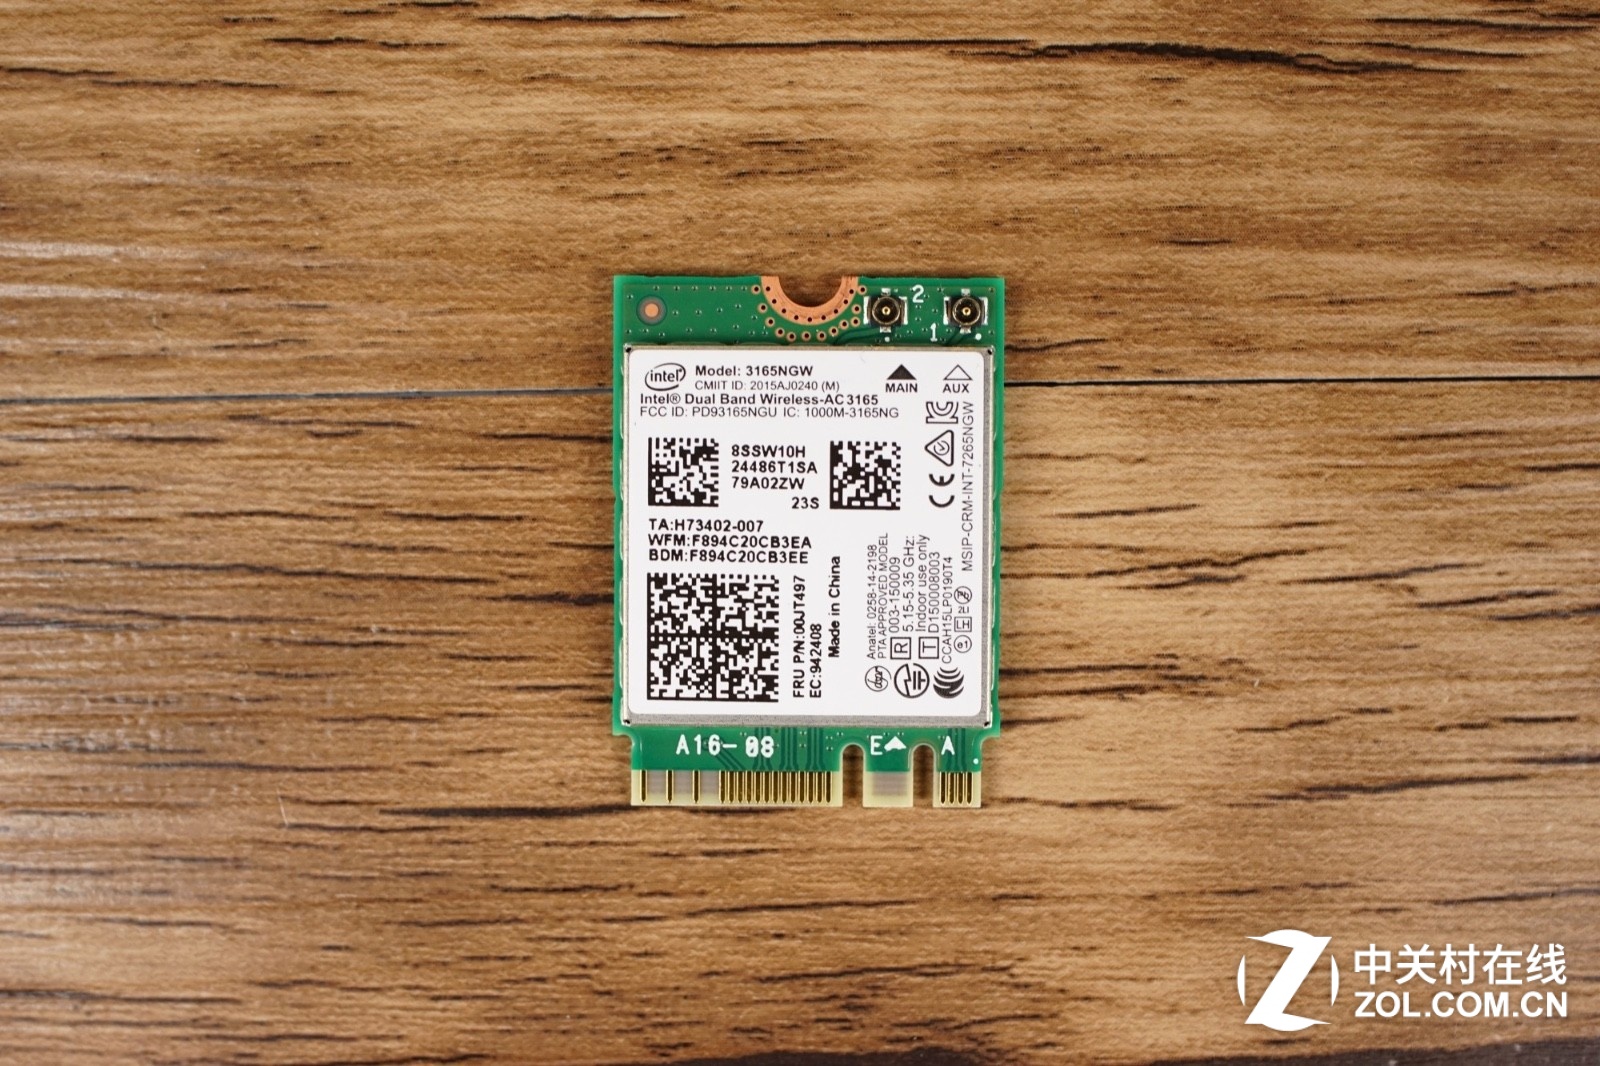
Intel Dual Band Wireless-AC 3165 Wi-Fi card with Bluetooth 4.2
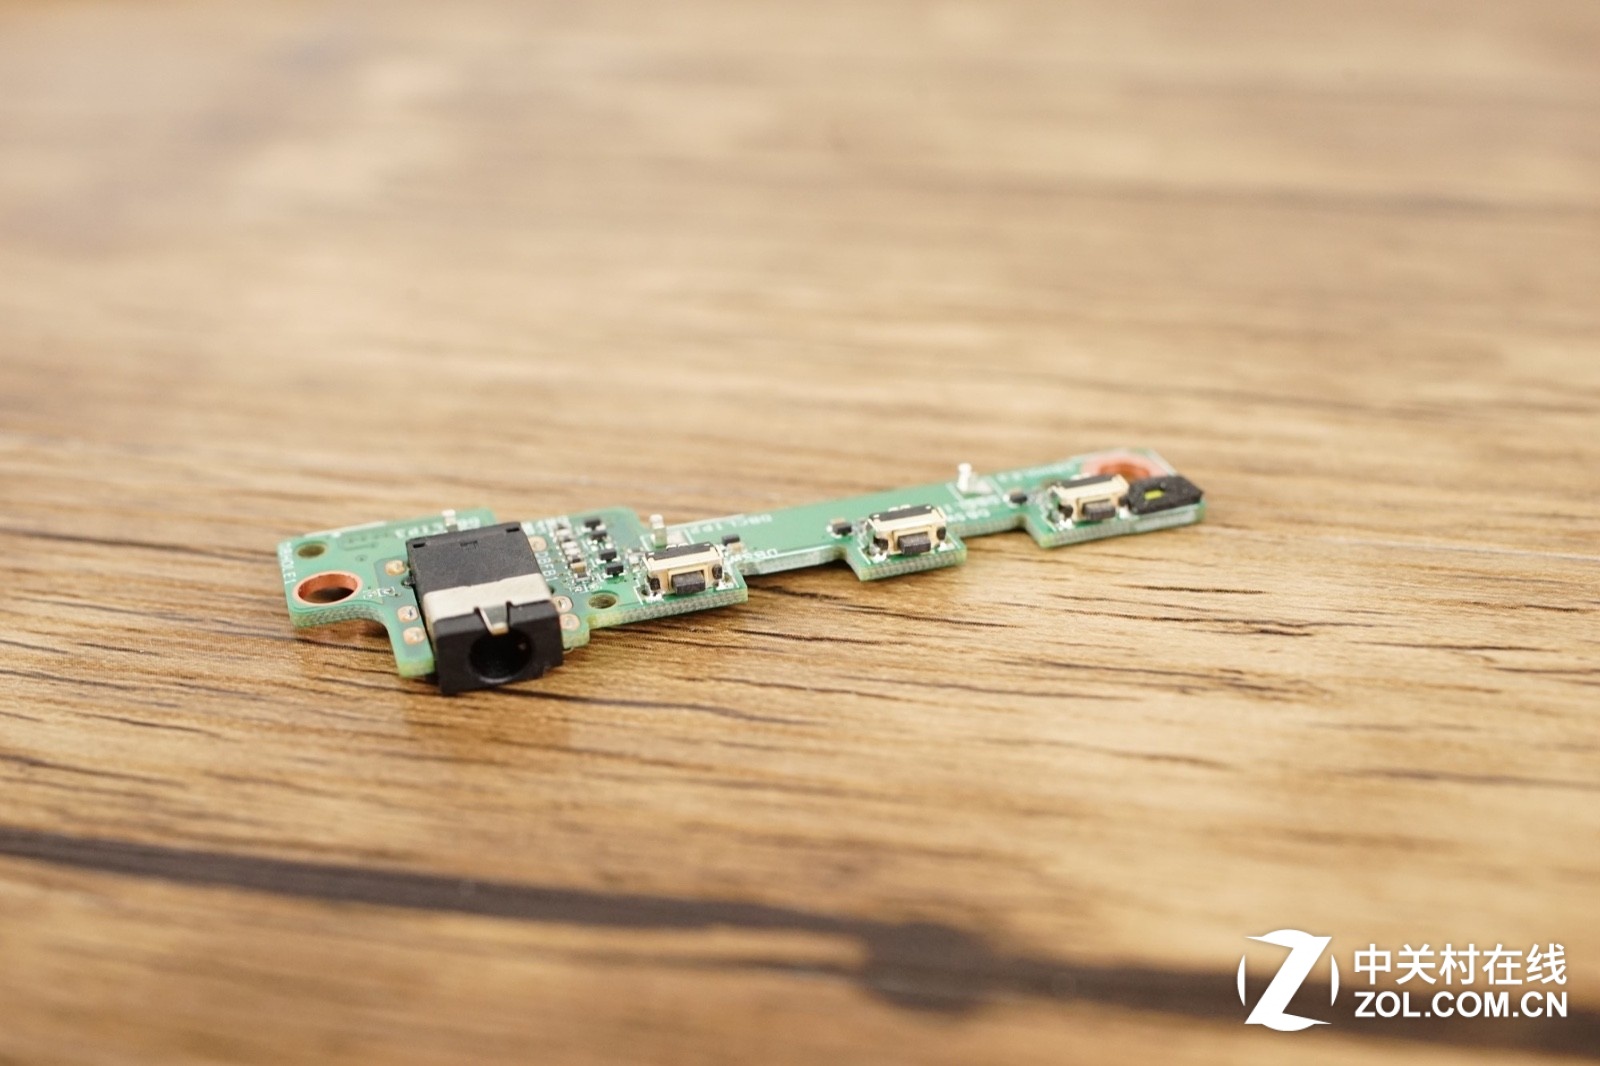
On the right side of the machine, there are two cables connecting the button on the right and the fingerprint recognition module respectively. The design of separation from the main board is beneficial to the convenience of maintenance.
The power button, volume button, and 3.5mm headphone jack circuit board
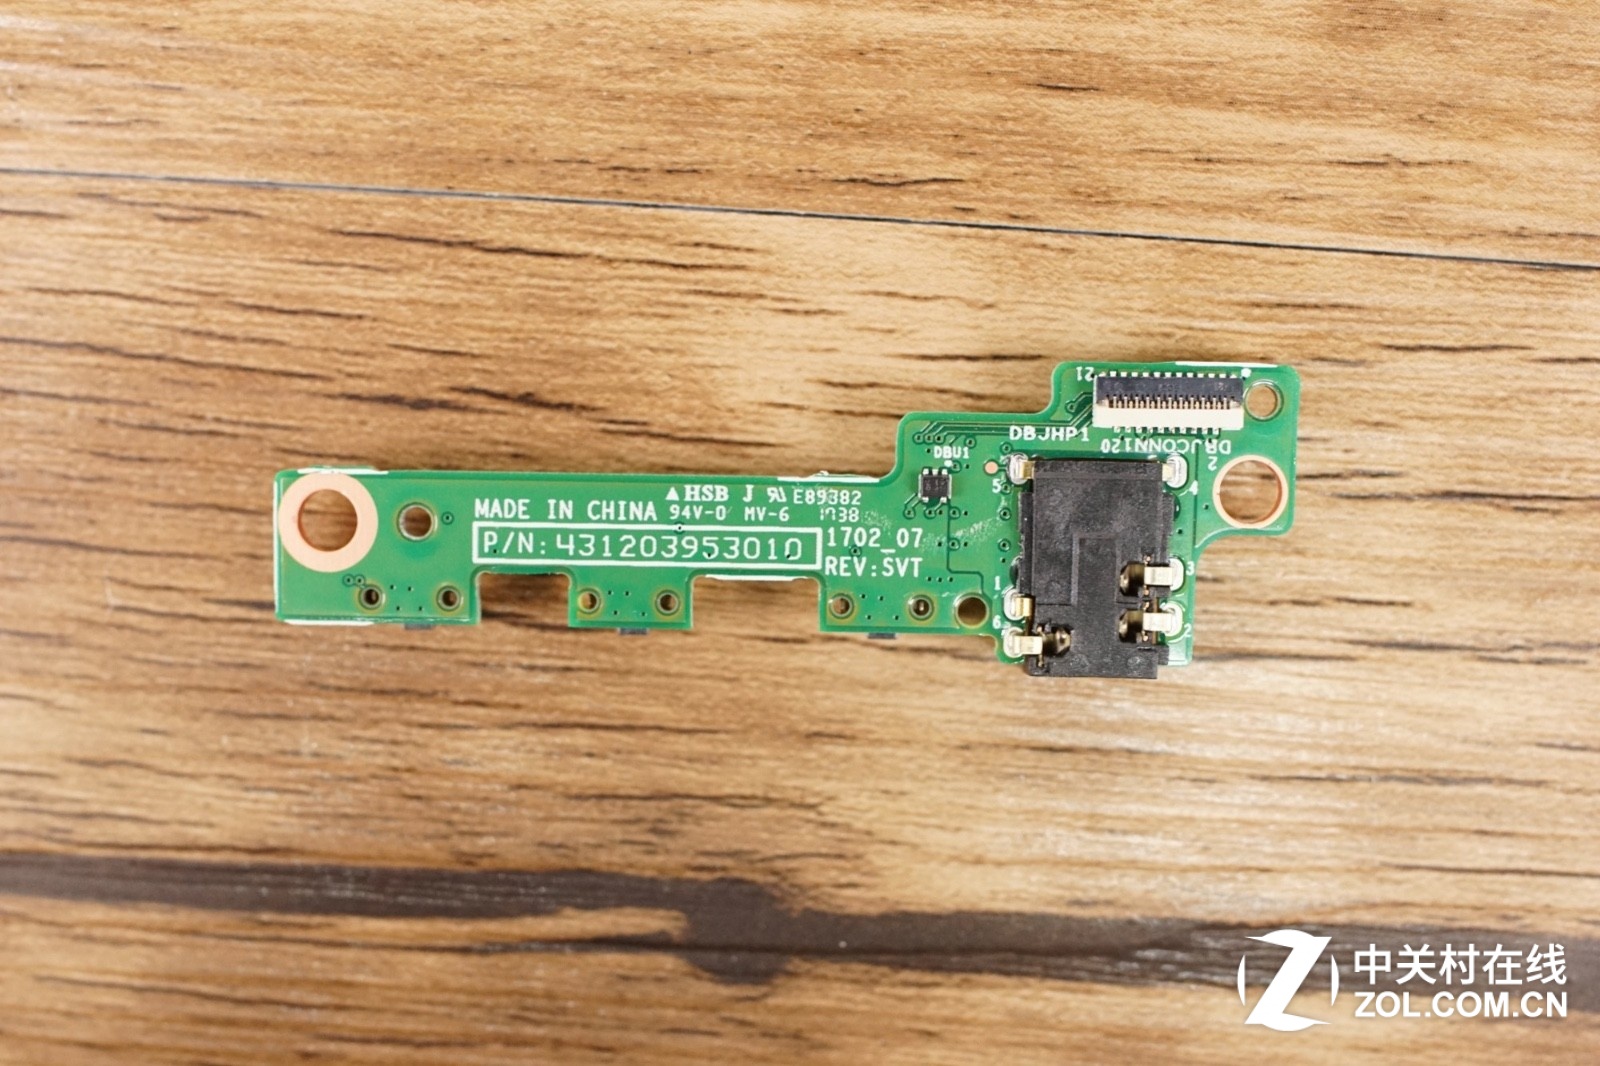
Fingerprint recognition module

The front camera is fixed on the memory shield
The front camera module
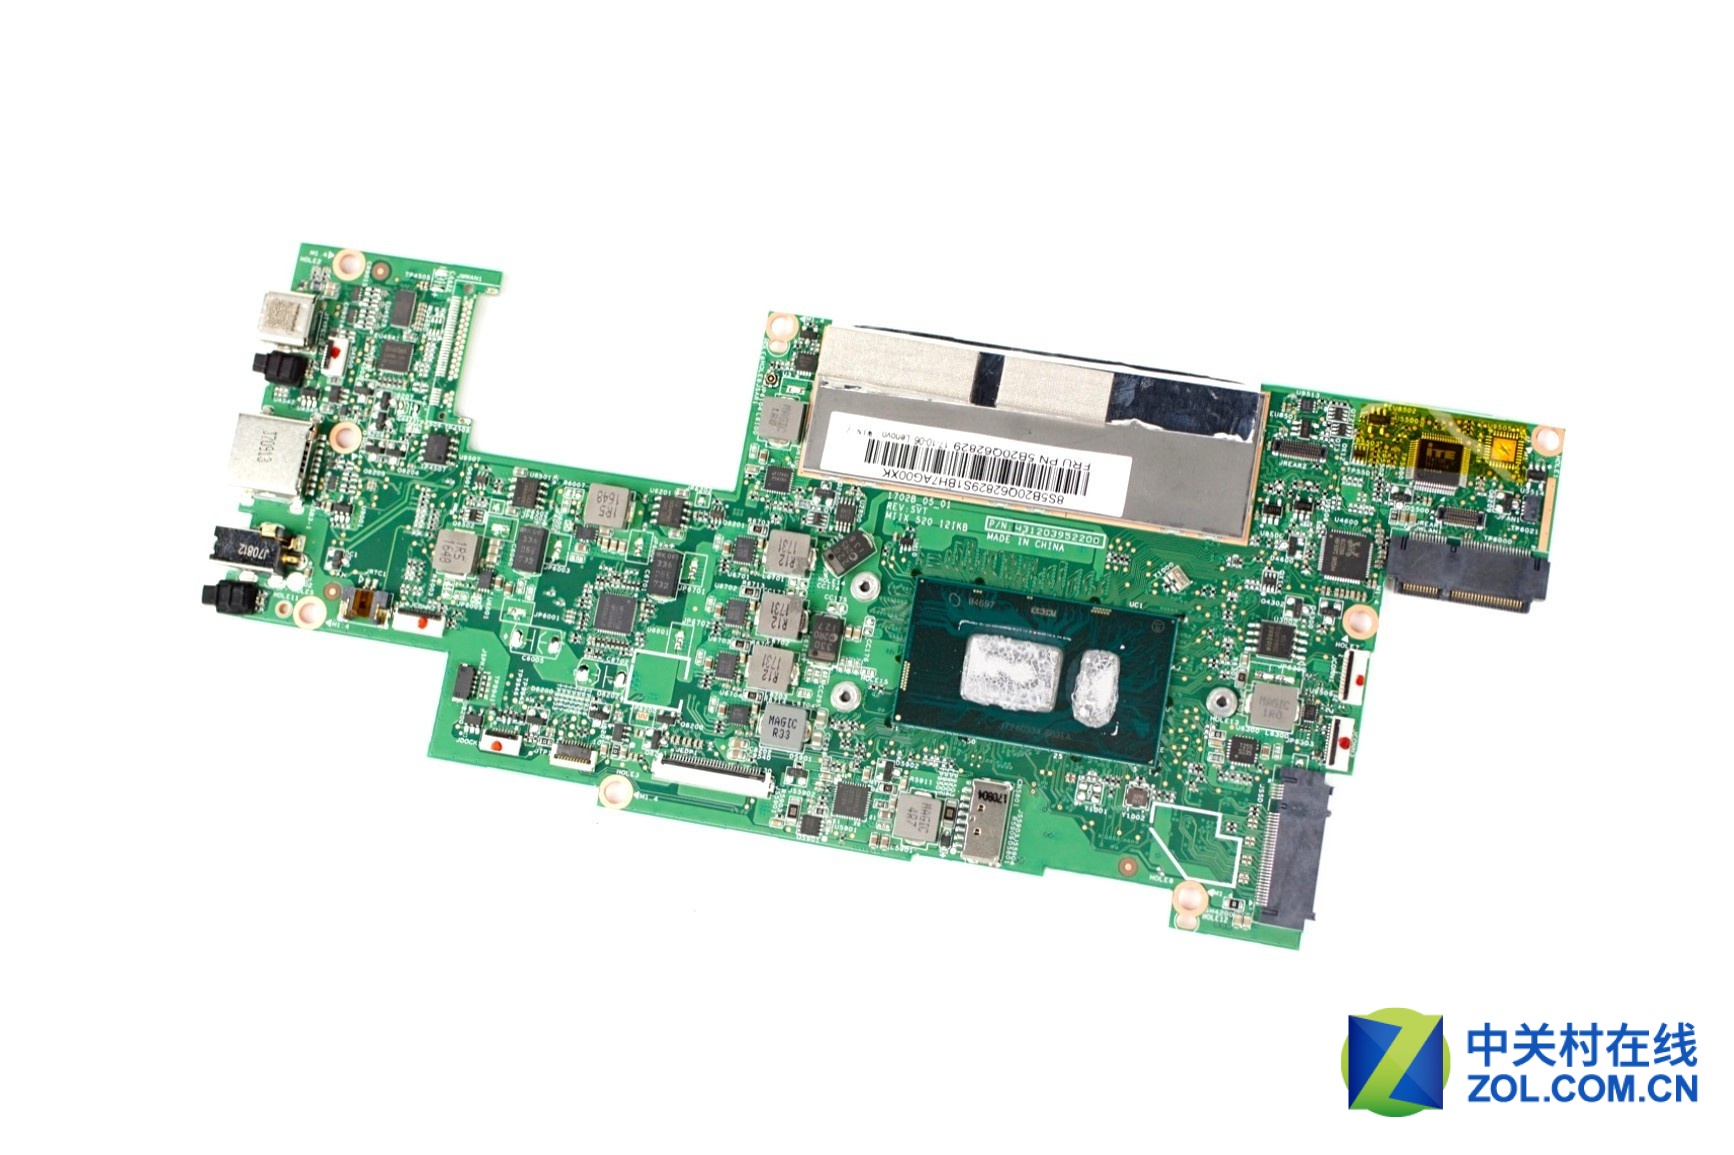

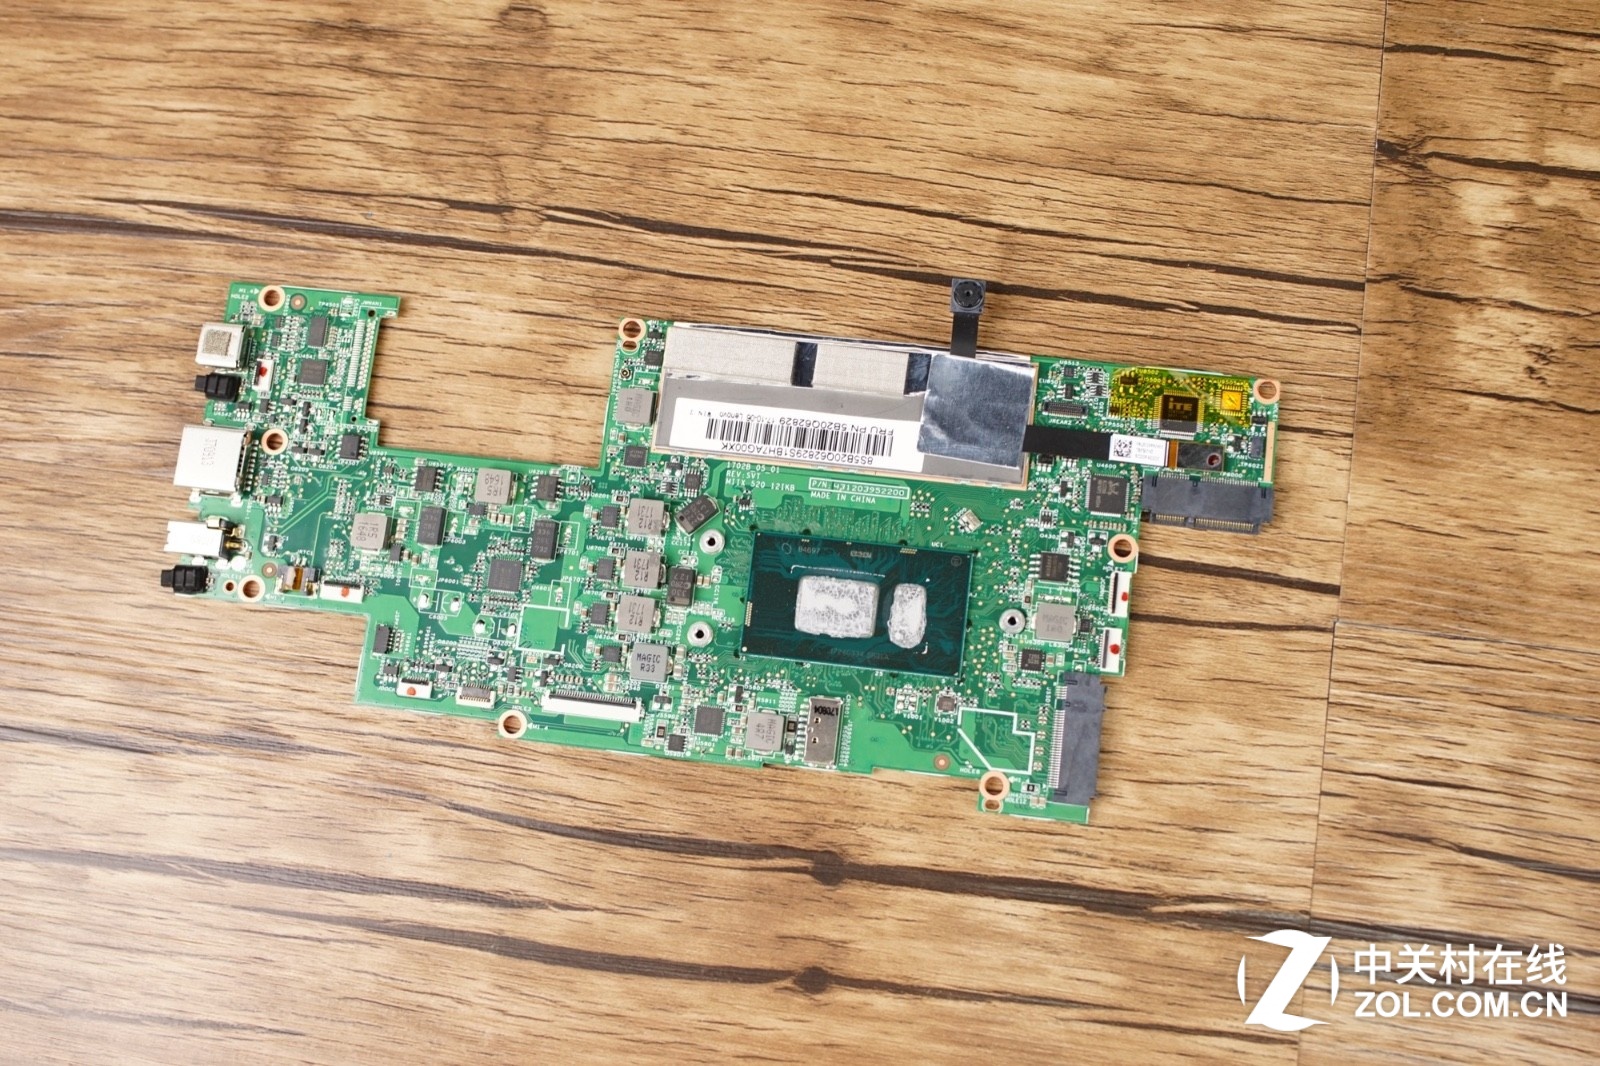
Open the metal shield can see the memory chips.
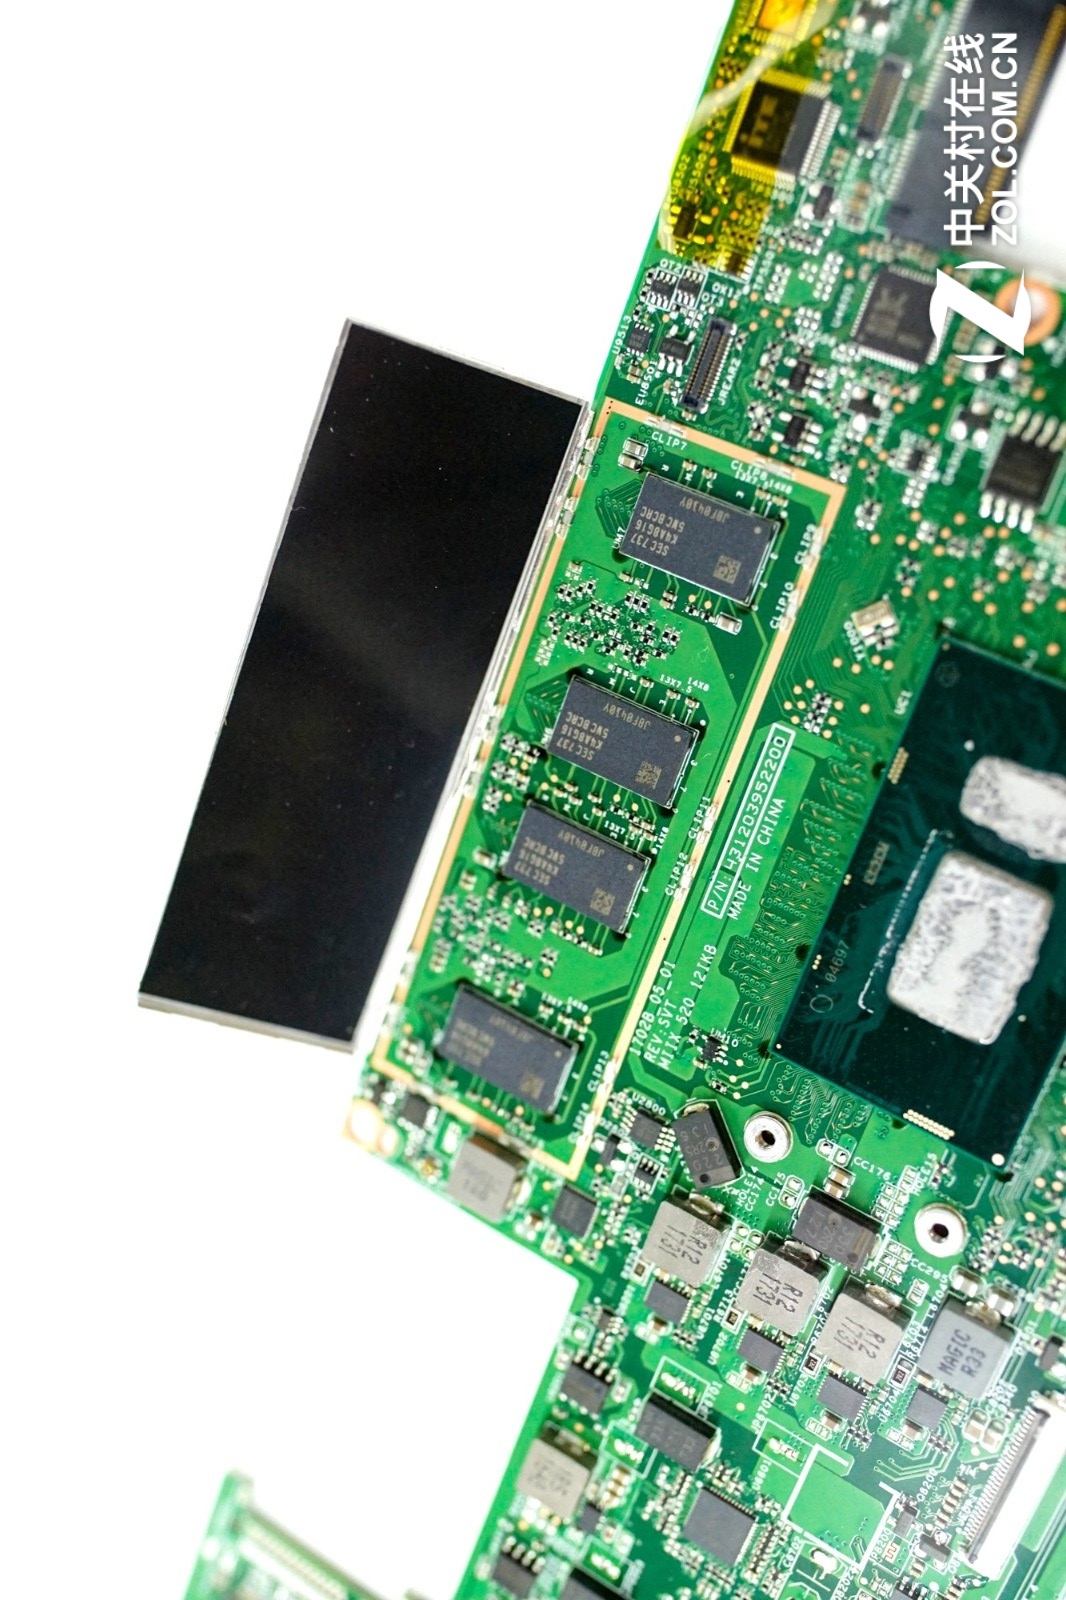
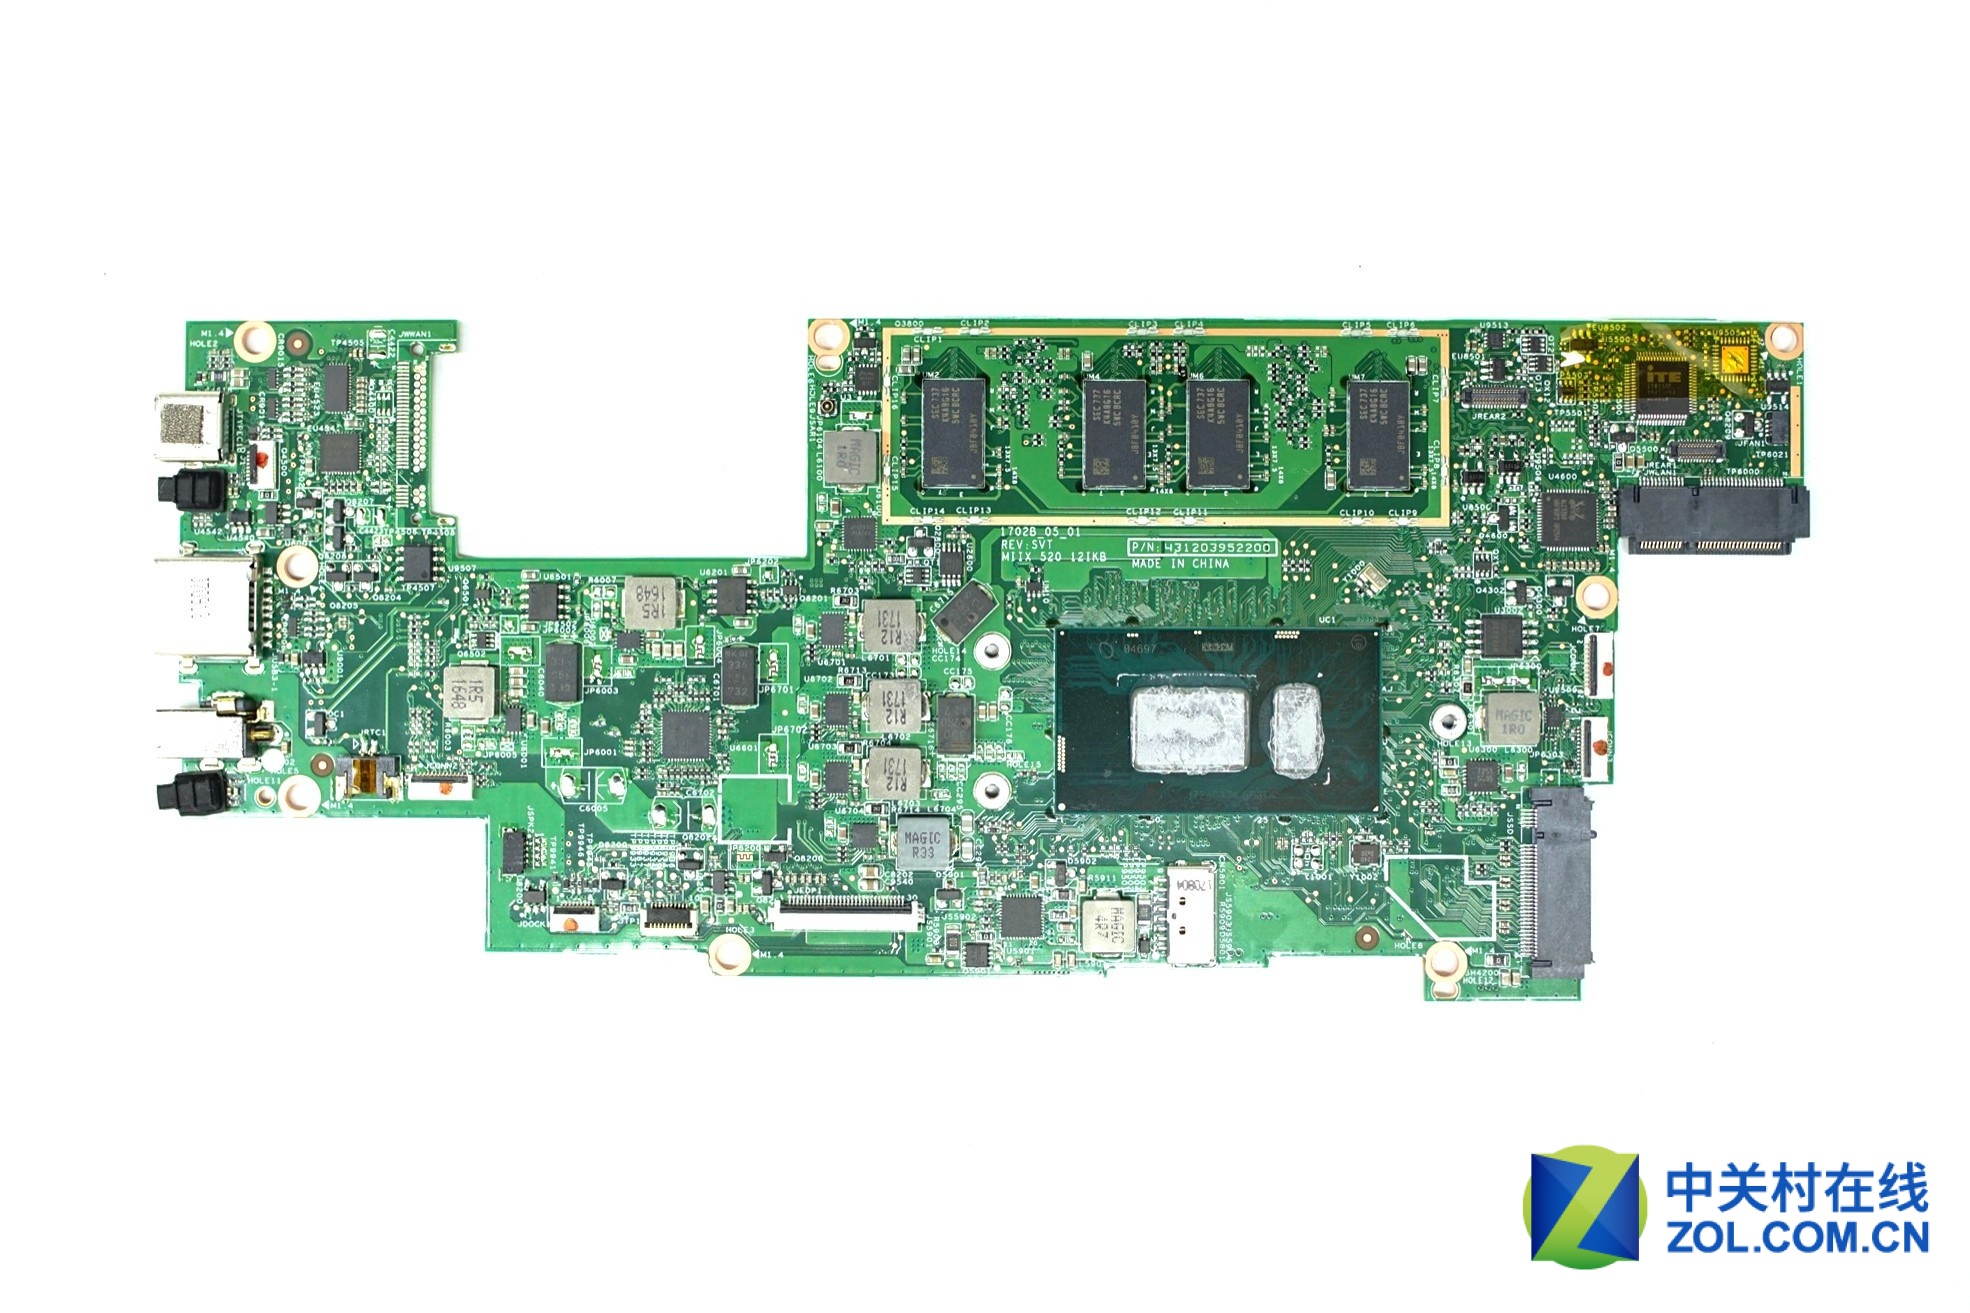
There are memory chips on the back of the main board.
The bottom case is also made of magnesium-aluminum alloy with high strength. In addition, the antenna is also placed on the top of the machine to maximize the intensity of the signal reception and transmission intensity.
Its LCD hinges are the same as YOGA 920.
From the disassembly point of view, Miix 520 interior design is good, the maintenance is not difficult, and its internal space utilization also needs to be improved.
The Touchscreen Assembly for Lenovo Miix 520-12IKB is available on laptopmain.com store.


RAM replacement is possible?