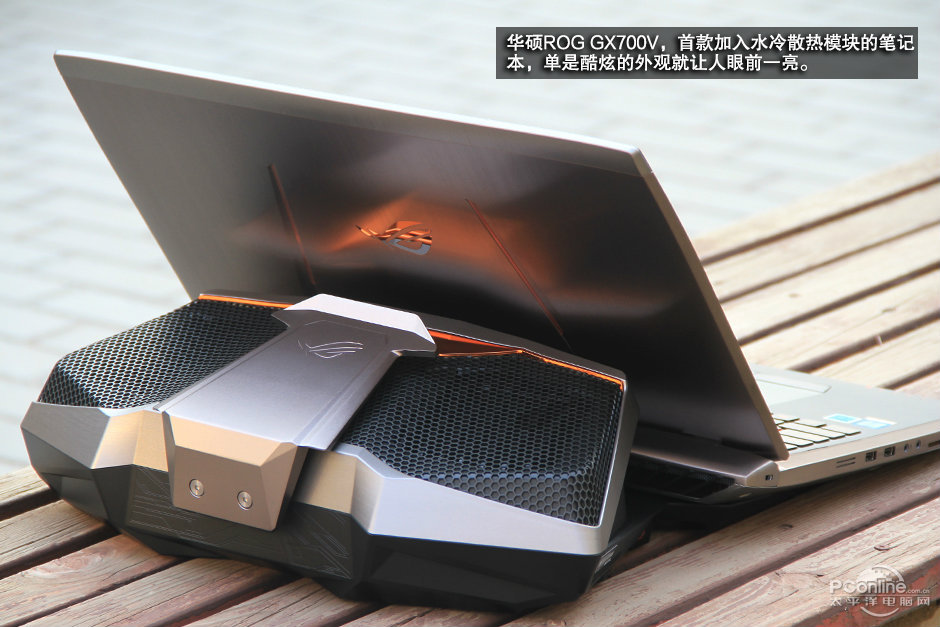
Asus ROG GX700VO played the role of the subversive gaming notebook. It is equipped with water-cooled systems and brought performance improvements. We are not sure the future will not have a second, third water-cooled notebook available, but there is no doubt that the first is always the most easily remembered by the people.
It is the world’s first water-cooled gaming laptop. It is designed to give you a gaming laptop with overclocking potential to go toe-to-toe with extreme gaming desktops.
Specifications:
Processor: Intel Core i7-6820HK 2.7 GHz @ 4 GHz
Graphics: NVIDIA® GeForce® GTX 980 with 8GB GDDR5 VRAM
Memory: DDR4 2800 2133 MHz SDRAM, up to 64 G
Display: 17.3″ 16:9 Full HD (1920×1200) anti-glare, LP173WF4-SPF3 (LGD04E8)
Chipset: Integrated Intel® CPU
Storage: 2x Samsung SM951 MZVPV512HDGL (RAID 0), 1024 GB, M.2 SSD
Soundcard: Realtek ALC286 @ Intel Sunrise Point PCH – High Definition Audio Controller
Interface: 1 x Microphone-in jack, 1 x Headphone-out jack, 1 x USB 3.1 TYPE C port(s), 3 x USB 3.0 port(s), 1 x RJ45 LAN Jack for LAN insert, 1 x HDMI, 1 x mini Display Port, 1 x Thunderbolt port, 1 x SD card reader, 1X AC adapter plug
Networking: Intel Dual Band Wireless-AC 7265
Size: 429 x 309 x 33 ~35 mm (WxDxH), Dock: (Thermal Dock) 417 x 368 x 114 mm (WxDxH)
Battery: 6-Cells 93 Wh, 8040 mAh Lithium-Polymer
Operating System: Microsoft Windows 10 Pro 64 Bit
Weight: 3.6kg with battery, with dock: 4.8kg
Looking for more guides from laptopmain.com? Follow us on Facebook for all the latest teardown news.
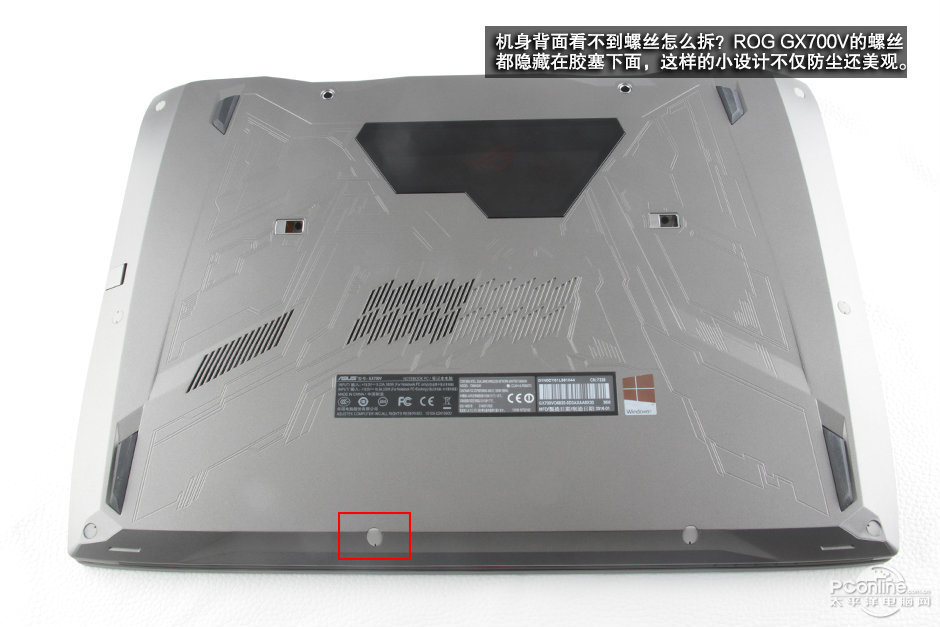
1. Removing the bottom case
We cannot find screws on the bottom case. The screws are hidden under the rubber mat on the back of the fuselage. This design is not only beautiful but also dust-proof.
Remove all visible rubber mats.
Remove all screws under rubber mats.
Turn over the laptop.
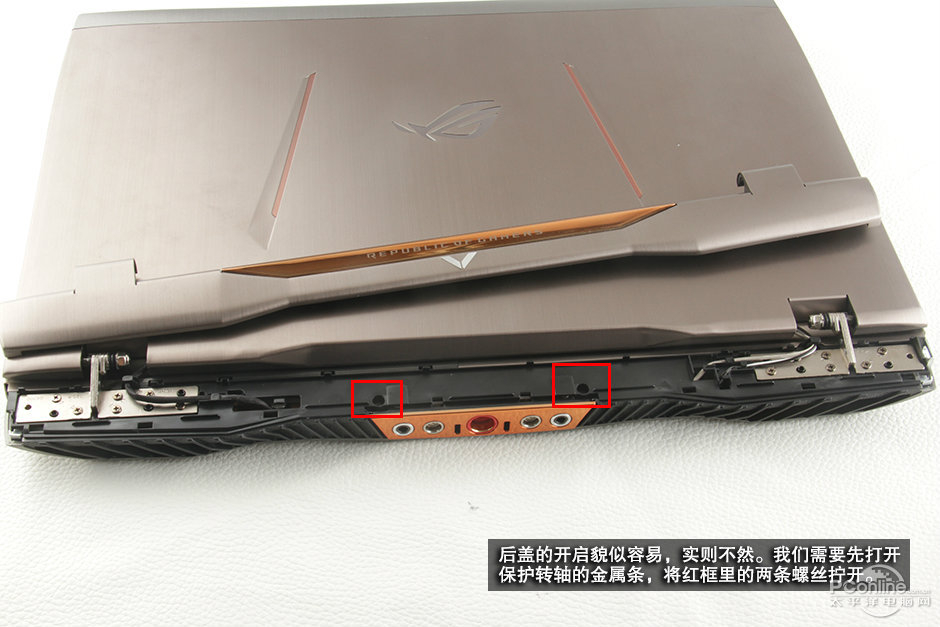
Remove the LCD hinge cover.
Under the cover, you can find two screws. In order to open the bottom case, you should remove these two screws.
Pry up and remove the bottom case.
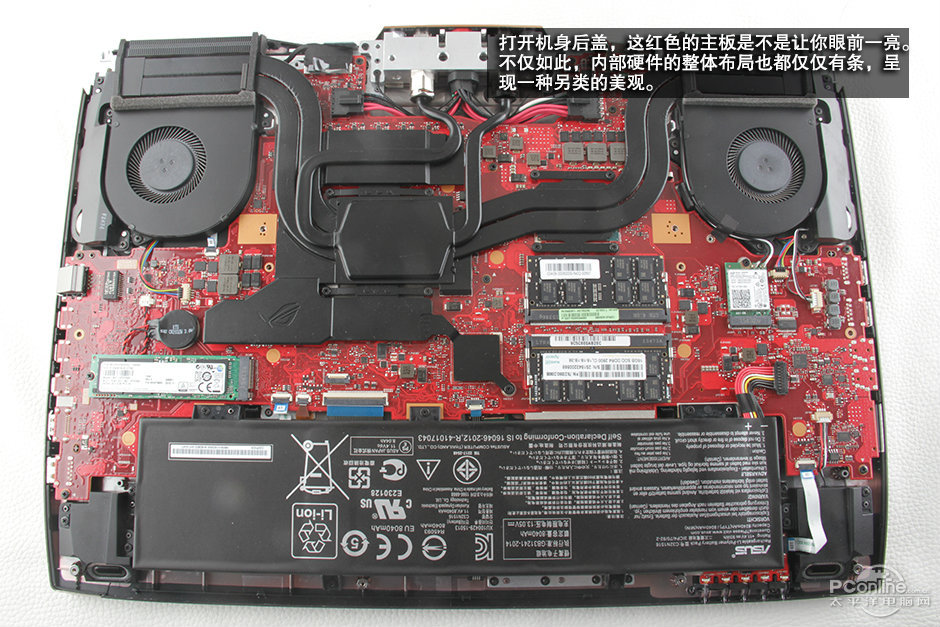
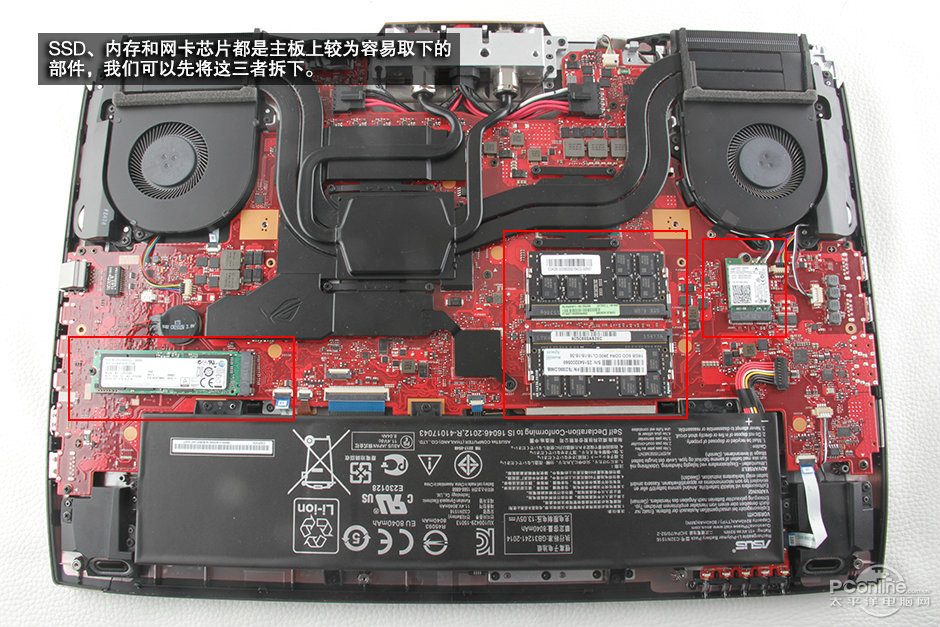
When the bottom case removed, you should be able to access the battery, RAM, SSD, CMOS battery, wireless card, speakers, heat sink and cooling fan.
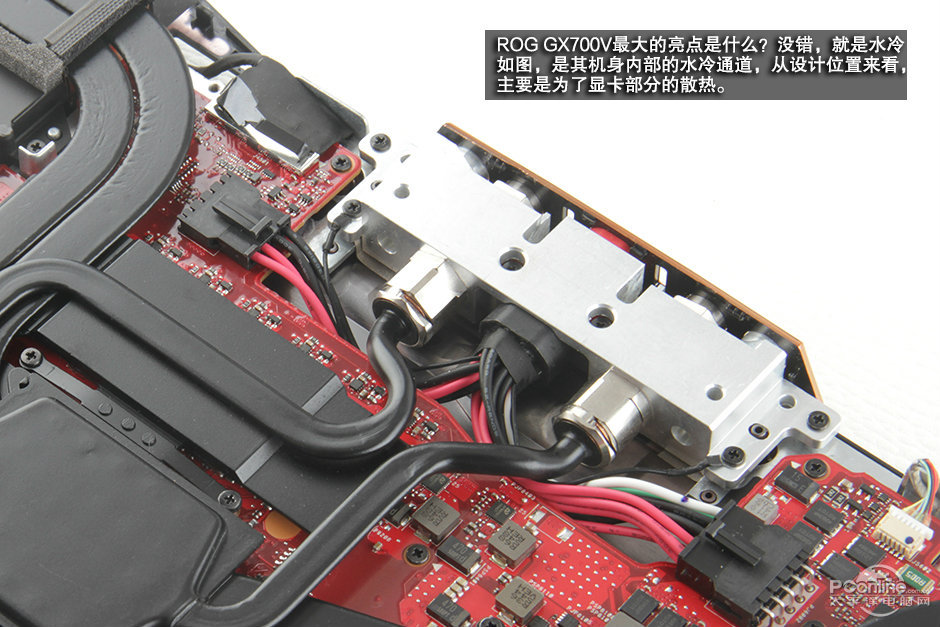
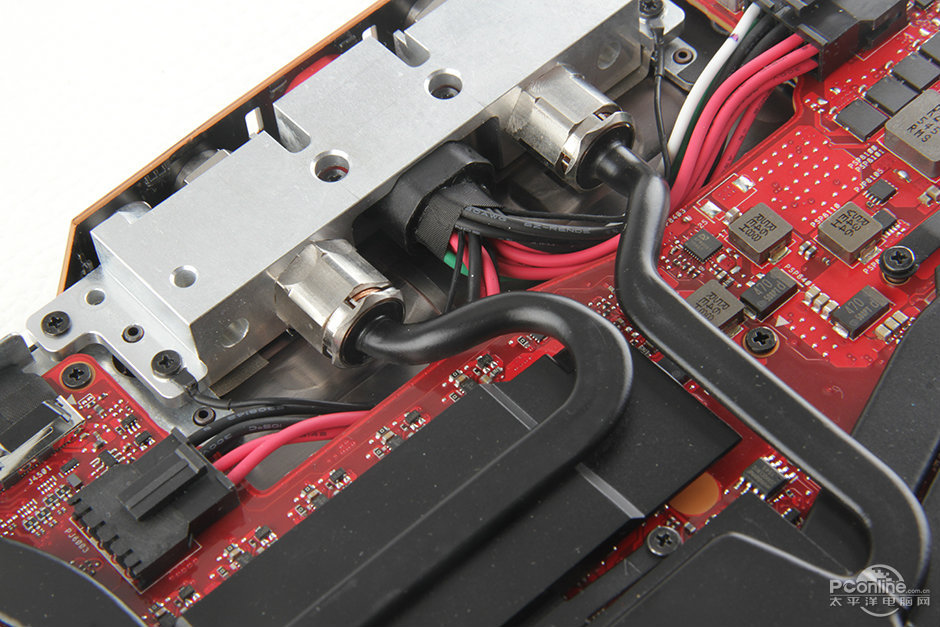
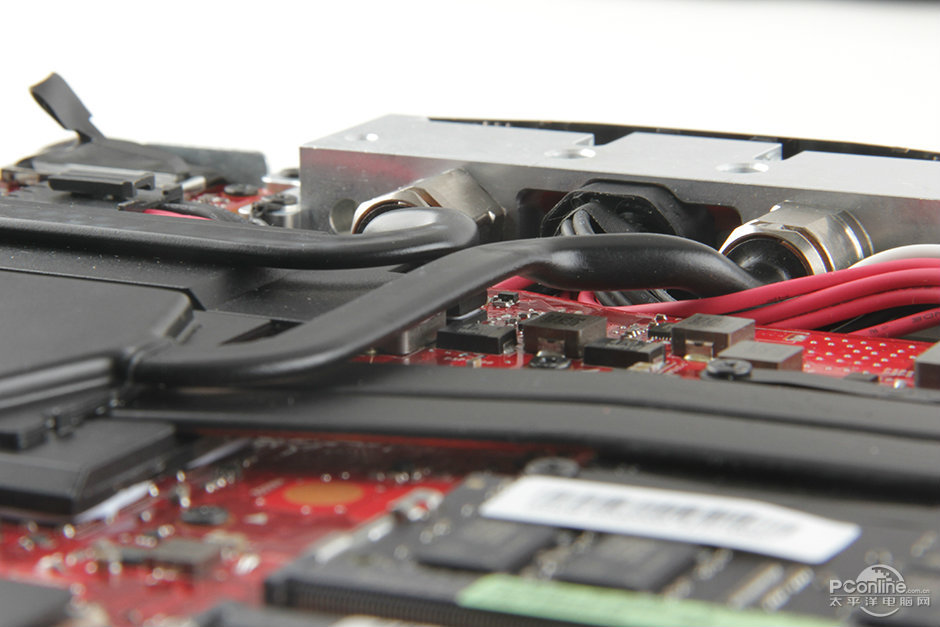
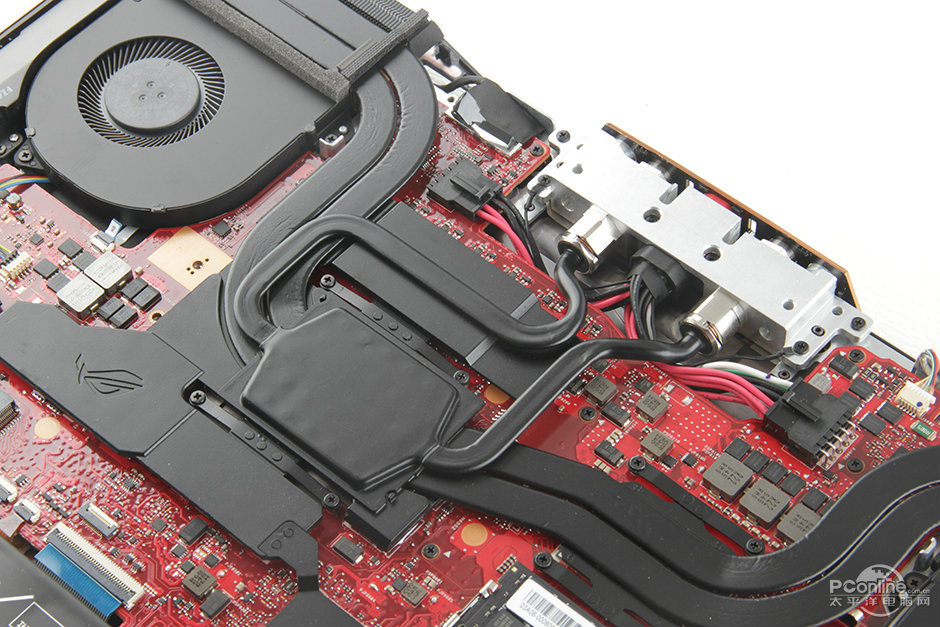
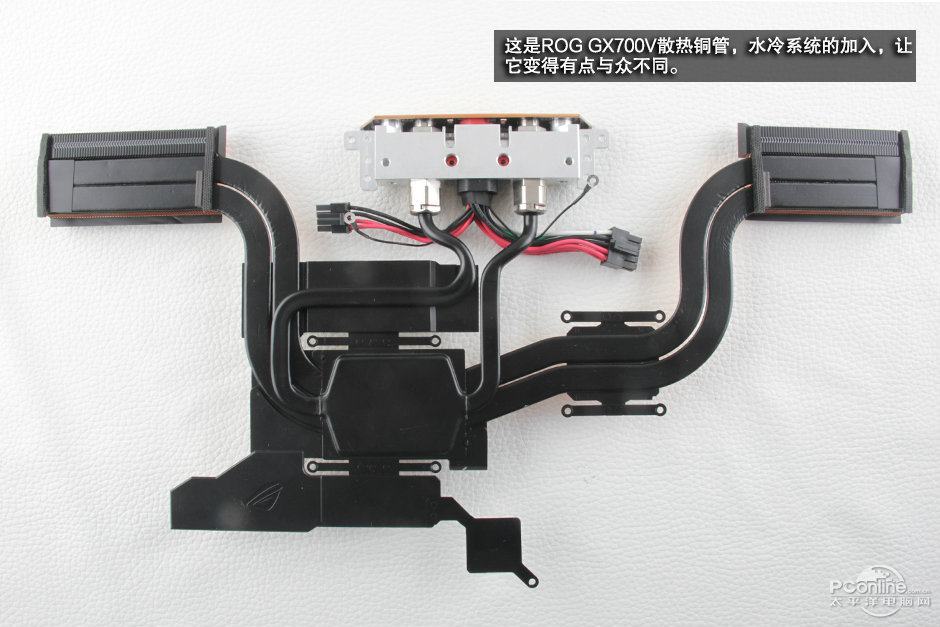
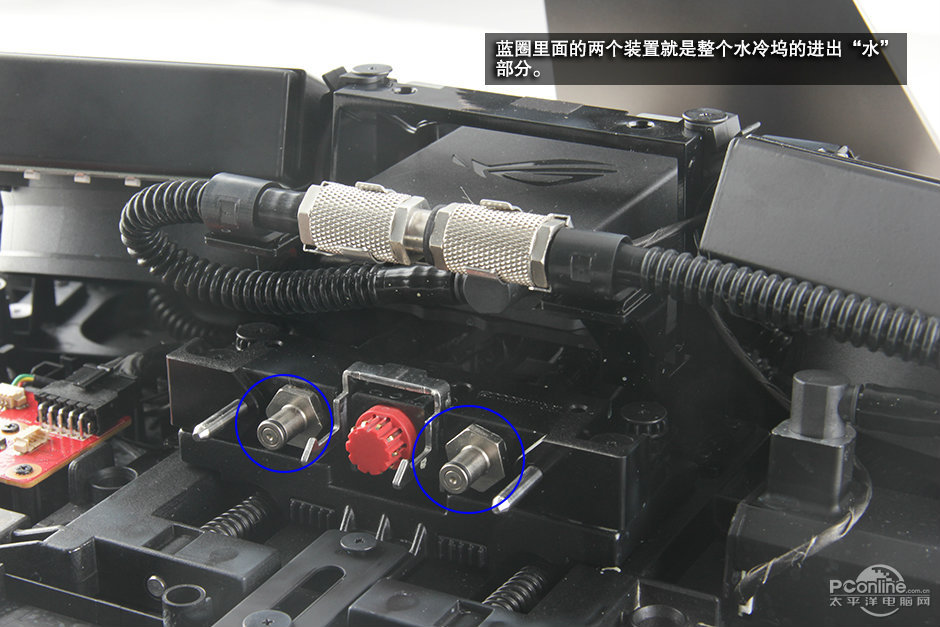
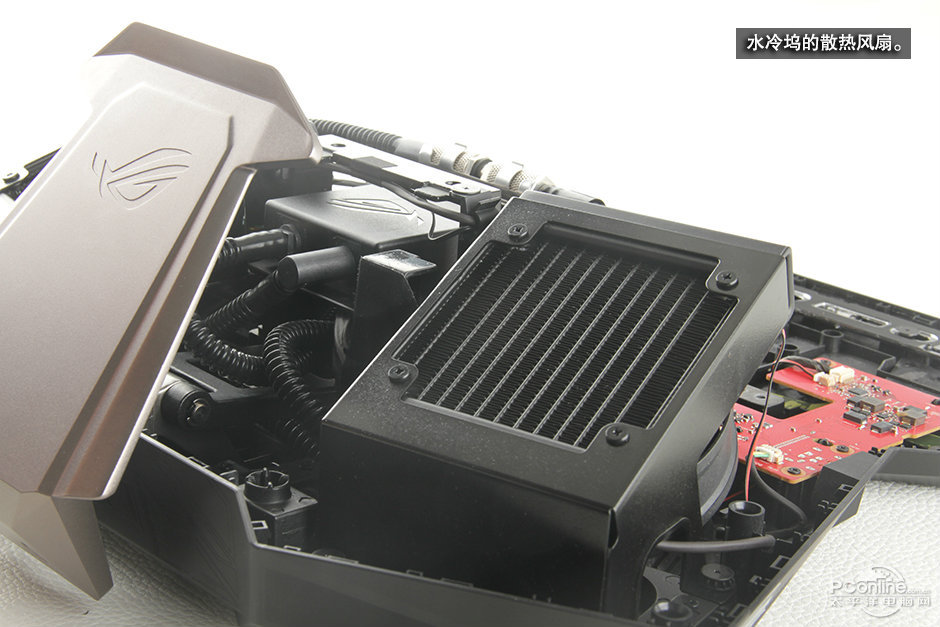
2. Water-cooled system close-up
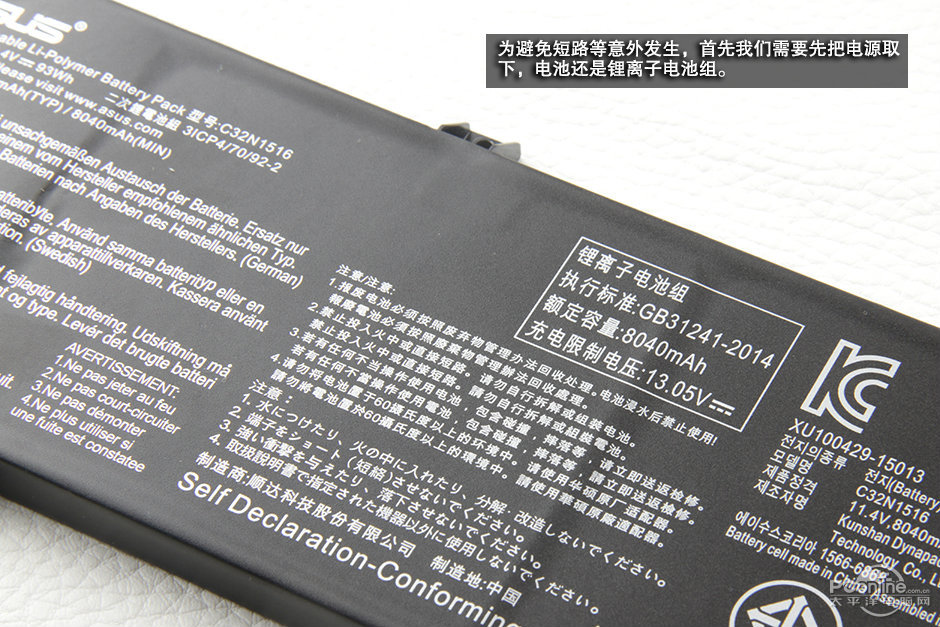
3. Removing the battery
To avoid damage to hardware, we first need to remove the battery.
Disconnect the battery connector from the motherboard.
Remove all screws securing the battery.
Lift it up and take it out of the laptop.
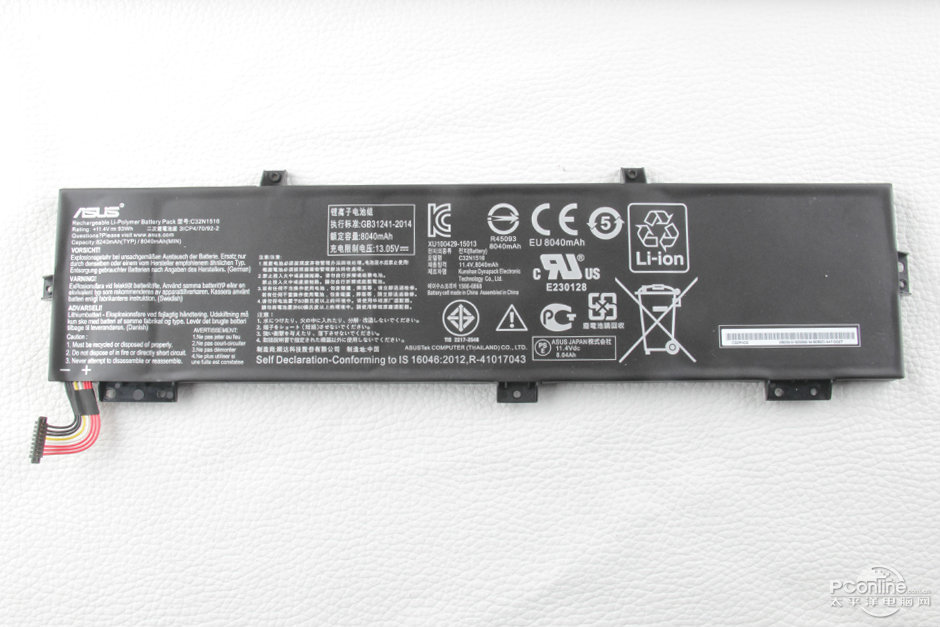
Asus ROG GX700VO features an 11.4v, 93Wh, 8040mah Li-polymer battery, Asus model: C32N1516.
4. Removing the RAM
Separate the clips. The RAM will pop up.
Asus ROG GX700VO has four RAM slots, other two RAM slots on the back of the motherboard.
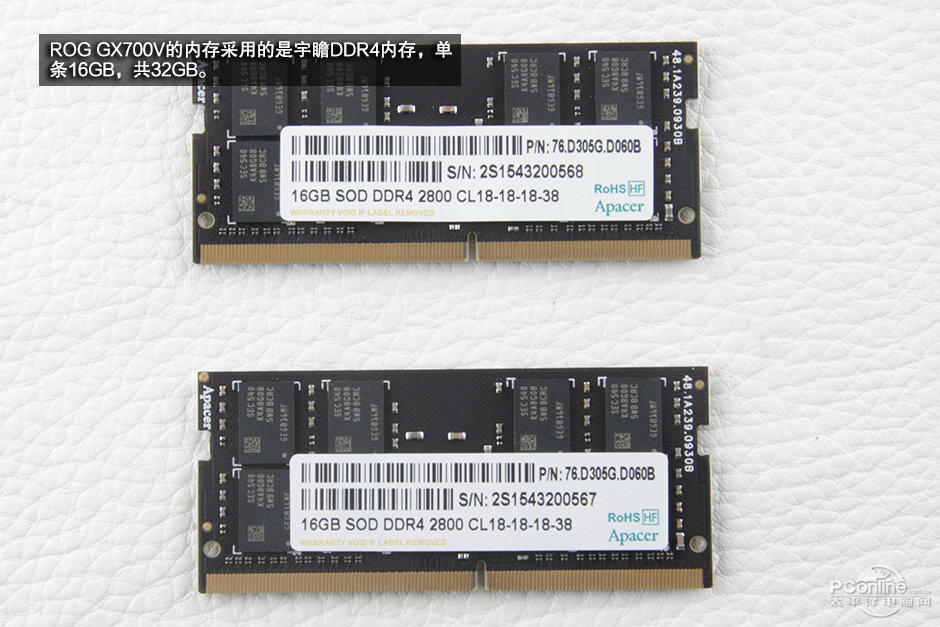
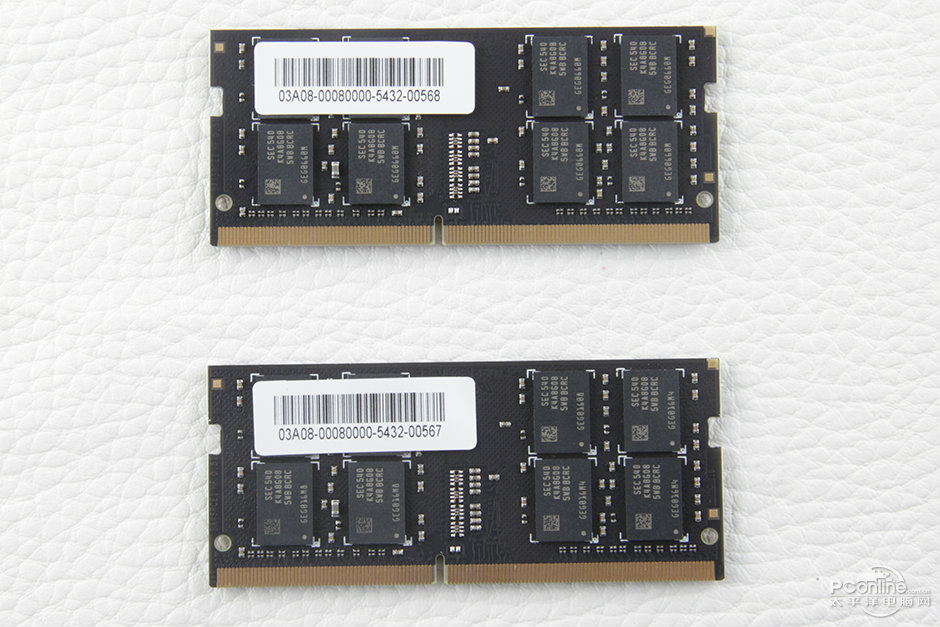
Two Apacer 16GB SOD DDR4 2800 RAM, P/N: 76.D305G.D060B.
5. Removing the SSD
Remove one screw securing the SSD.
Asus ROG GX700VO coming with two SSDs, another SSD on the back of the motherboard.
Samsung 256GB SM951 M.2 SSD, Model: MZ-VPV2560, P/N: MZVPV256HDGL-0000.
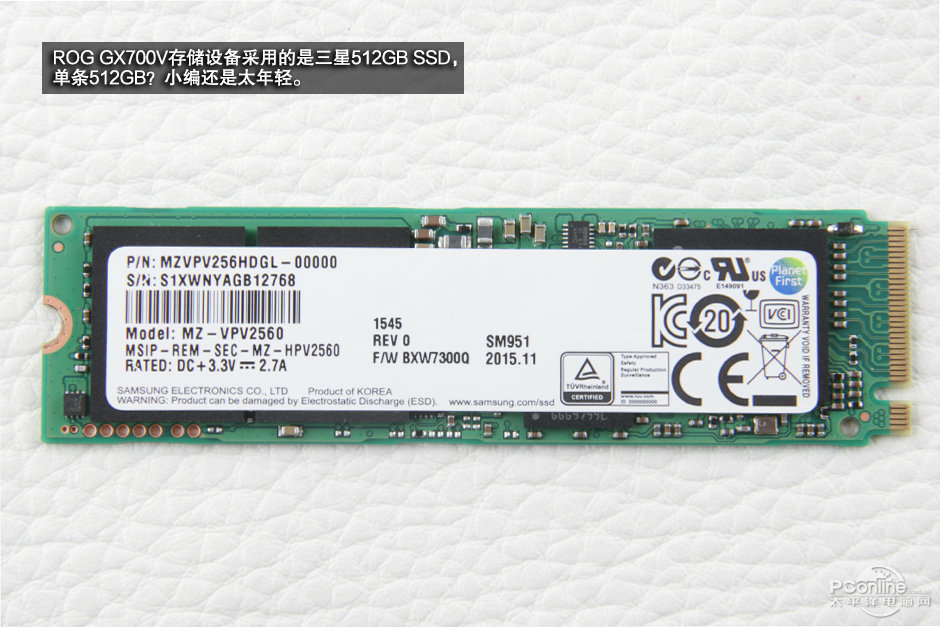
Samsung MZ-VPV2560 Specifications
Controller: Samsung S4LN058A01 (PCIe 3.0 x4 NVMe)
NAND: Samsung 16nm 64Gbit MLC
Sequential Read: 2,150MB/s
Sequential Write: 1,260MB/s
4KB Random Read: 300K IOPS
4KB Random Write: 100K IOPS

6. Removing the wireless card
Unplug two antenna cables.
Remove one screw securing the Wi-Fi card.
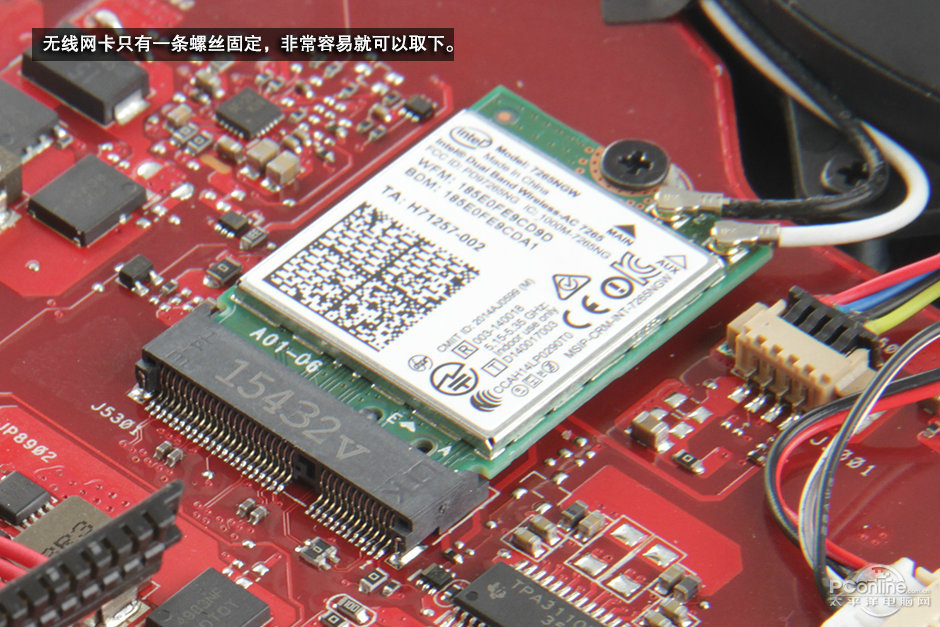
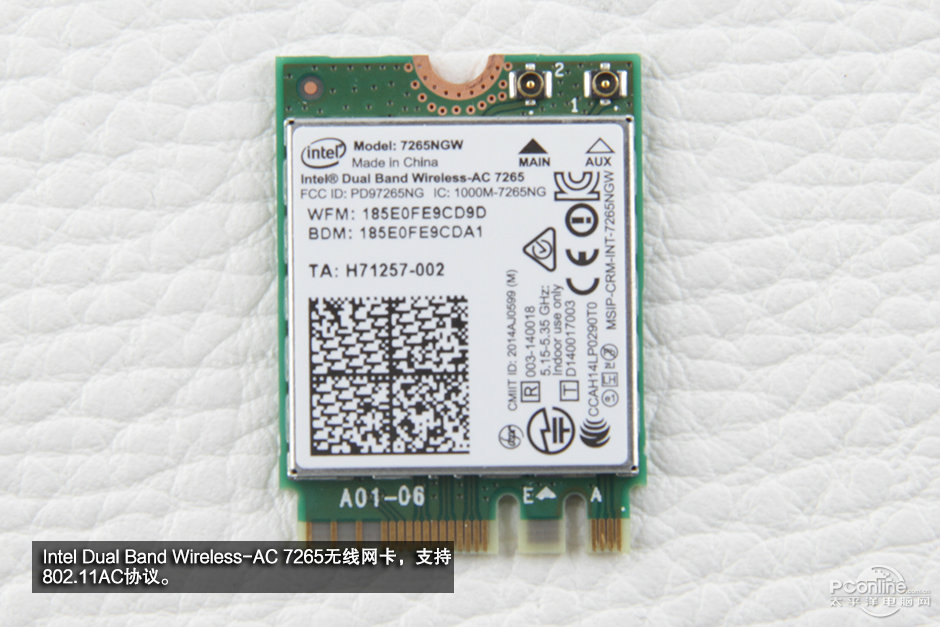
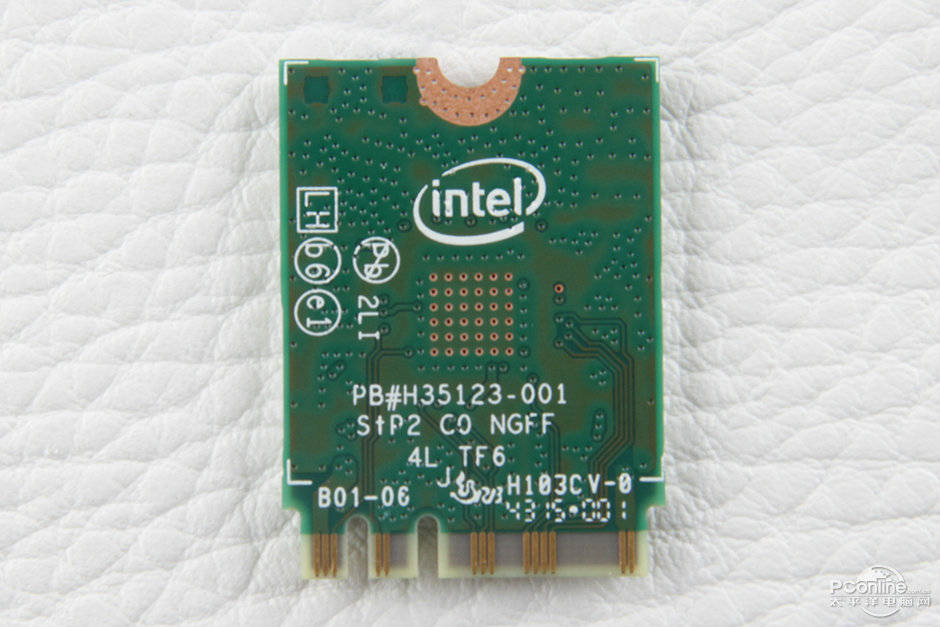
Asus ROG GX700VO features an Intel Dual Band Wireless-AC 7265 wireless card, Intel model: 7265NGW.
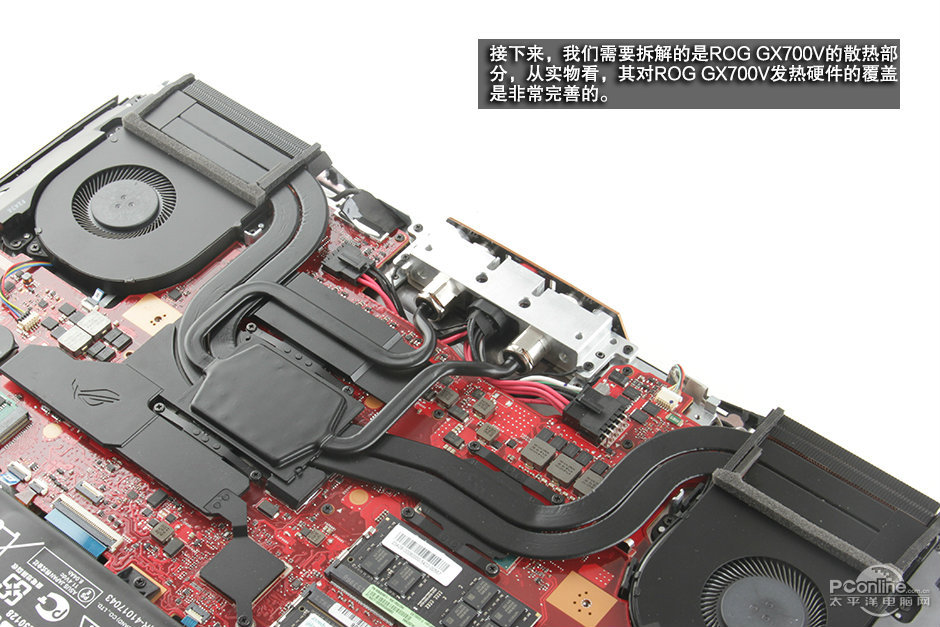
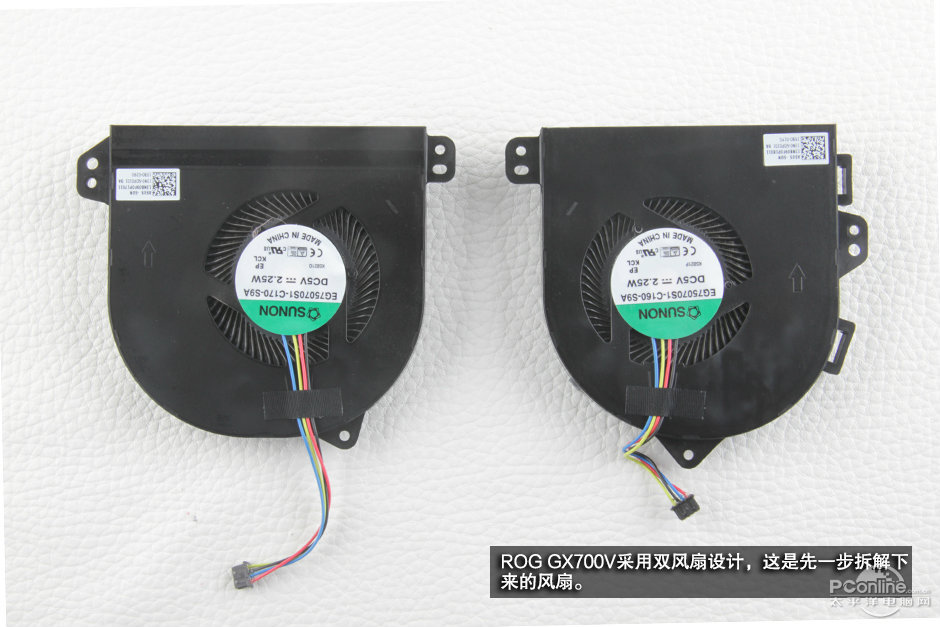
7. Removing the water-cooled system, heat sink, and cooling fan
Remove all screws securing the left and right cooling fan. Each cooling fan was fixed by three screws.
Disconnect the cooling fan cable from the motherboard.
CPU and GPU cooling fan
Remove all screws securing the heat sink and water-cooled system.
Disconnect the cables from the motherboard.

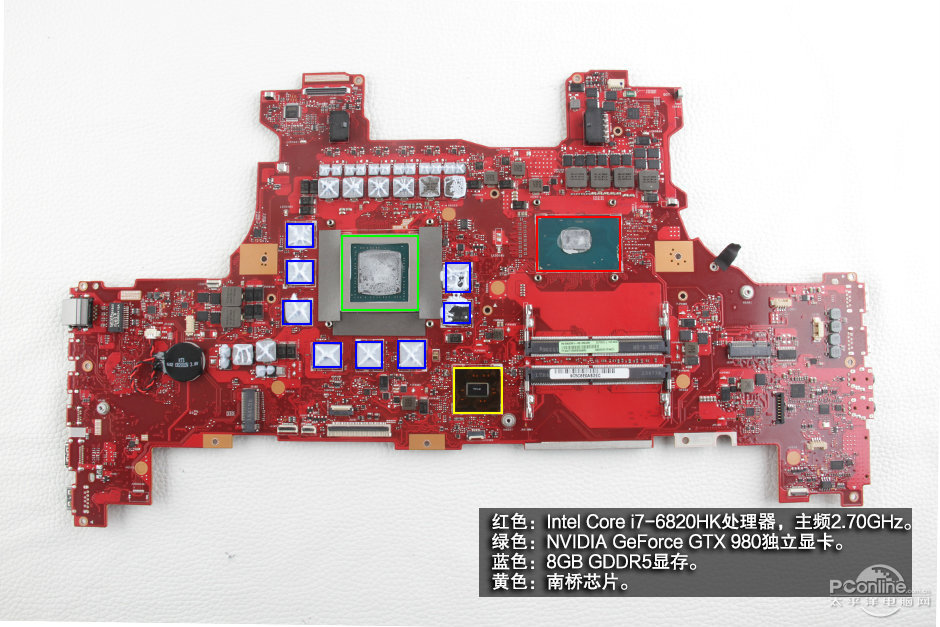
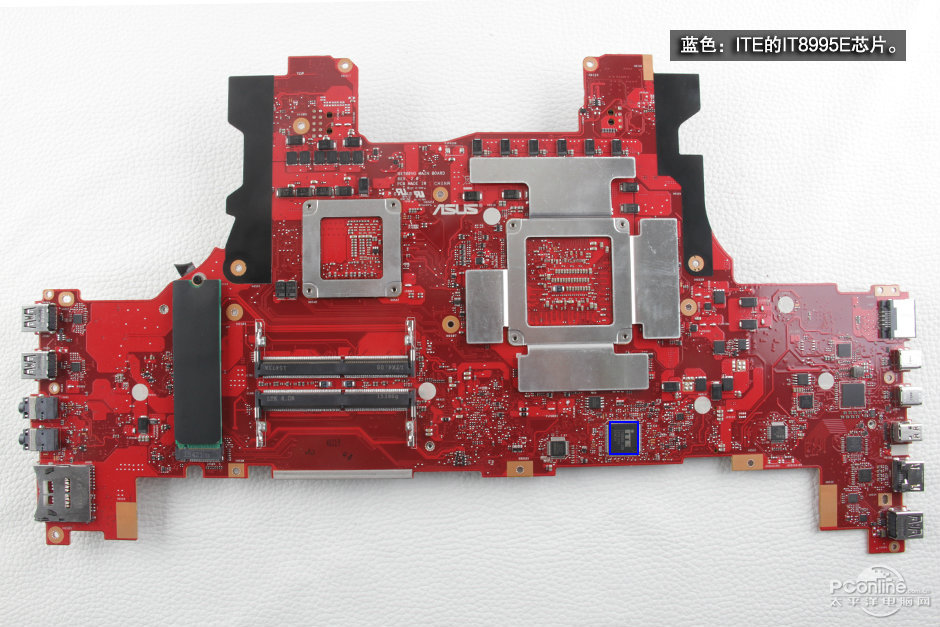
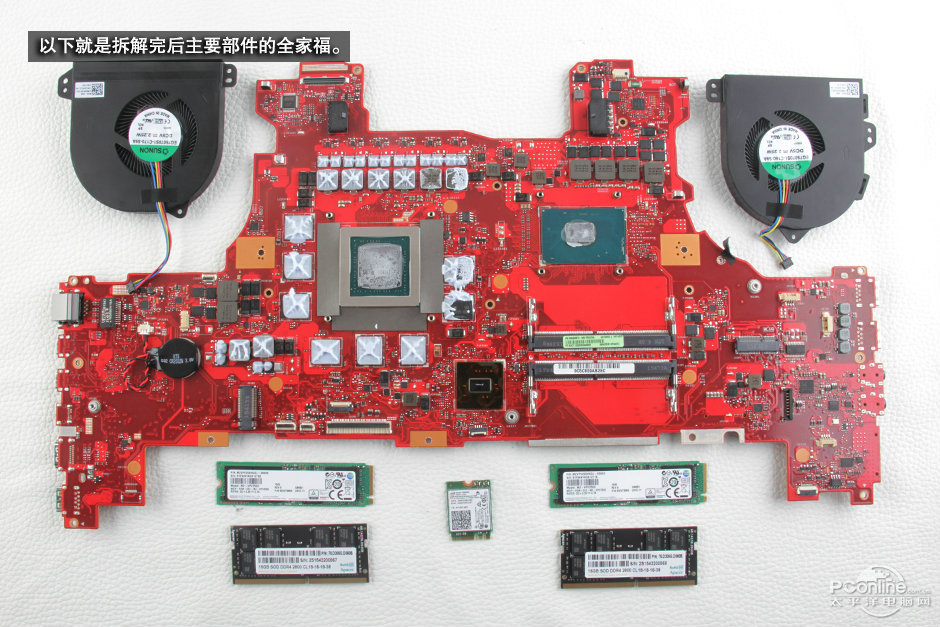
8. Chips on the motherboard
Red: Intel Core i7-82800HK 2.7 GHz processor
Green: NVIDIA GeForce GTX 980
Blue: 8GB GDDR5 video memory
Yellow: South Bridge chip
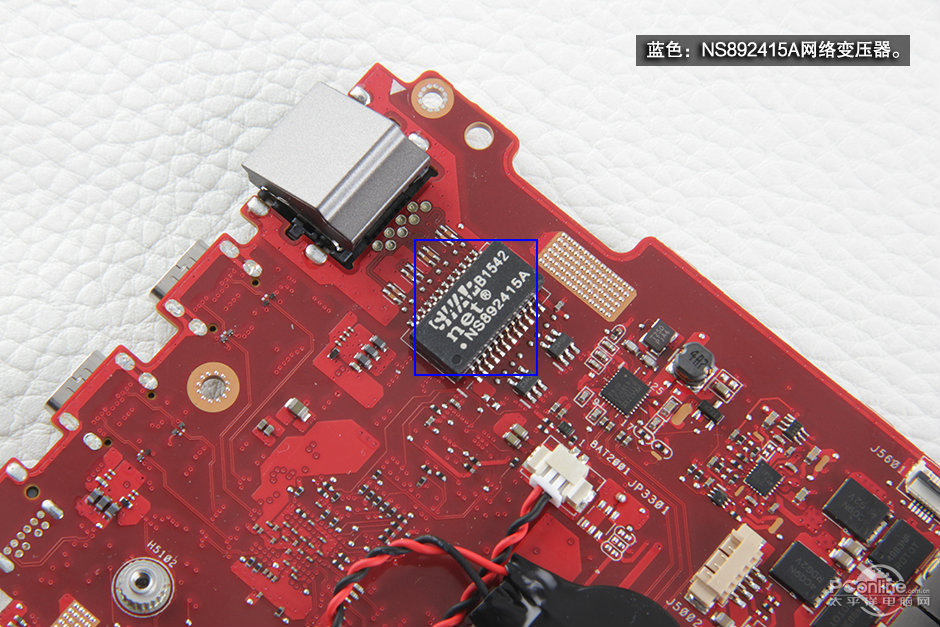
Blue: NS892415 network transformer
Blue: Realtek ALC286 sound card
Yellow: ESS audio decoder chip

Blue: ITE IT8995E
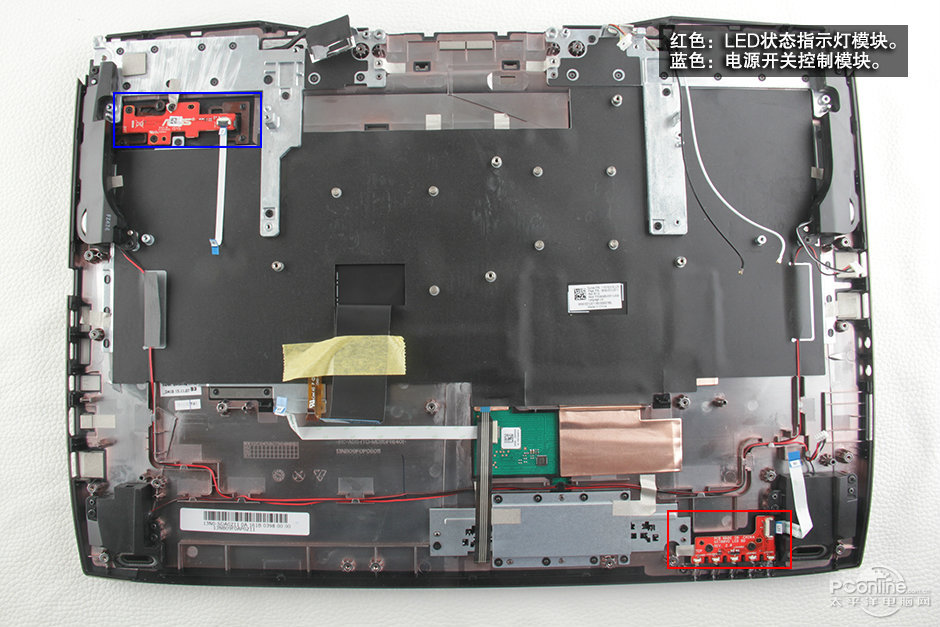
Red: LED status Indicator module
Blue: Power switch control module
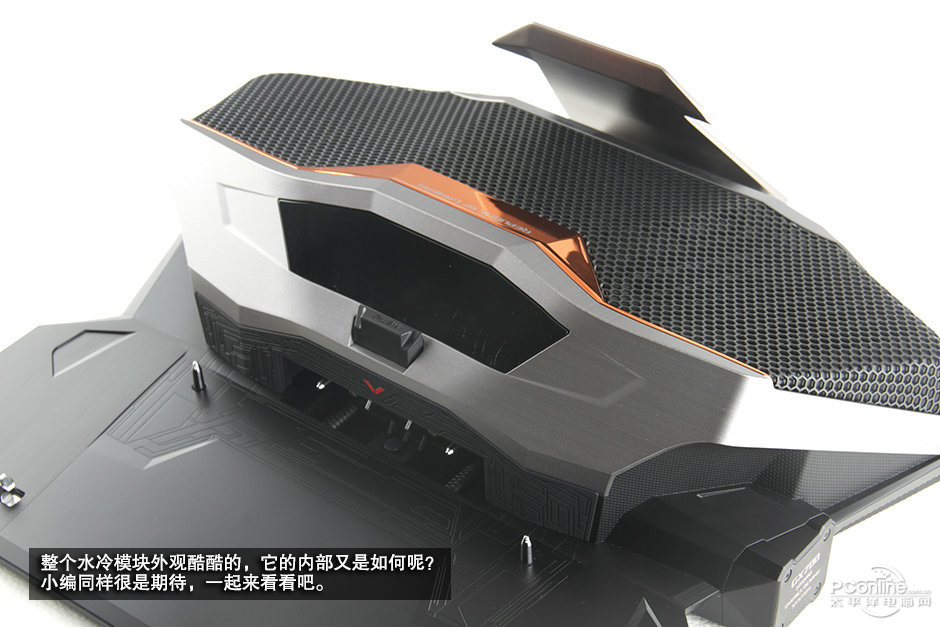
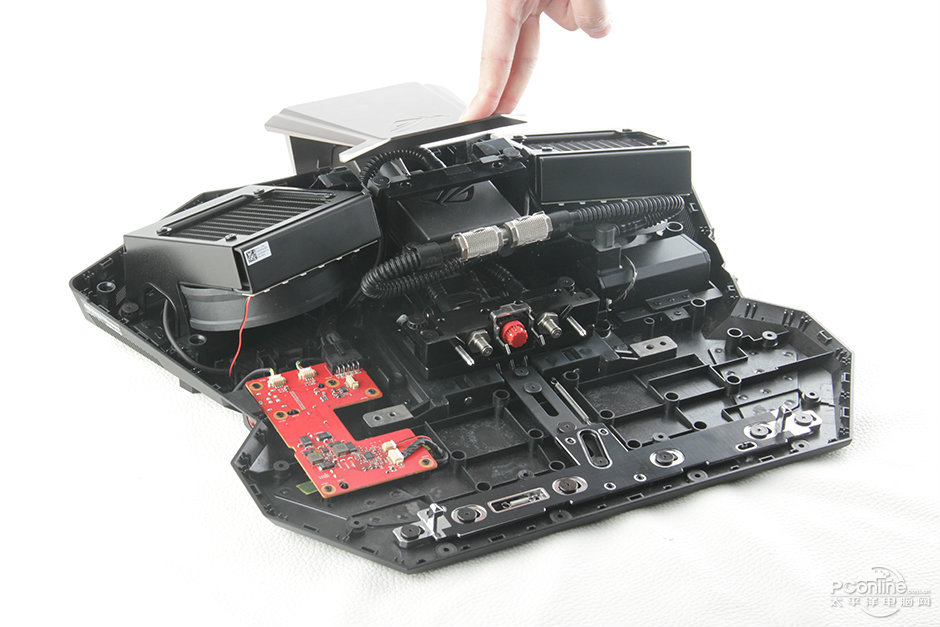
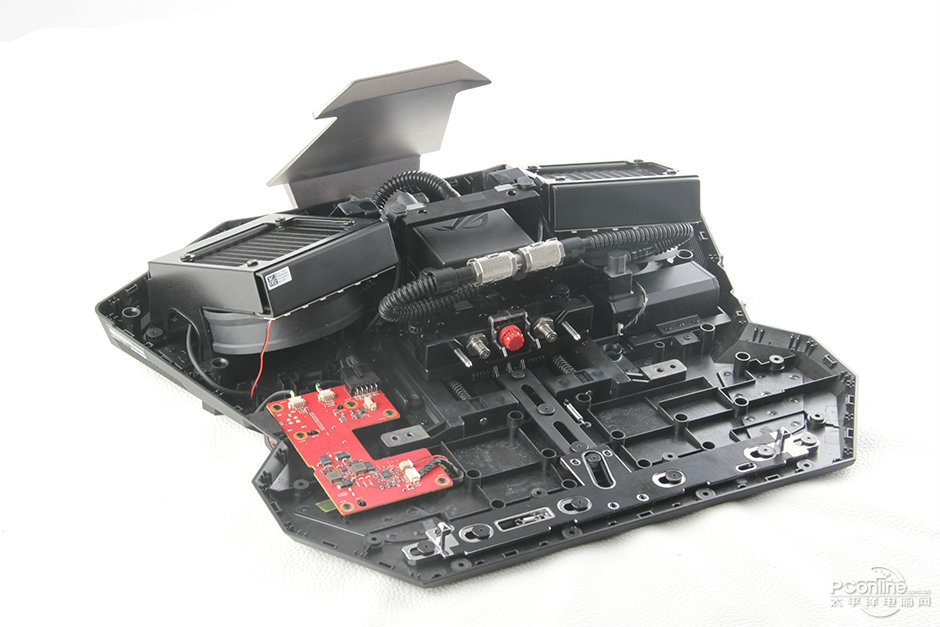
9. Take apart the water-cooled system
Remove all screws on the bottom.
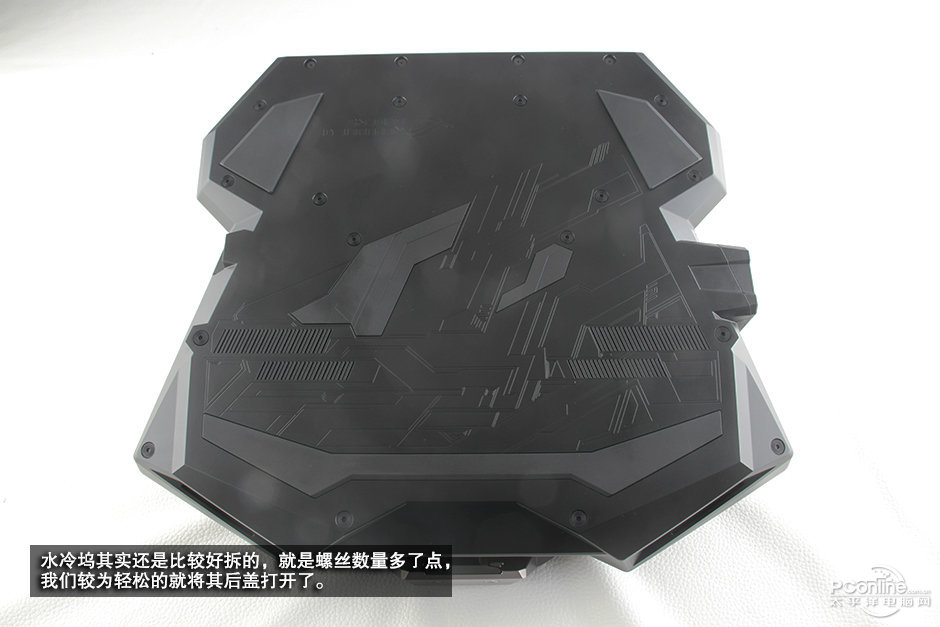
Remove the cover. You can get access to the internal structure of the water-cooled system.


Source: pconline

")


I don’t think I am going to need another 32gb ram but to do that again to install them…Sigh.
It’s the thermal compound mess that is the biggest pain.